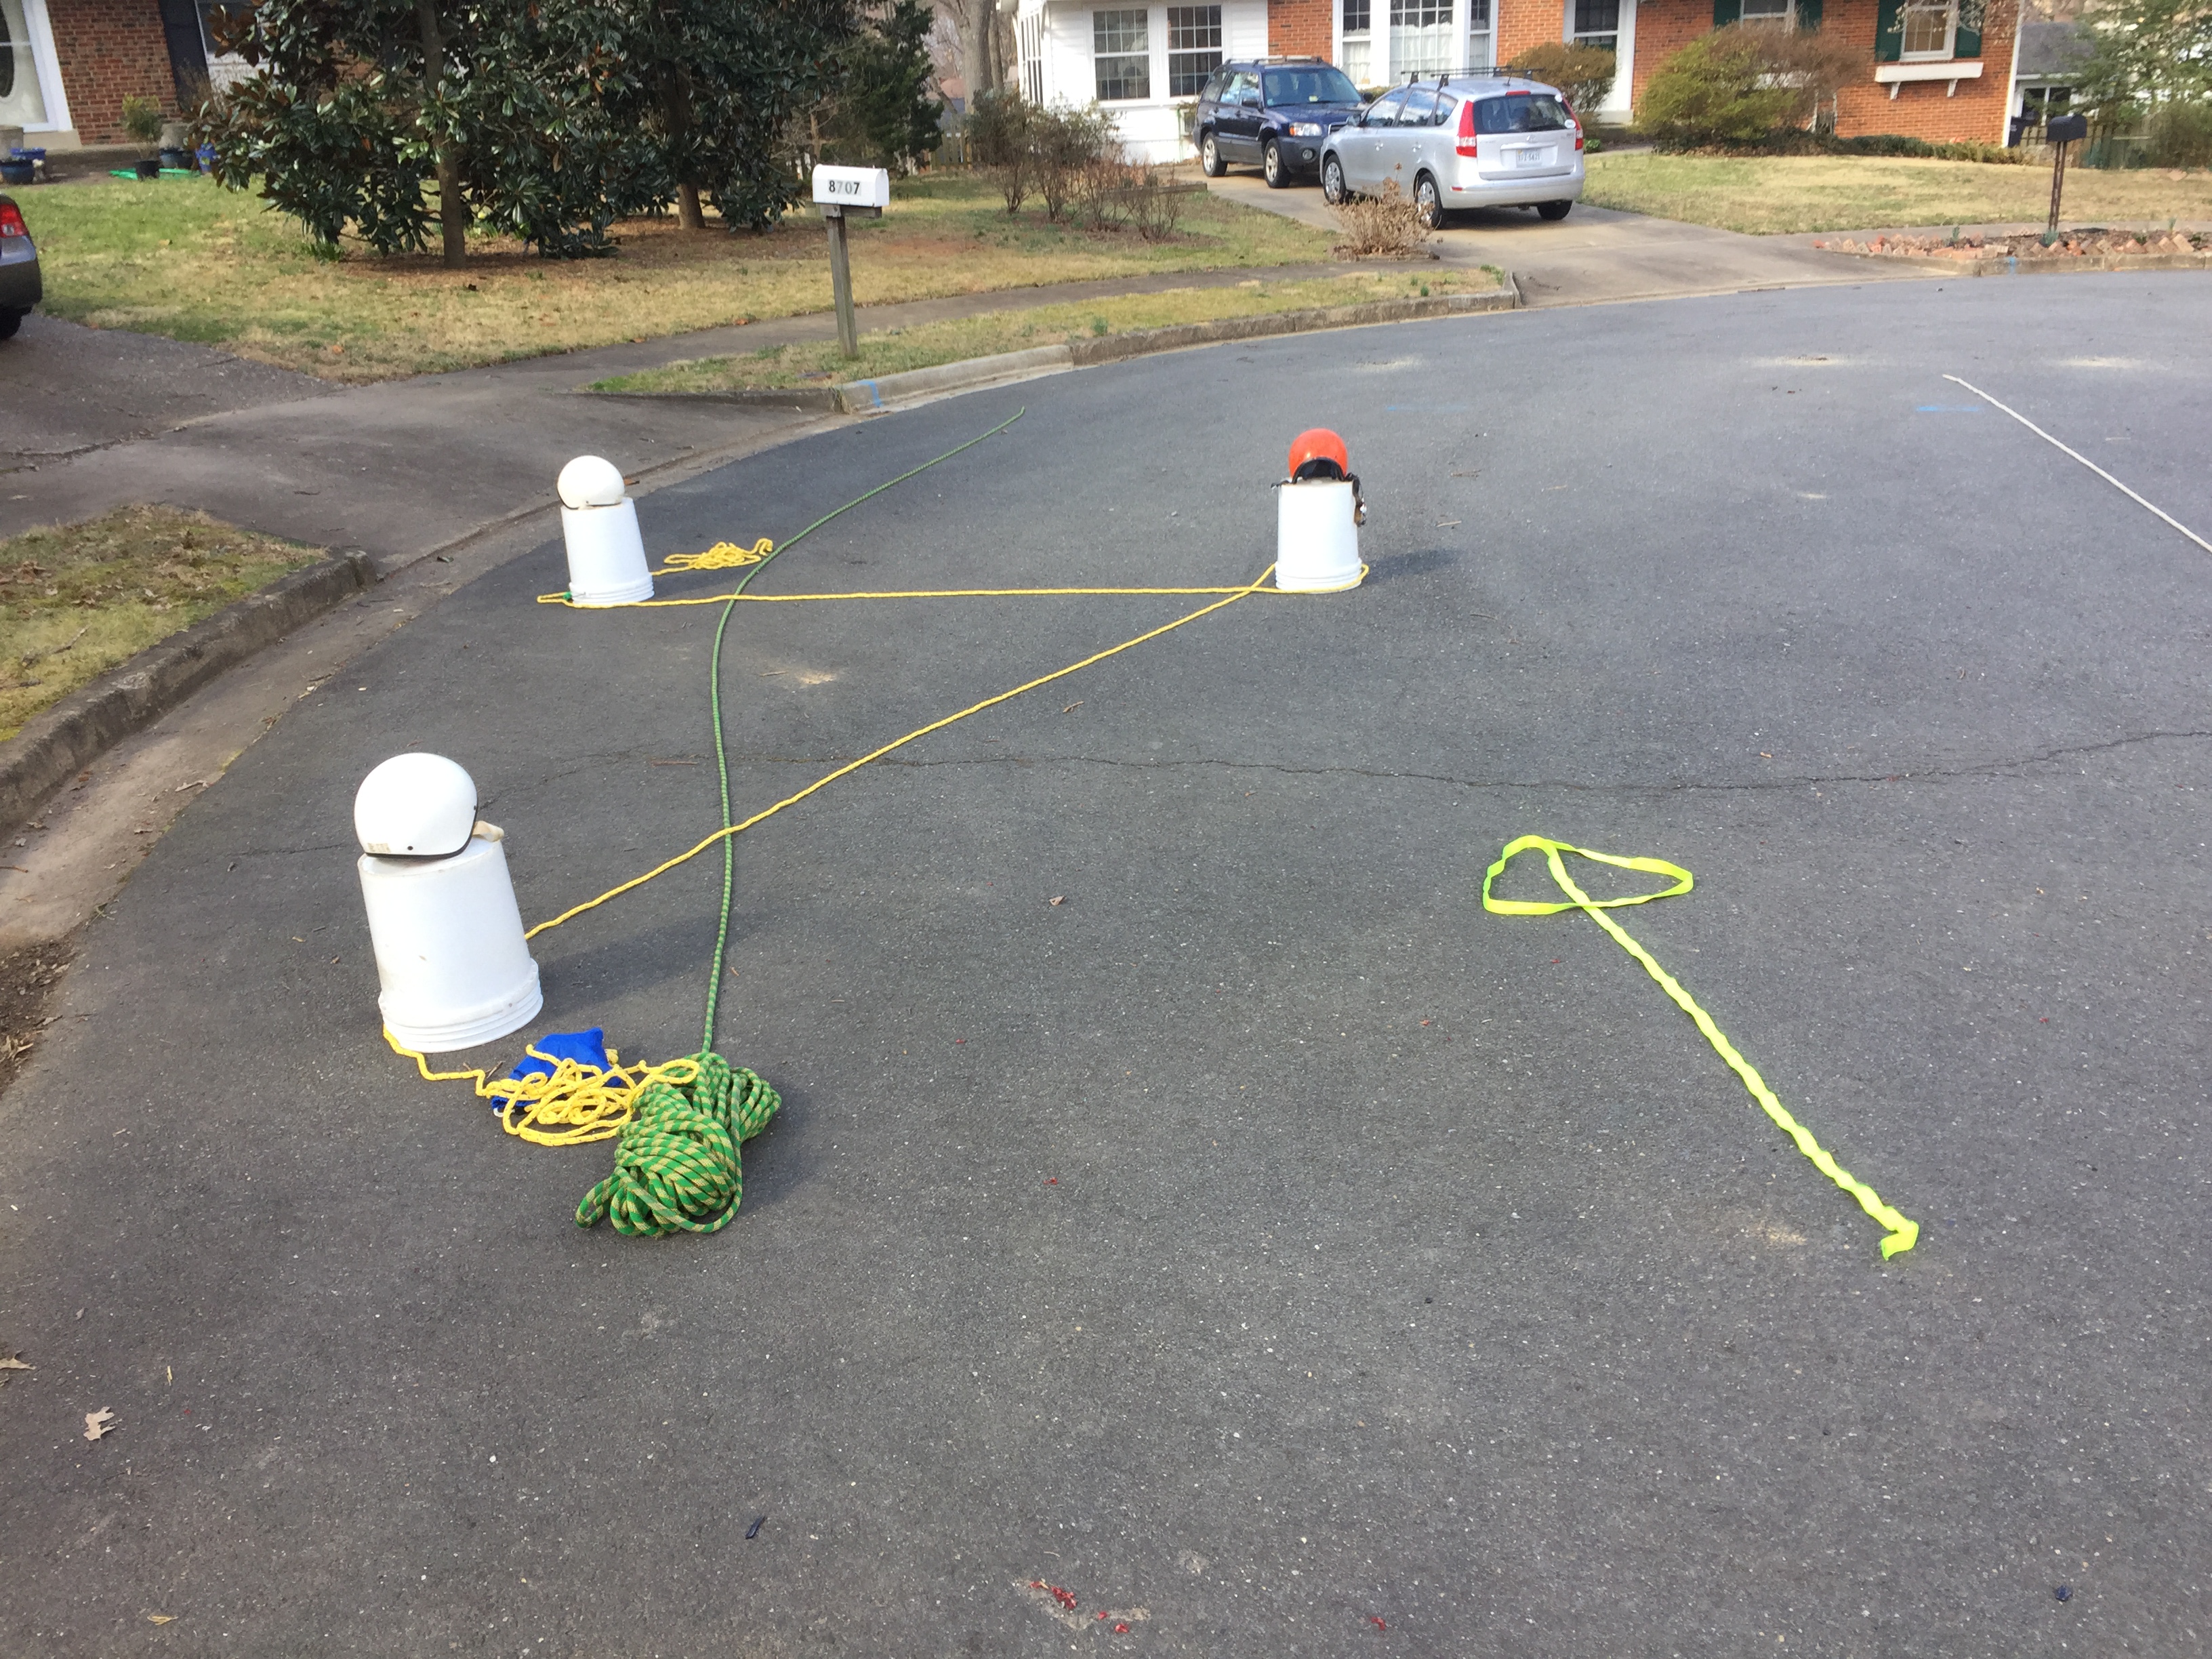
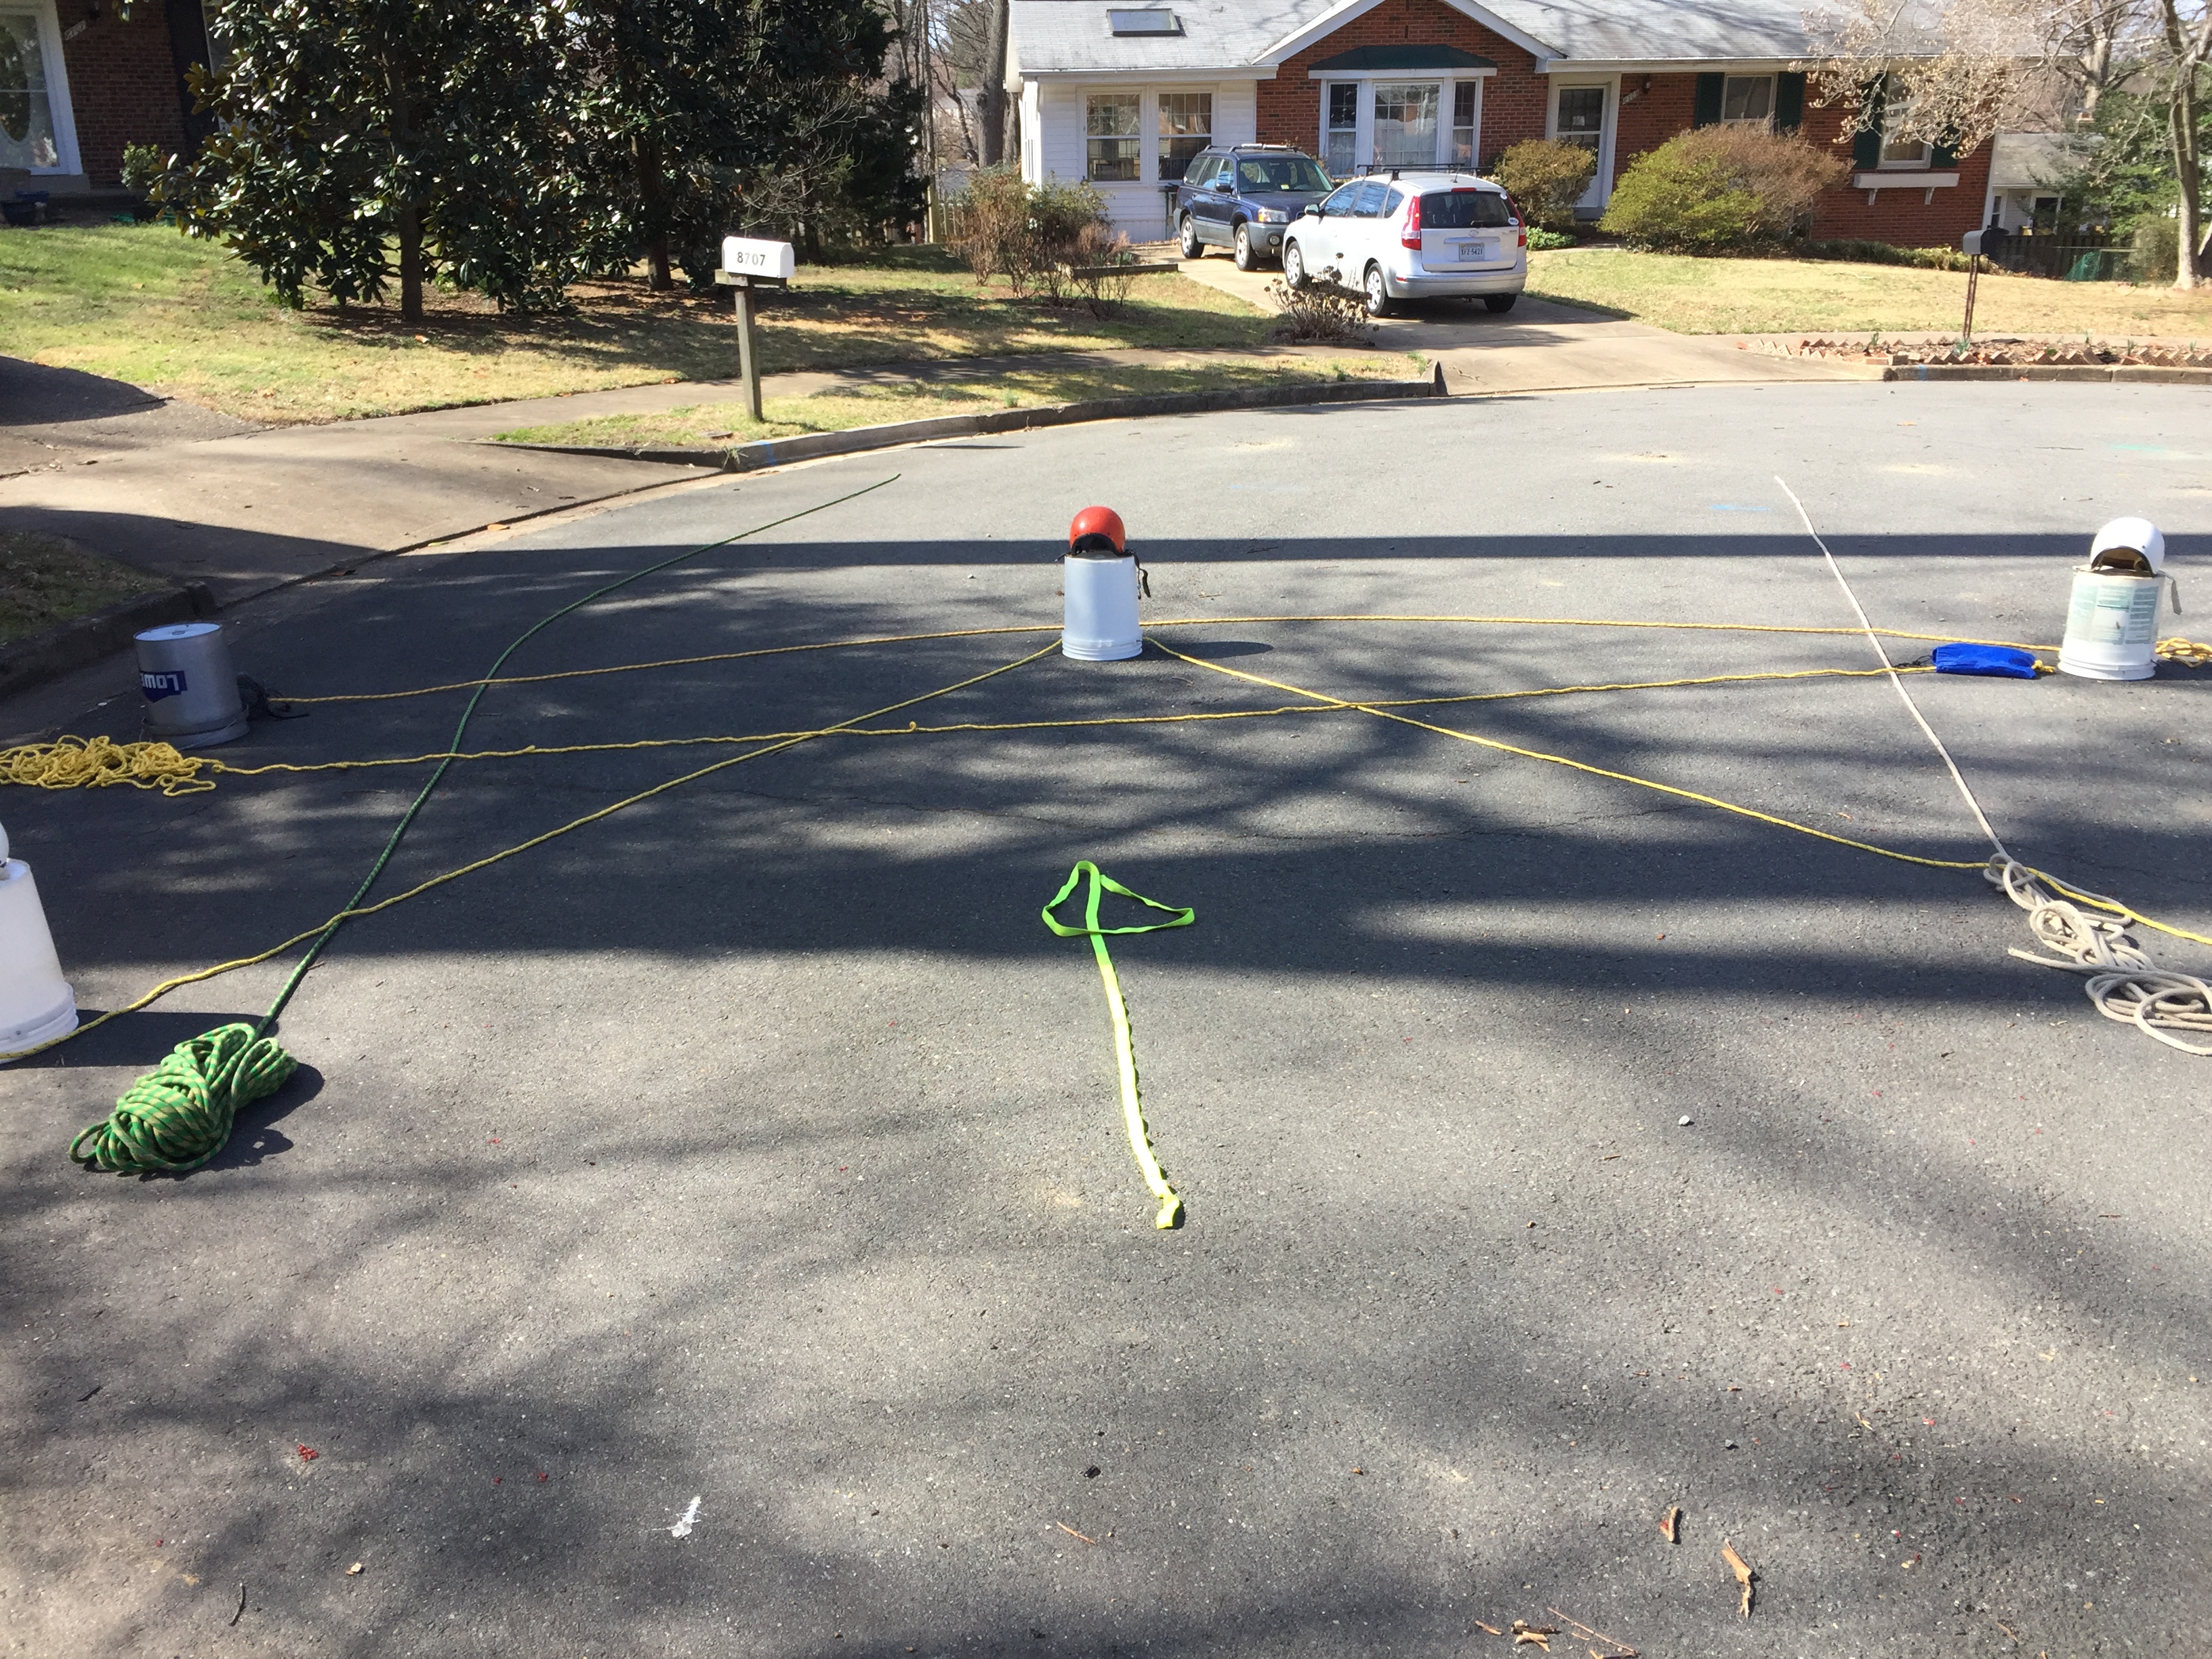
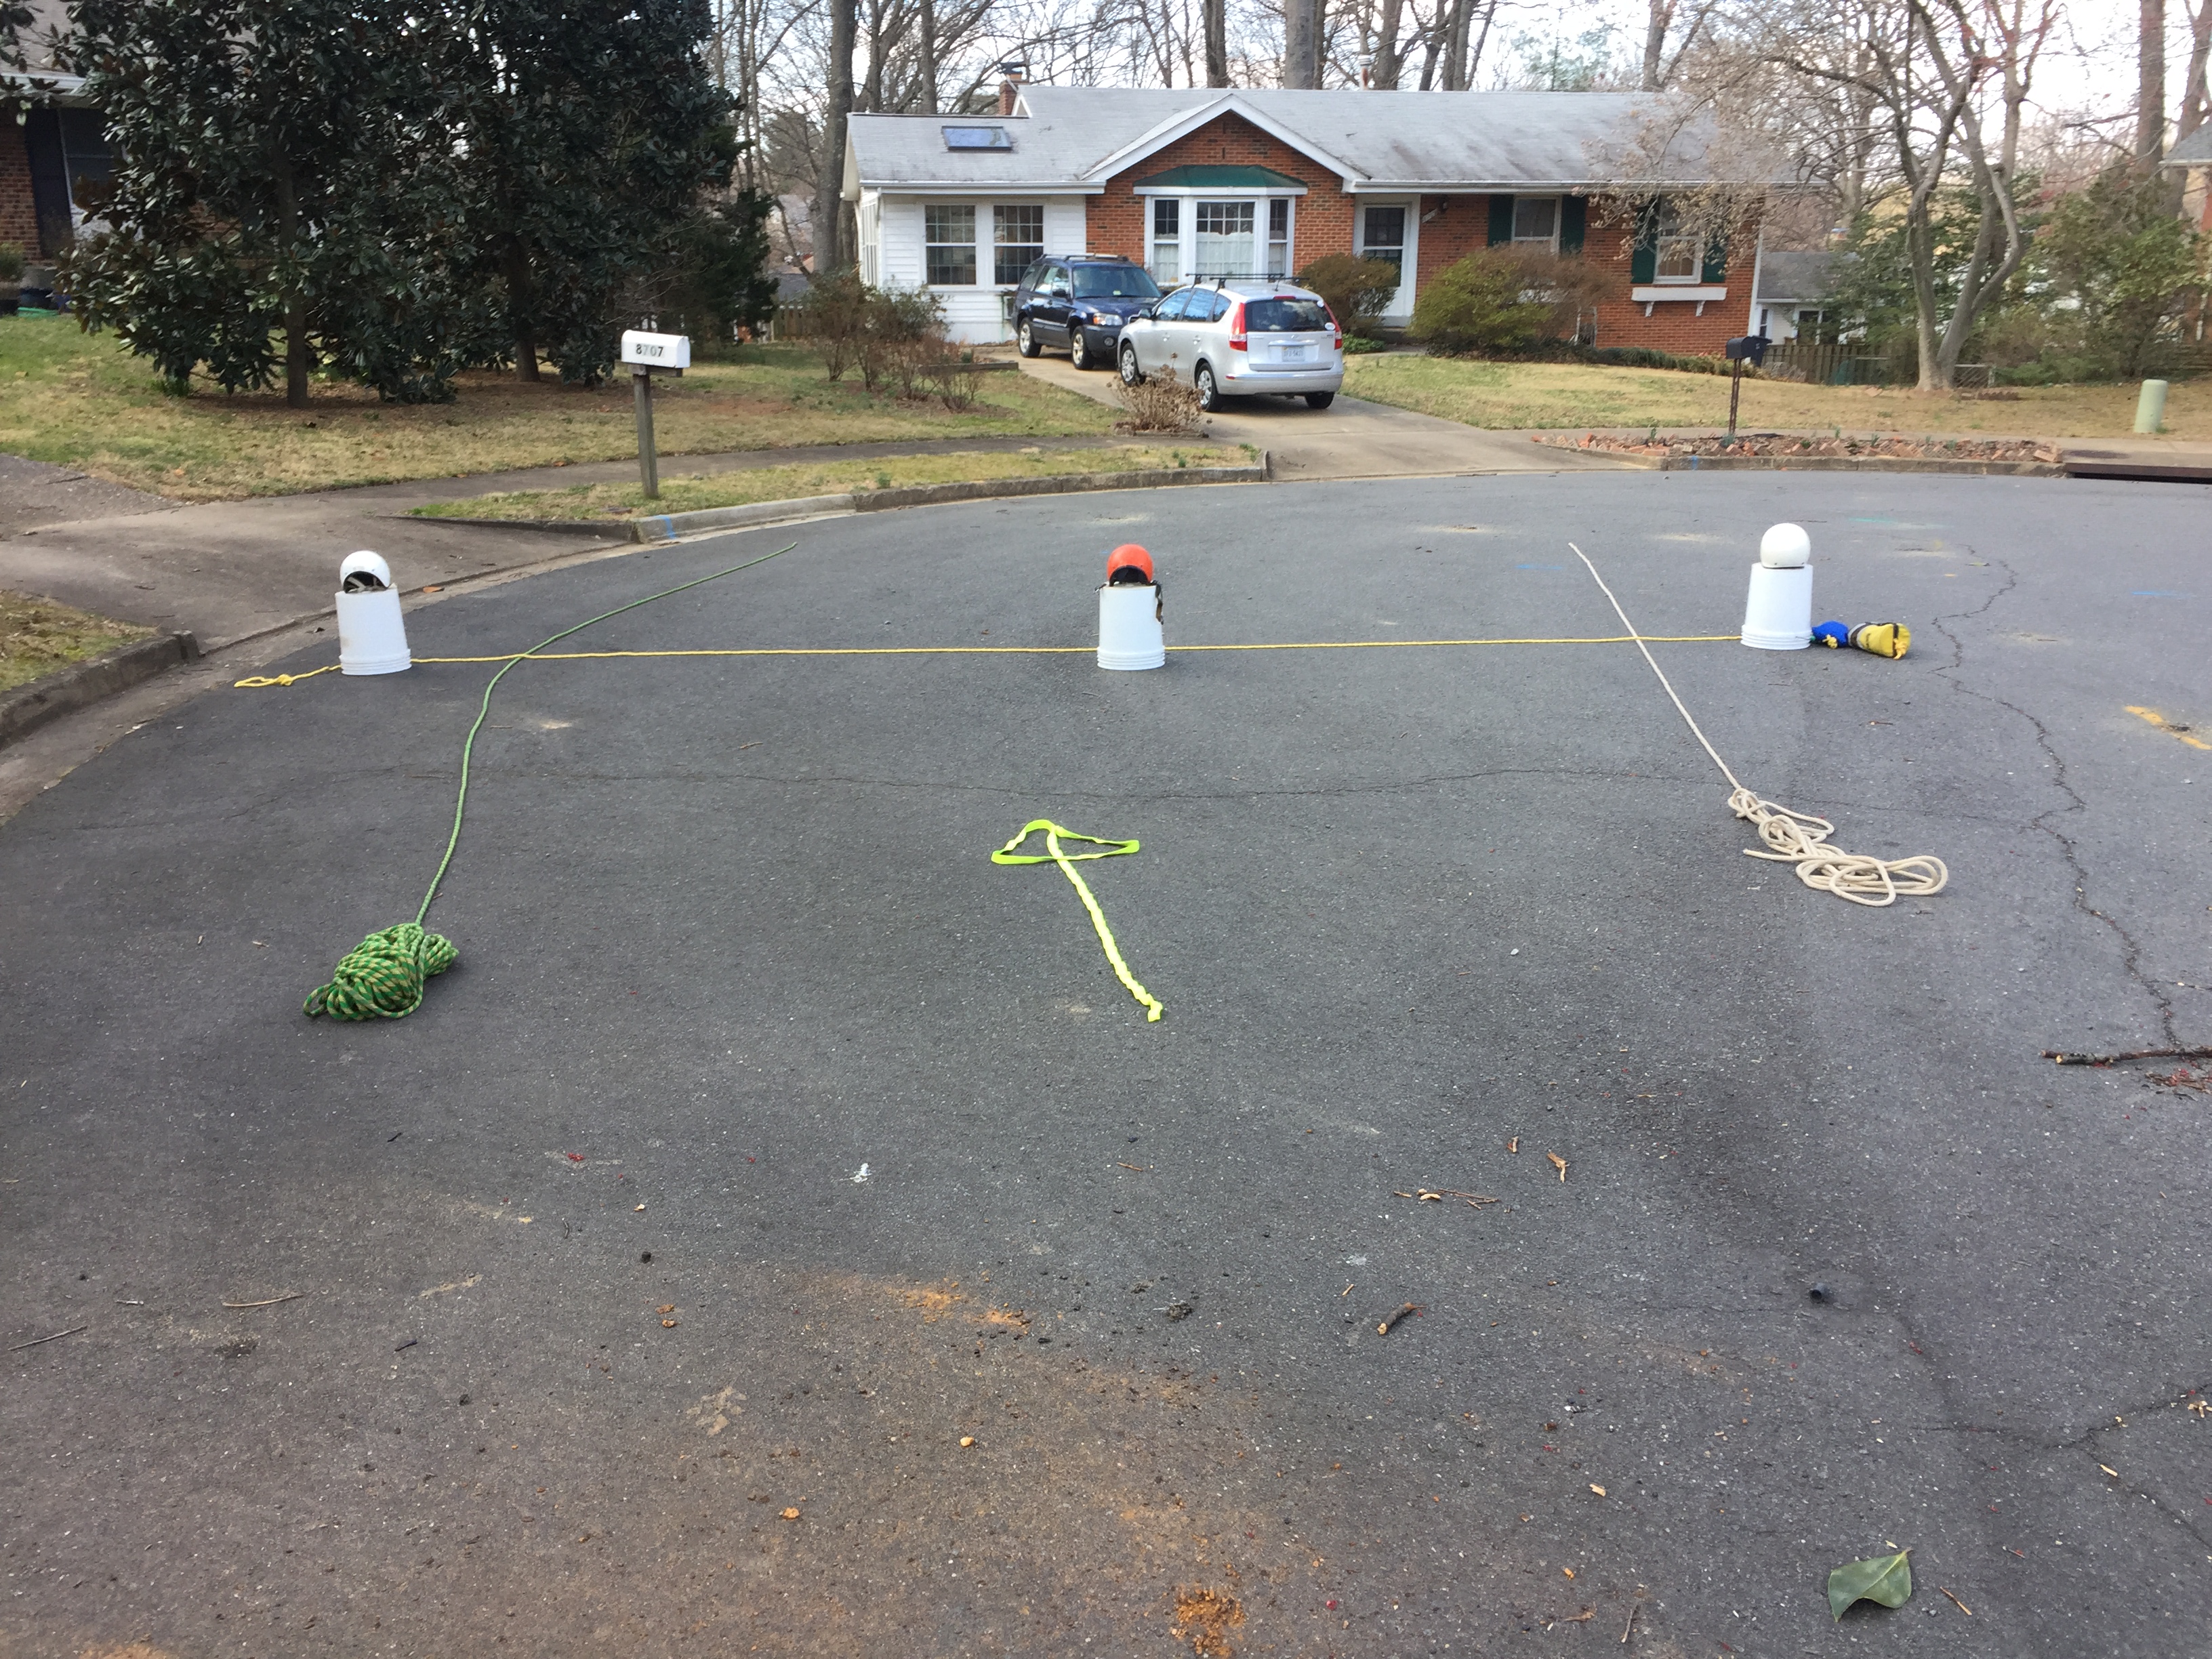
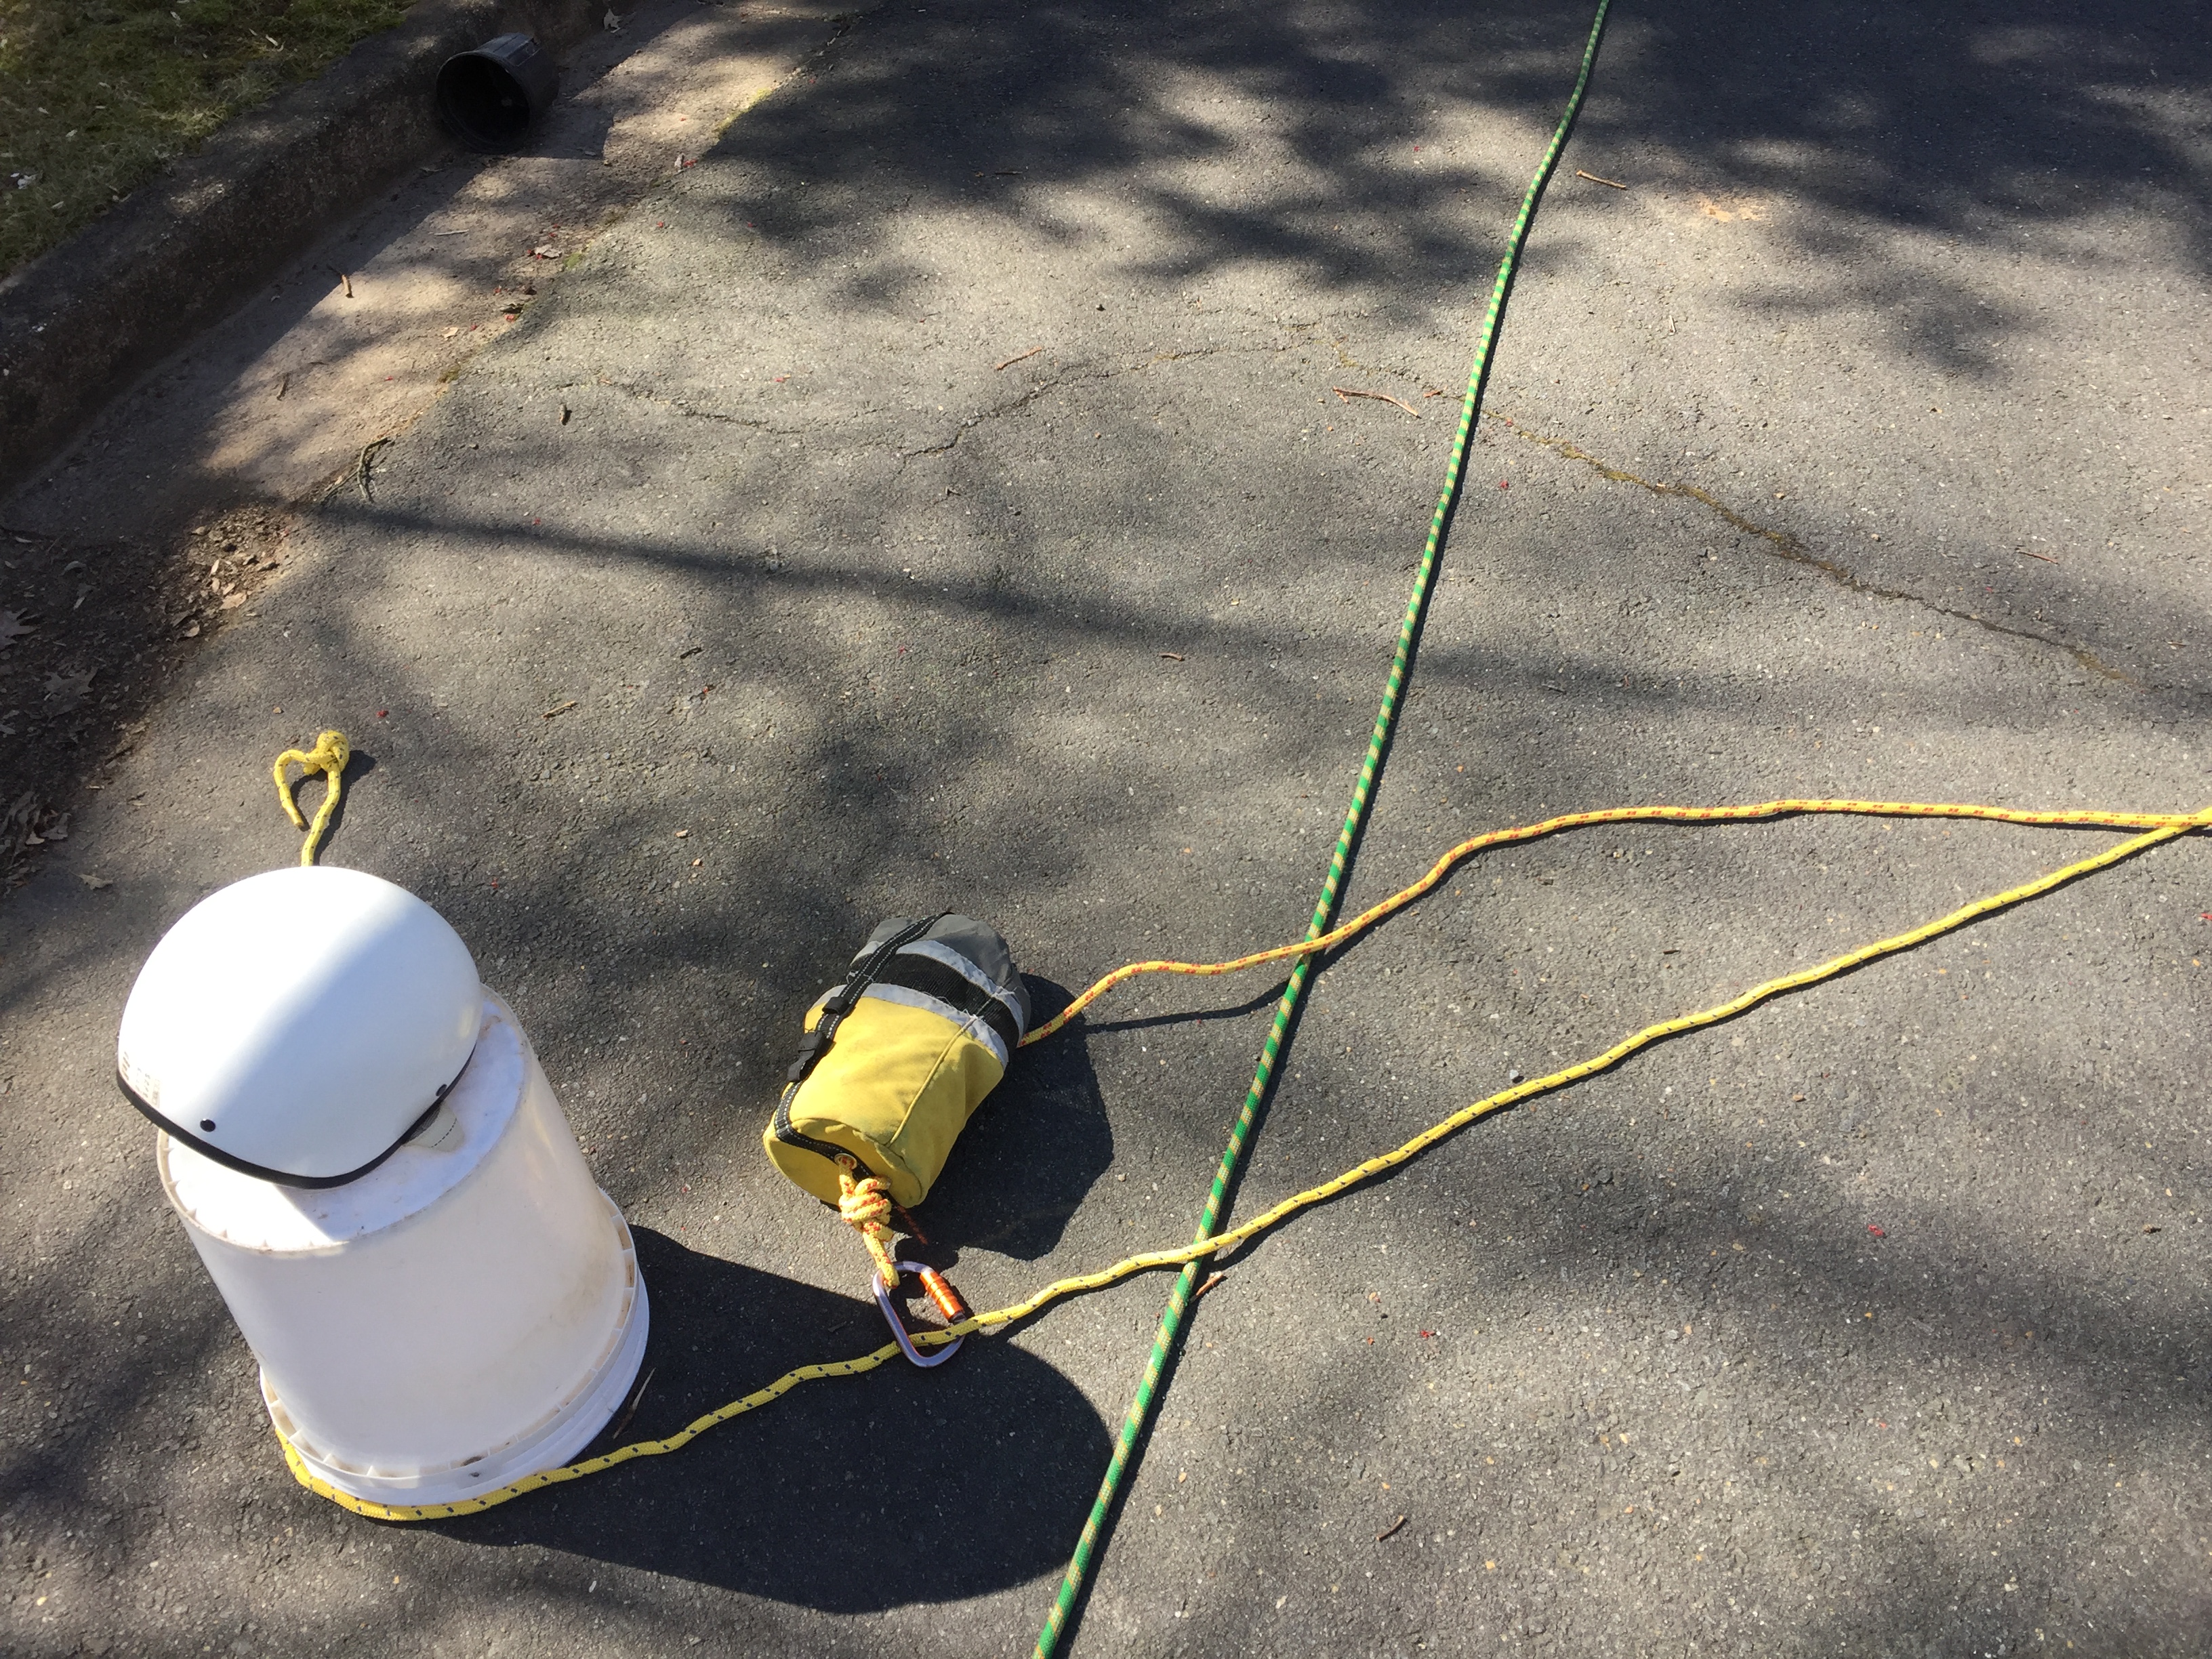
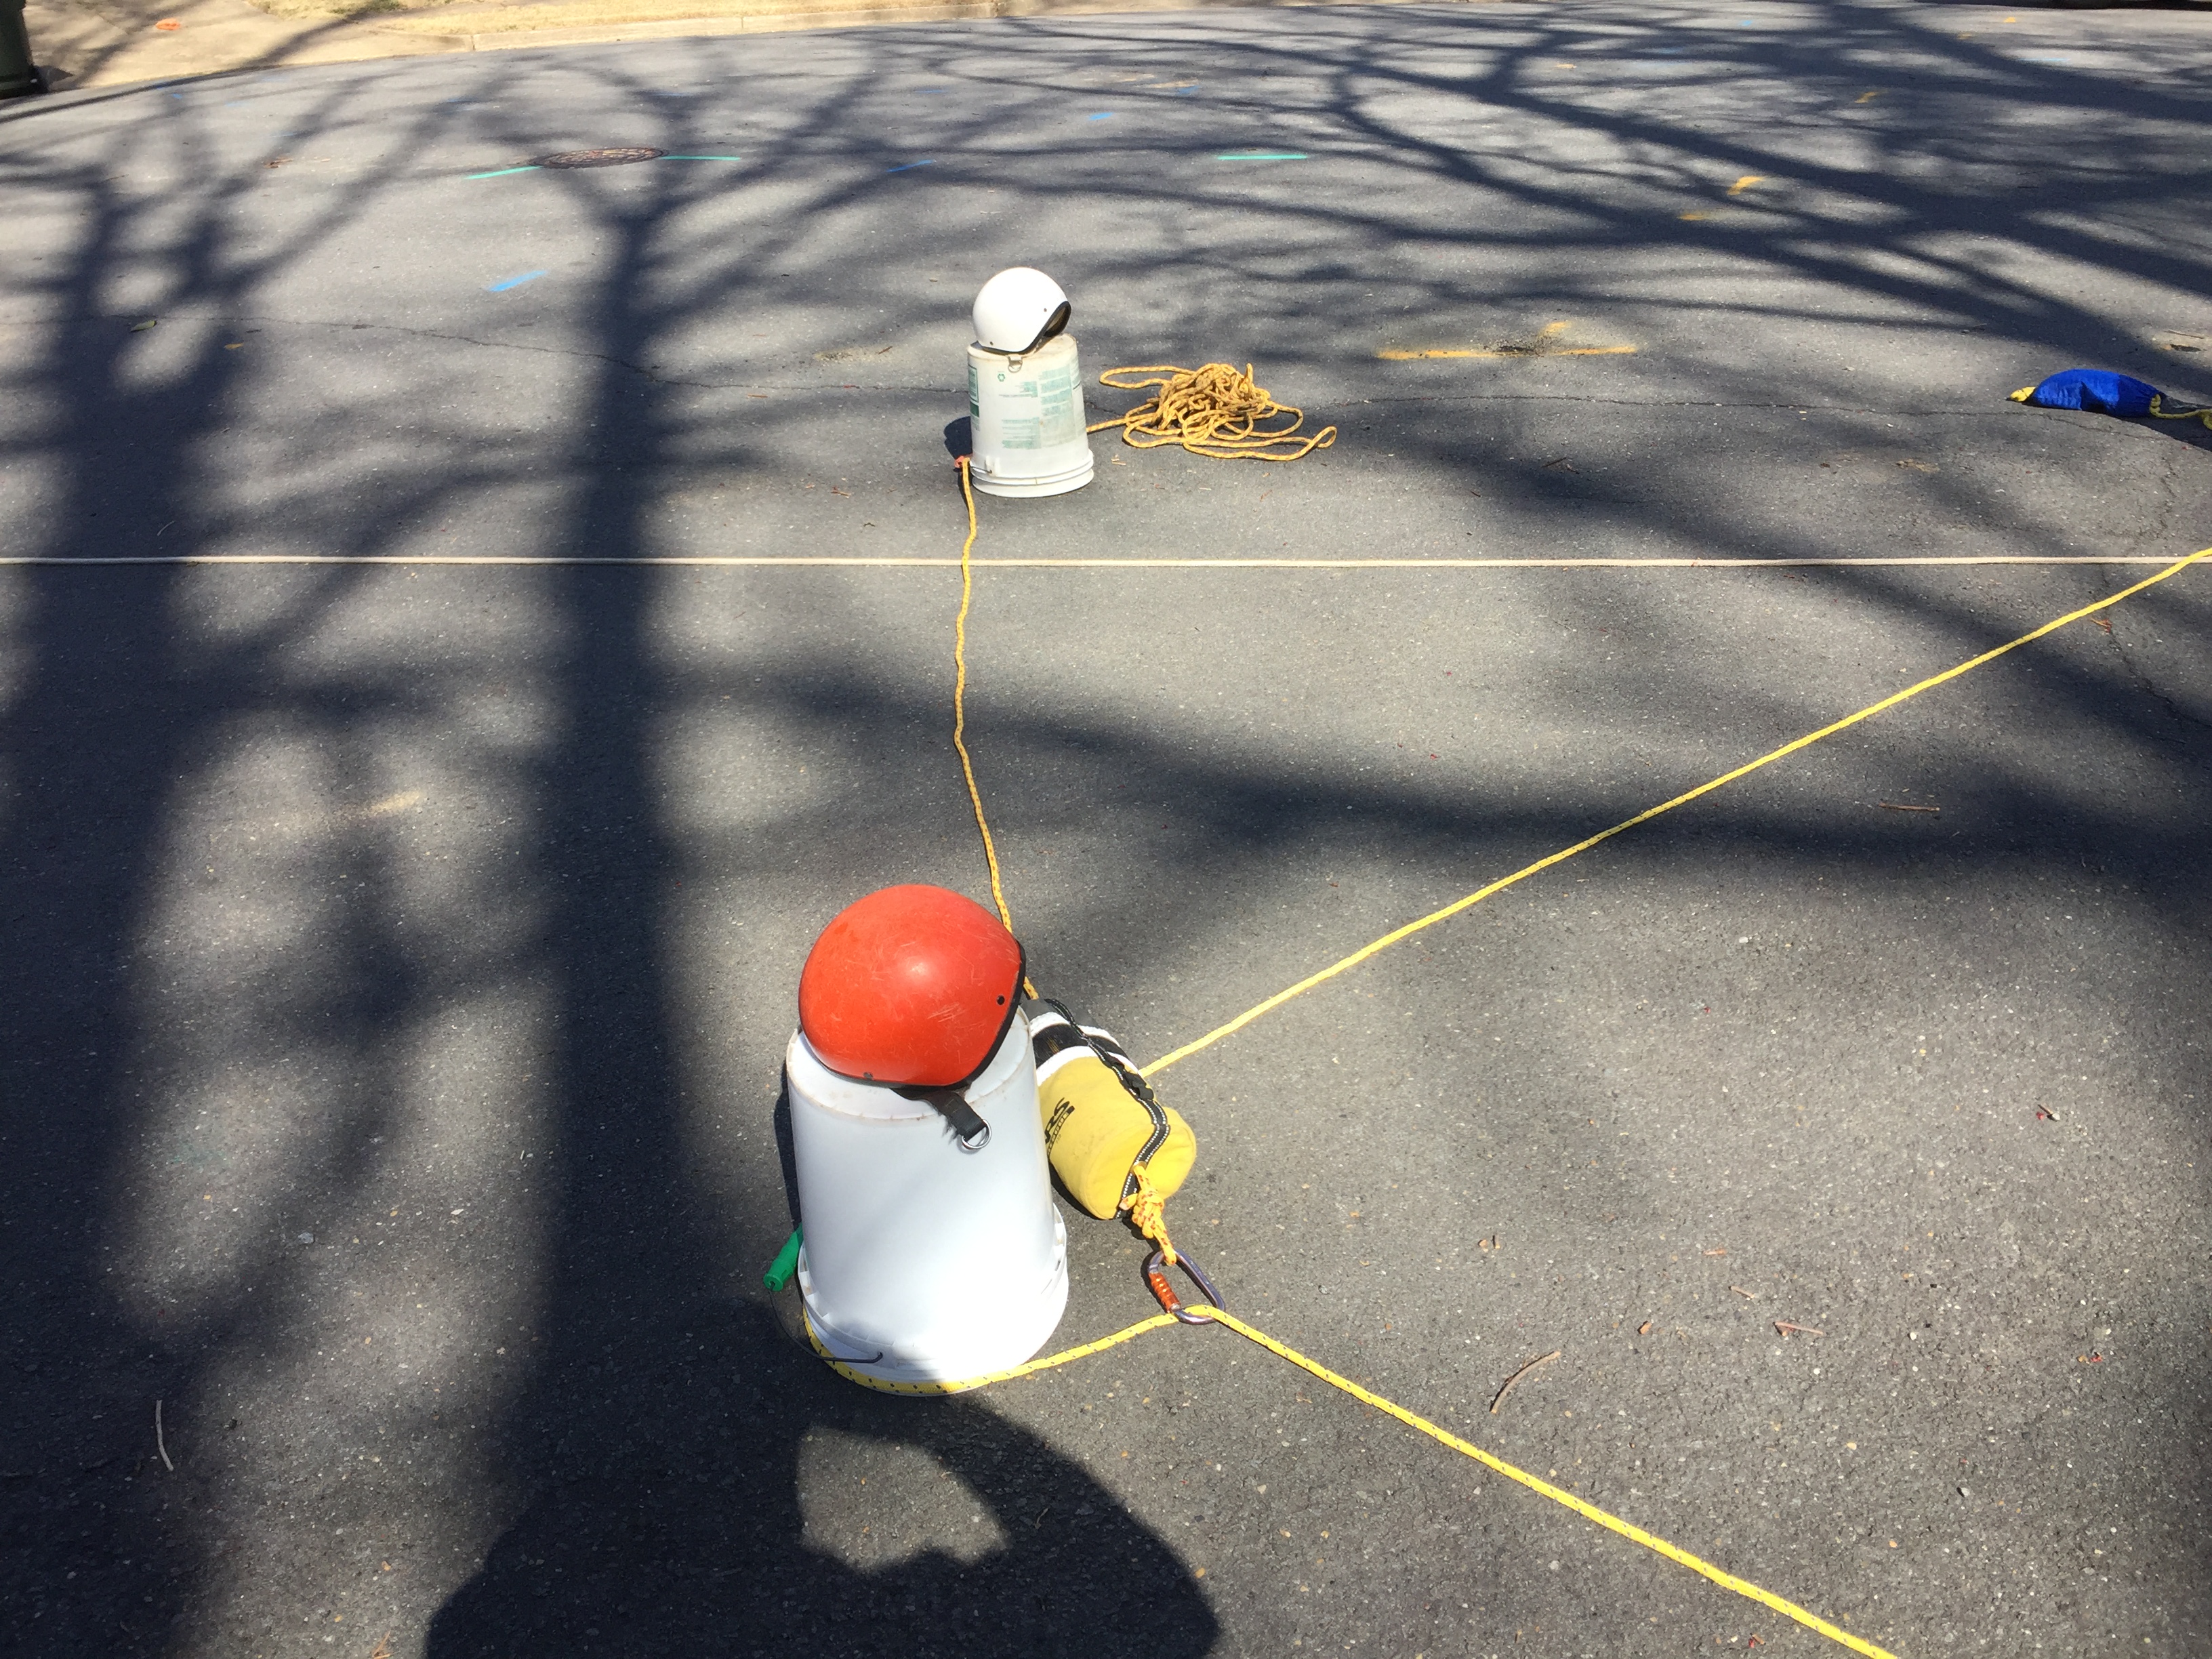
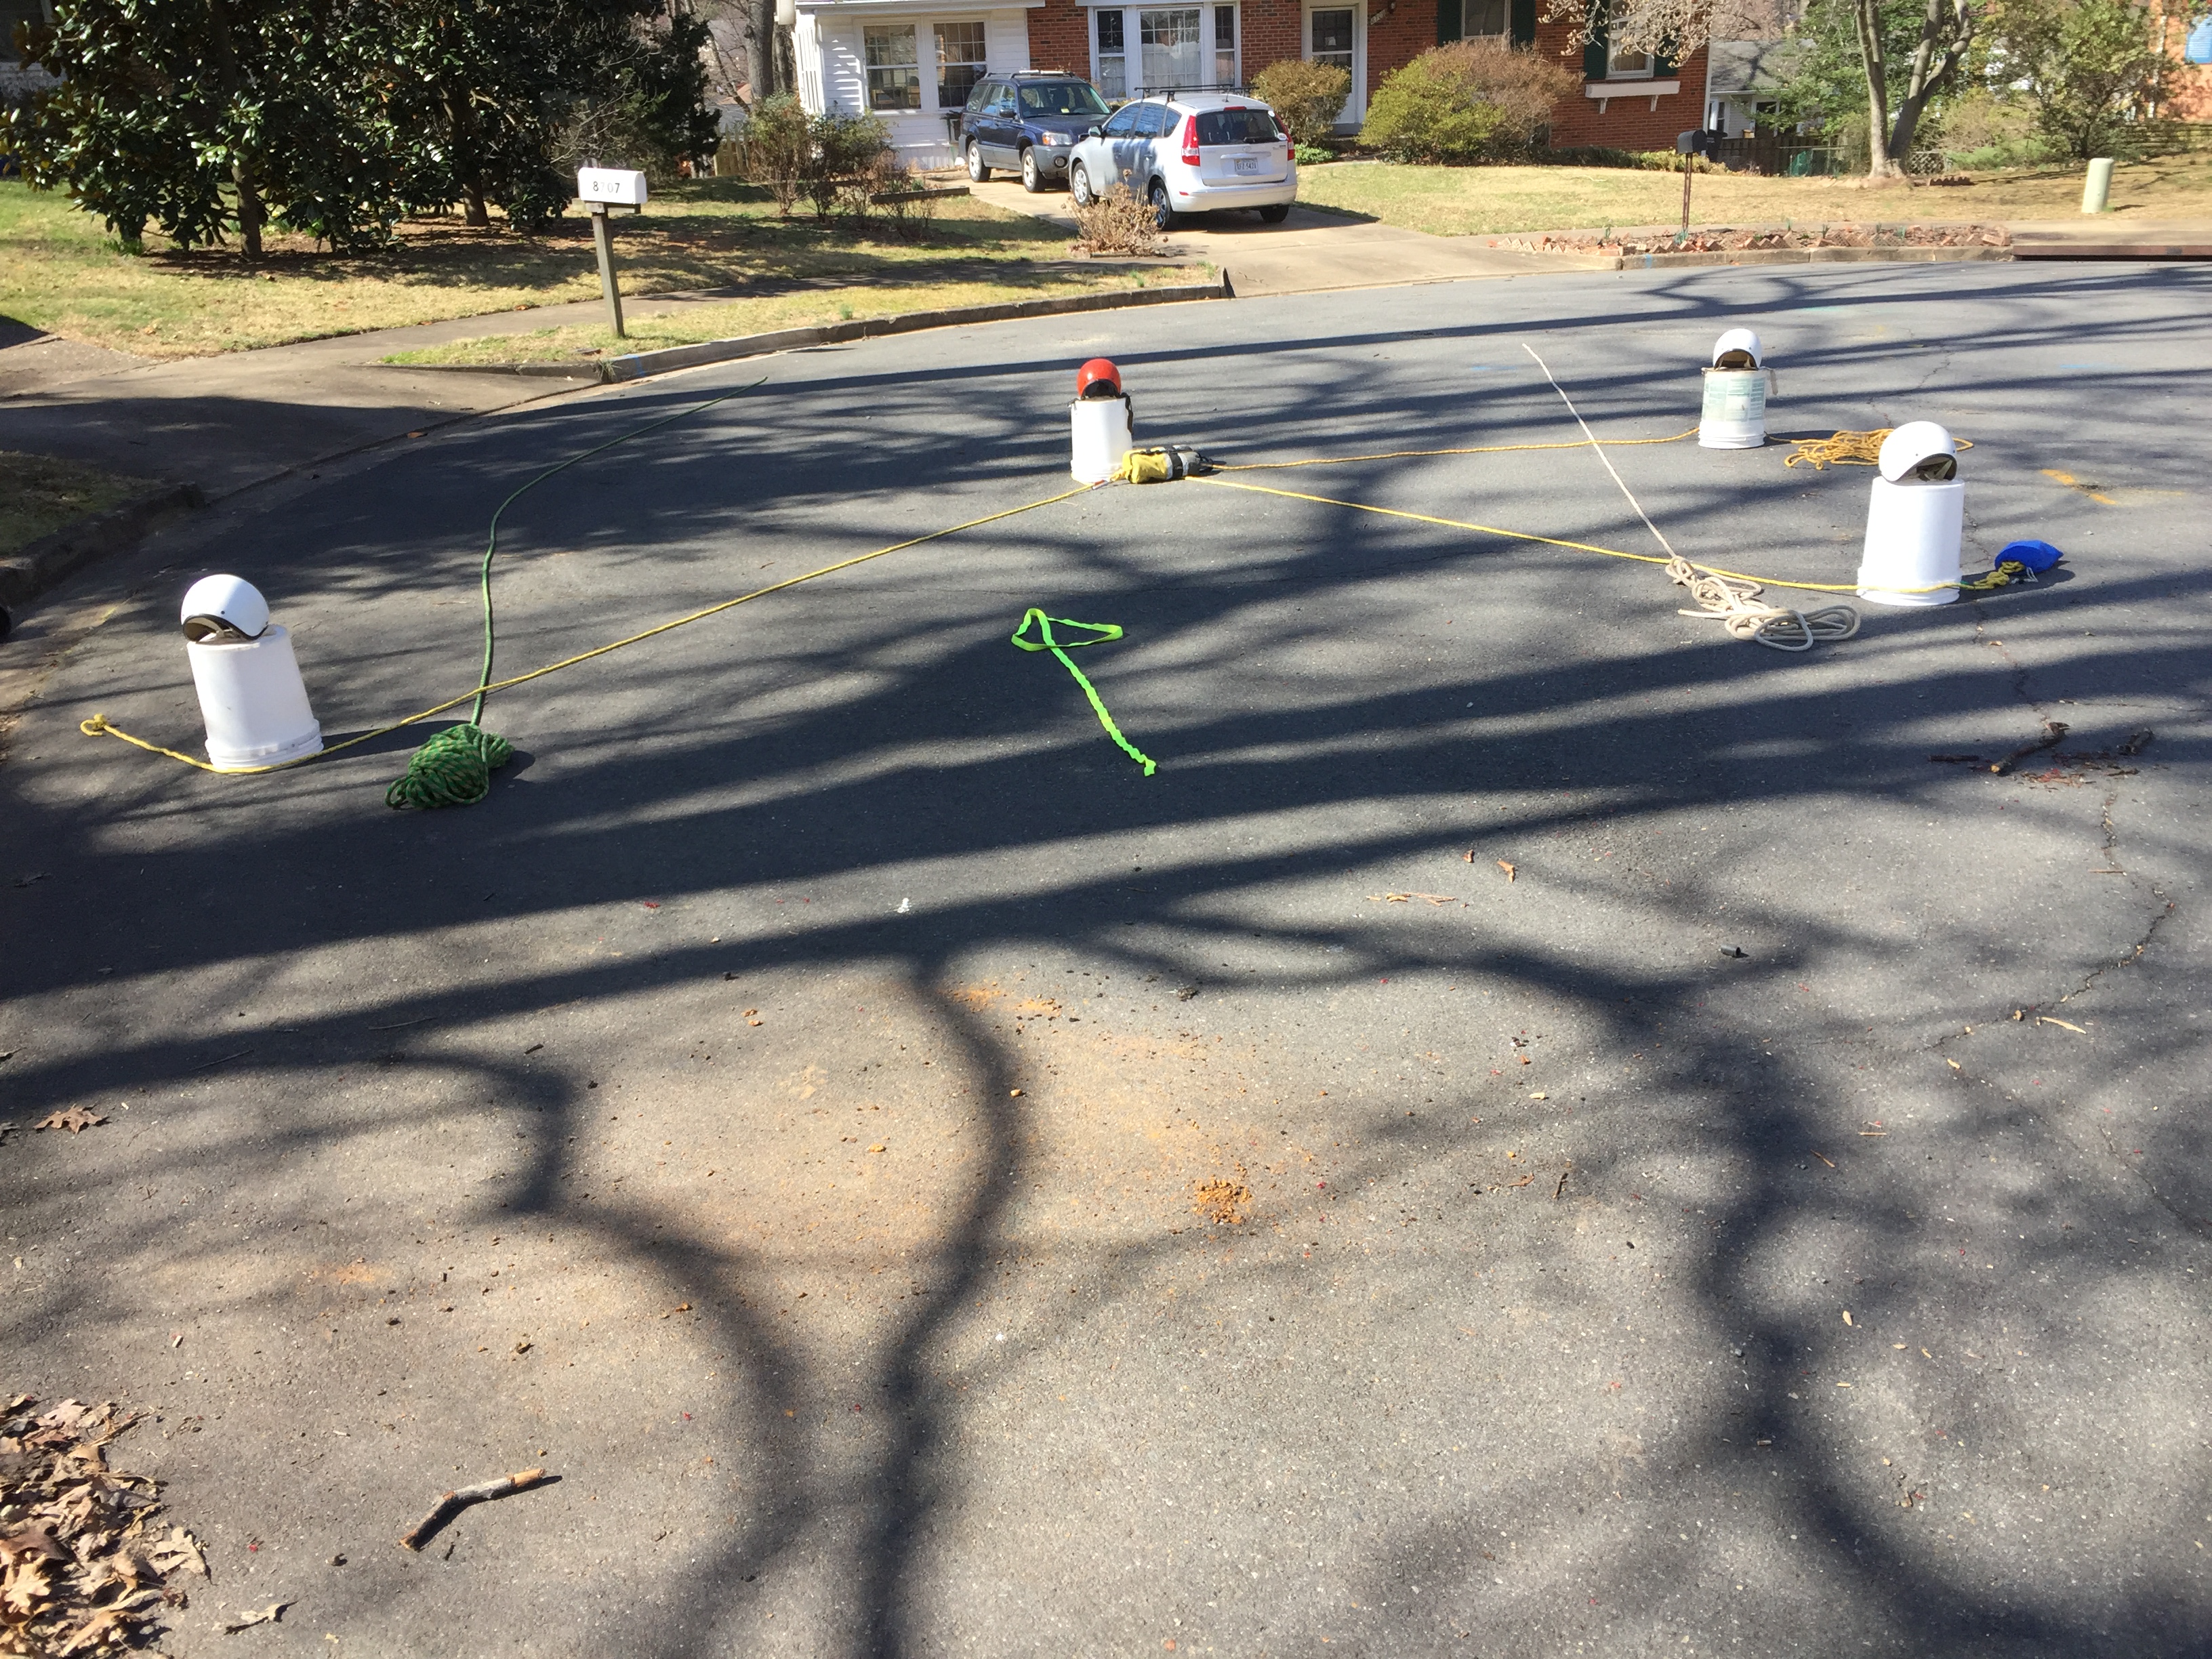
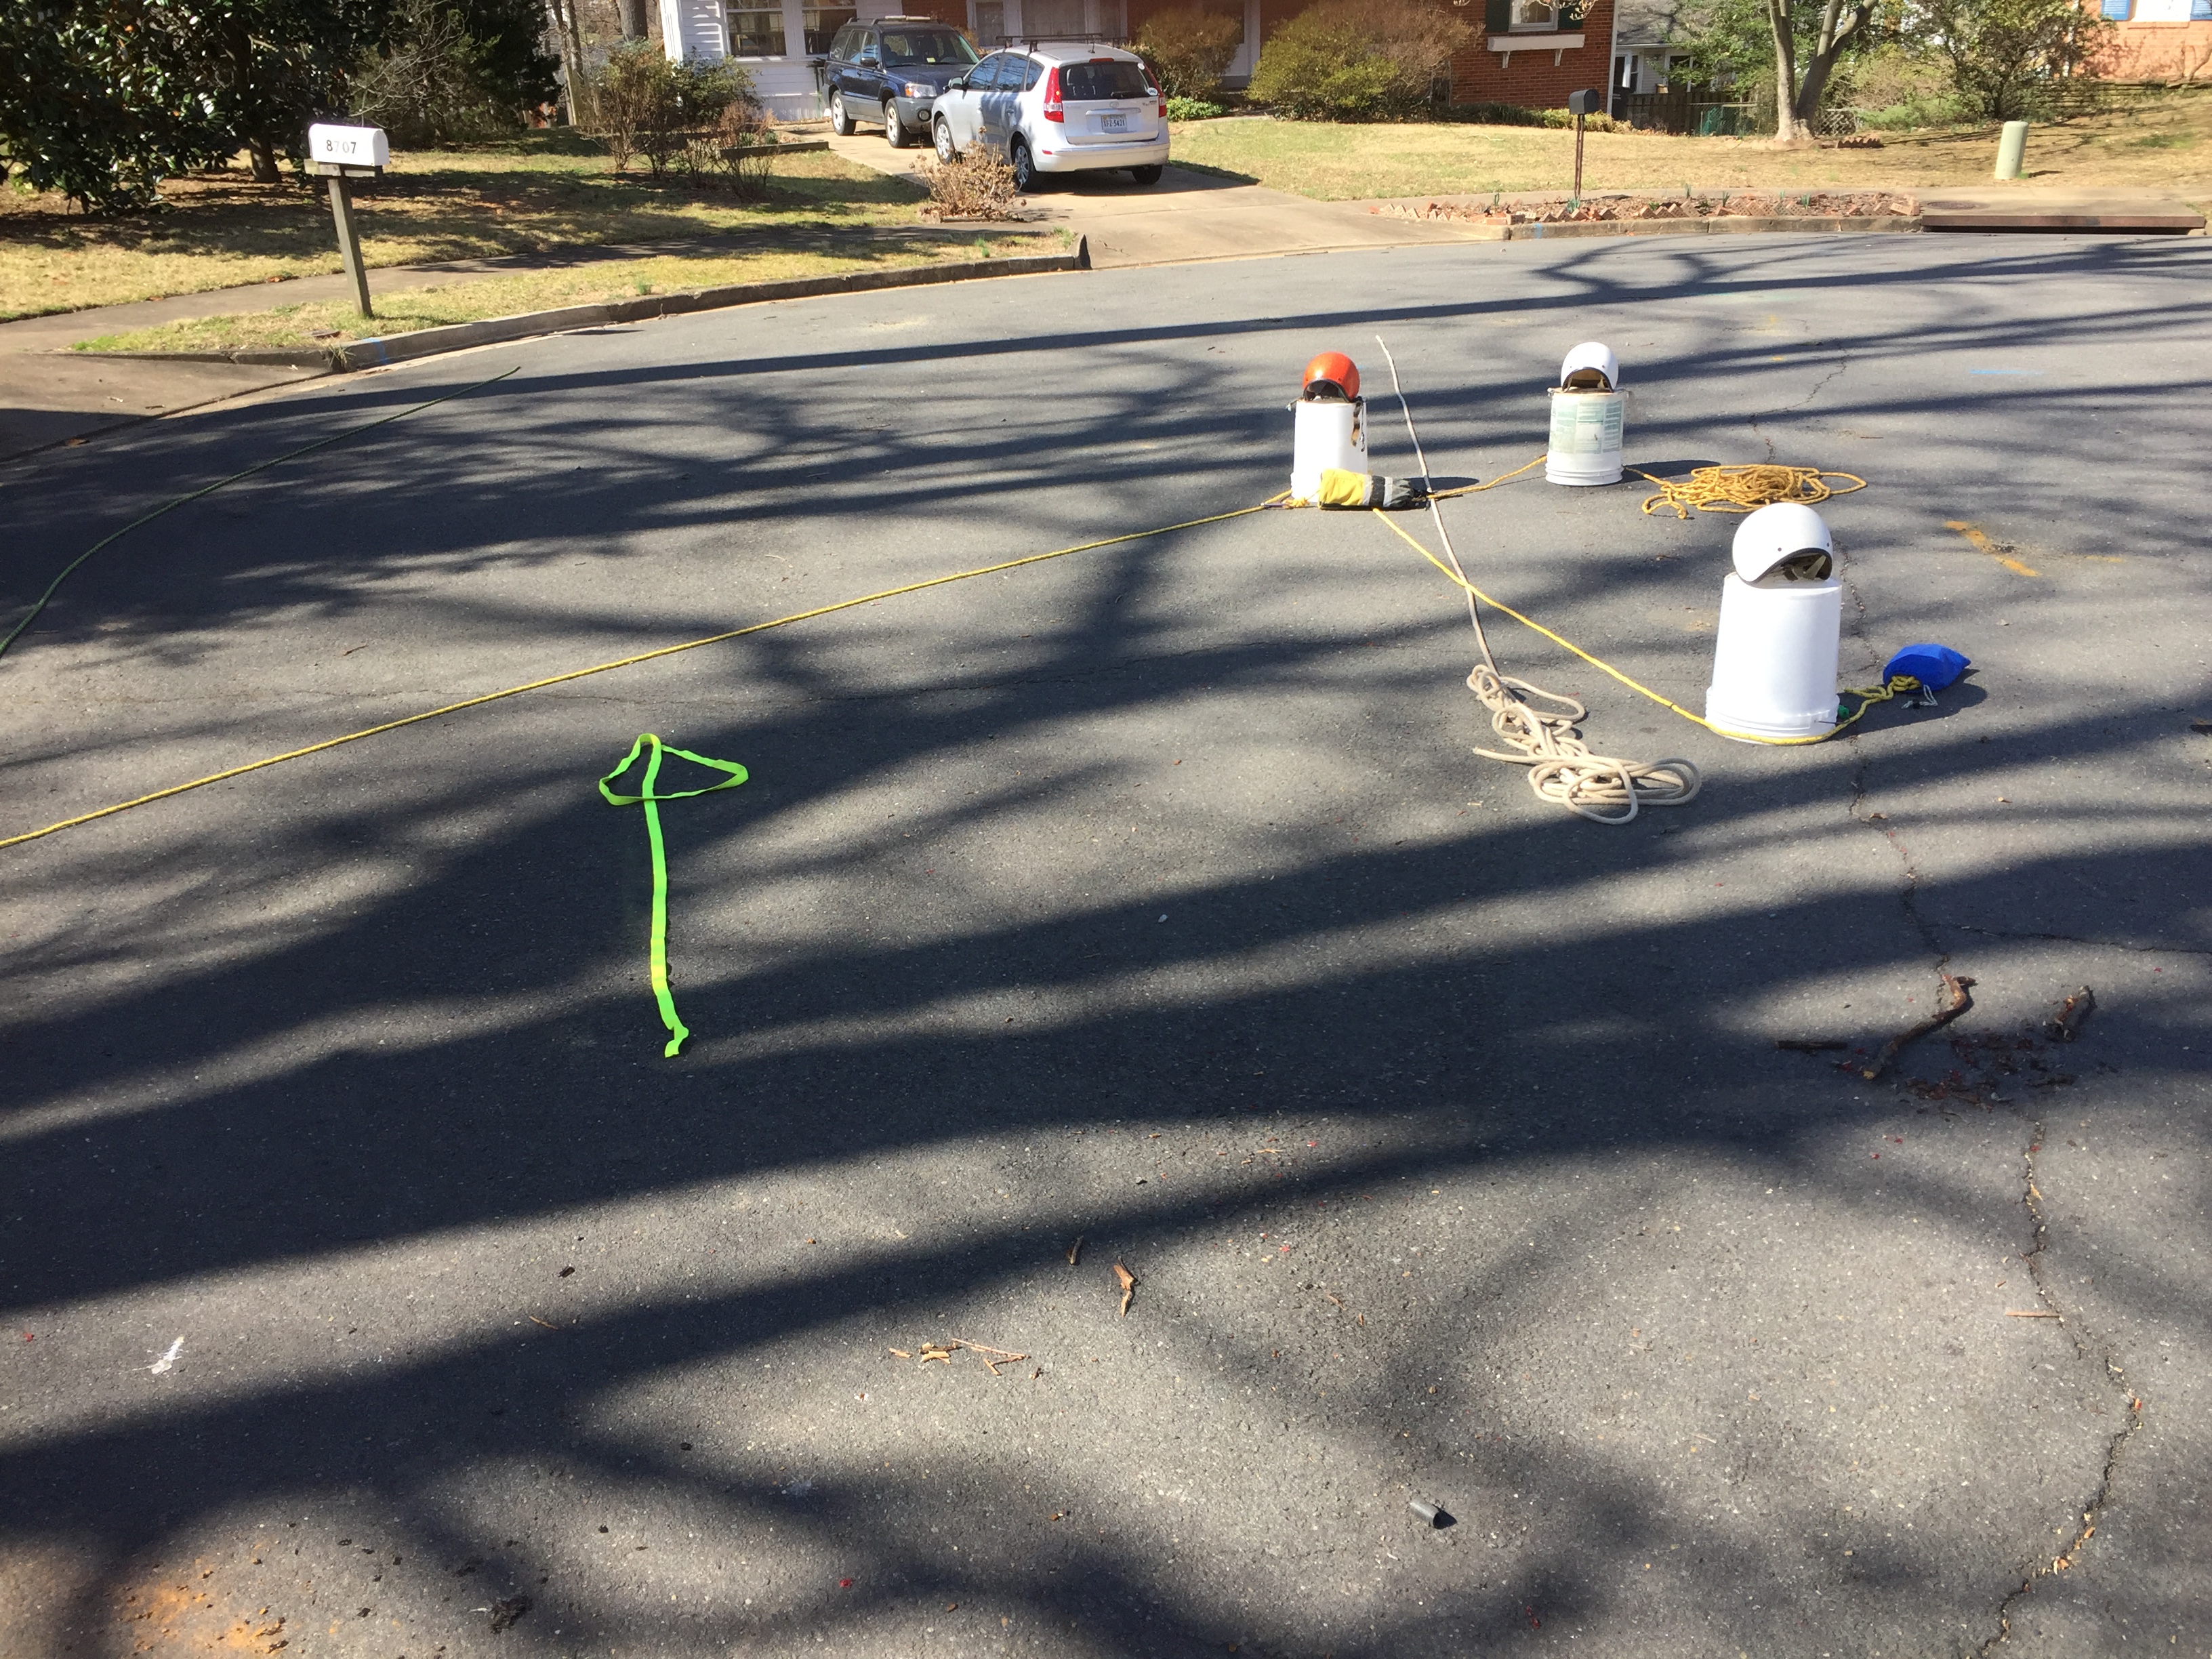
J Cinch
All cinches share a common goal, wrap a rope around a victim in order to extract them from an entrapment when it isn’t safe to make contact with the victim. There are a variety of methods for accomplishing this task based on the situation where the victim is trapped. The Shrinking Loop Cinch is a simplified variation of the Carlson Cinch (less control lines). This cinch requires 3 people and requires access from both shores. The J Cinch (like the Shrinking Loop Cinch) solves a challenging issue with obstructions much like dental floss allows you to clean between your teeth. There are several ways to construct a J Cinch, this one is with a loop in the middle of a rope. It could have also been constructed at the end of the line as well (looks more like a T initially).
Caveat: The J Cinch is an ACA Level 5 skill.
Notes:
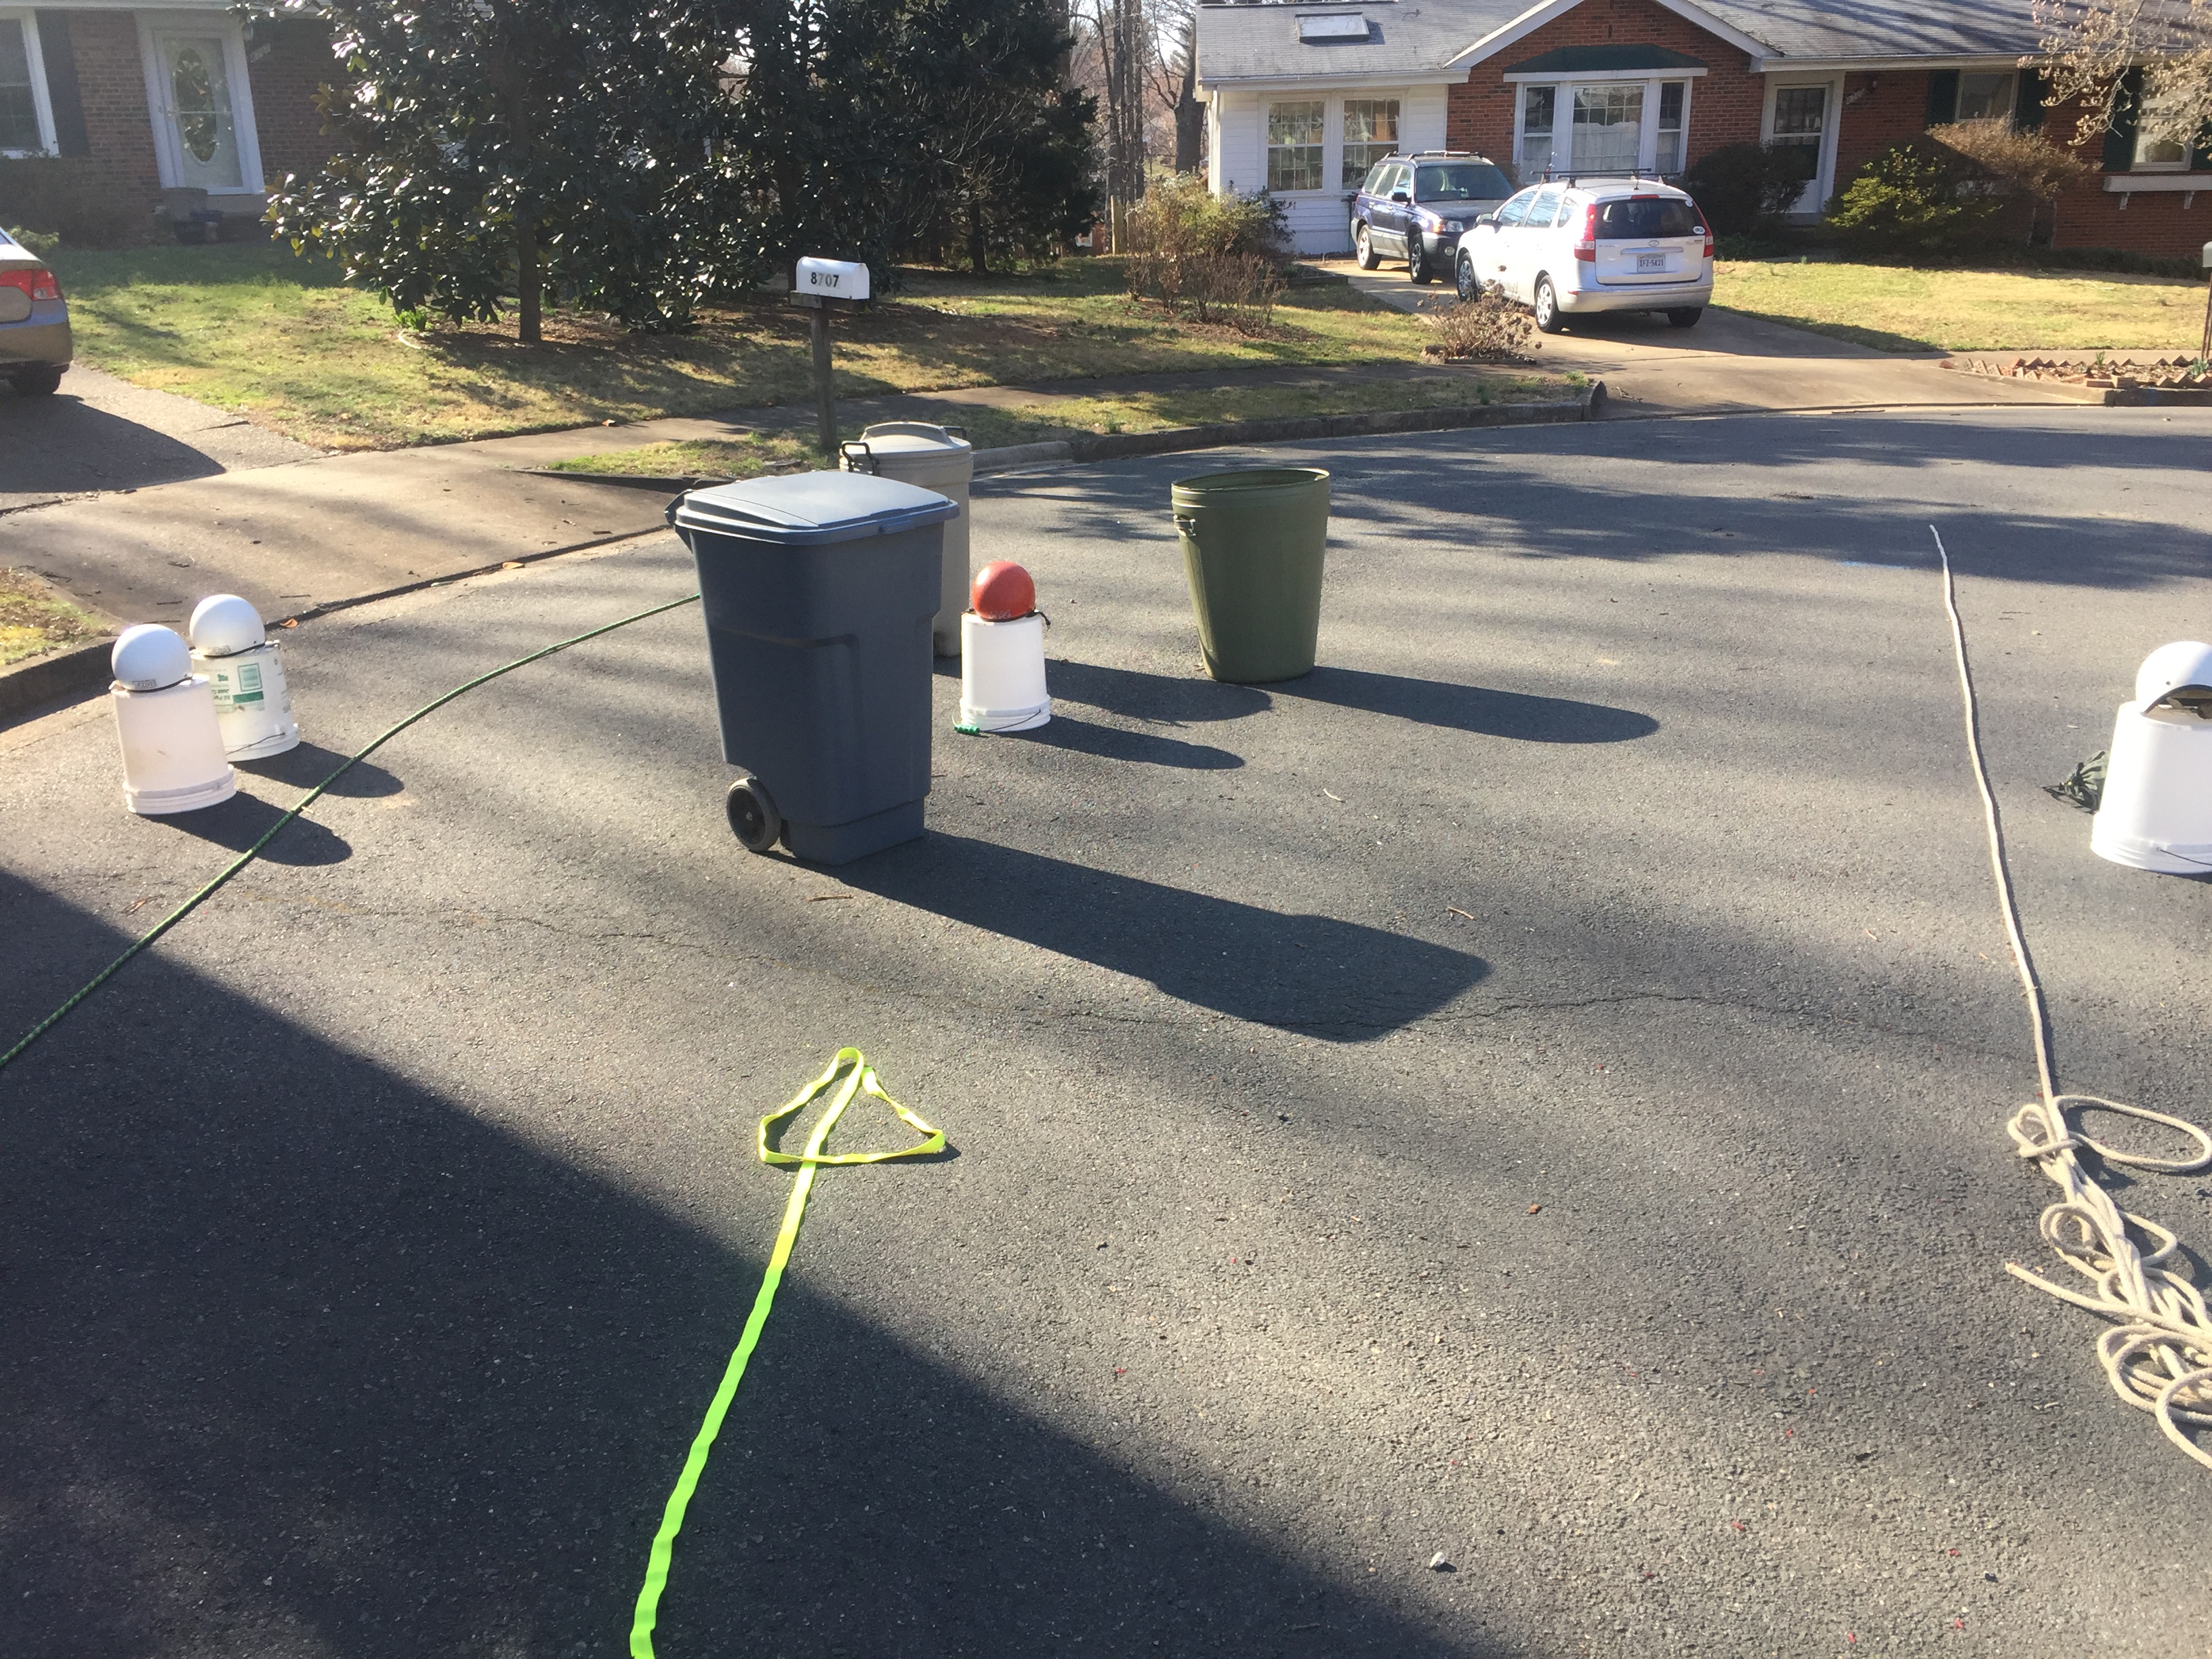
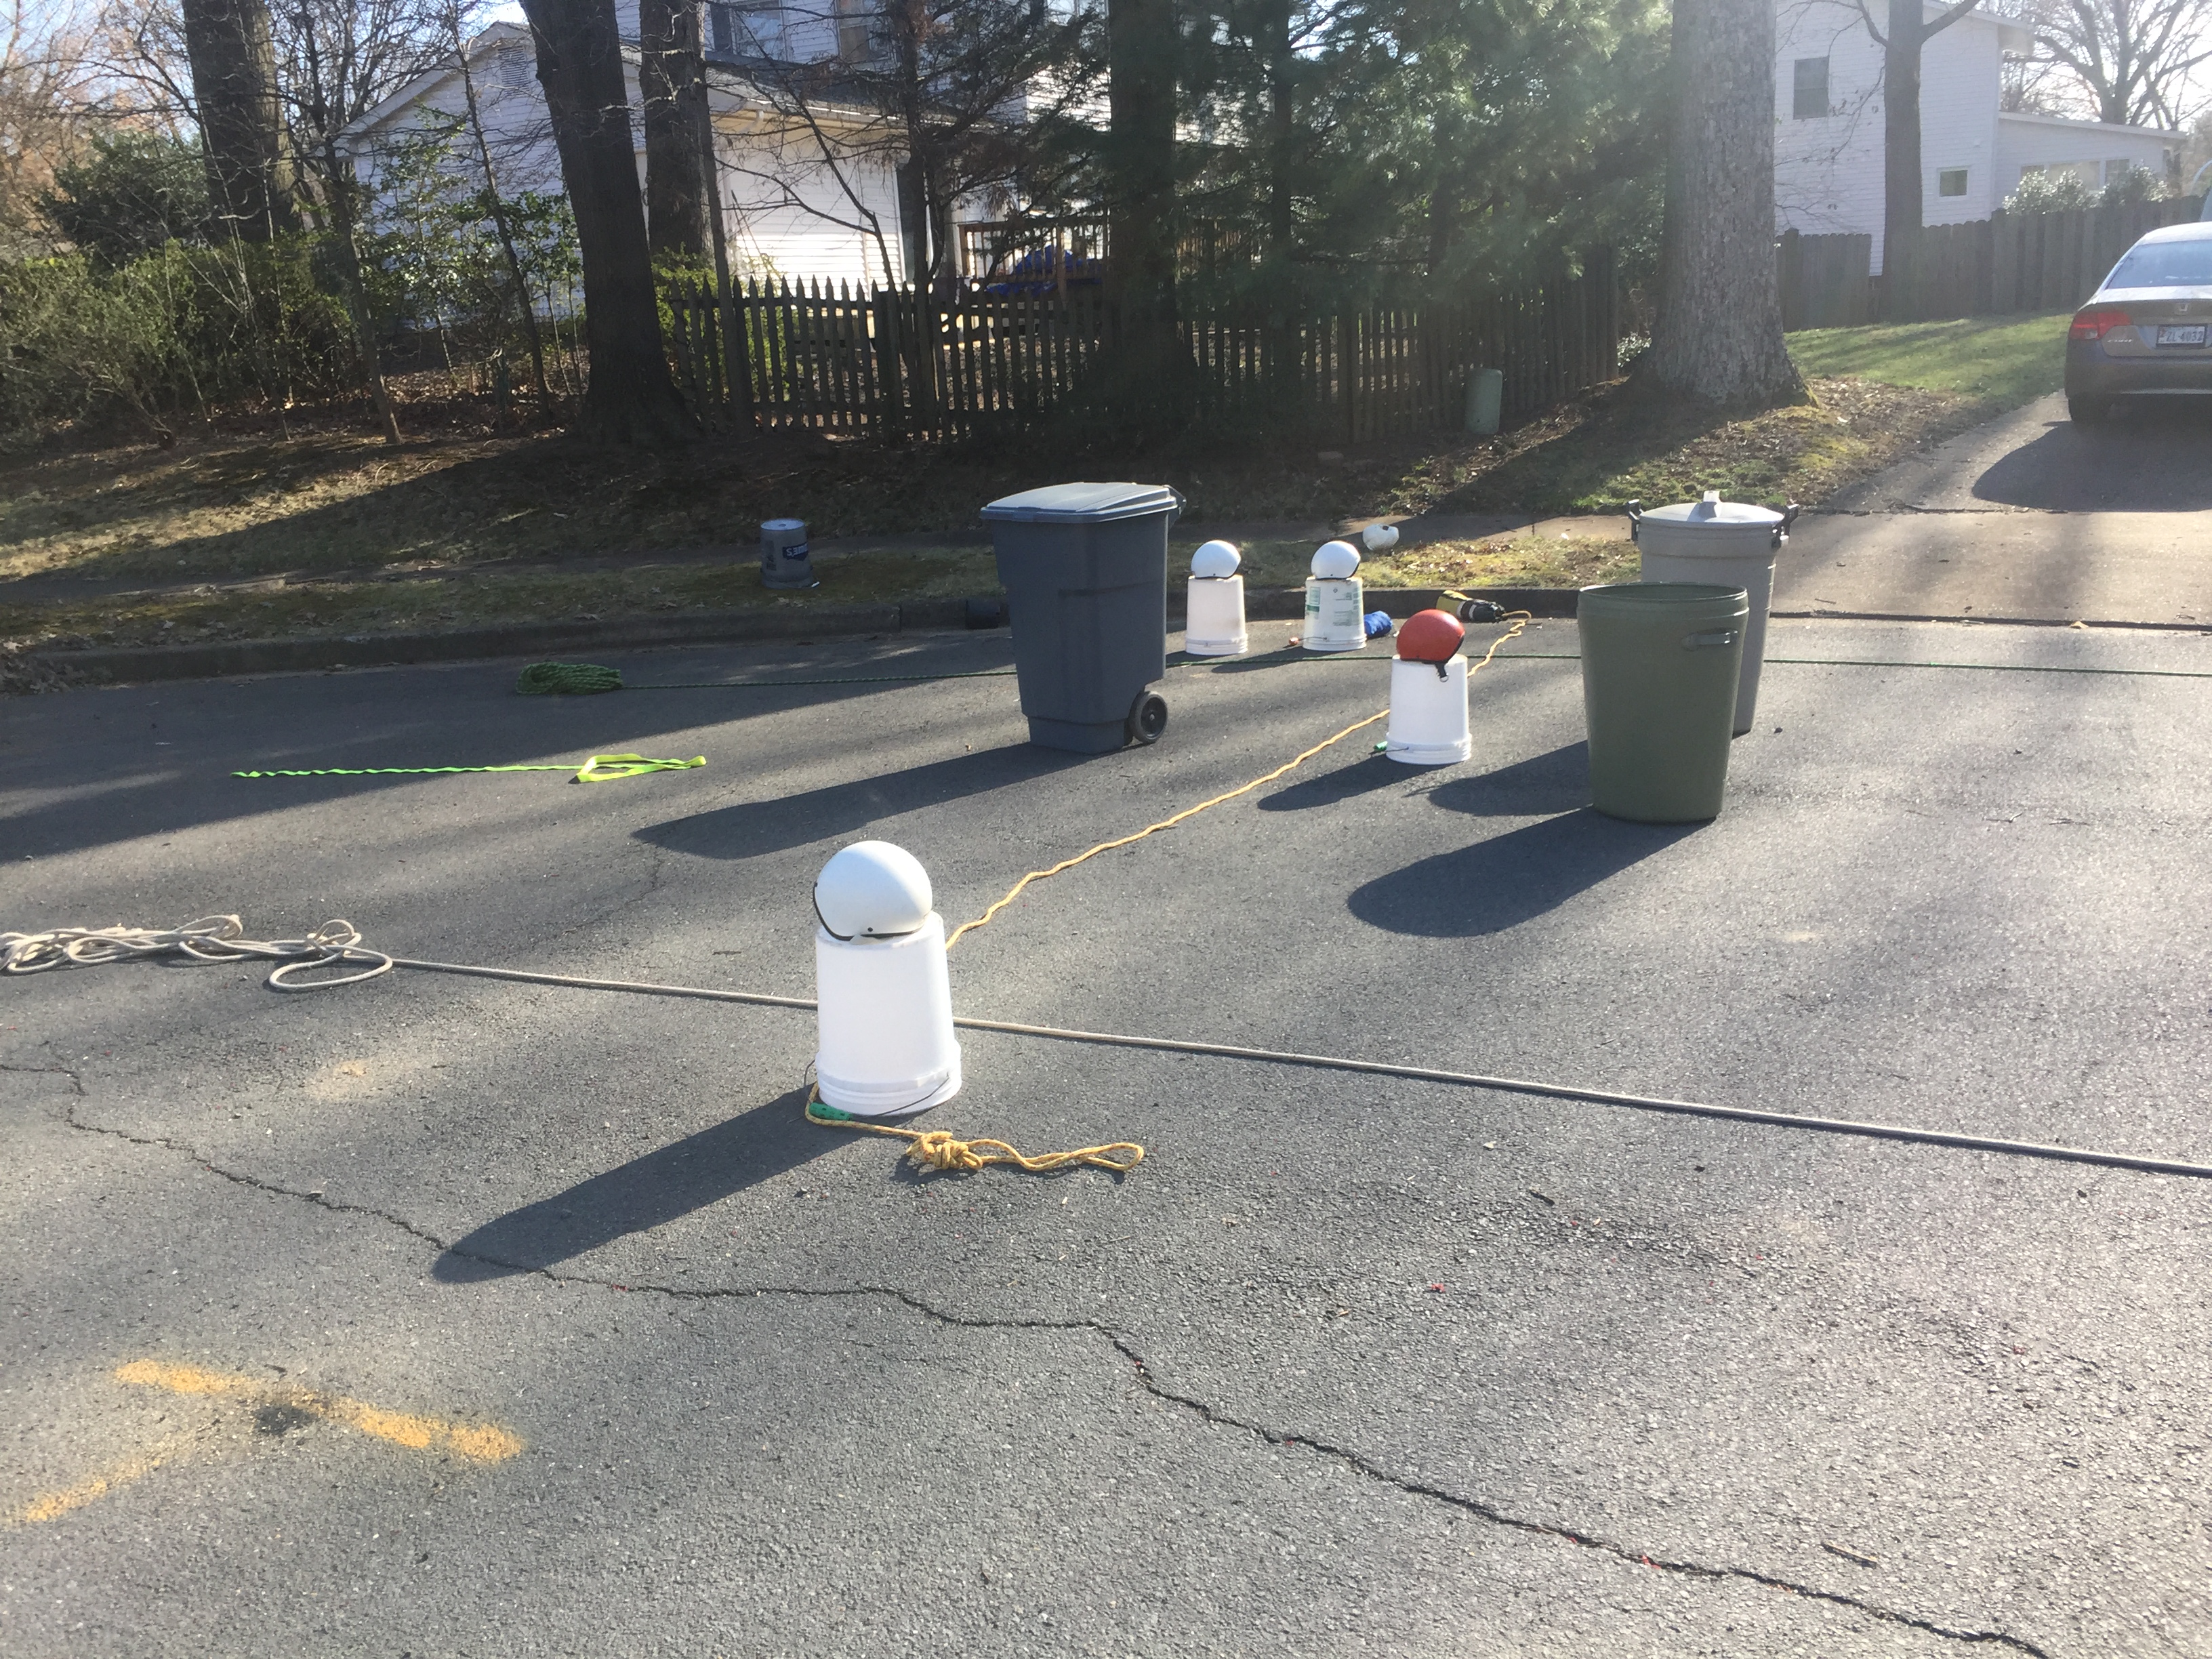
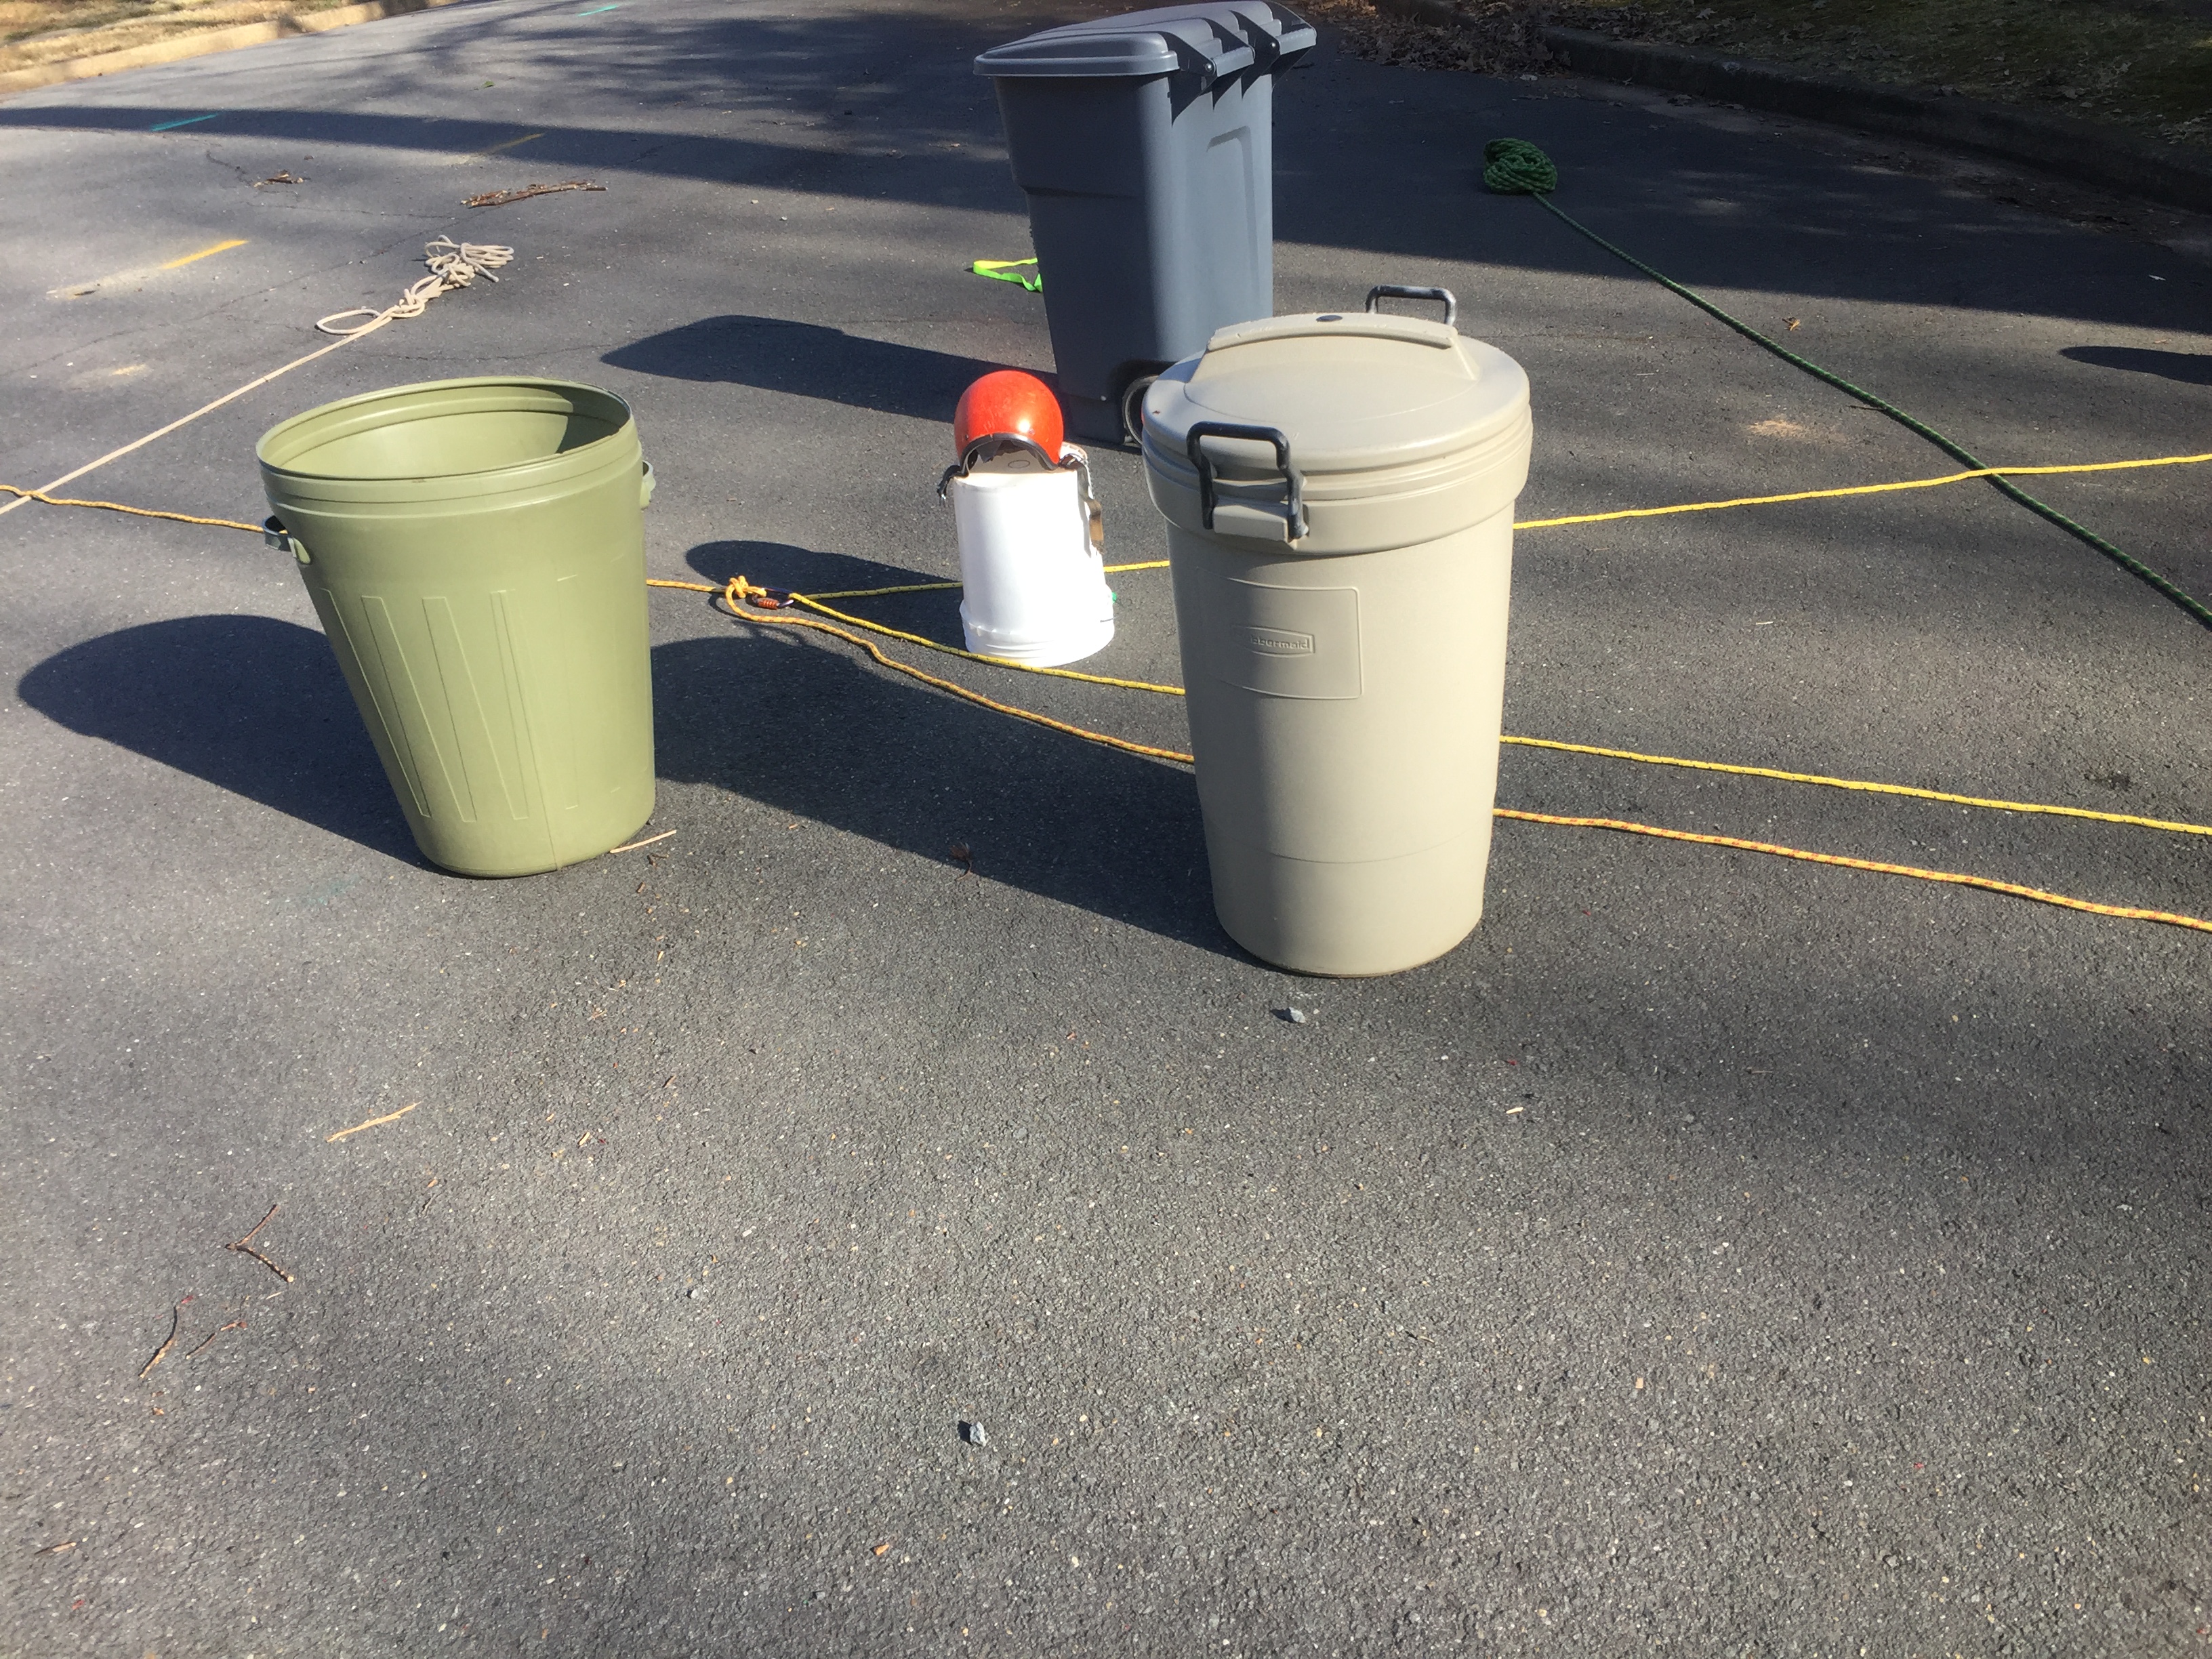
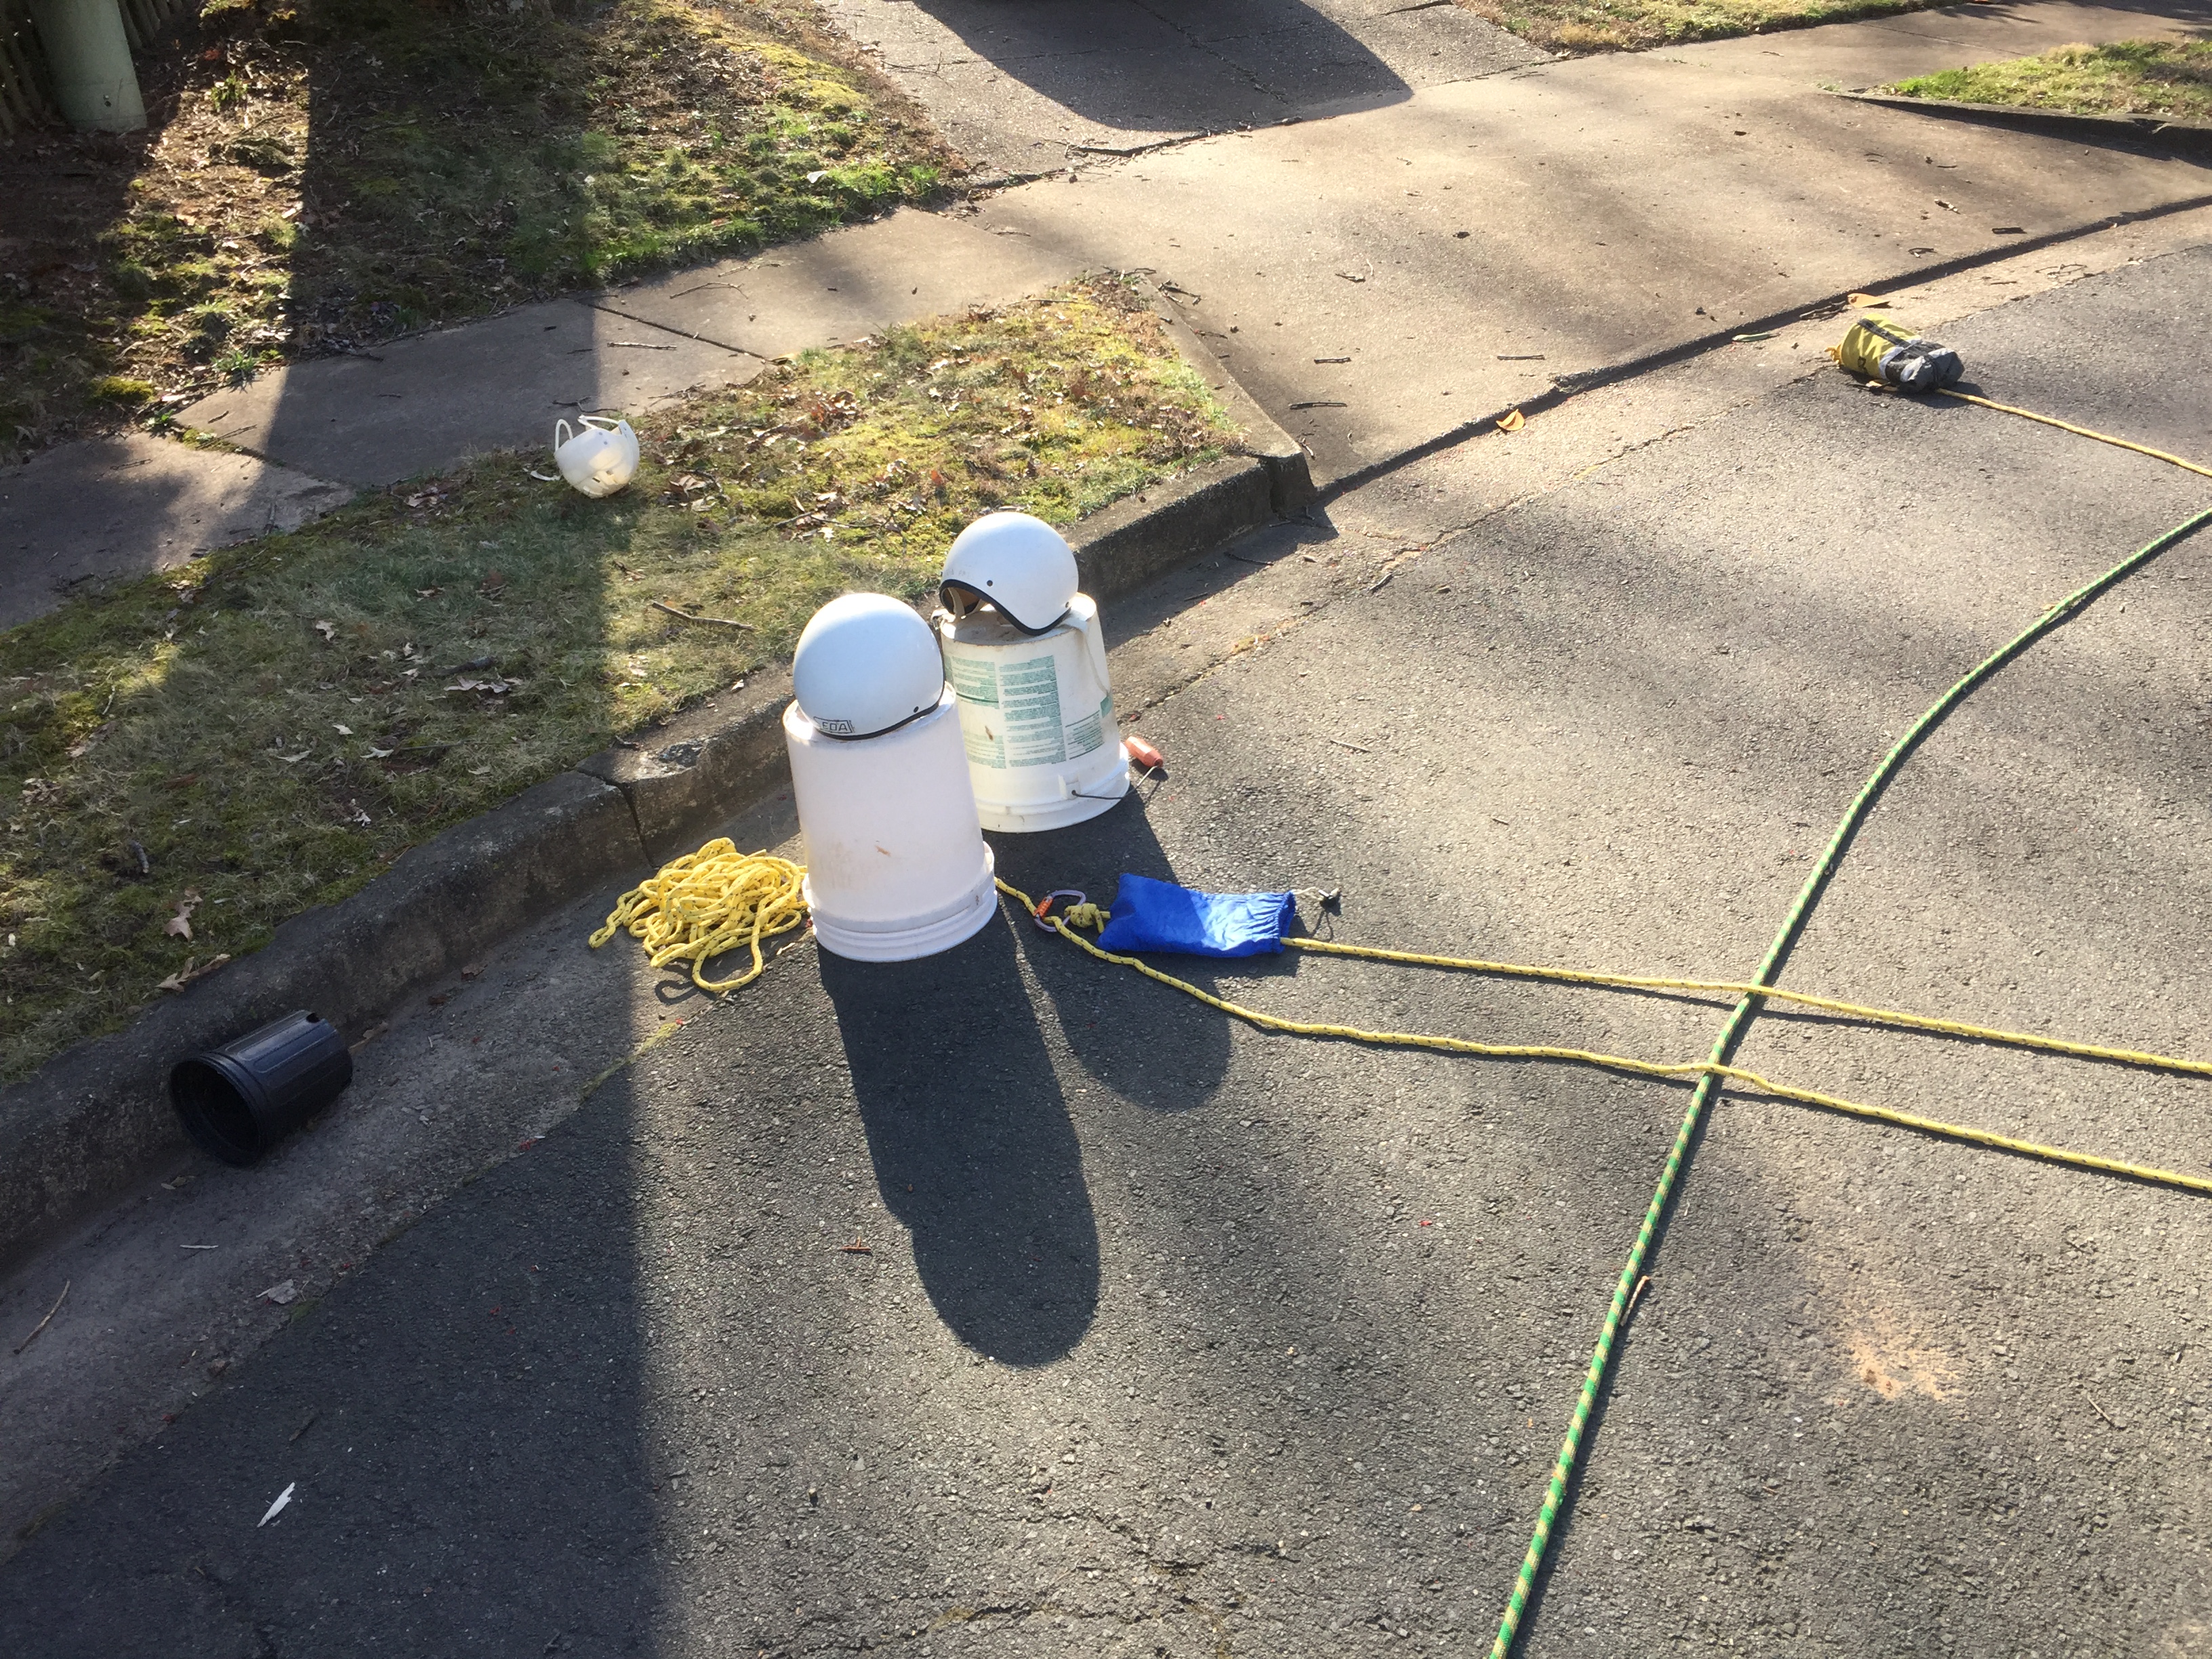
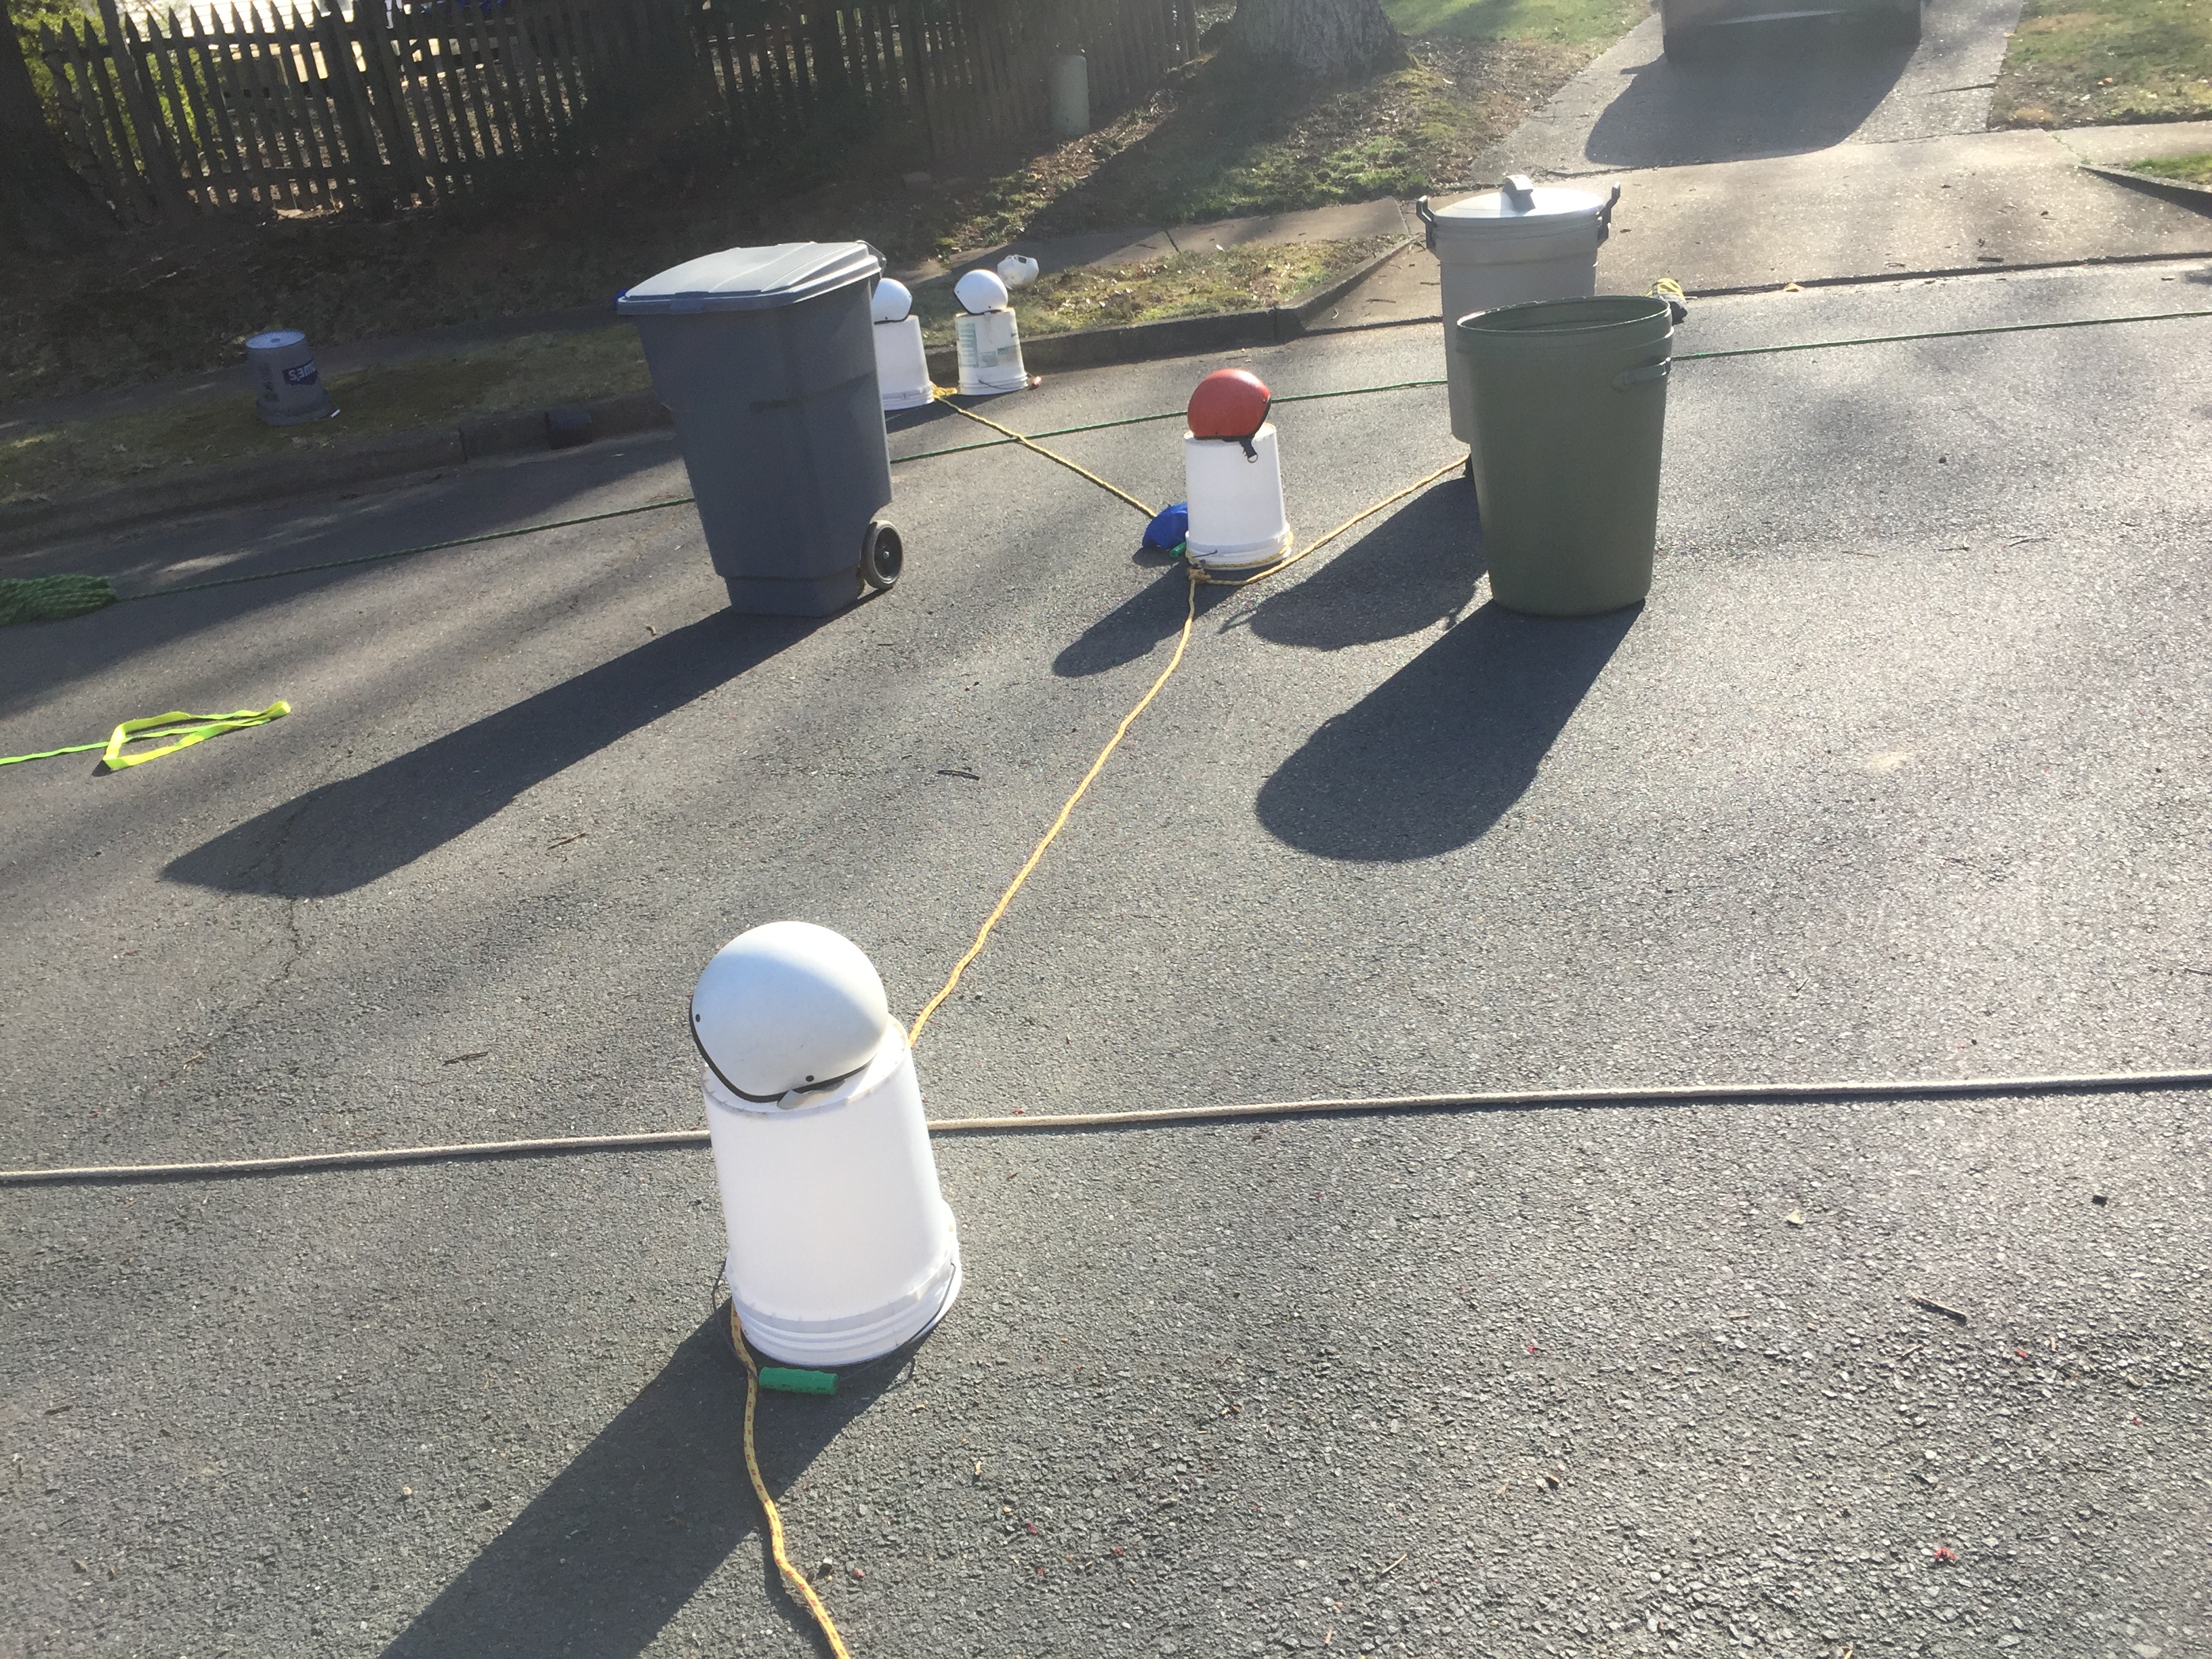
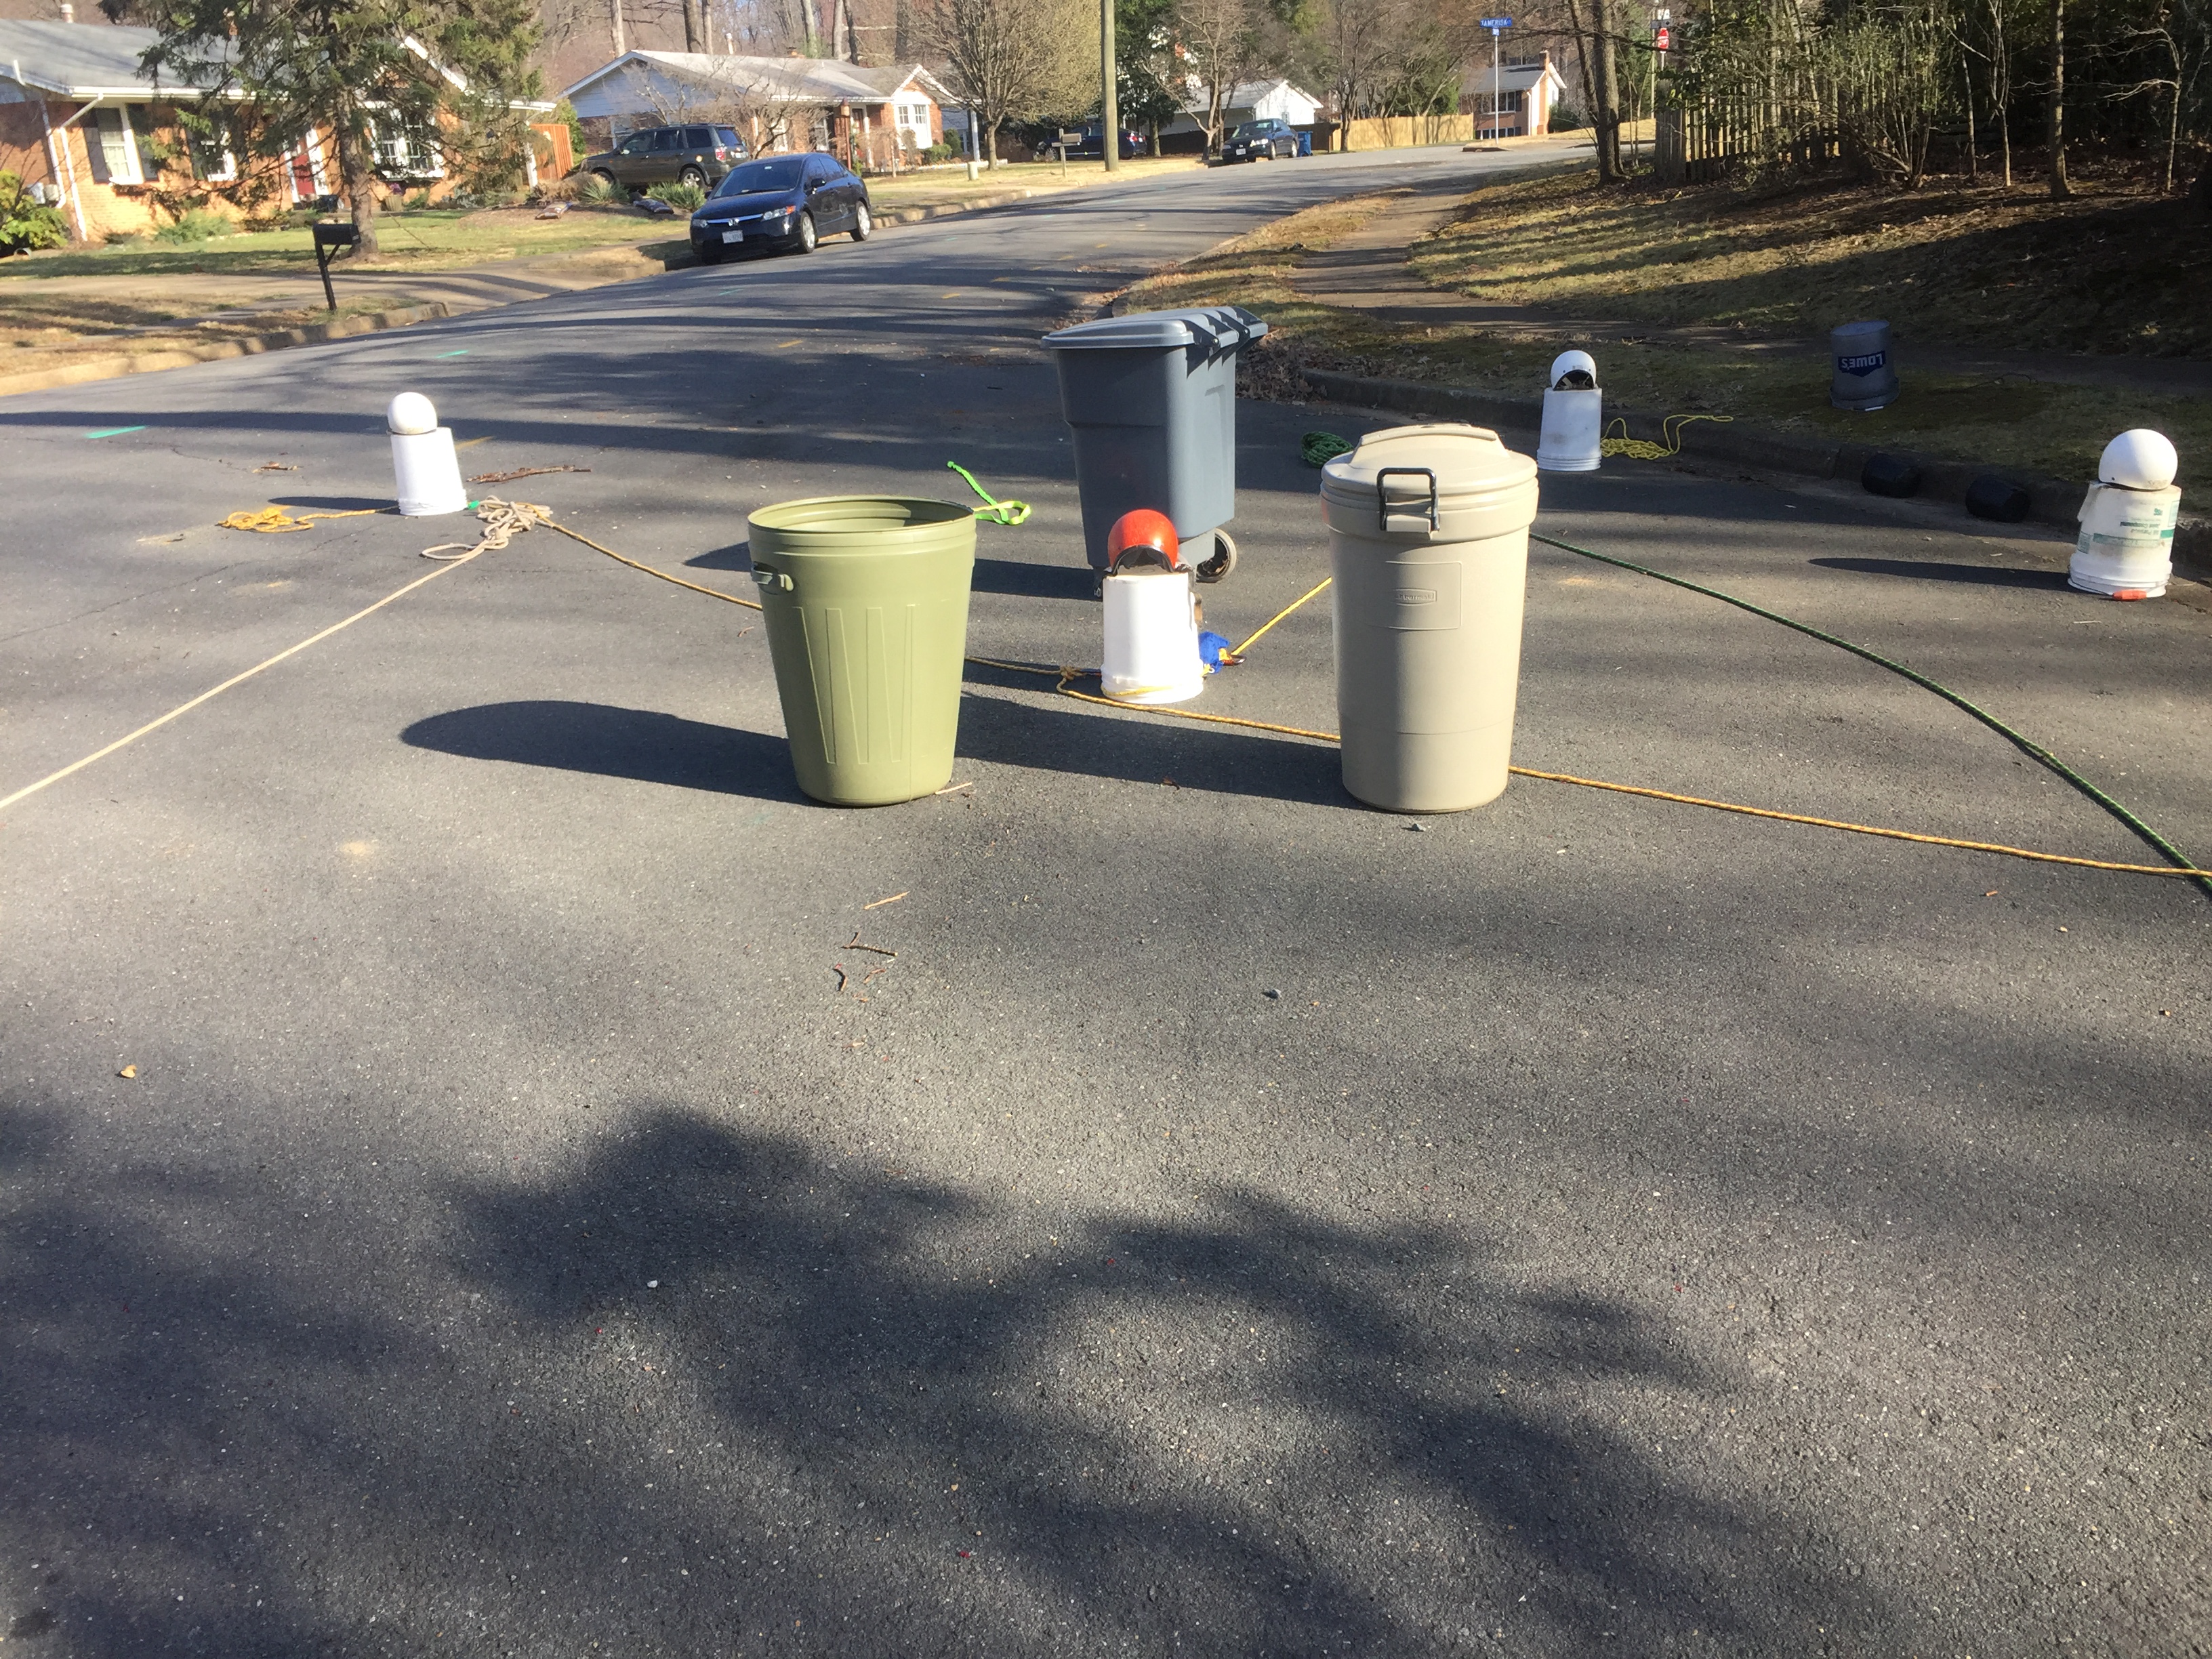
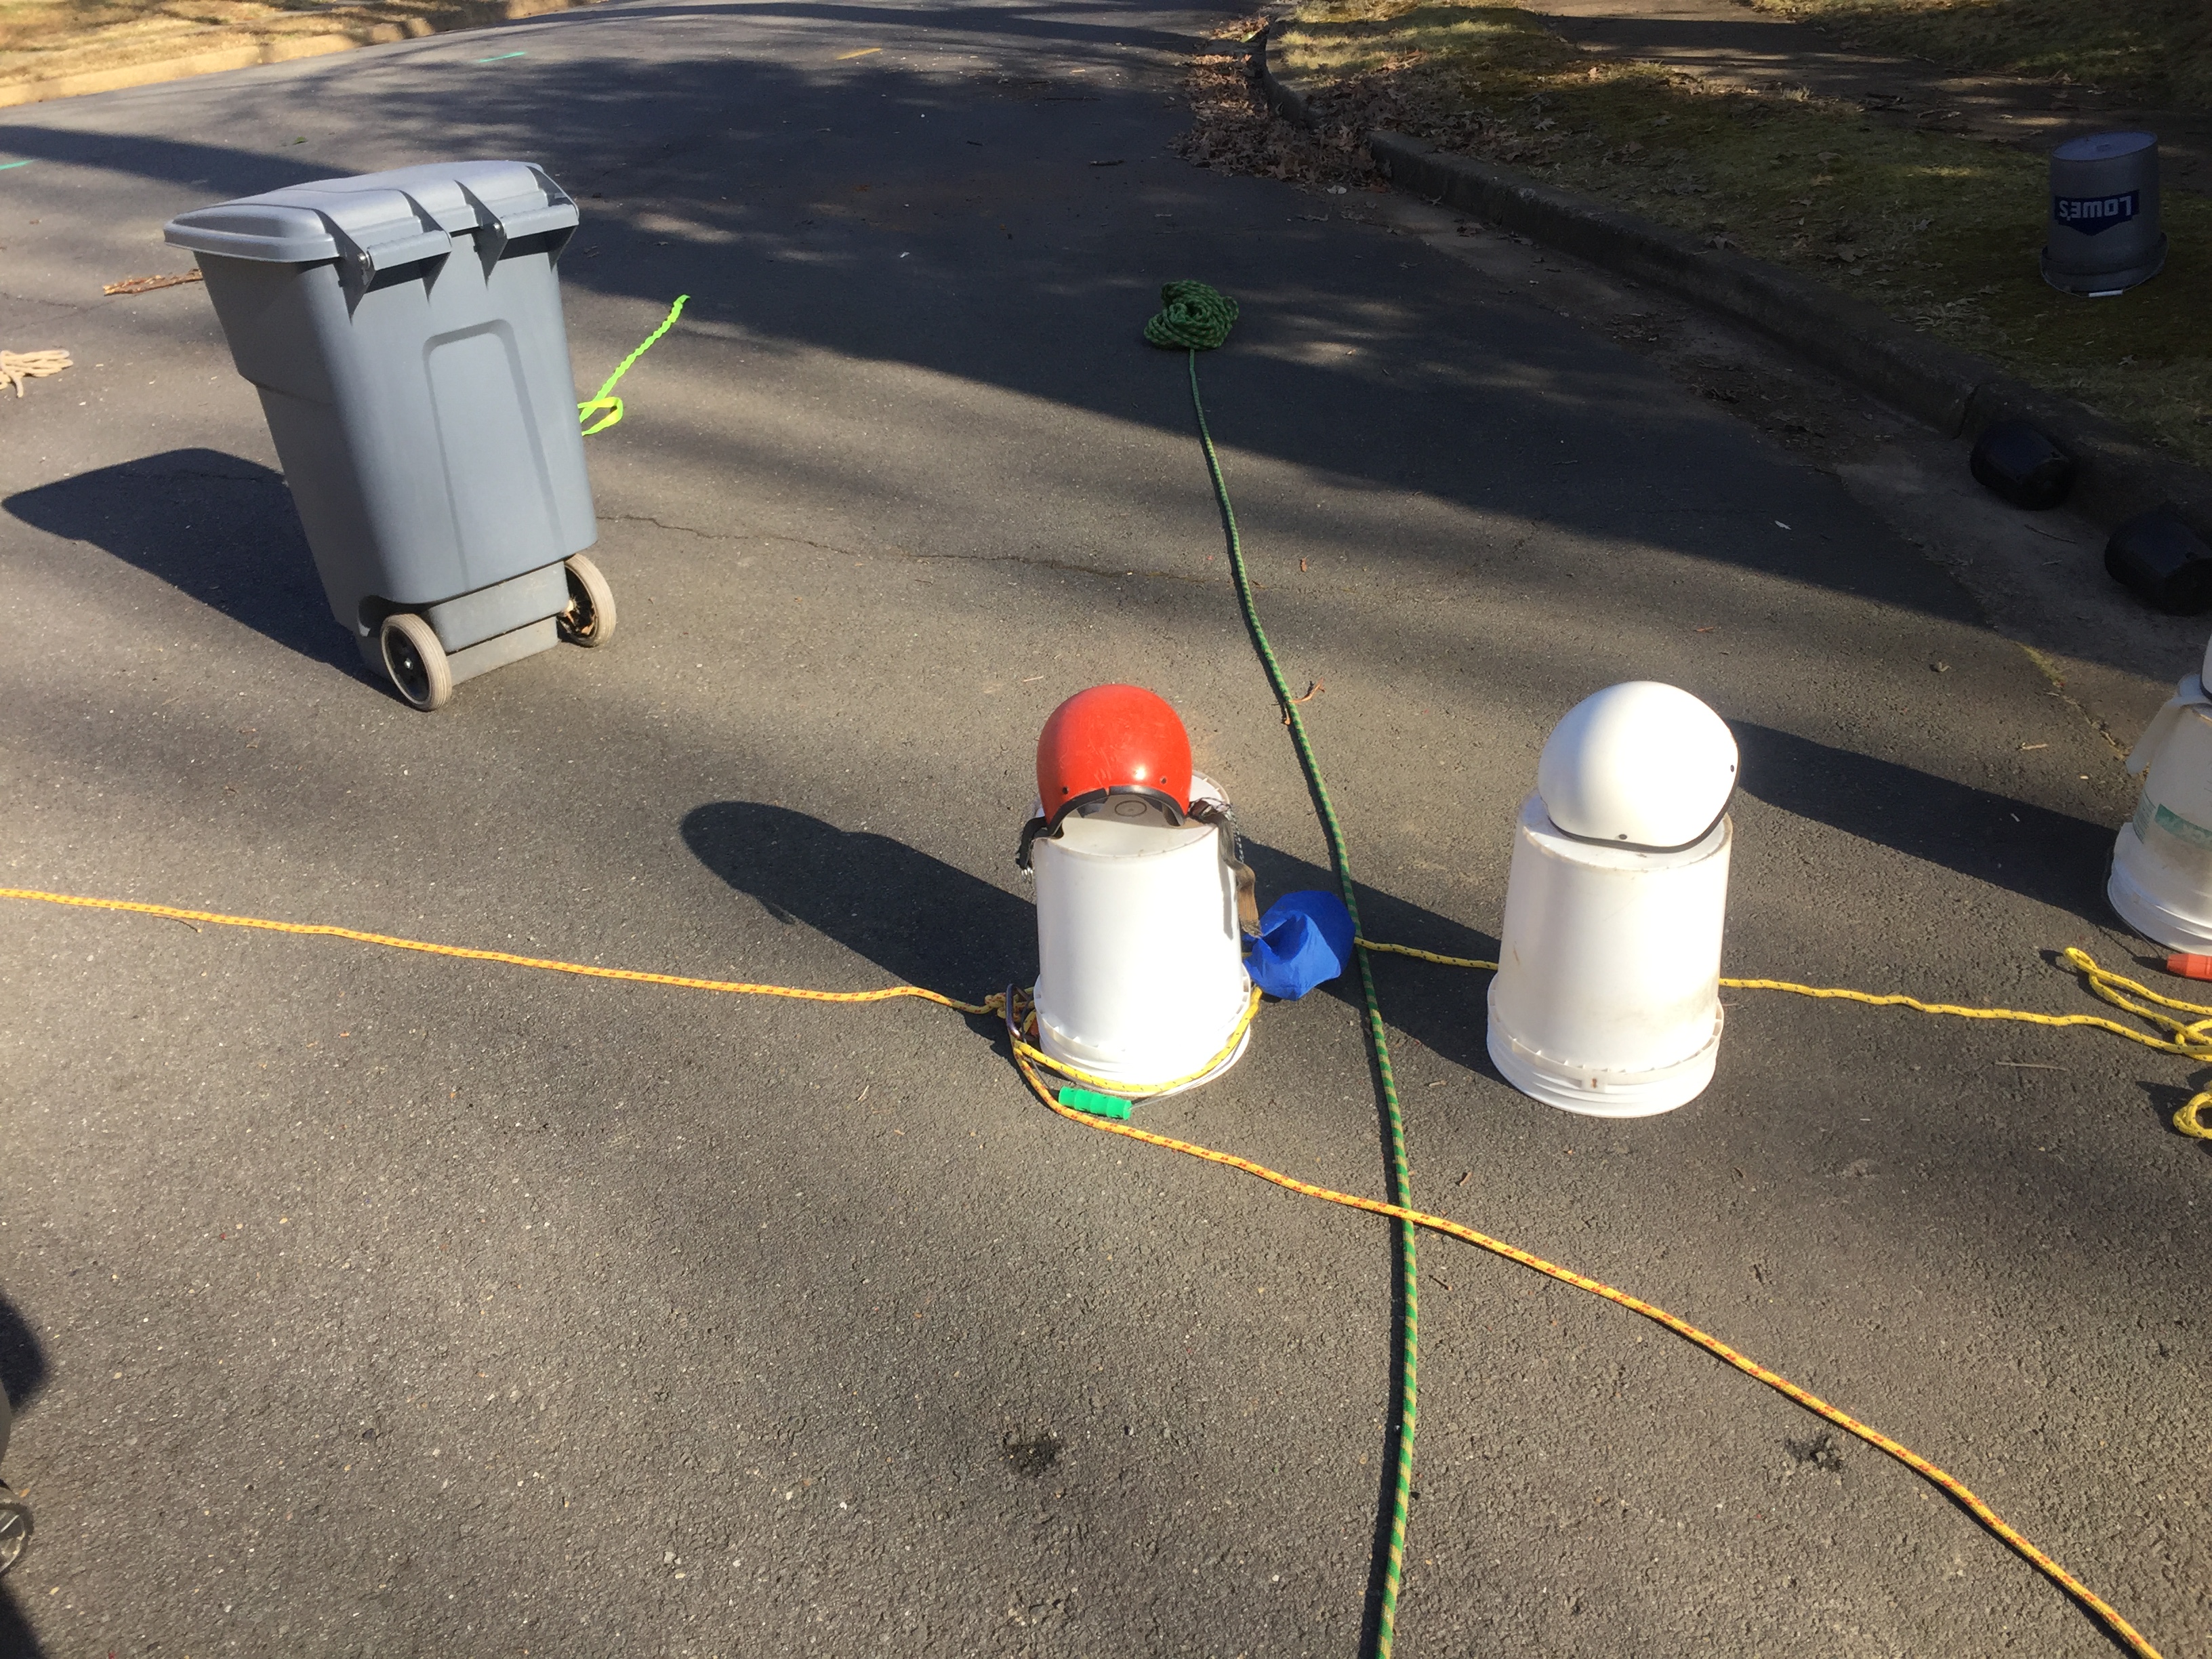
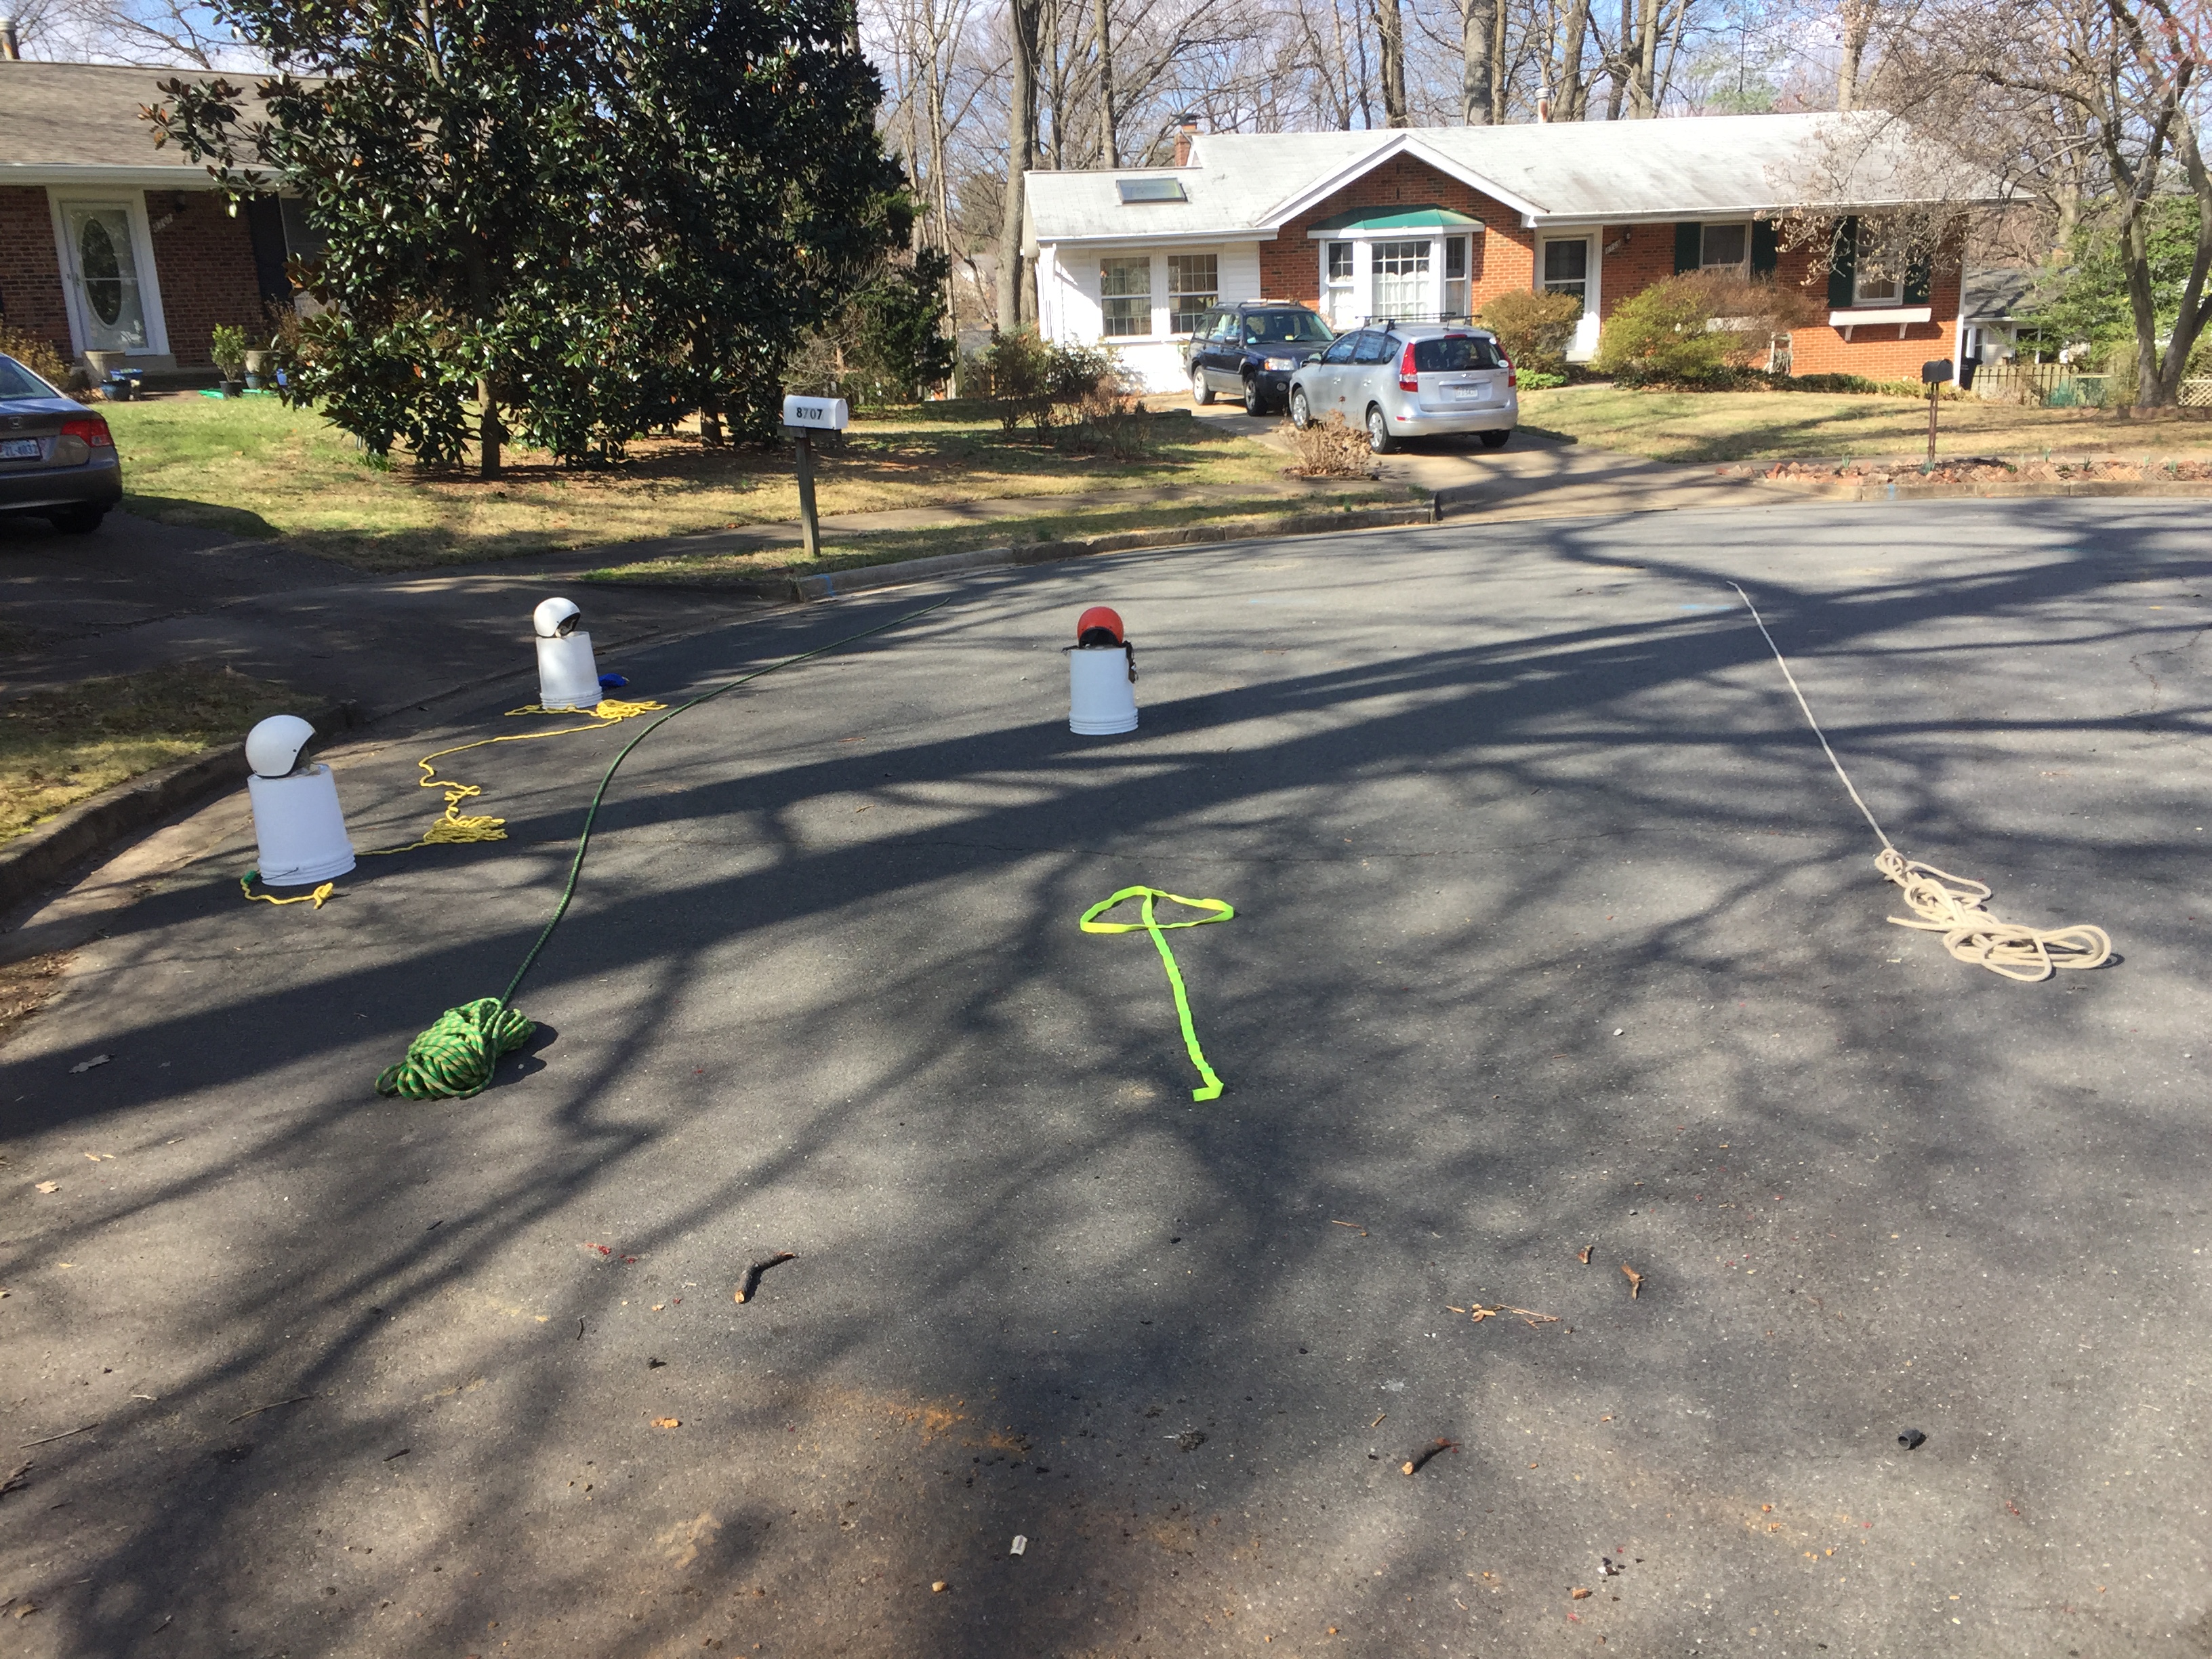
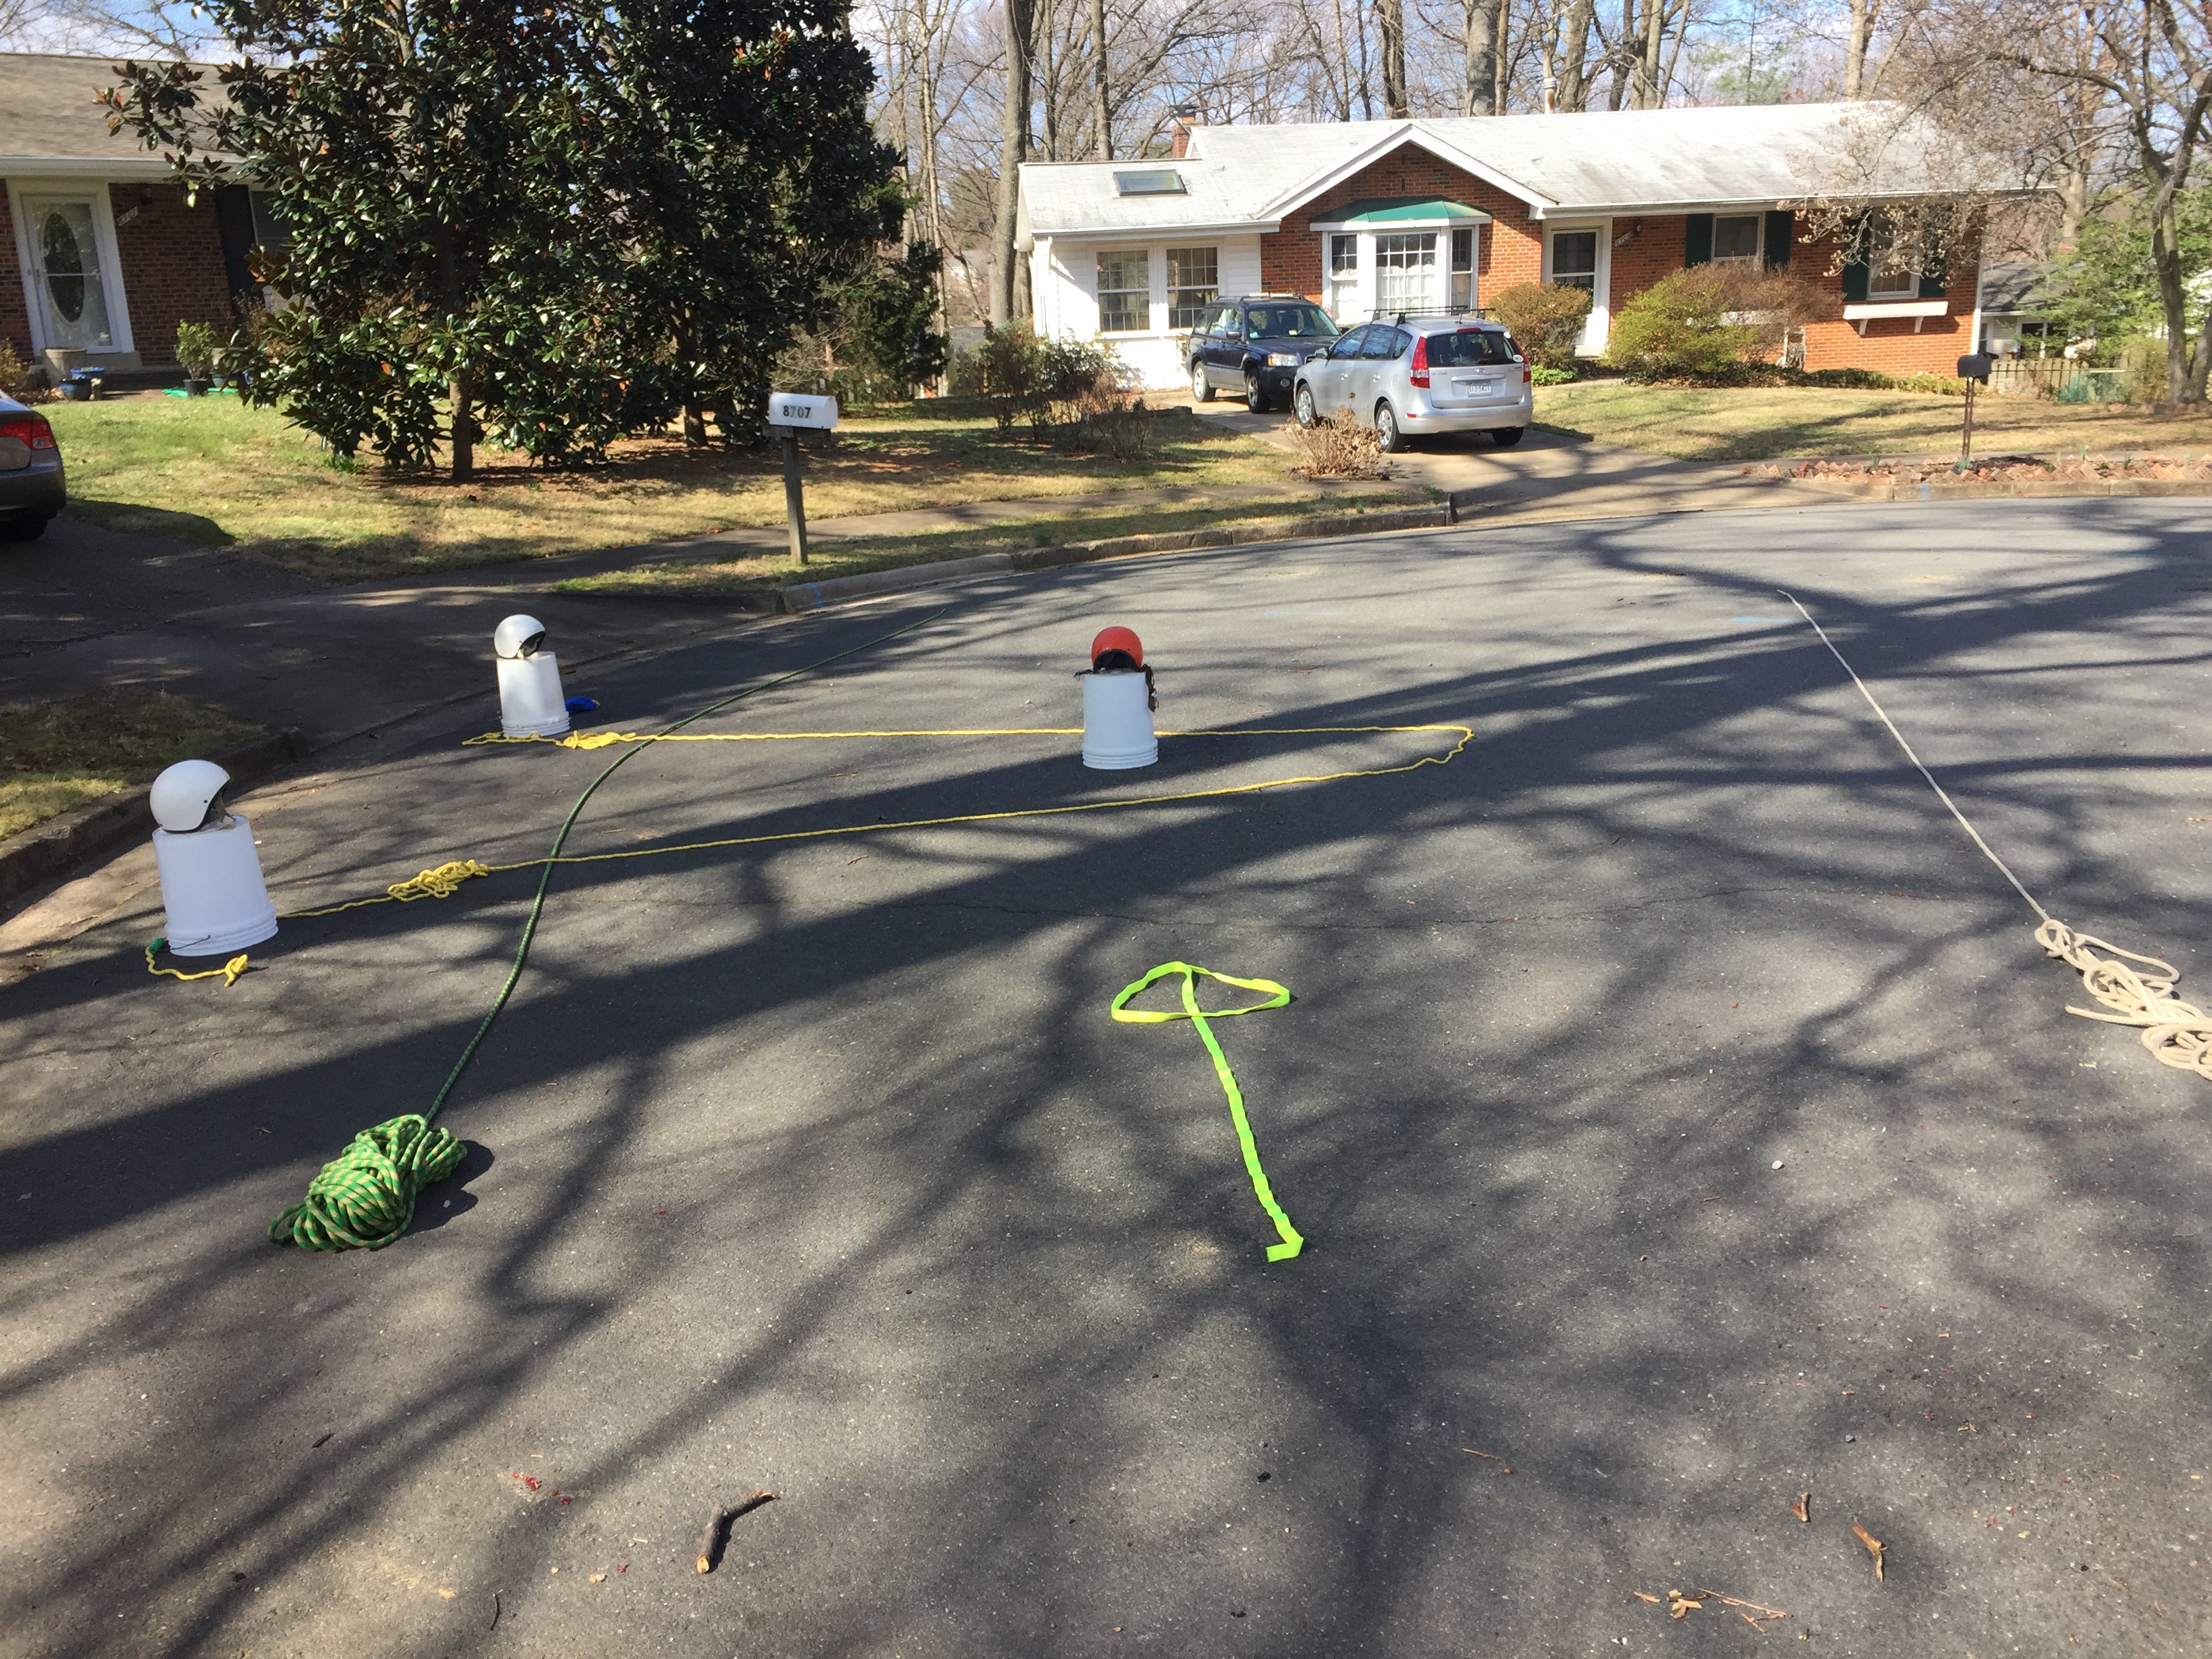
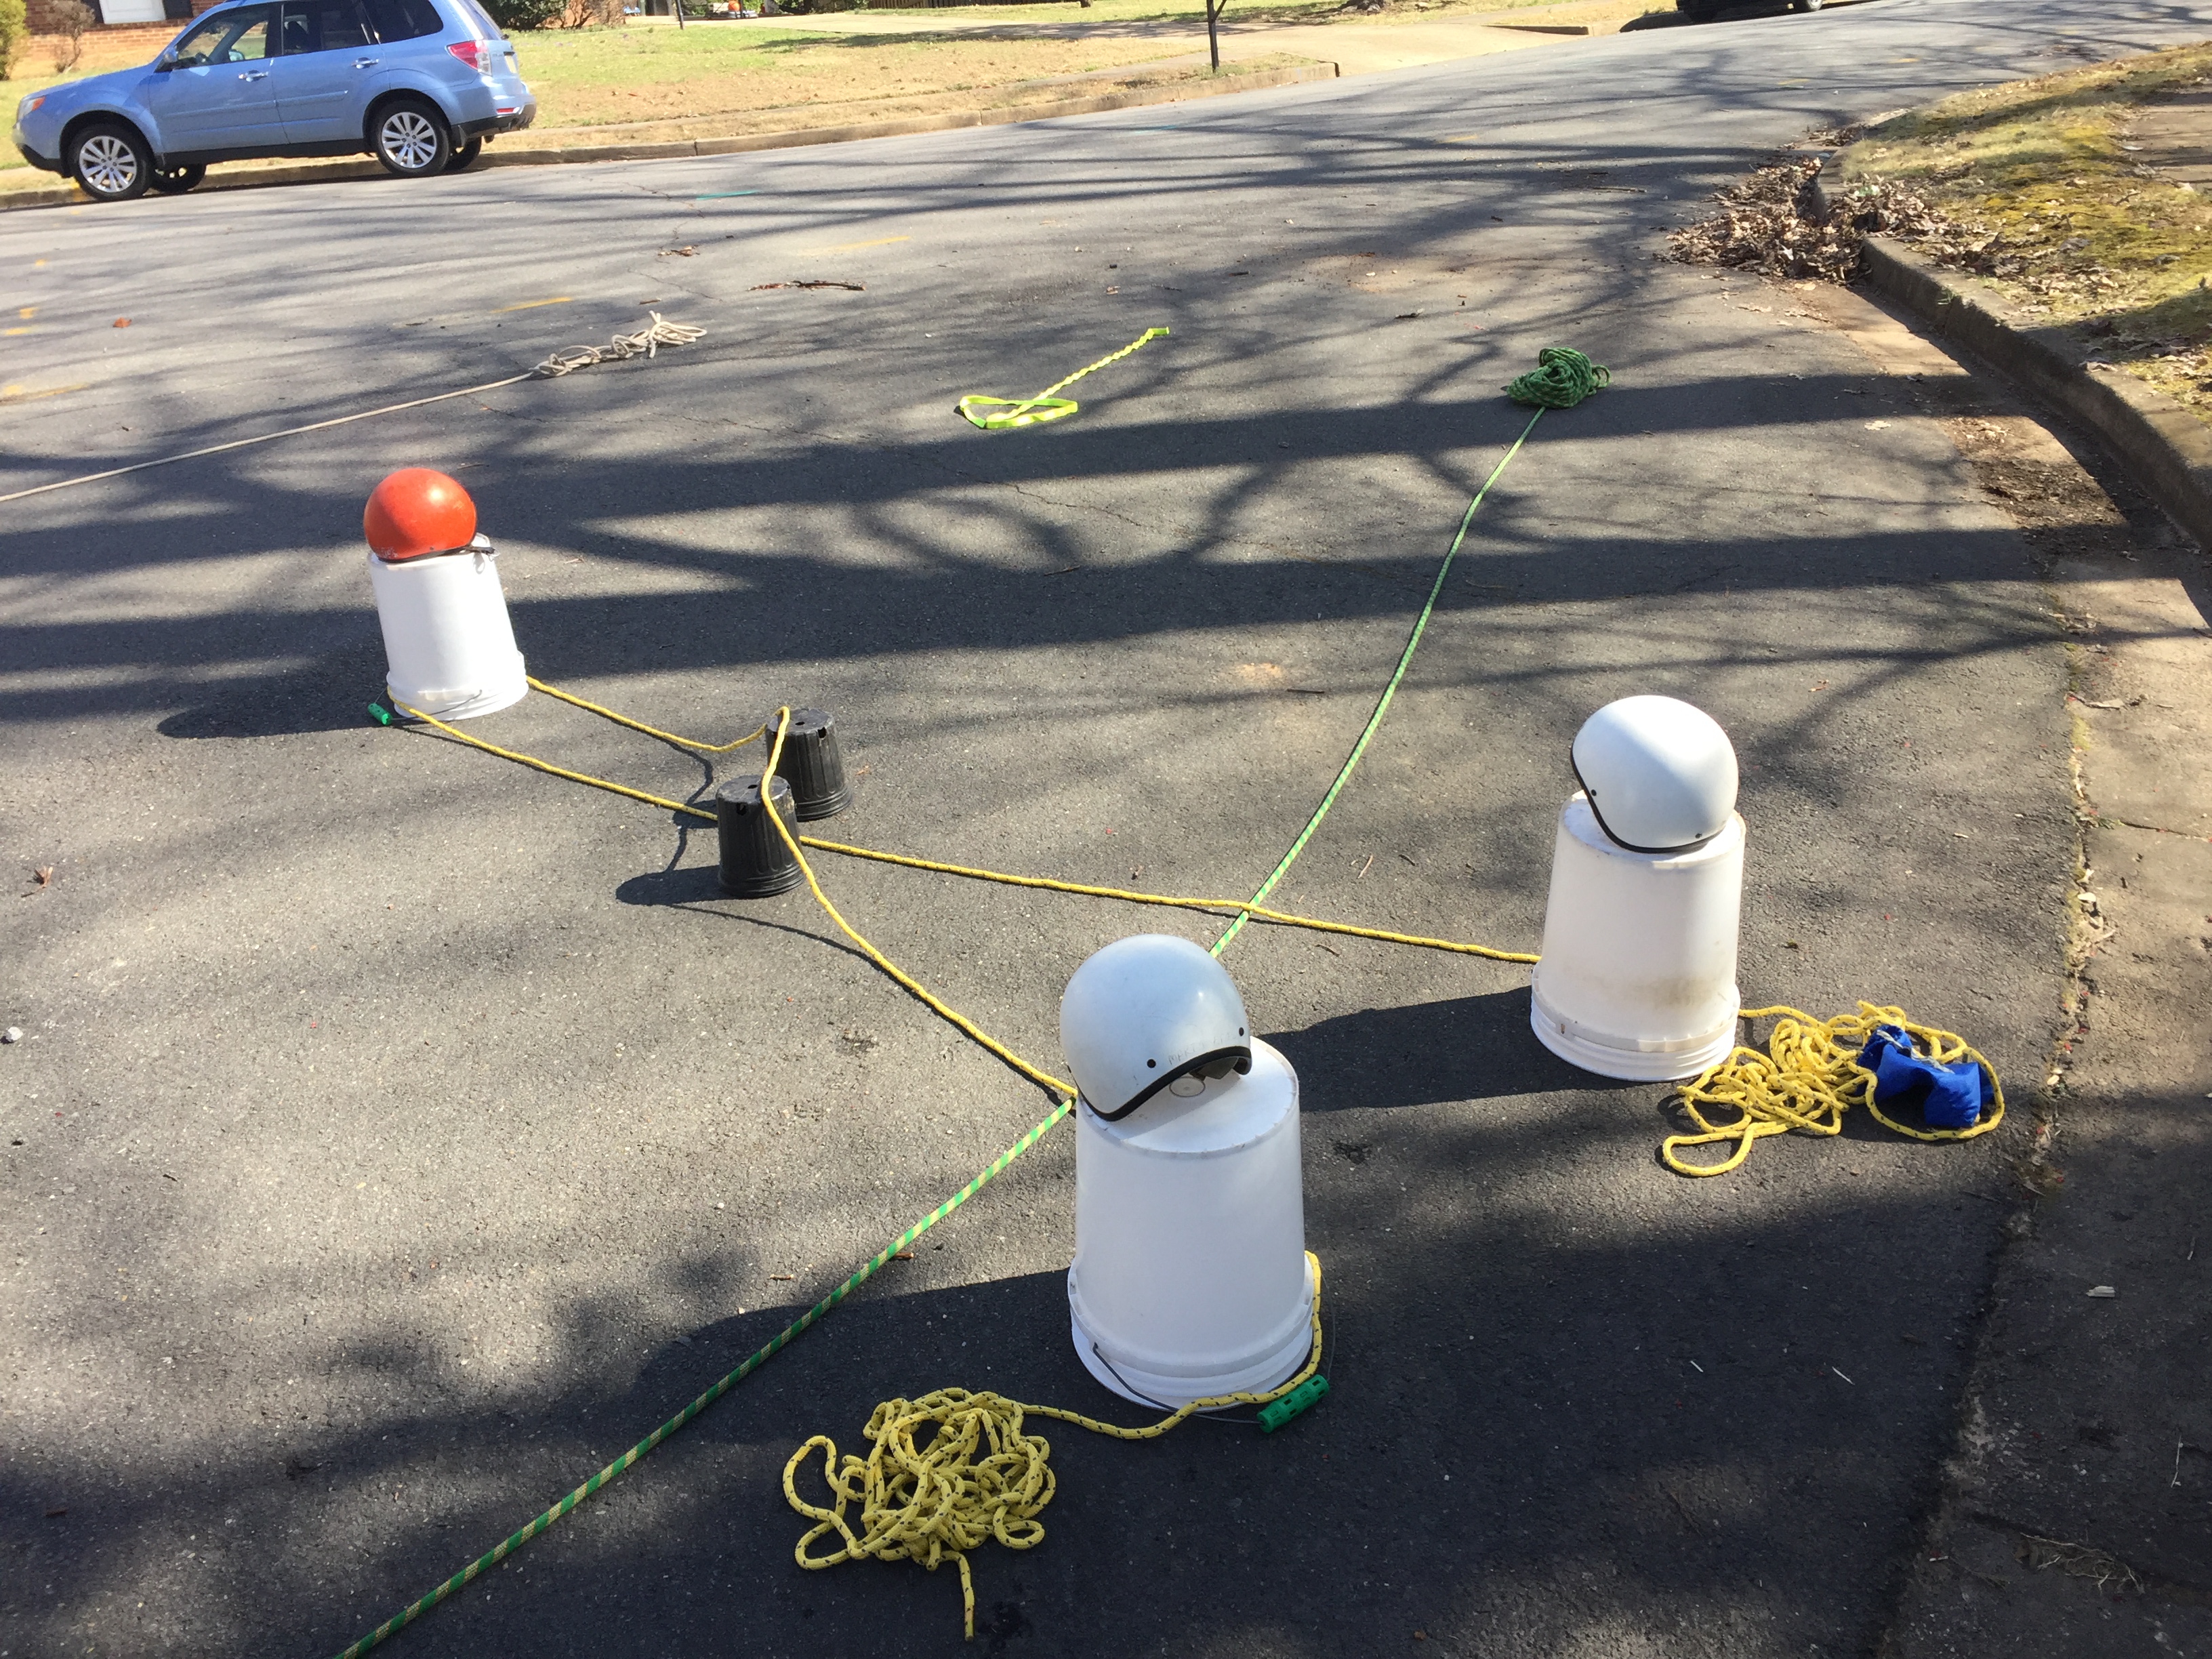
- The green and white ropes represent the shore lines.
- The yellow arrow shows the direction of the current and is points downstream.
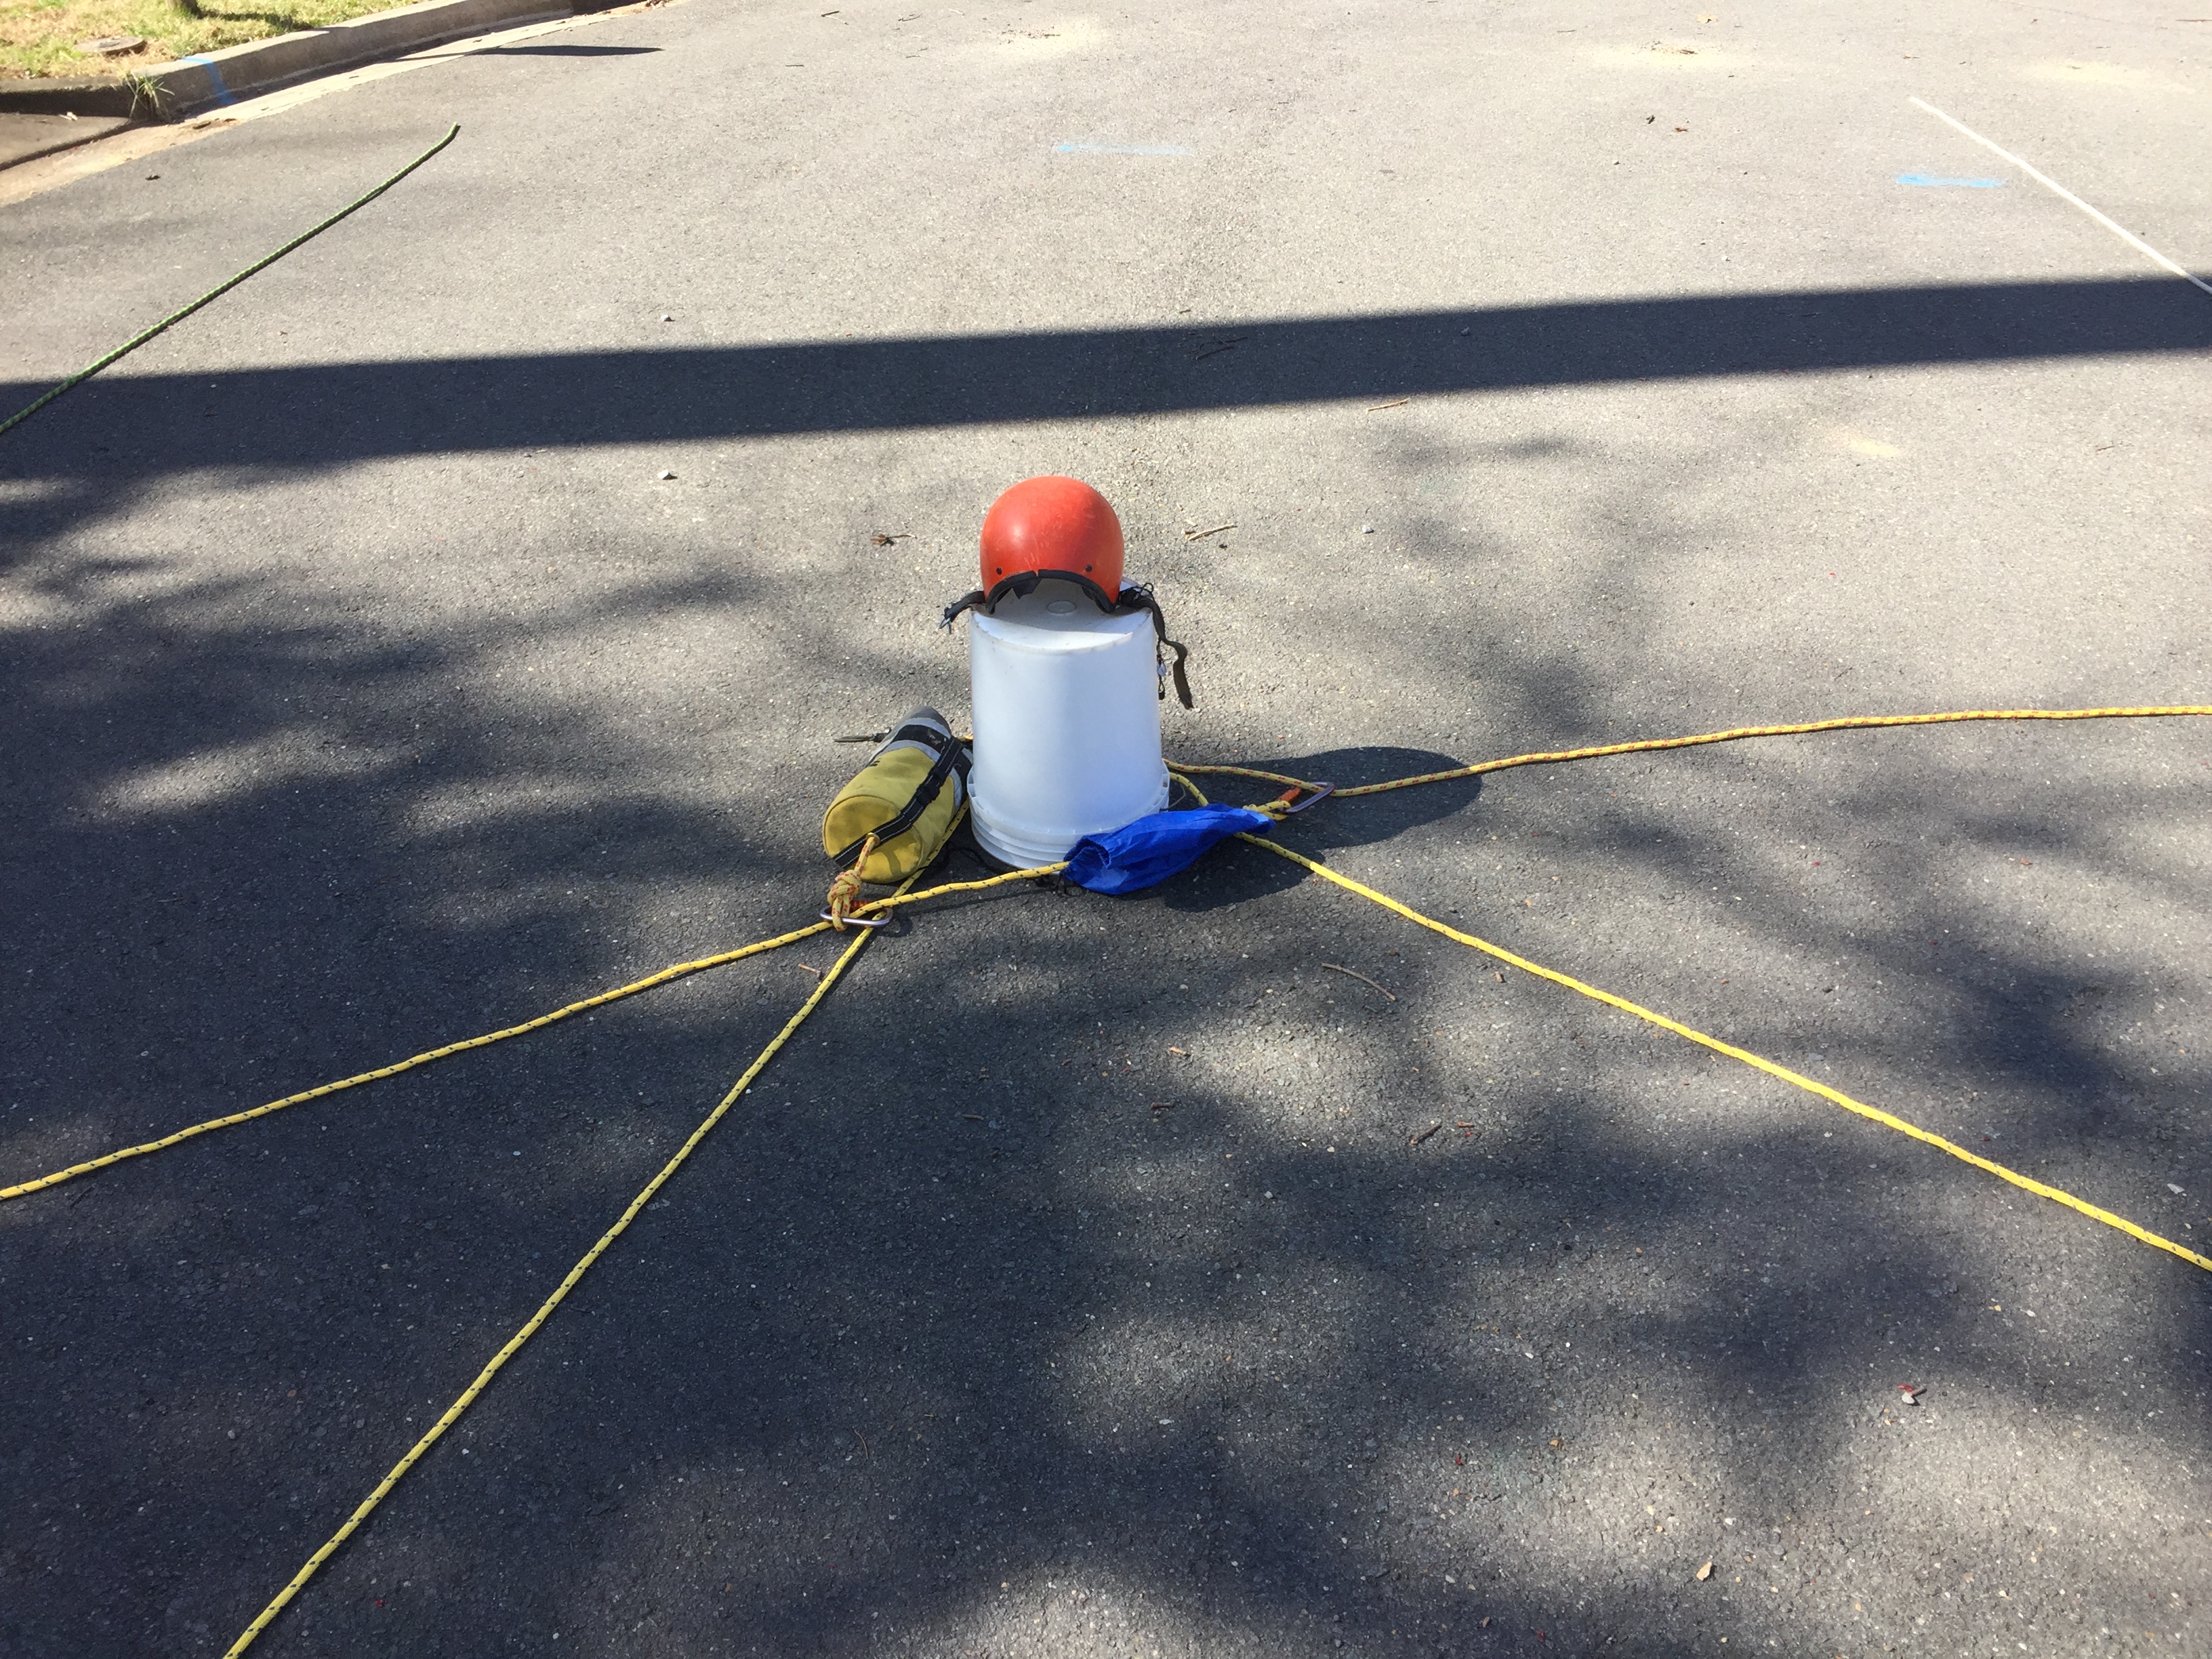
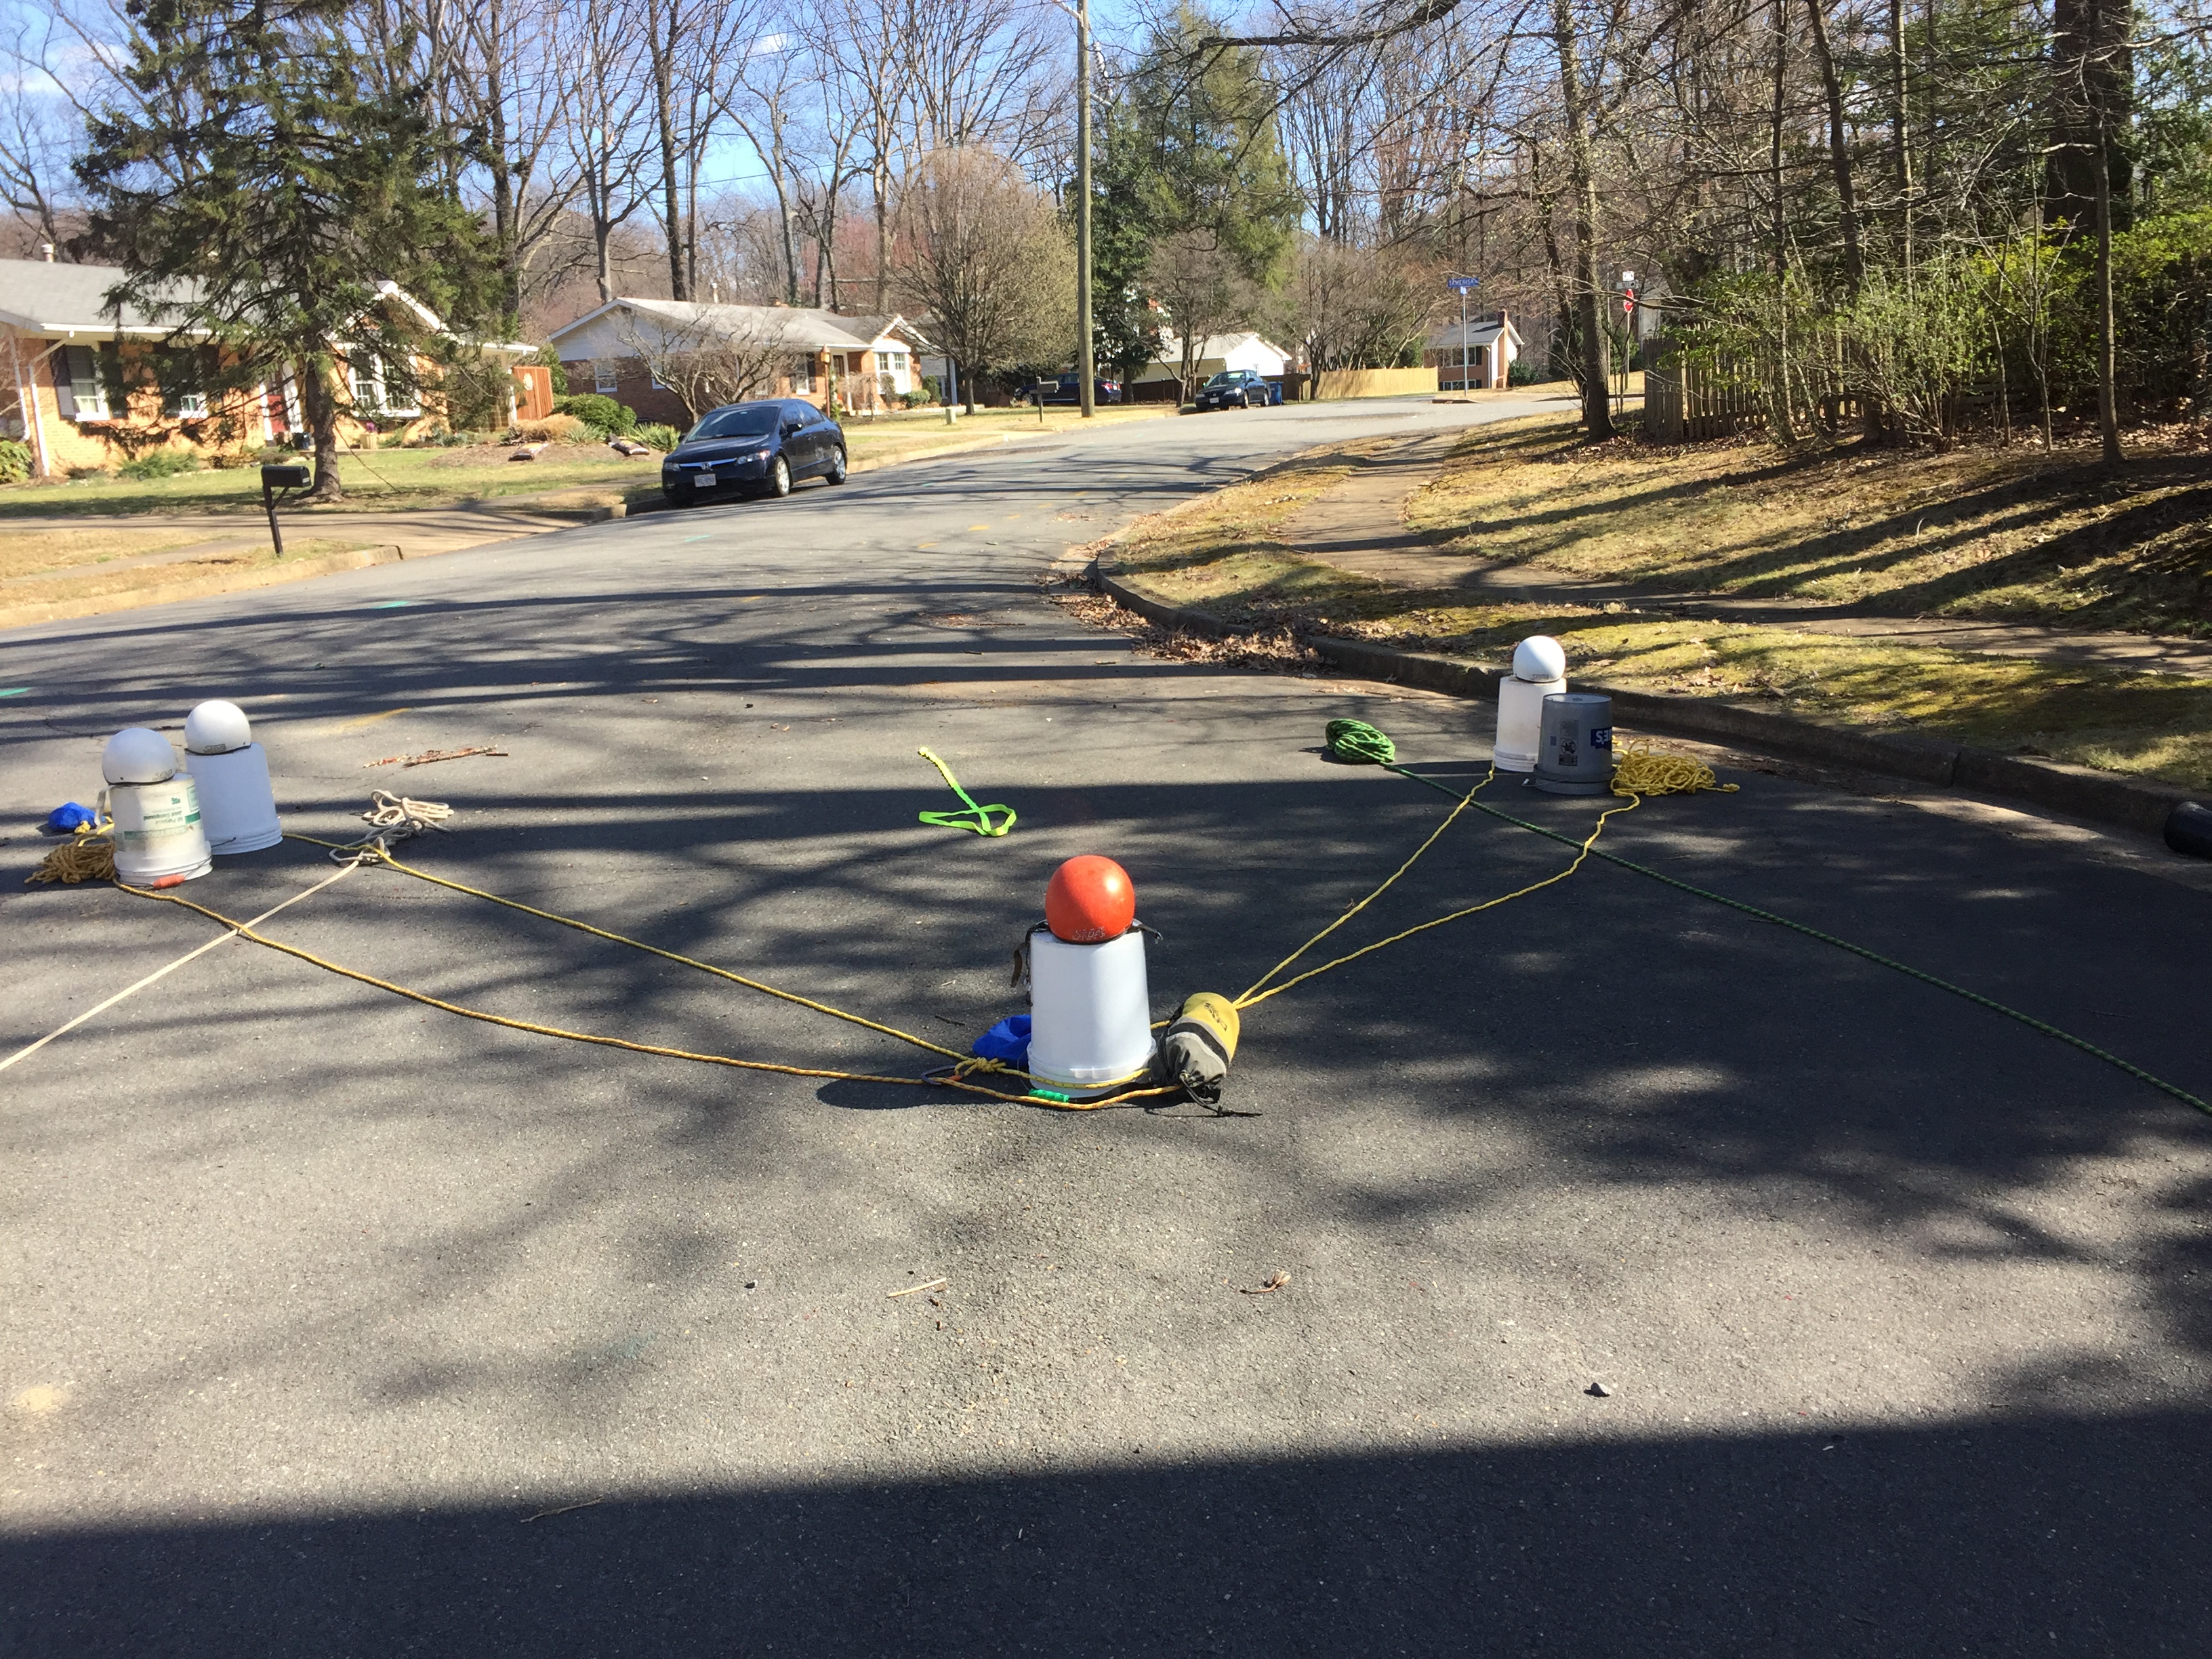
- The Orange helmet is the victim with a foot entrapment.
- The White Helmets are the rescuers.
J Cinch Steps
1) The victim is trapped and requires assistance. Notice we have rescuers on both shores with throw bags. Also notice we have a new wrinkle, boulders all around the victim.
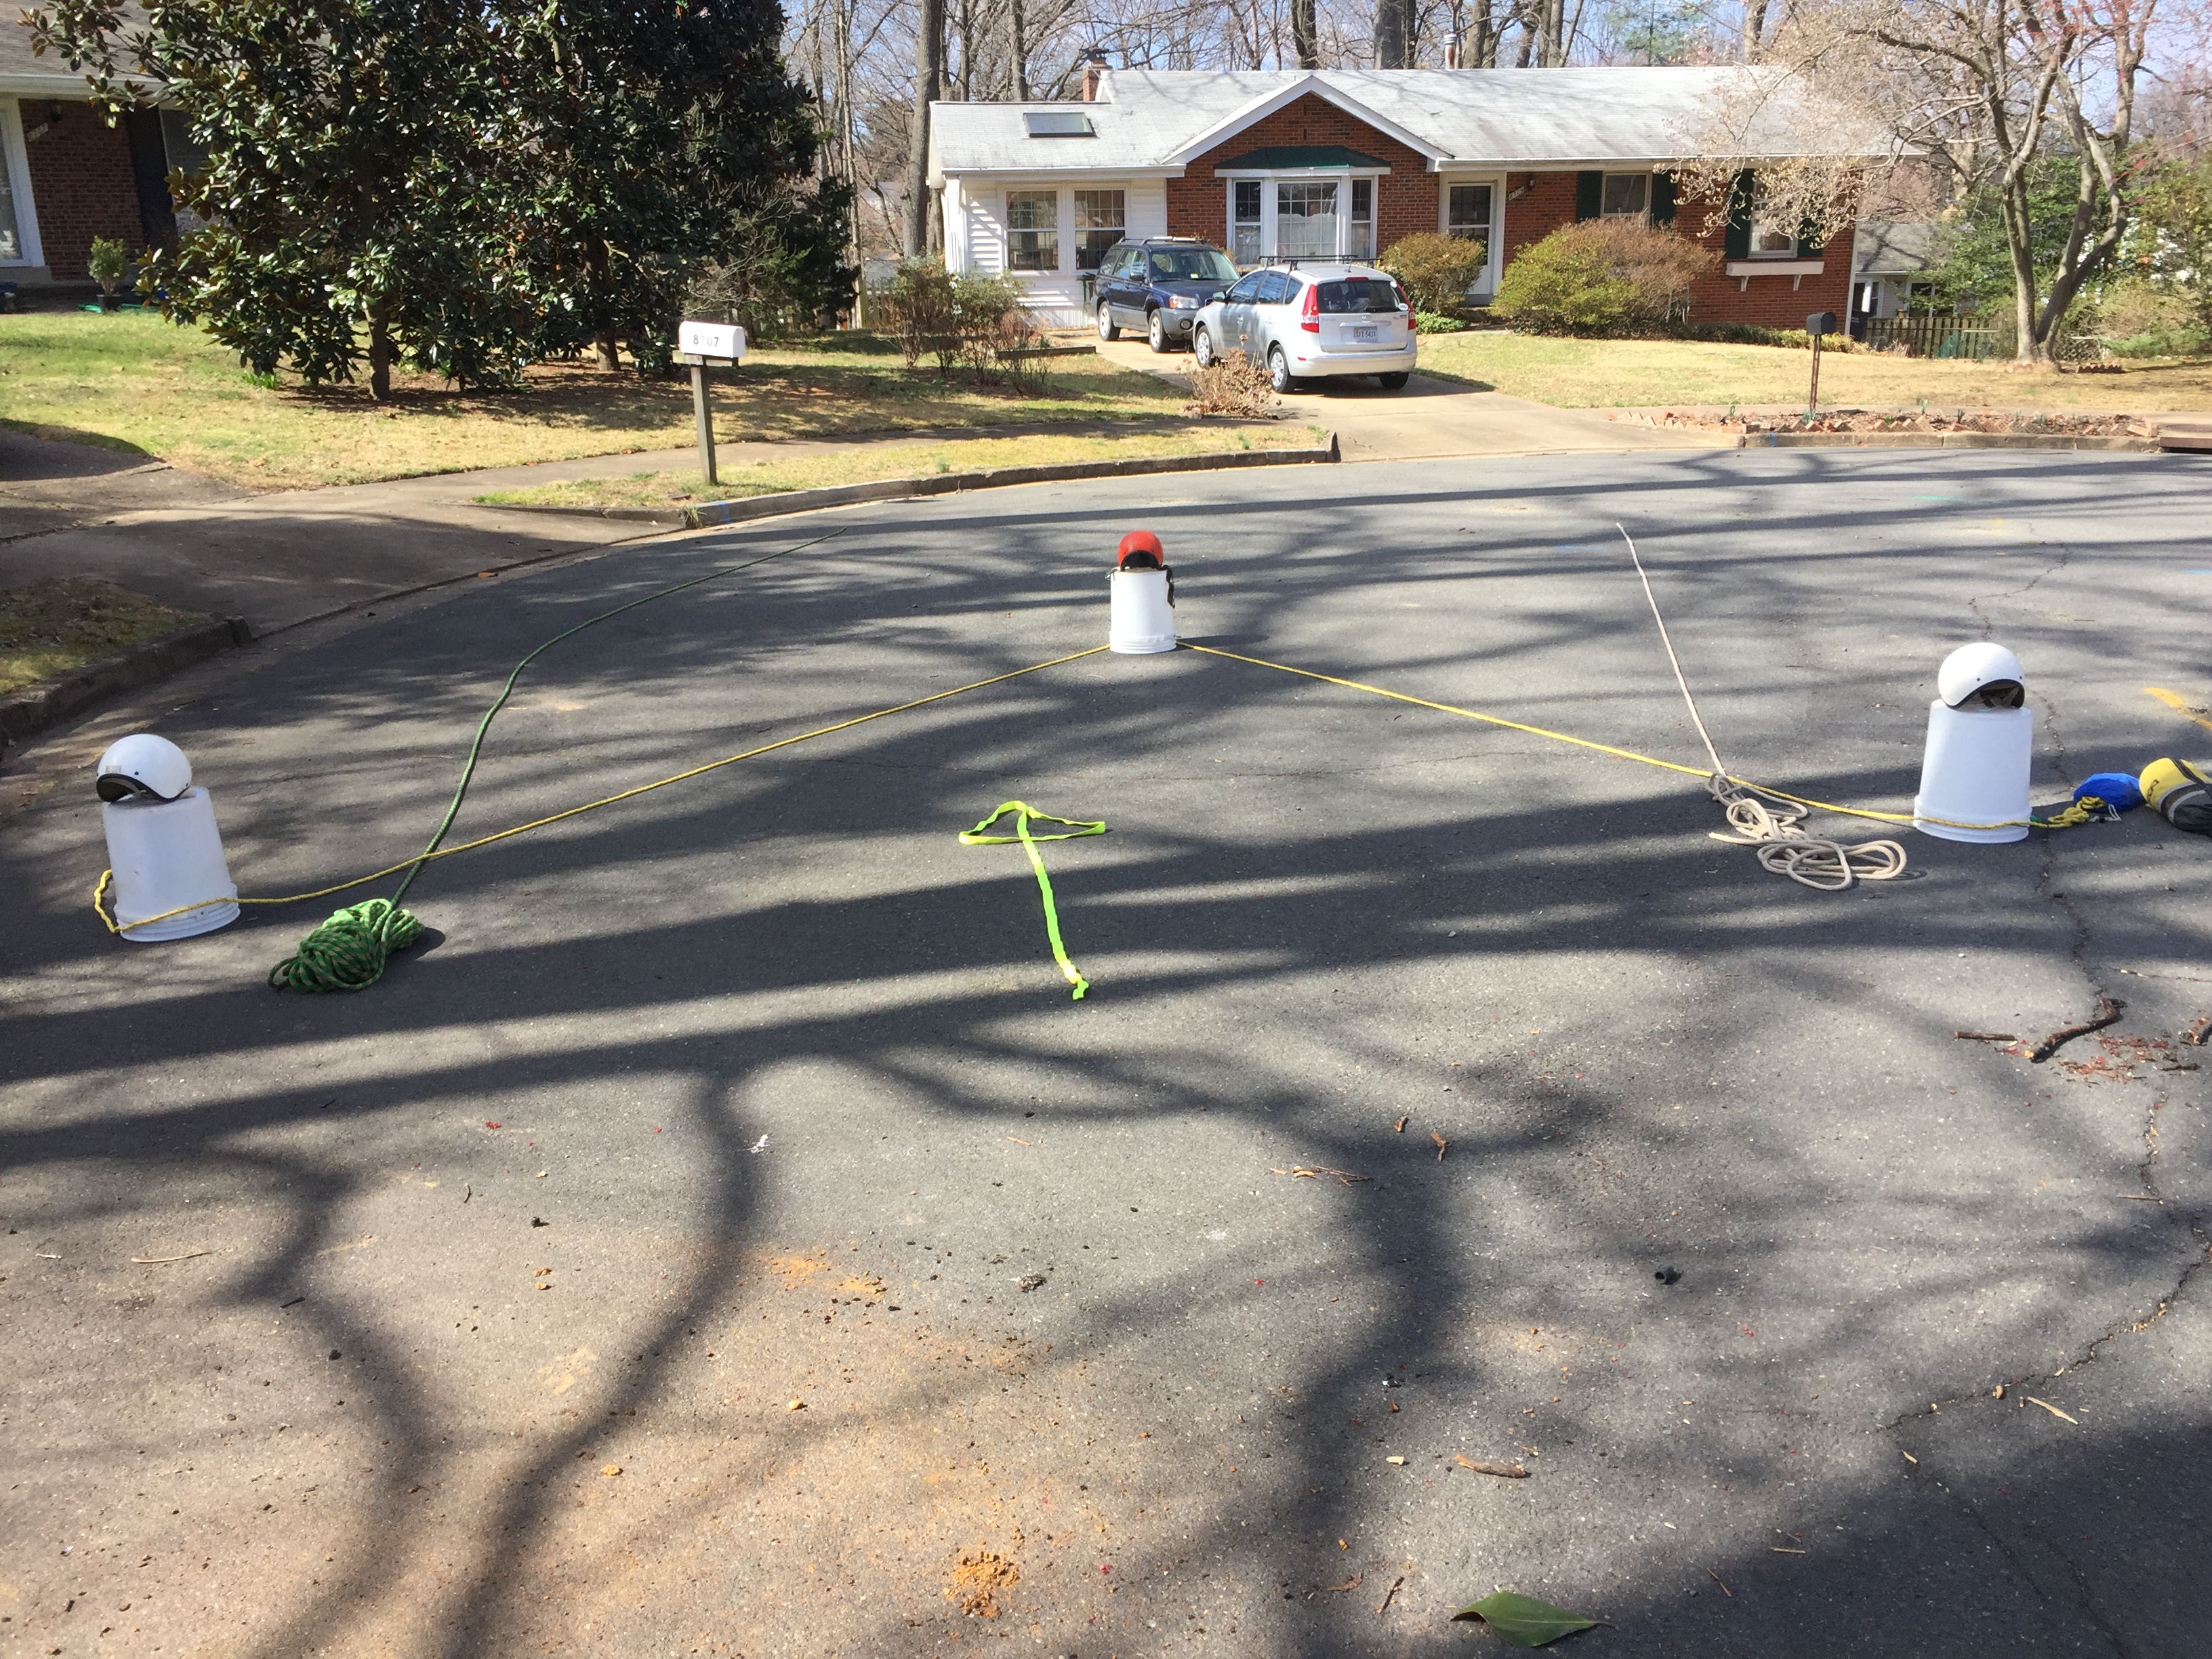
2) Toss a line across to the other side.
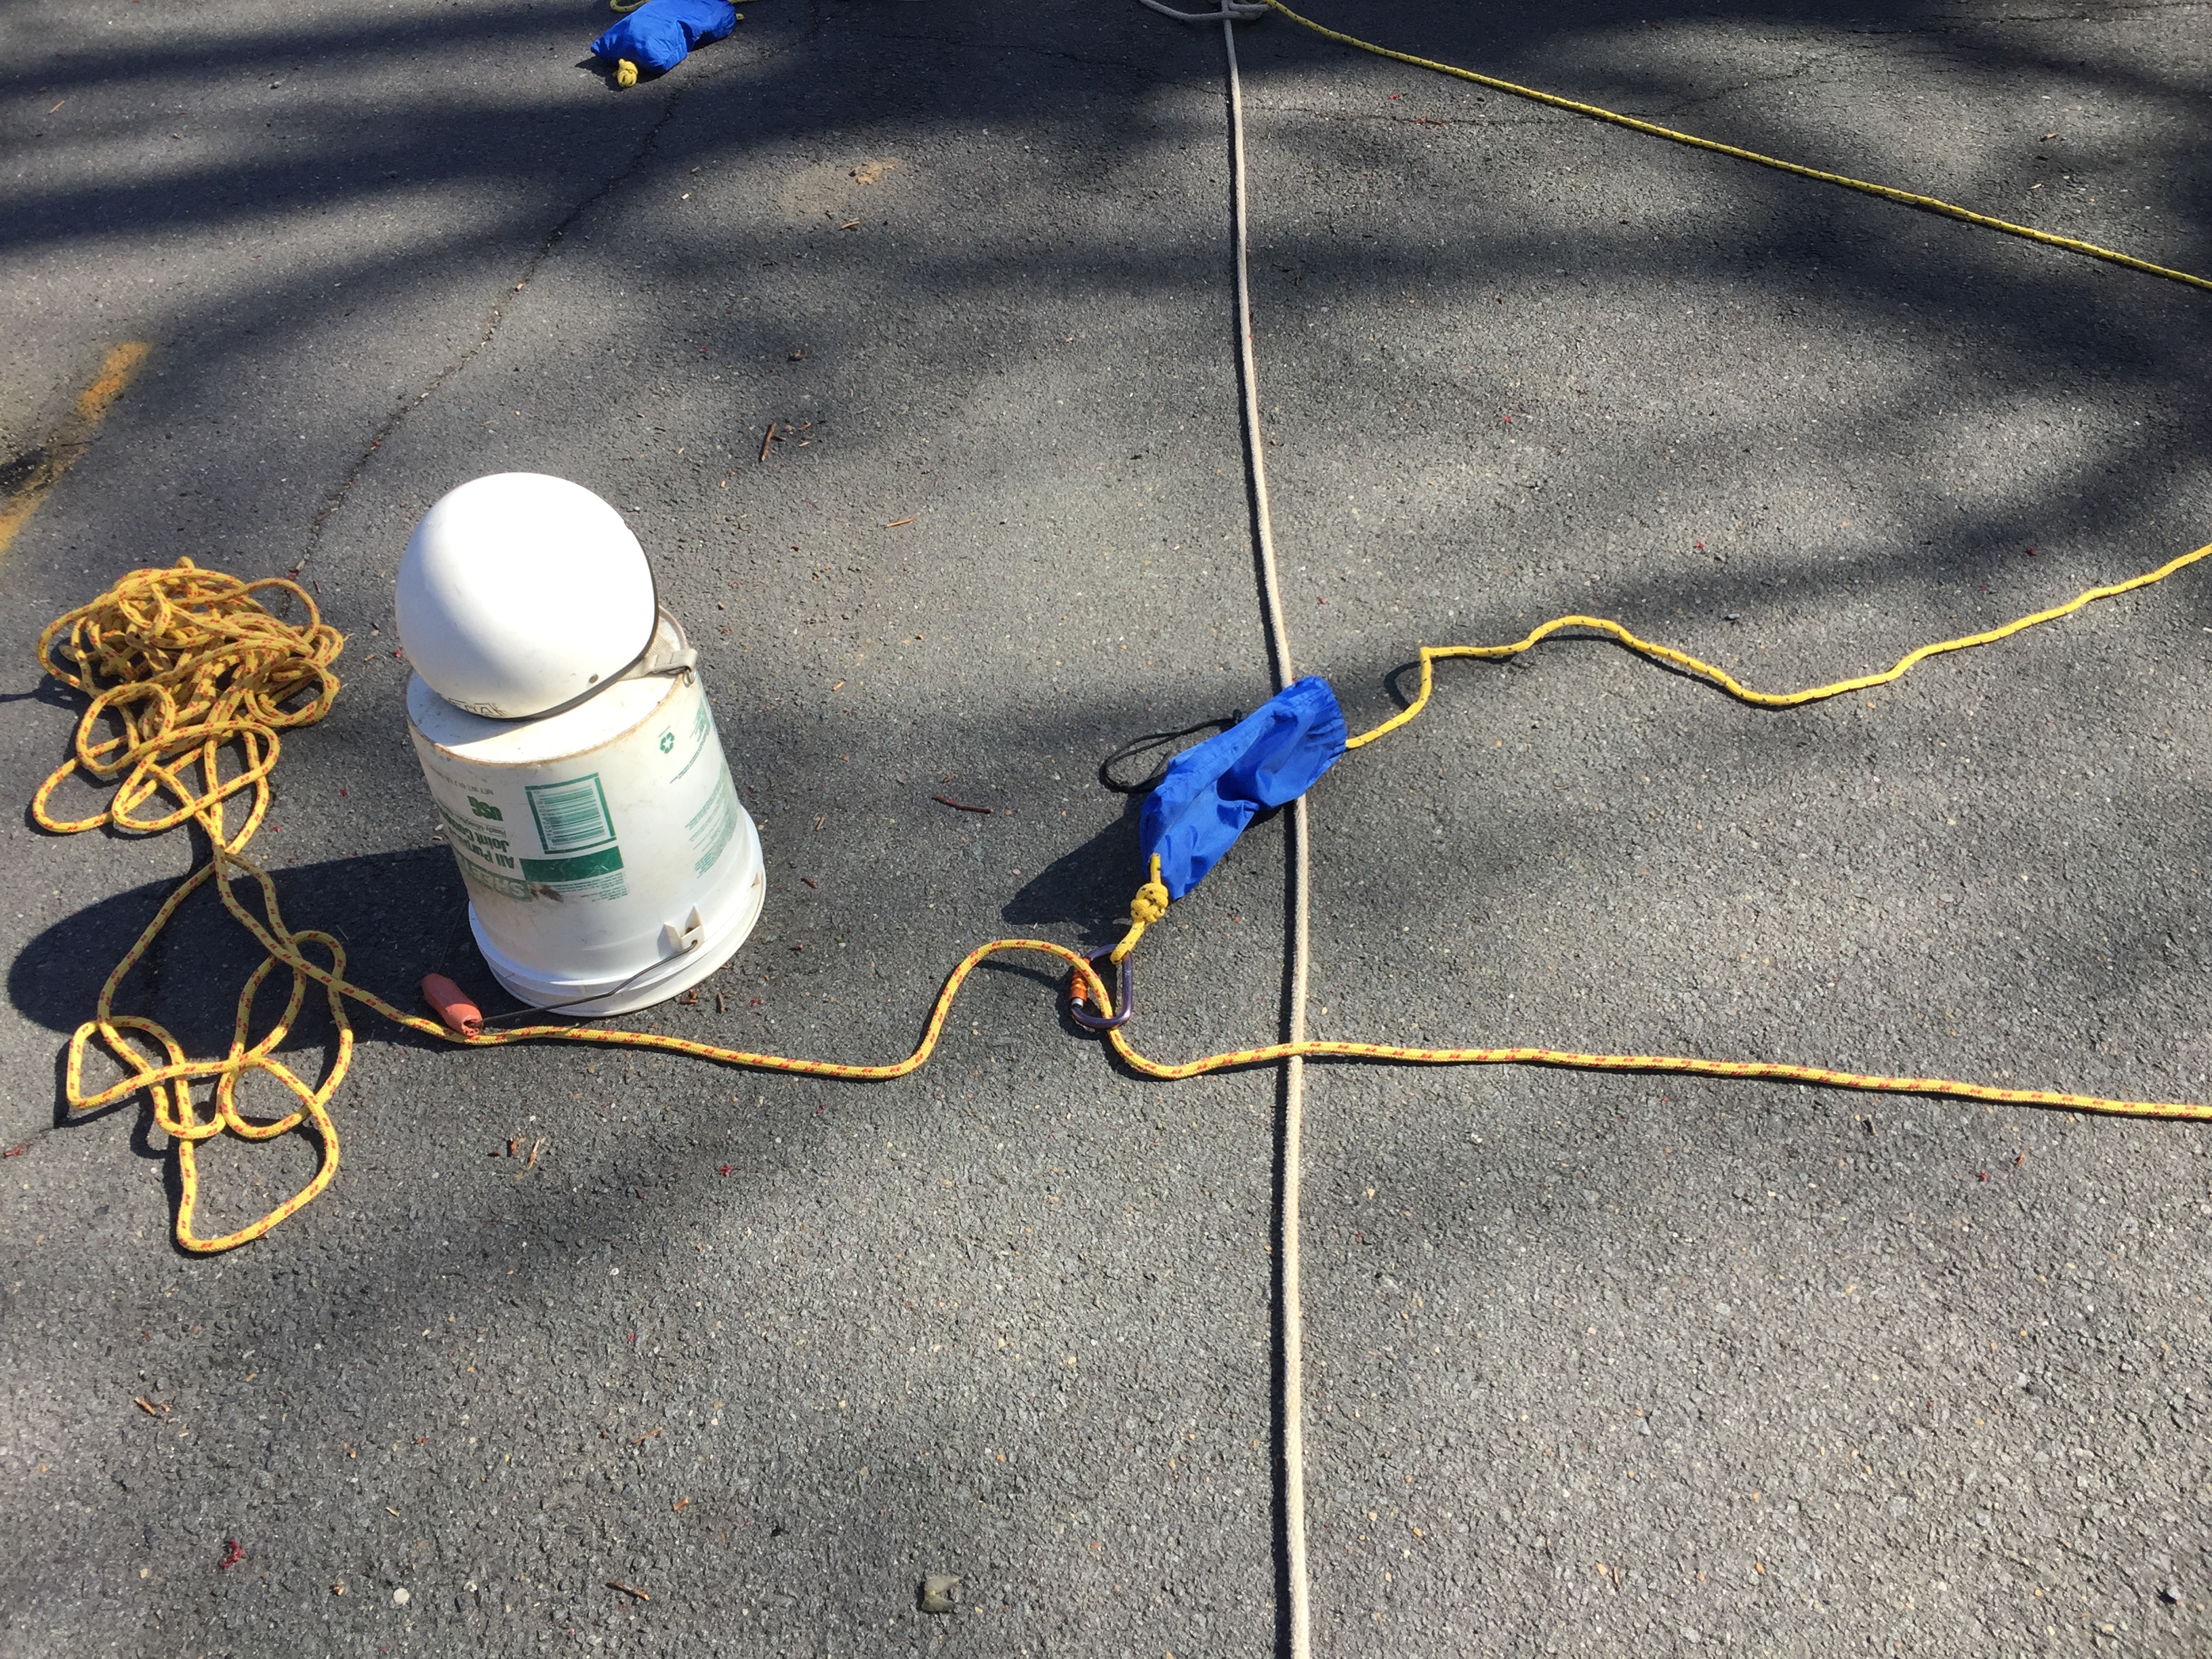
3) Tie an alpine Butterfly knot on the line crossing the river.
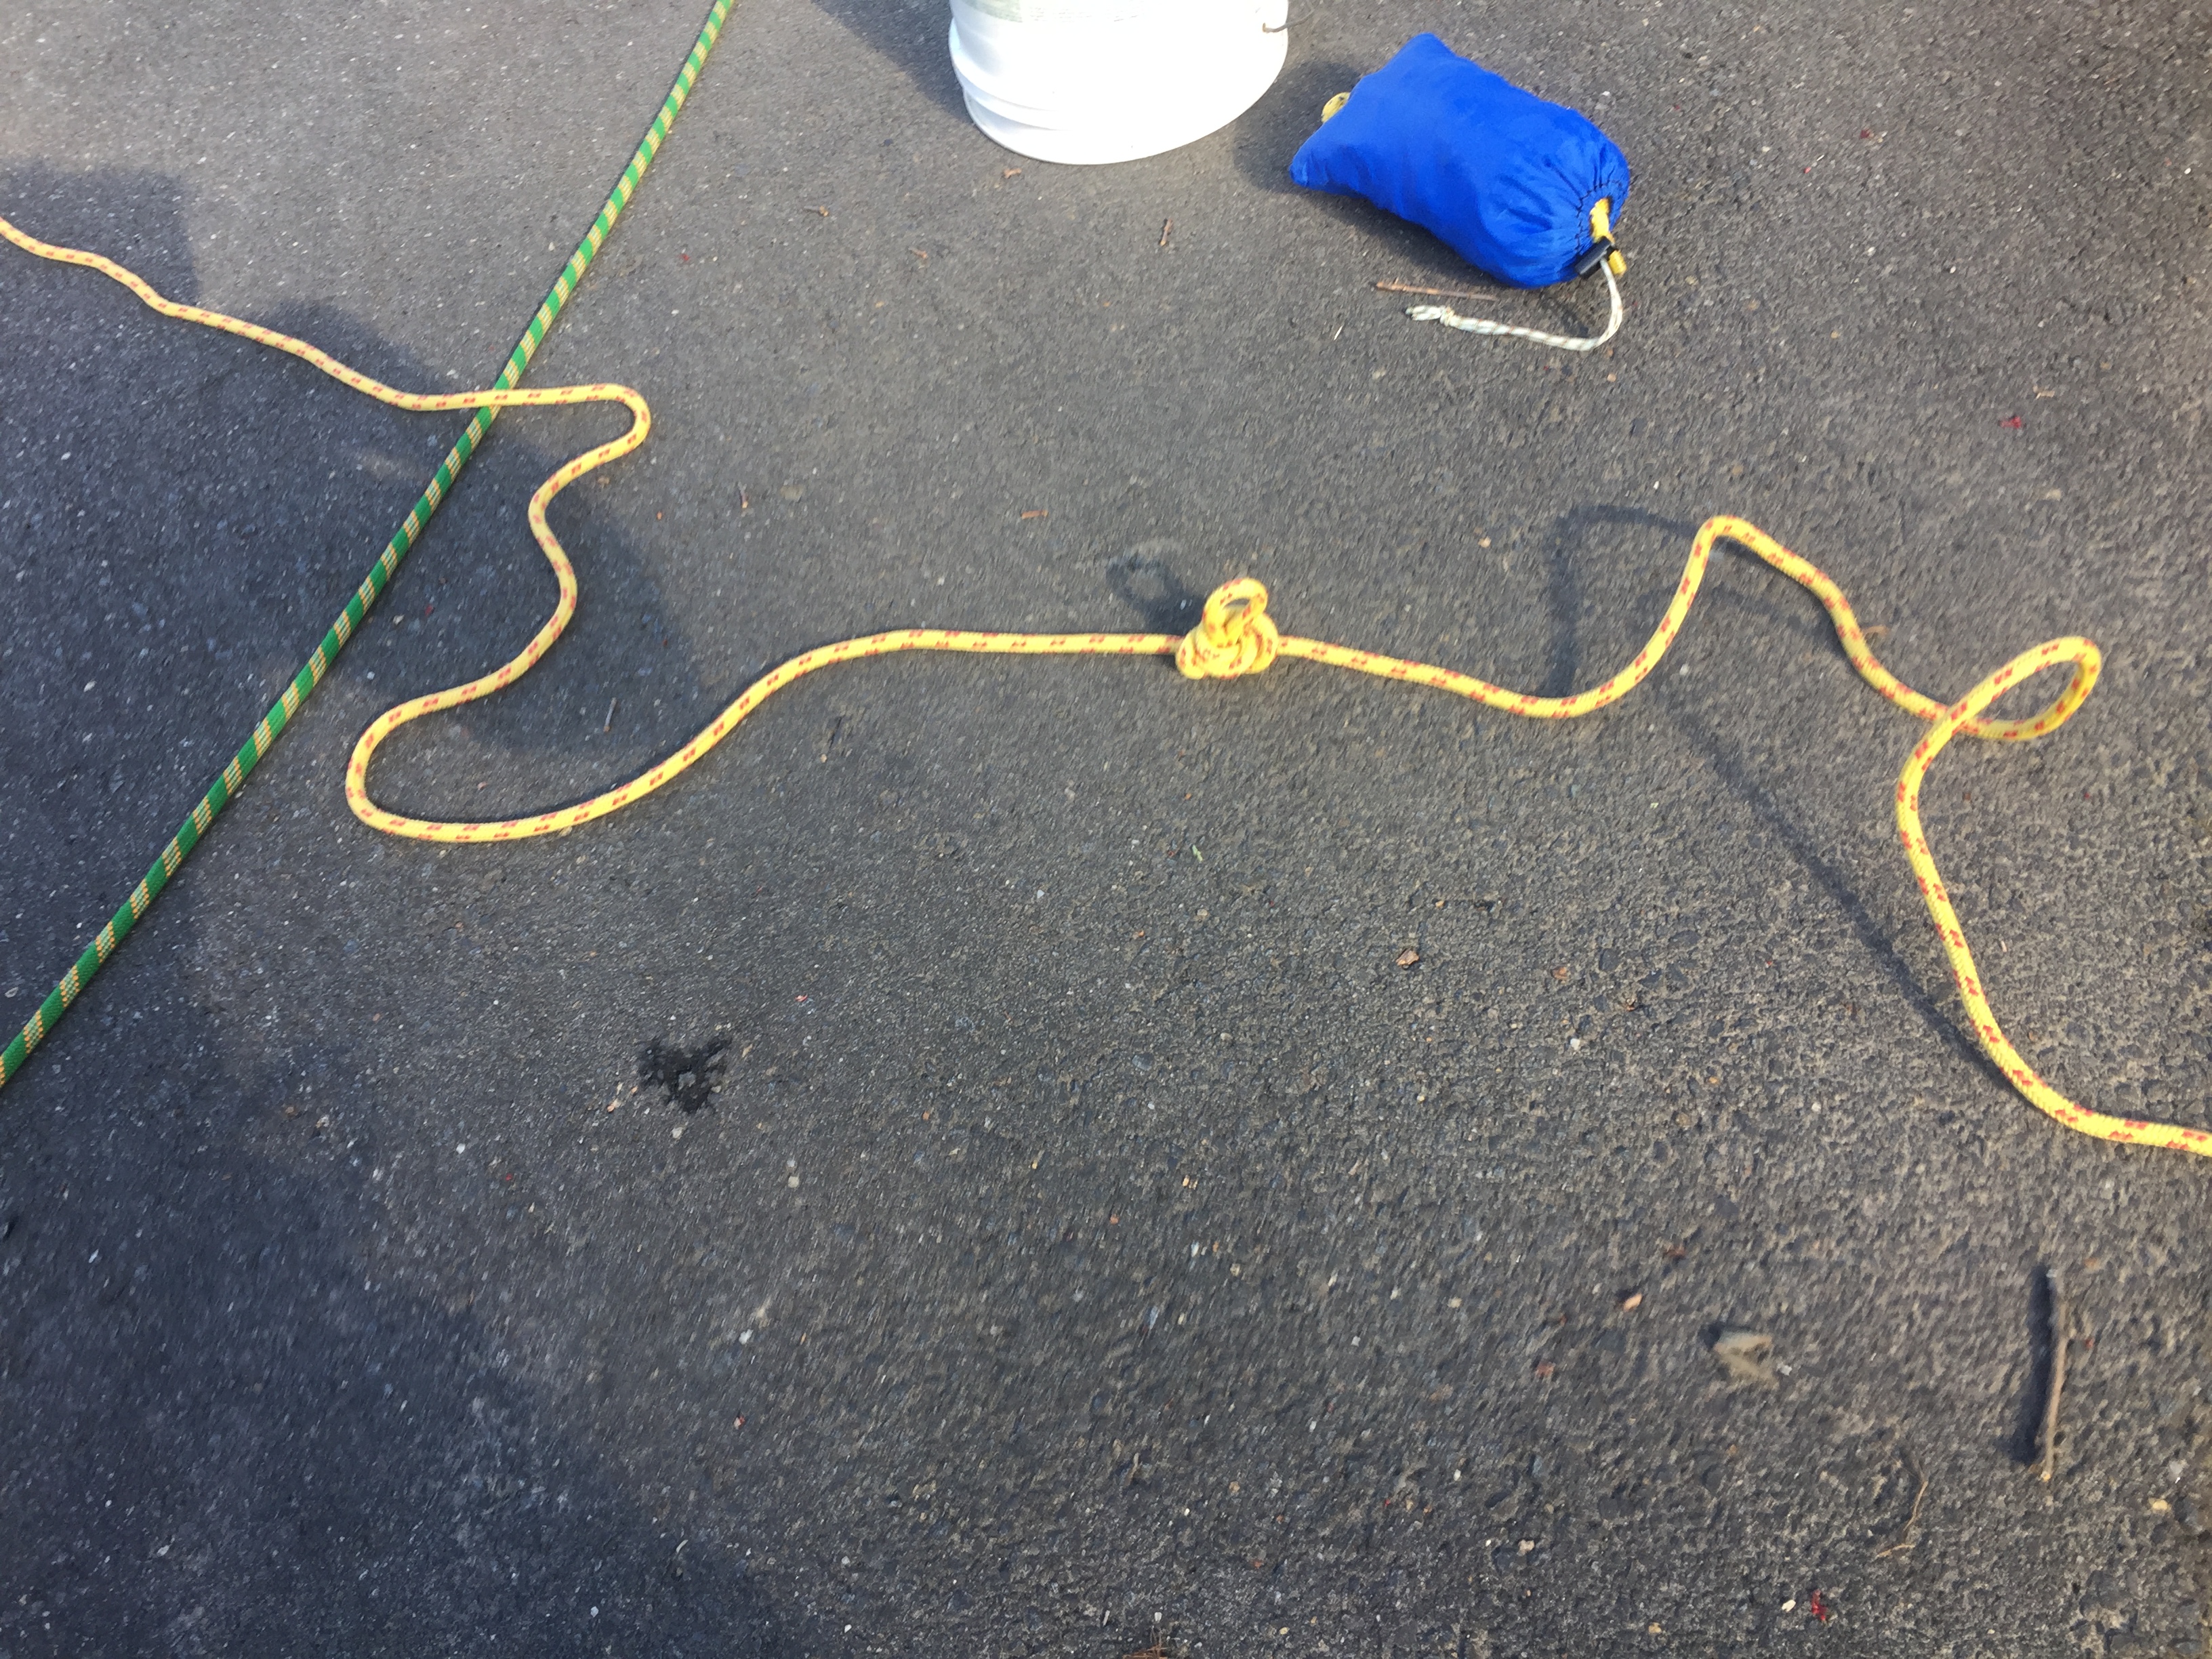
4) Attach a carabiner and thread a second line through the carabiner forming a simple V.
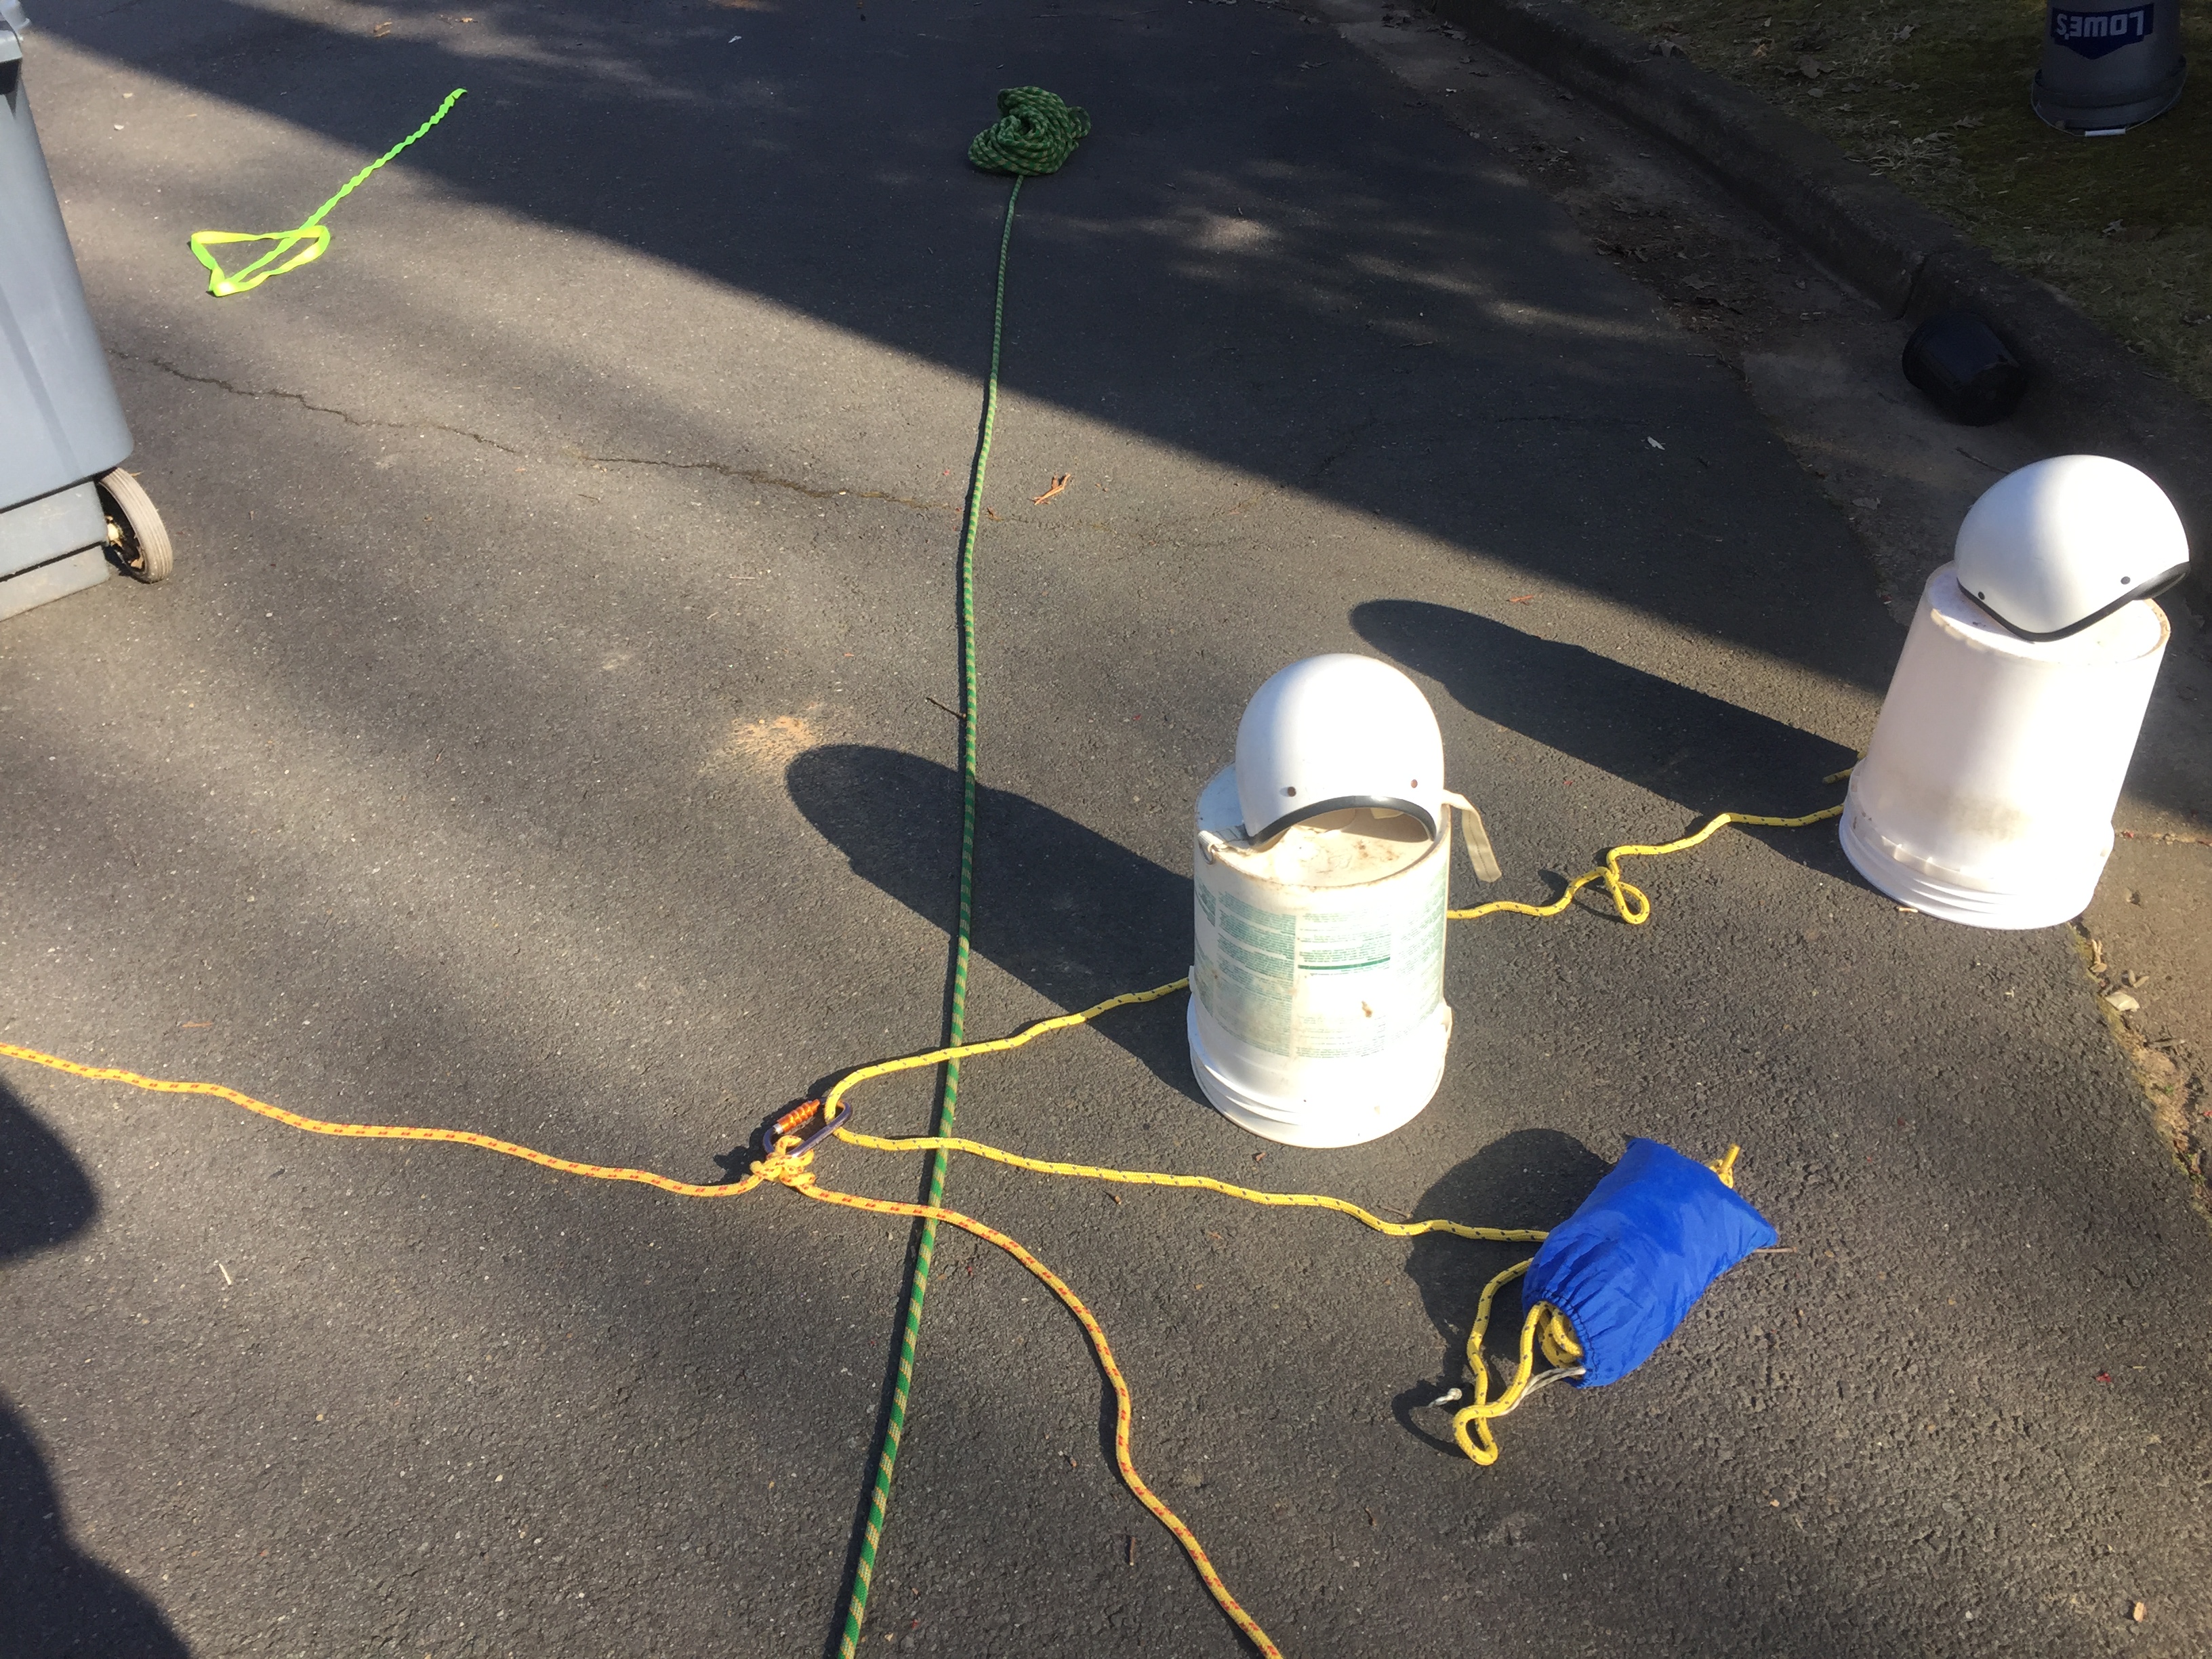
5) Pull the V over top of the victim.
6) Give a little bit of slack on the tag line until it buts up to the victim. The tag line rescuer is now responsible for maintaining that bag against the victim for the rest of the rescue. This is very critical and a common opportunity for failure – avoid the temptation to pull on this side.

7) Bring both ends of the V together and clip the bag end to the rope closing the loop.
8) Pull the loop shut so it cinches securely around the victim’s torso.
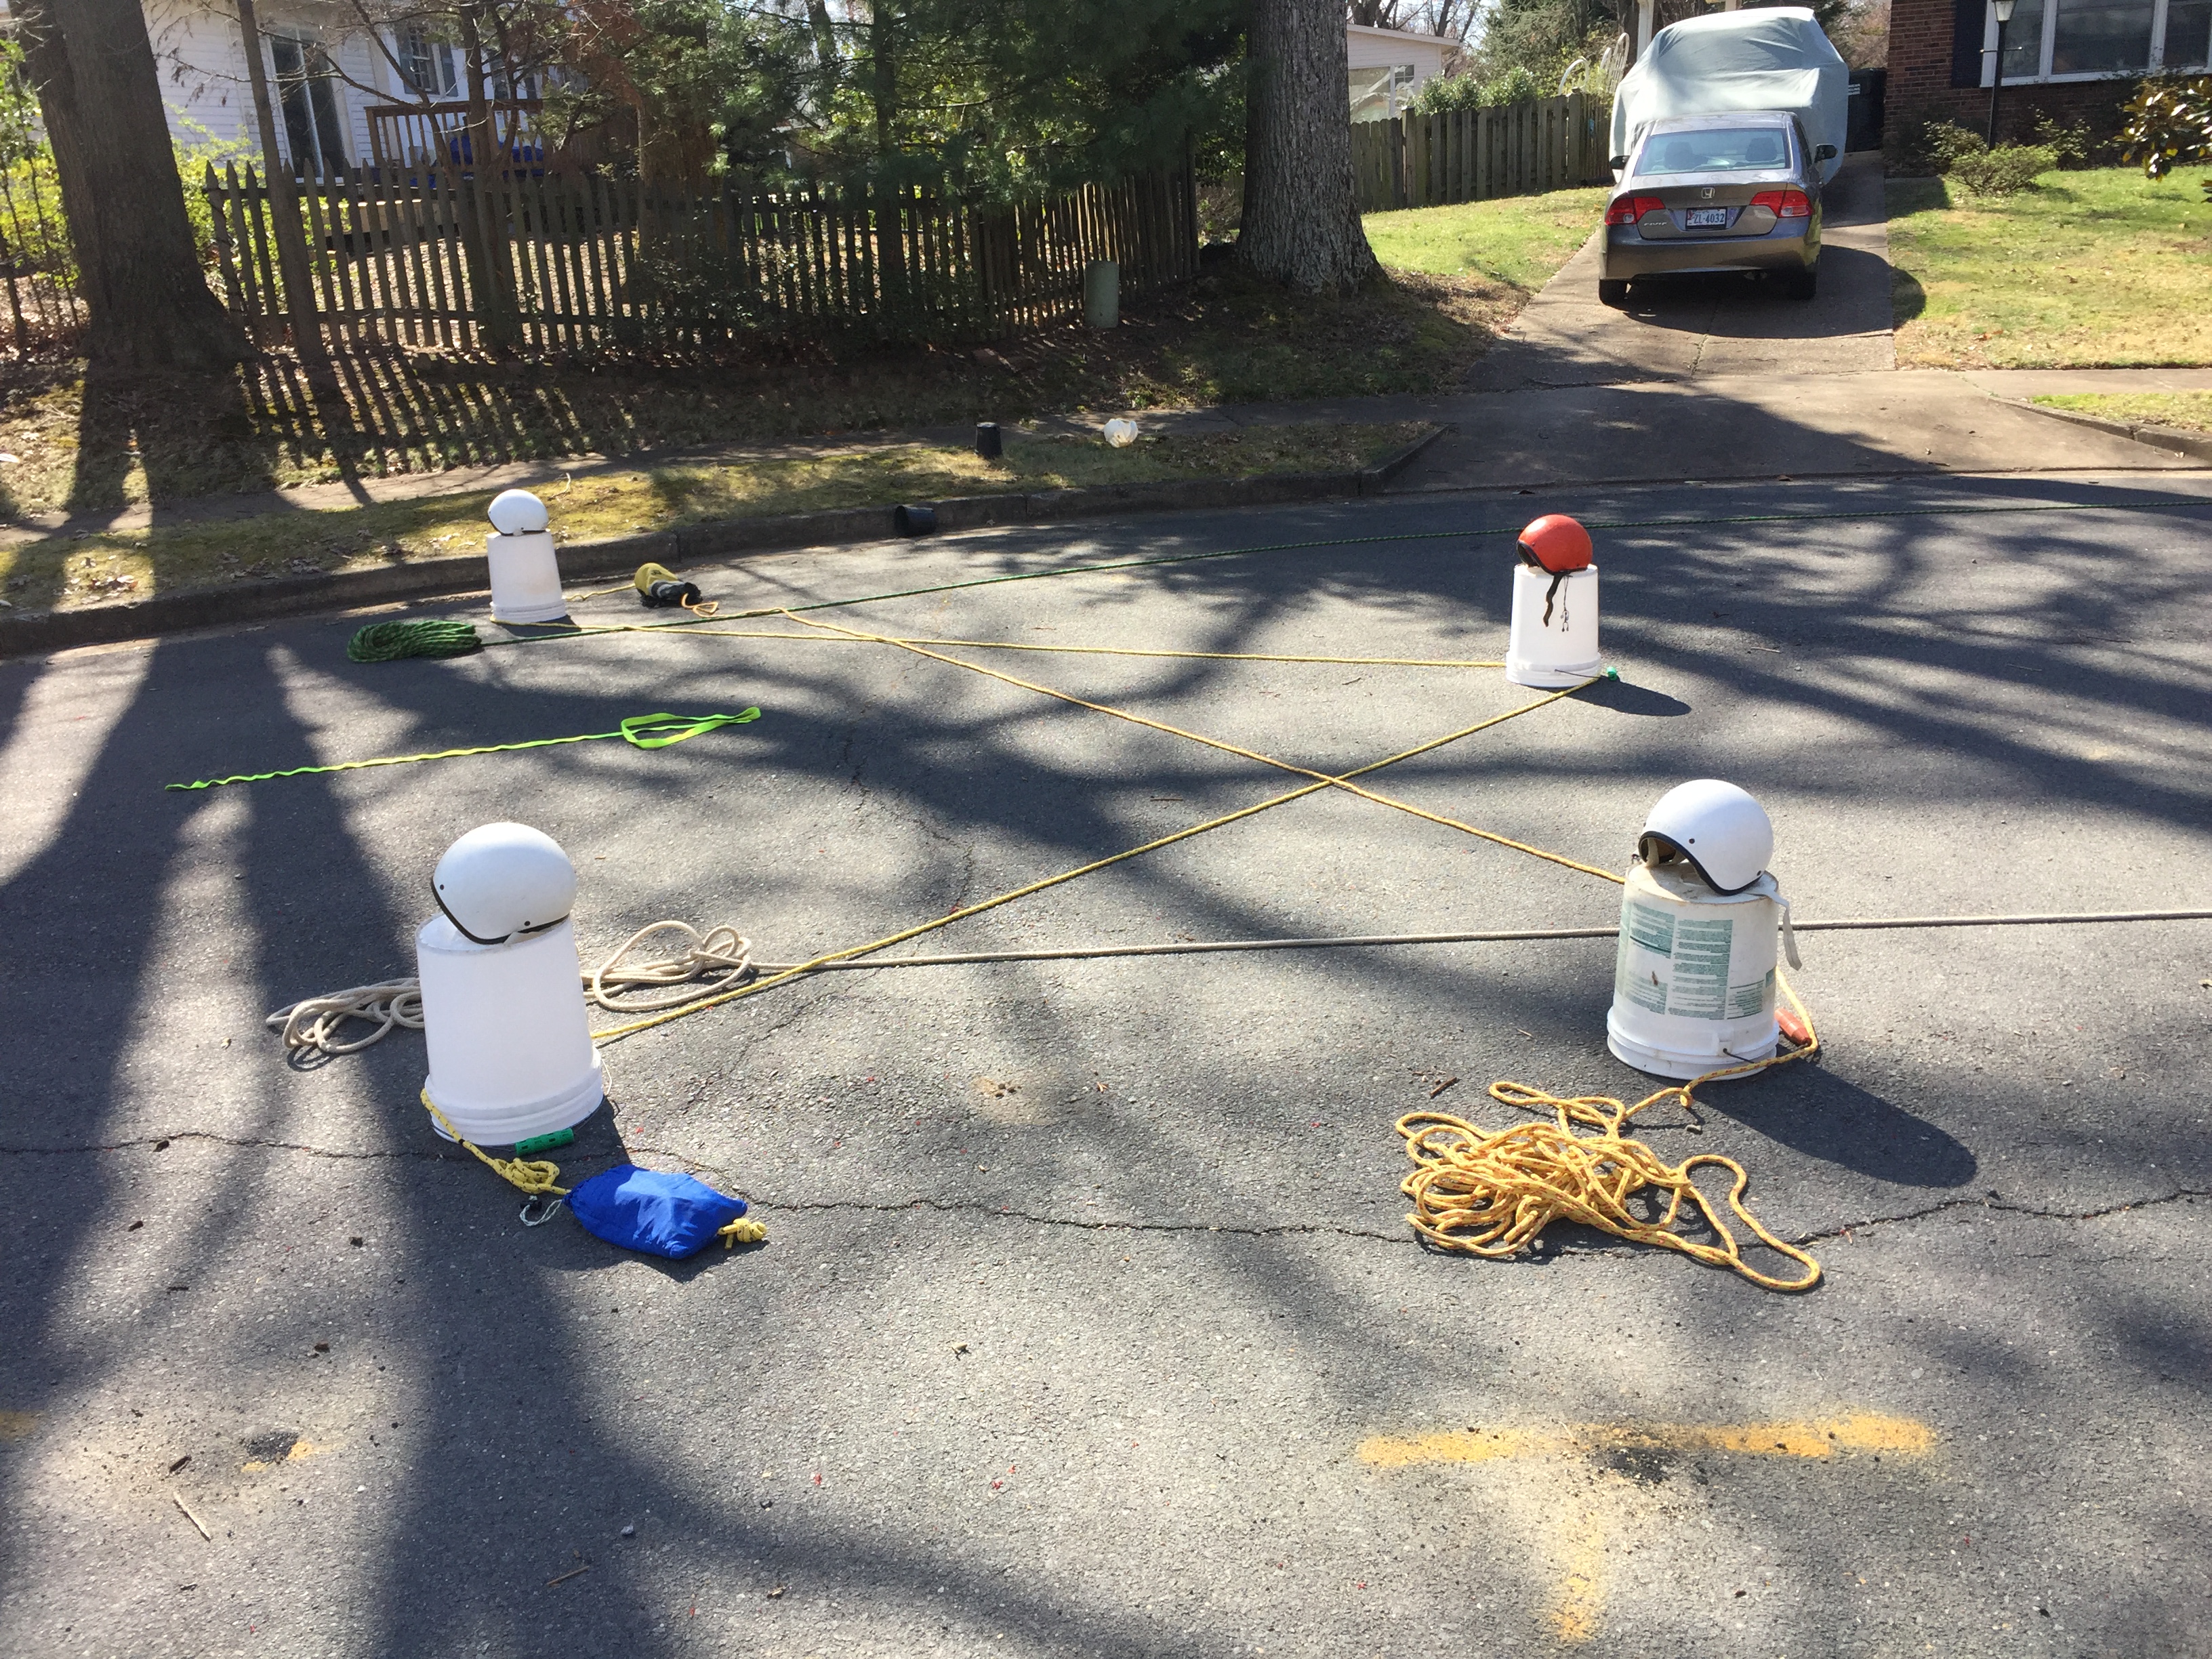
9) Rescuer’s on both sides walk Upstream for a better pull angle. Now it’s time to “Pop” the victim free – do so only from the loop side (not the tag line as that loosens the cinch).
10) The loop side pulls the freed victim to shore and the tag line maintains the cinch by giving slack as needed.
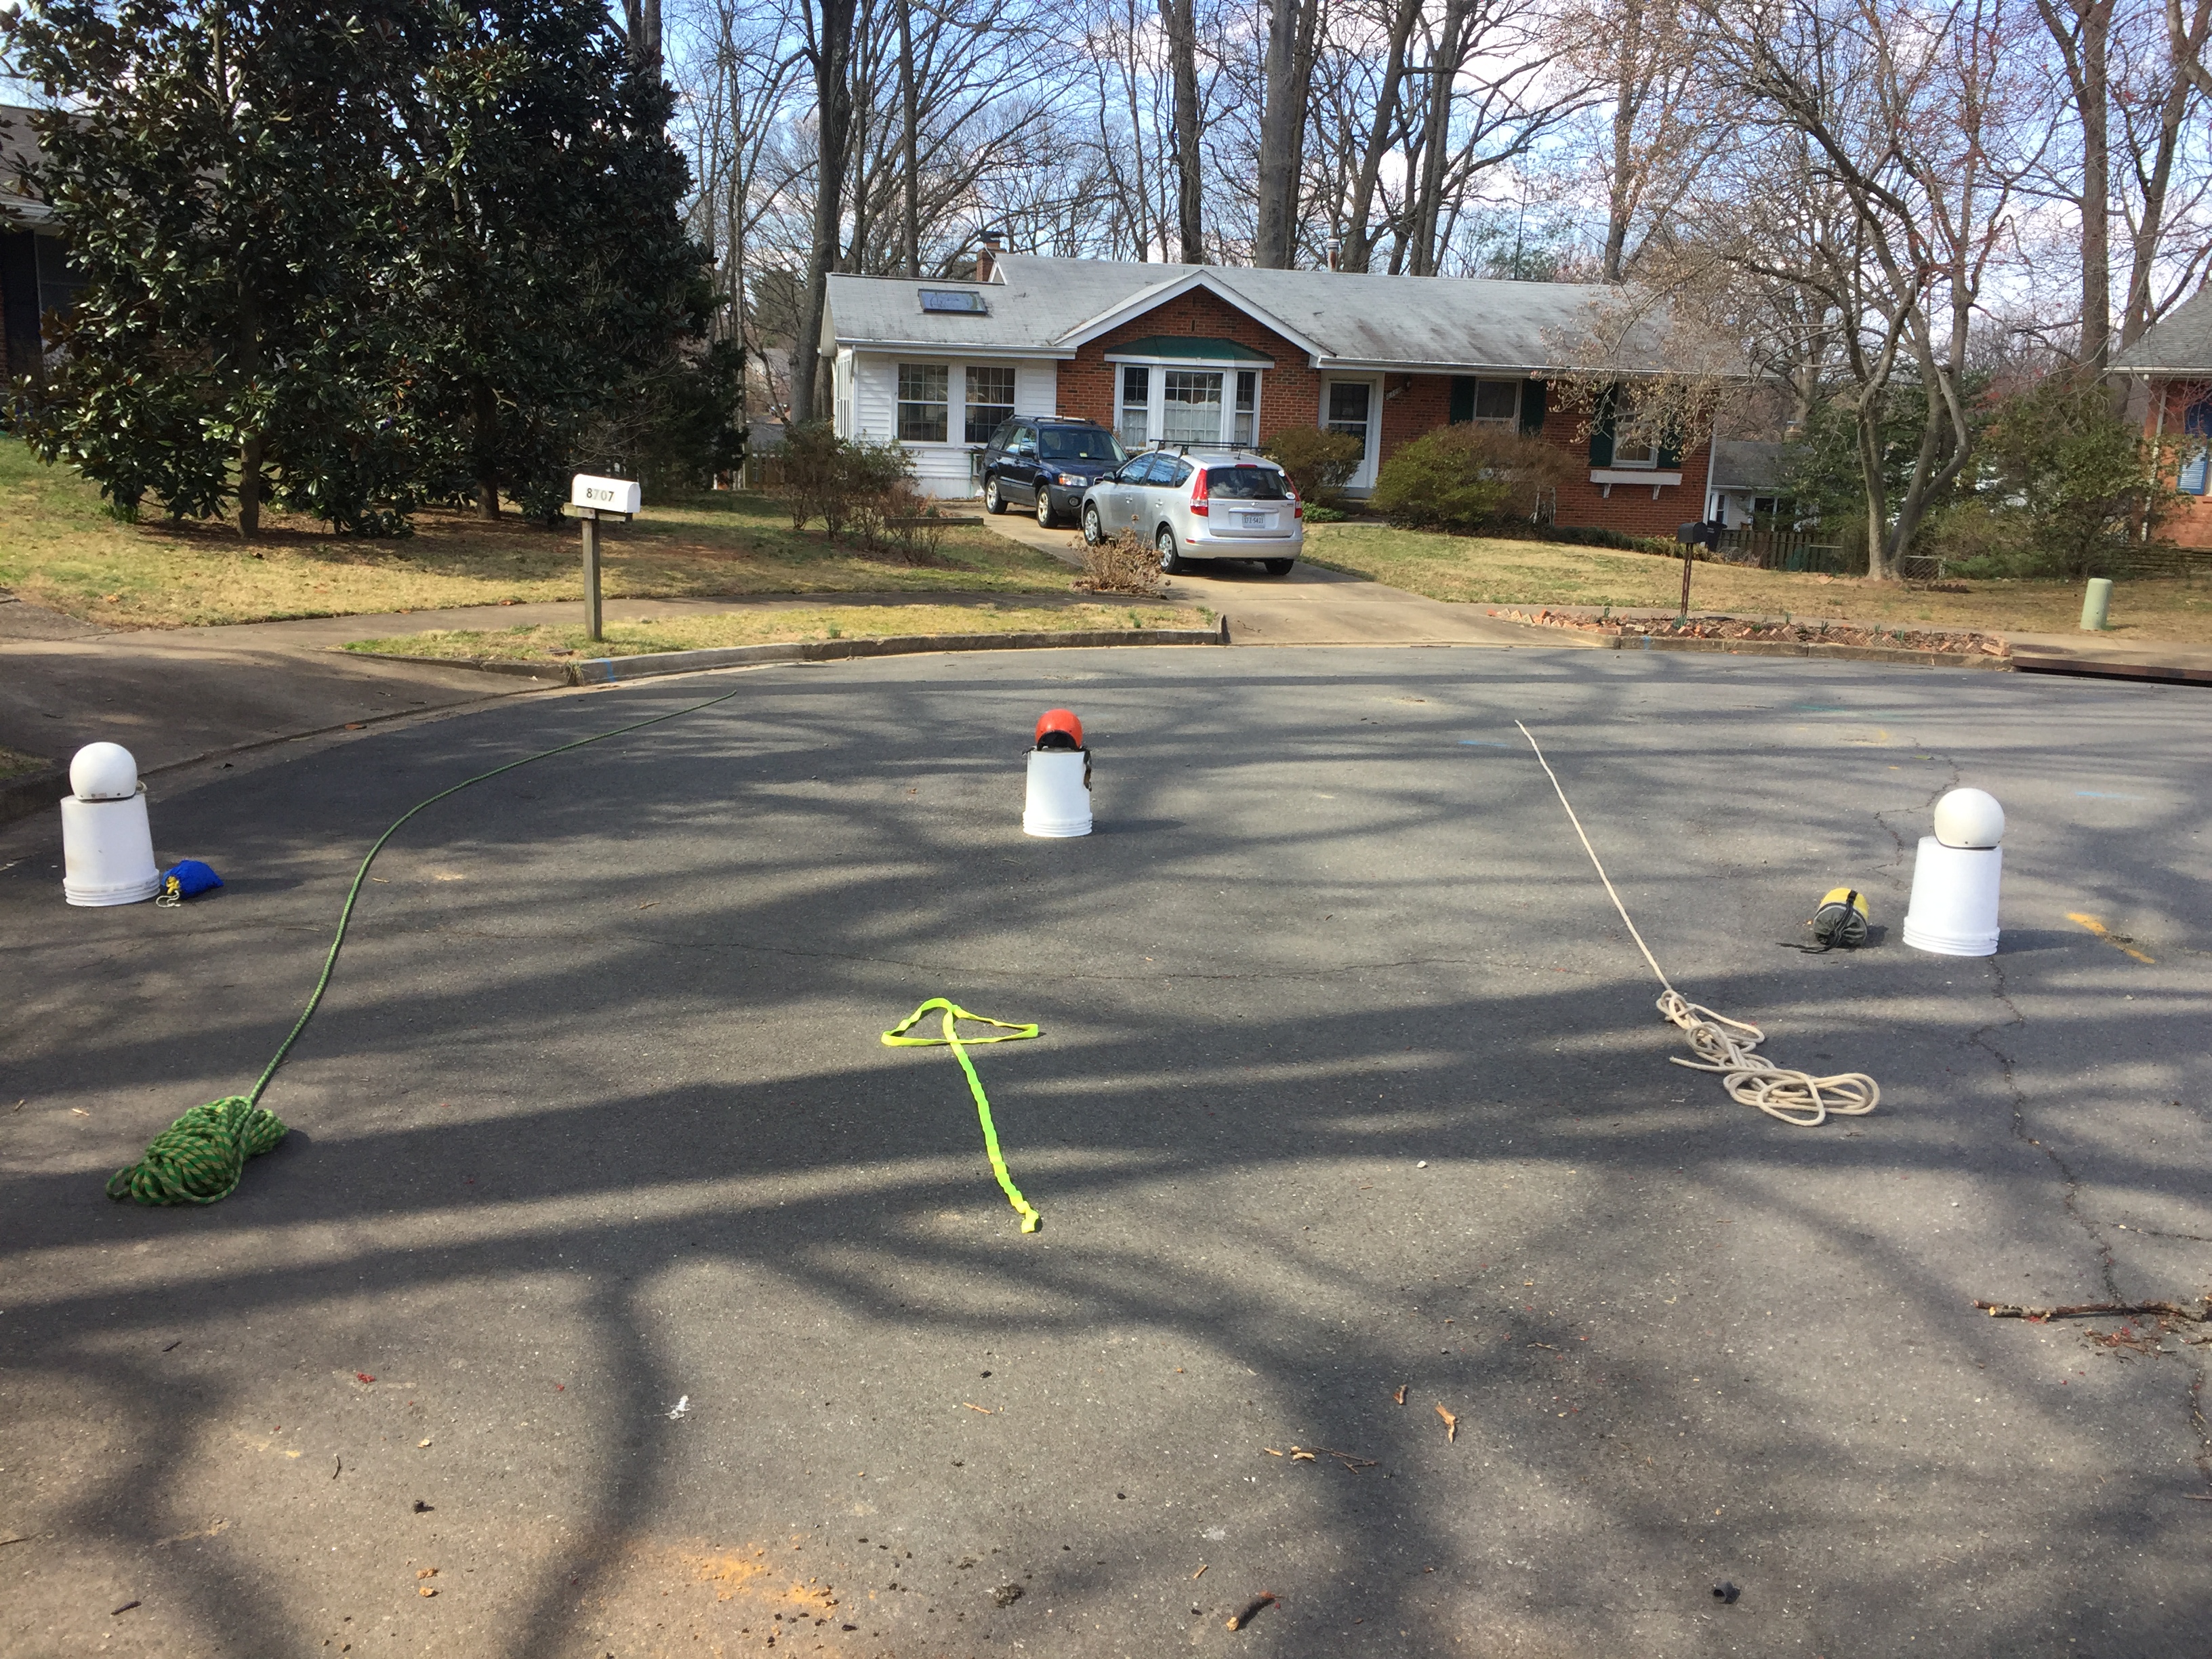
ET3 Cinch
All cinches share a common goal, wrap a rope around a victim in order to extract them from an entrapment when it isn’t safe to make contact with the victim. There are a variety of methods for accomplishing this task based on the situation where the victim is trapped. The ET3 cinch (compliments of Jim Coffey) is fast to set-up and only requires two people and one throw rope. It’s a great technique when the victim is reasonably close to shore (15’ – 20’).
Notes:
- The green and white ropes represent the shore lines.
- The yellow arrow shows the direction of the current and is points downstream.
- The Orange helmet is the victim with a foot entrapment.
- The White Helmets are the rescuers.
ET3 Cinch Steps
1) The victim is trapped and requires assistance. Each rescuer butterfly coils roughly half a rope. I use a common climber’s technique and mark the halfway point of my rope which makes this easier.
2) Both rescuers simultaneously toss a loop over the victim.
3) The Upstream rescuer crosses their rope over the downstream rescuer’s line.
4) The previous downstream rescuer walks their line Upstream for a good pull angle. Once in position, they “Pop” the victim free pulling upstream. Notice the victim is fully encircled in a loop.
5) Once freed, the rescuer downstream and across from the victim pulls that Orange helmet guy into shore.

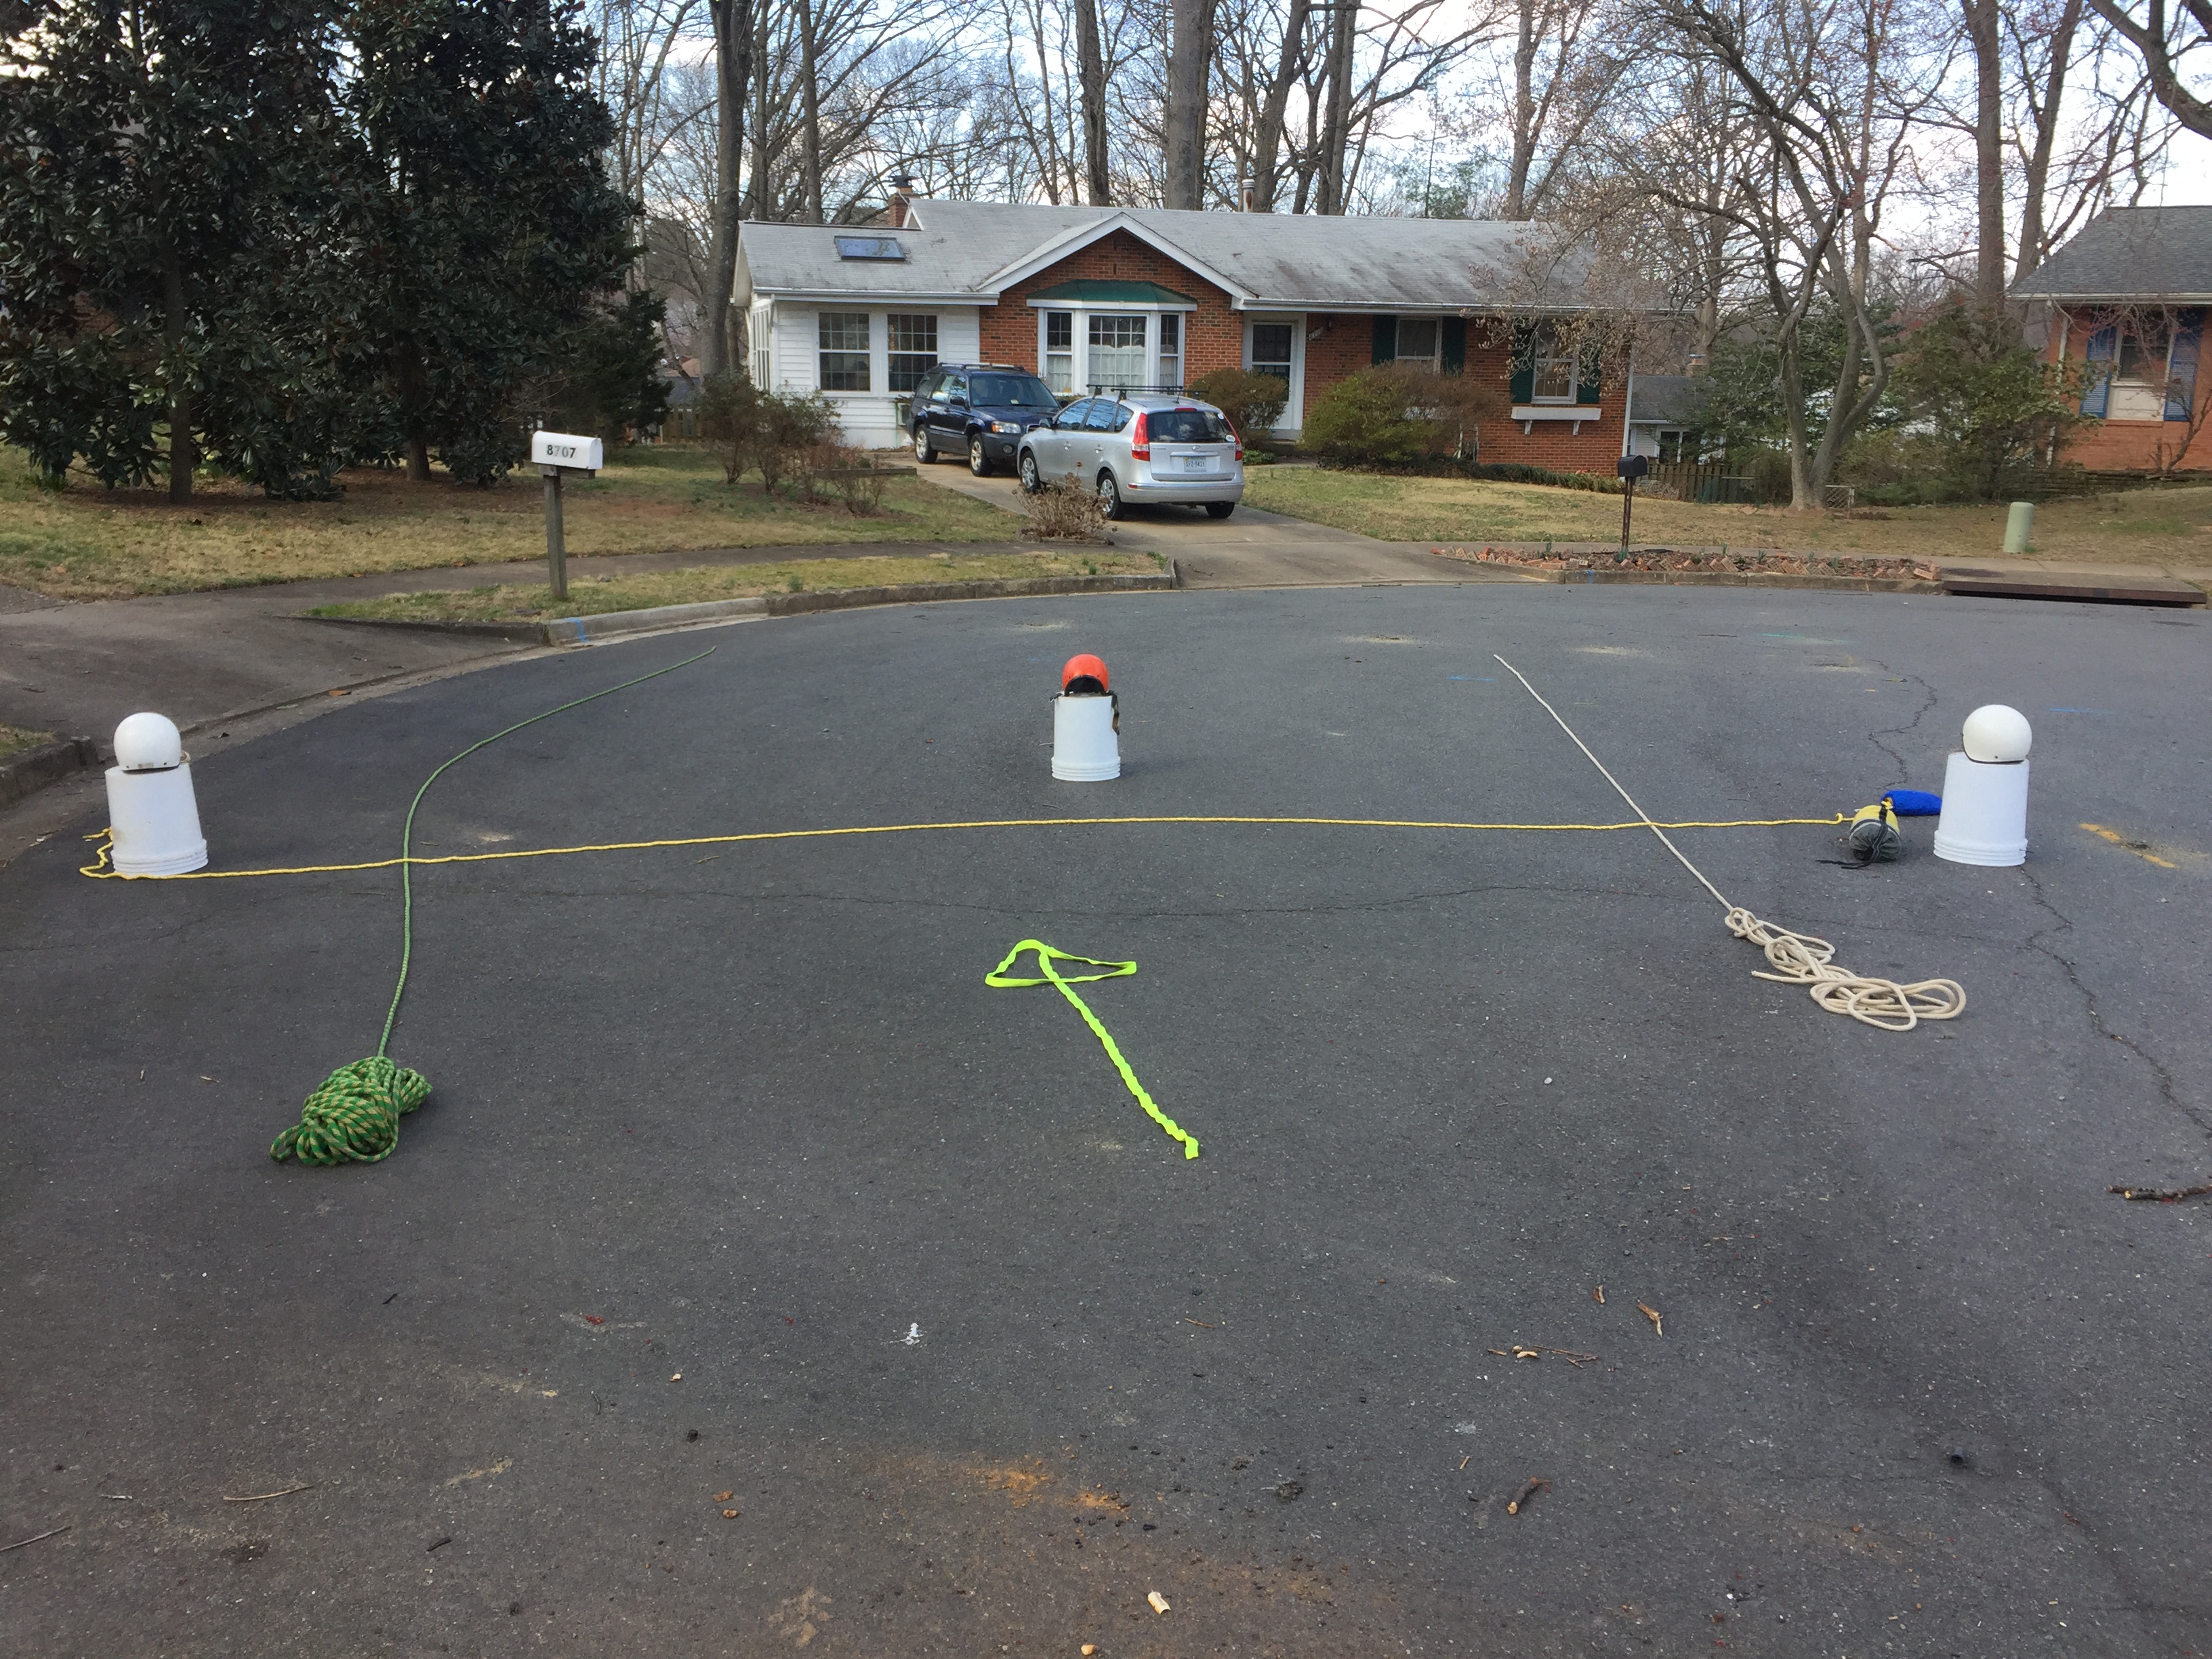
Simple Closed Cinch
All cinches share a common goal, wrap a rope around a victim in order to extract them from an entrapment when it isn’t safe to make contact with the victim. There are a variety of methods for accomplishing this task based on the situation where the victim is trapped. The Simple Closed Cinch can be performed with as little as two rescuers. Like the Simple Open Cinch, it requires access from both shores. This article uses a few more resources to greatly improve the odds of success. The Simple Closed Cinch can be effective with a heads down entrapment.
Notes:
- The green and white ropes represent the shore lines.
- The yellow arrow shows the direction of the current and is points downstream.
- The Orange helmet is the victim with a foot entrapment.
- The White Helmets are the rescuers.
Simple Closed Cinch Steps
1) The victim is trapped and requires assistance. Notice we have rescuers on both shores with throw bags.
2) Toss the first bag across a little bit Upstream of the victim. Not as necessary since this cinch is used for heads down entrapments but consistency is a decent practice.
3) Lift the line over the victim and start setting up a Stabilization Line.

4) Both rescuers walk upstream to form a nice deep V. This avoids a vector pull and makes it easy to support with just two people. Now – be Really Careful! Make certain the line is around their torso – not their neck. Slowly lift the torso out of the submerged position so they can hopefully breath again.

5) A third rescuer tosses a line across the stream Downstream of the victim.
6) Now a fourth rescuer tosses a bag in the opposite direction Upstream of the victim.
7) Rescuers 3 & 4 clip their bag ends to each others line. This forms a large loop which we will pull together to cinch down on the victim whom is being held heads up via the stabilization line. This photo shows only one side (Rescuer 3).
8) Once the two lines are pulled taught, the victim is securely cinched. Just like the stabilization line, the cinch must be around the torso. This is easier to accomplish with the independent Stabilization Line.
9) Rescuers 3 & 4 walk Upstream to form a deep V and “Pop” the victim free.
10) Everyone works together to land the victim safely to shore. The victim can be landed on either shore maintaining the cinch hold.
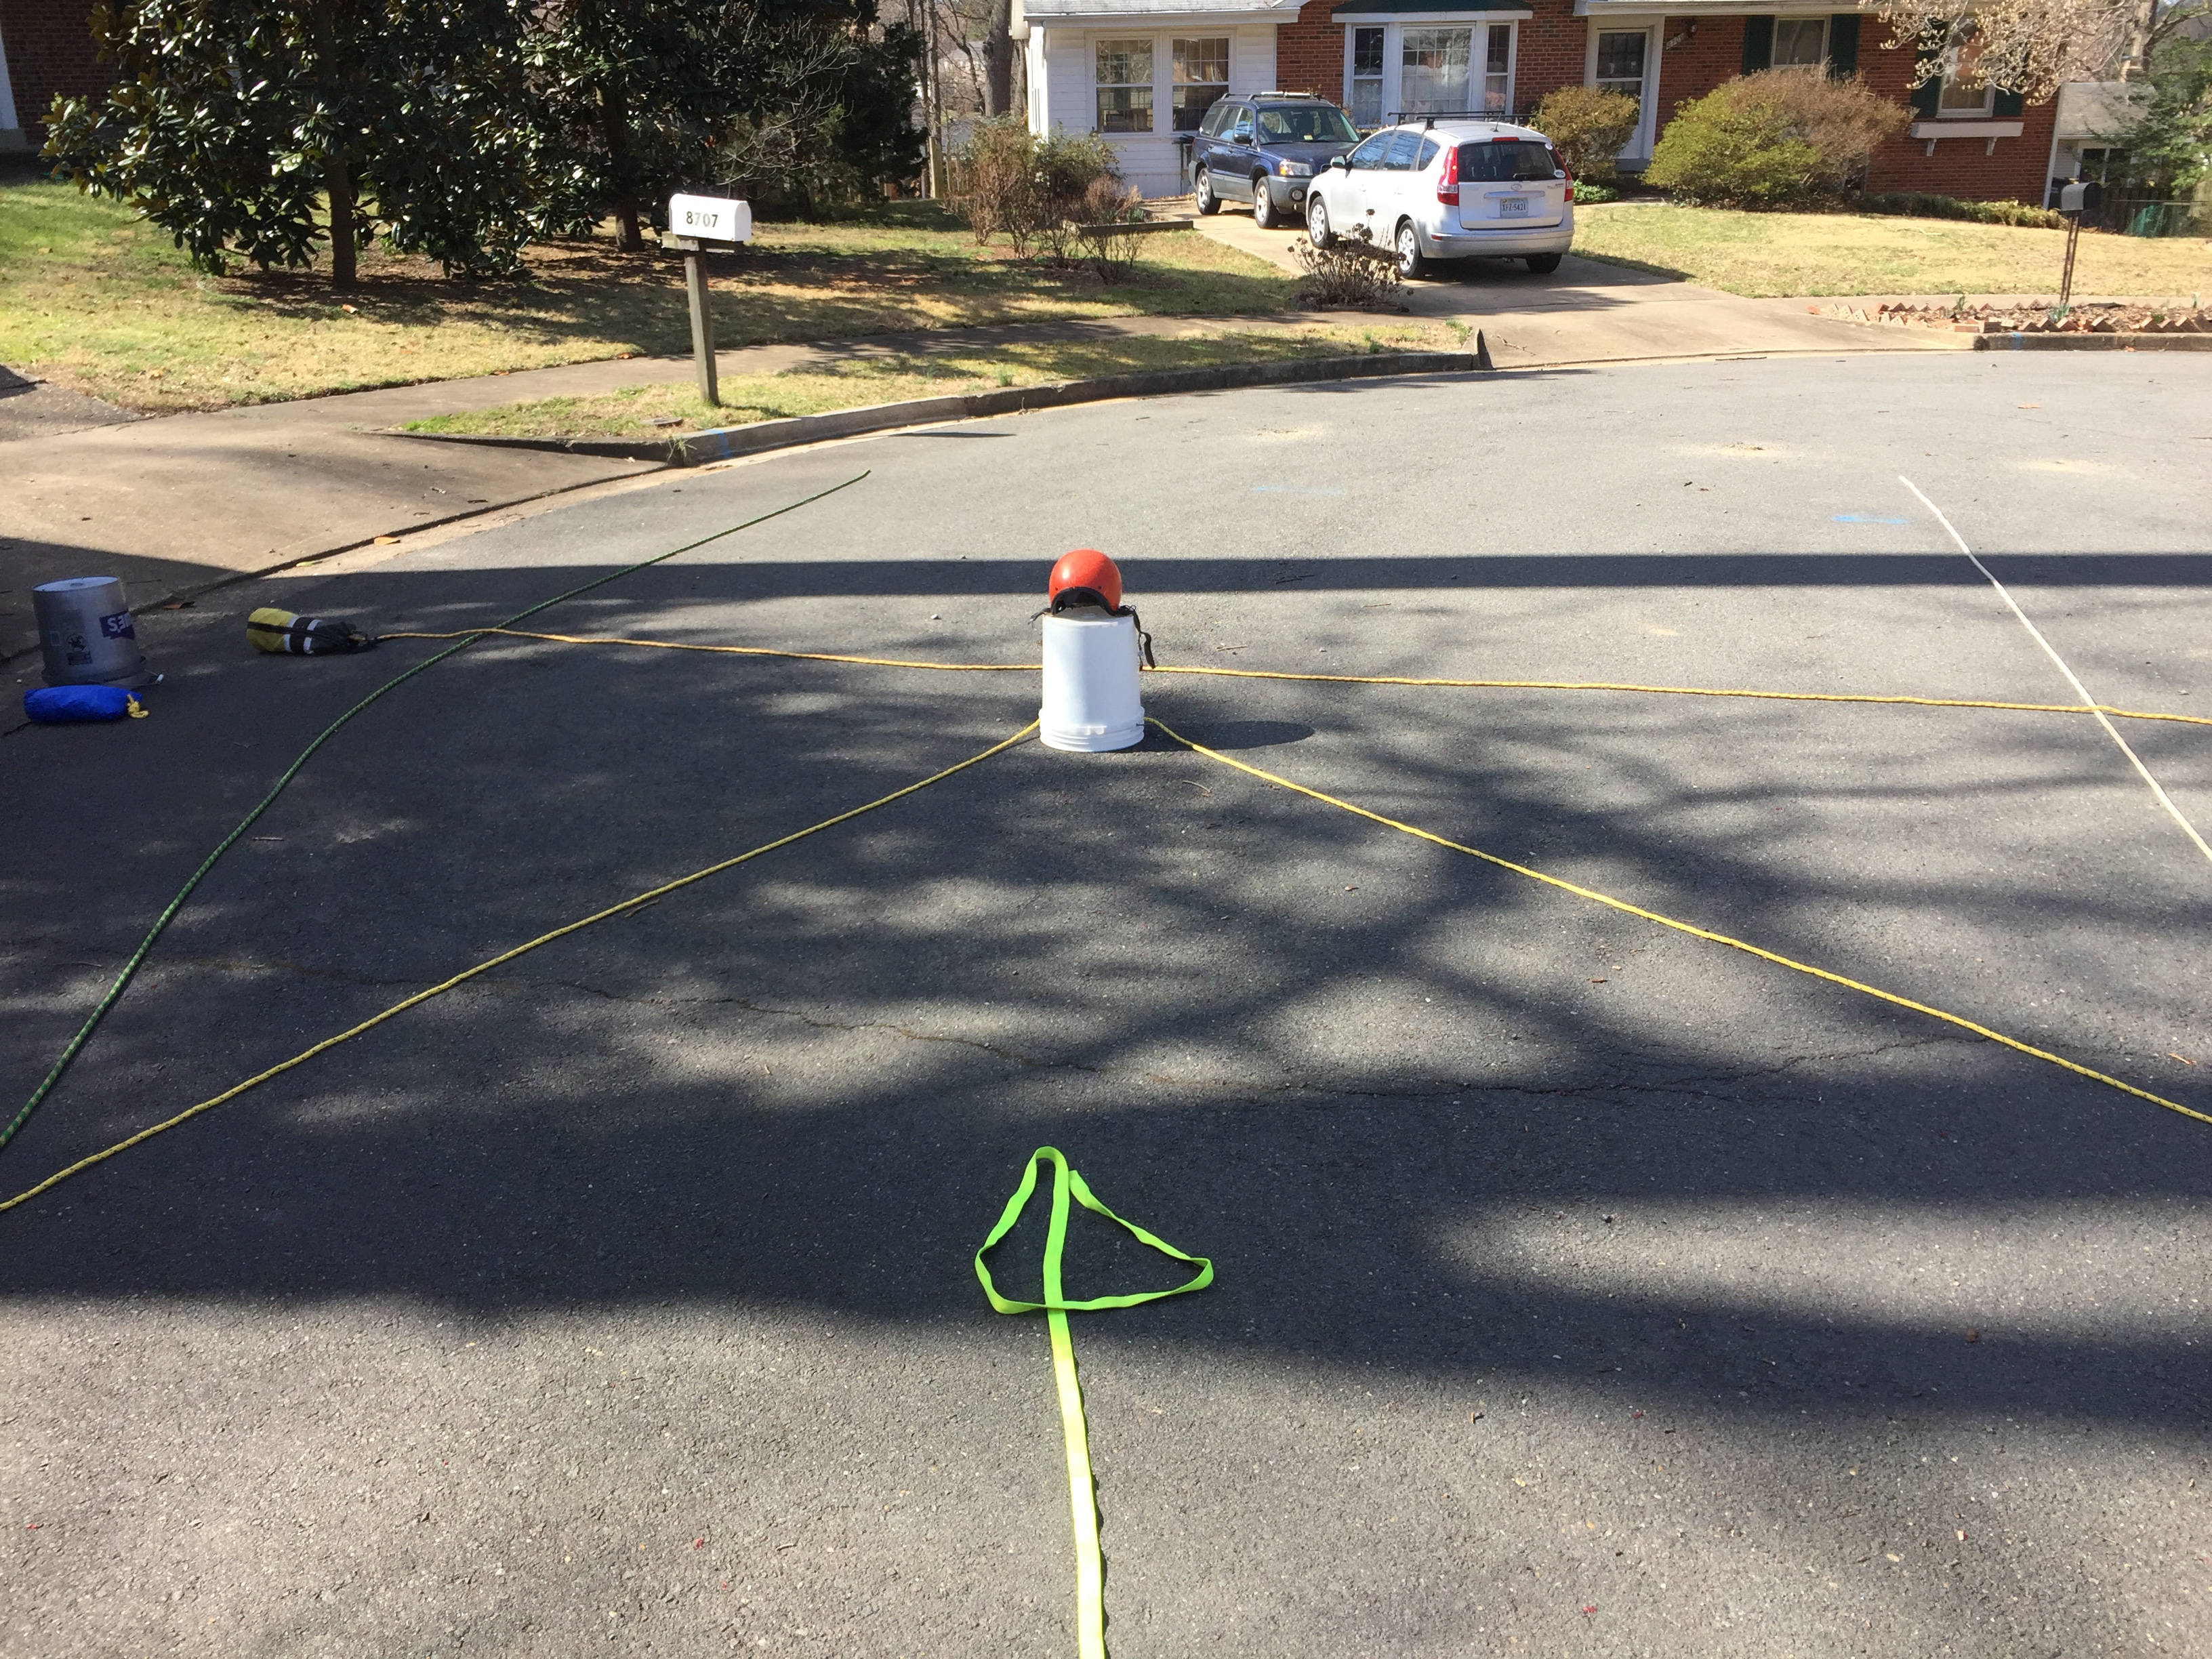
Simple Open Cinch
All cinches share a common goal, wrap a rope around a victim to extract them from an entrapment when it isn’t safe to make contact with the victim. There are a variety of methods for accomplishing this task based on the situation where the victim is trapped. The Simple Open Cinch is a relatively easy cinch to learn. This cinch requires 3 people and requires access from both shores.
Notes:
- The green and white ropes represent the shore lines.
- The yellow arrow shows the direction of the current and is points downstream.
- The Orange helmet is the victim with a foot entrapment.
- The White Helmets are the rescuers.
Simple Open Cinch Steps
1) The victim is trapped and requires assistance. Notice we have rescuers on both shores with throw bags.

2) Toss the first bag across a little bit Upstream of the victim. This avoids having the victim quickly grab your line.

3) Lift the line over the victim and start setting up a Stabilization Line.
4) Both rescuers walk upstream to form a nice deep V. This avoids a vector pull and makes it easy to support with just two people. Ask the victim if they are able to free themselves with this support line.
5) A third rescuer tosses a line across the stream Upstream of the victim.
6) Clip the bag end on the Stabilization Line. I prefer clipping bag ends for consistency and they often have floatation.
7) Pull the Upstream line somewhat taught closing the loop. We now have a secure victim ready for release.
8) The Stabilization Line holders “Pop” the victim out of the obstruction.
9) The Rescuer holding the Cinch Line pulls the freed victim to shore and helps land him. The Stabilization Line holders need to pay attention in helping the victim’s progress to shore.
Page 1 of 4
- You are here:
-
Home

- Stabilization Training Material