Shrinking Loop Cinch
All cinches share a common goal, wrap a rope around a victim in order to extract them from an entrapment when it isn’t safe to make contact with the victim. There are a variety of methods for accomplishing this task based on the situation where the victim is trapped. The Shrinking Loop Cinch is a simplified variation of the Carlson Cinch (less control lines). This cinch requires 3 people and requires access from both shores. The Shrinking Loop Cinch solves a challenging issue with obstructions much like dental floss allows you to clean between your teeth.
Notes:
- The green and white ropes represent the shore lines.
- The yellow arrow shows the direction of the current and is points downstream.
- The Orange helmet is the victim with a foot entrapment.
- The White Helmets are the rescuers.
Shrinking Loop Cinch Steps
1) The victim is trapped and requires assistance. Notice we have rescuers on both shores with throw bags. Also notice we have a new wrinkle, boulders all around the victim.
2) The rescuers on the side of the river you plan to pull the victim towards construct a simple loop or lasso.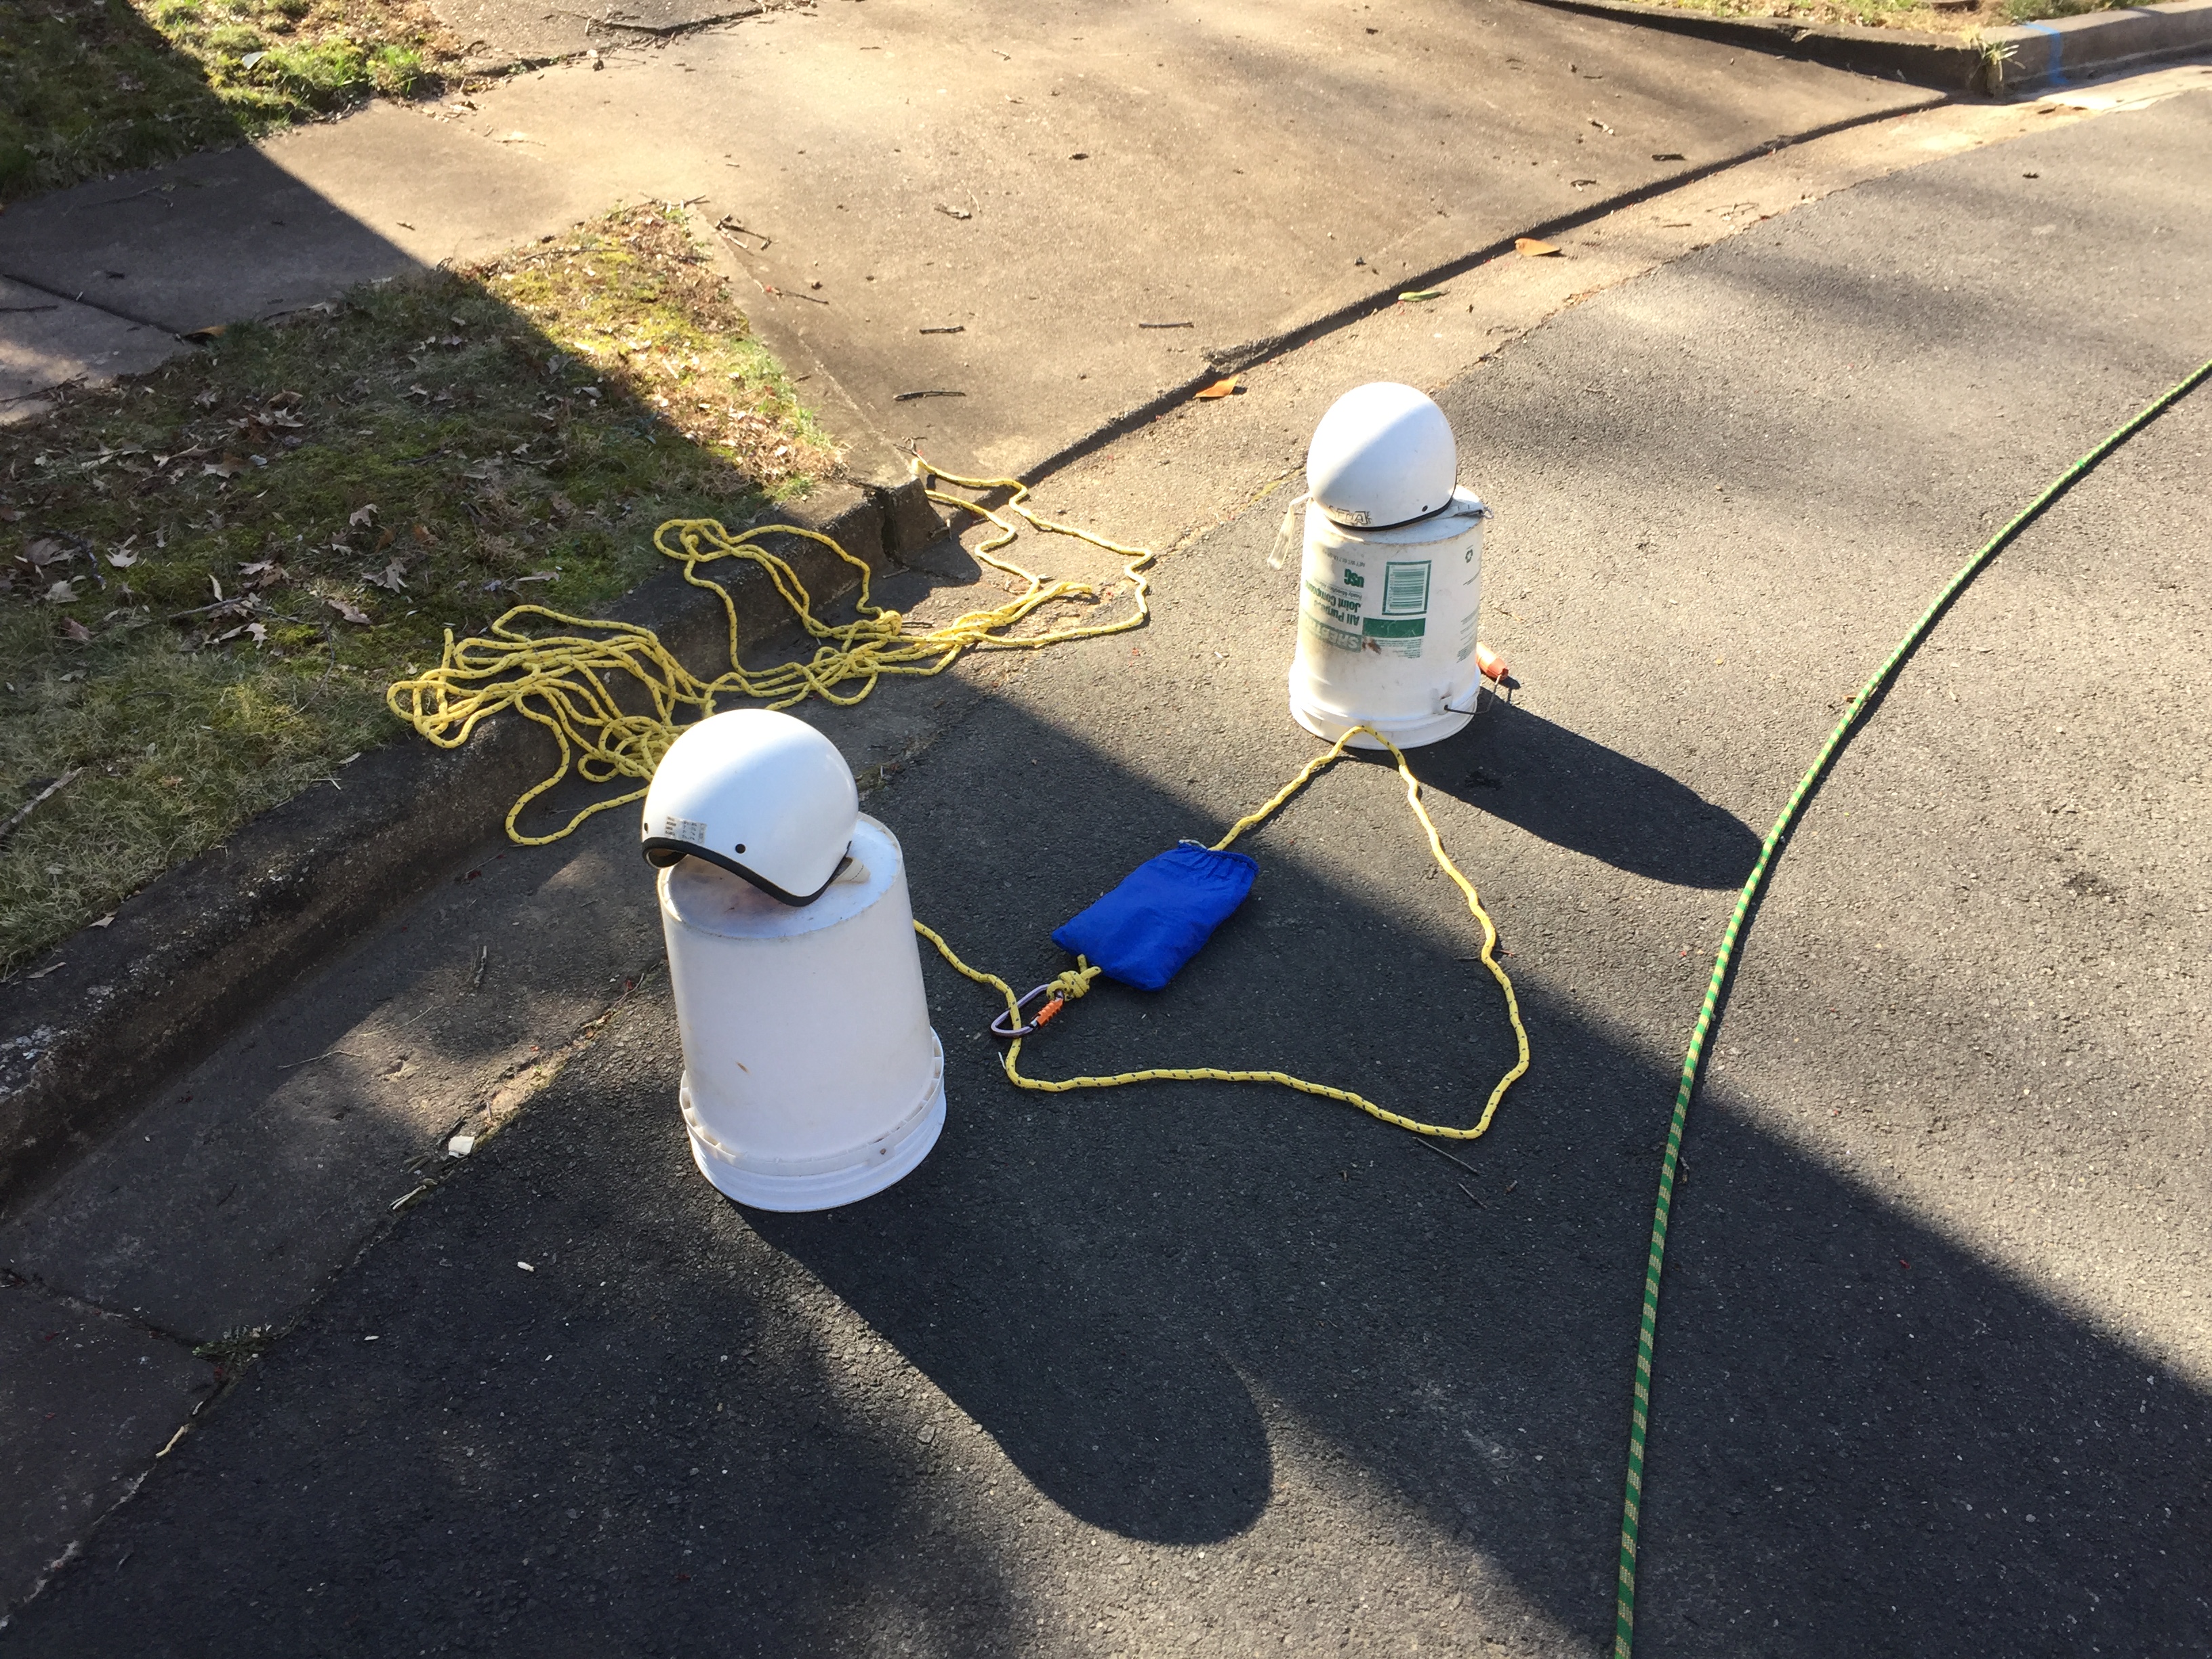
3) The other side throws a line across. This line acts much like a tag line. You will need to weave this between the boulders.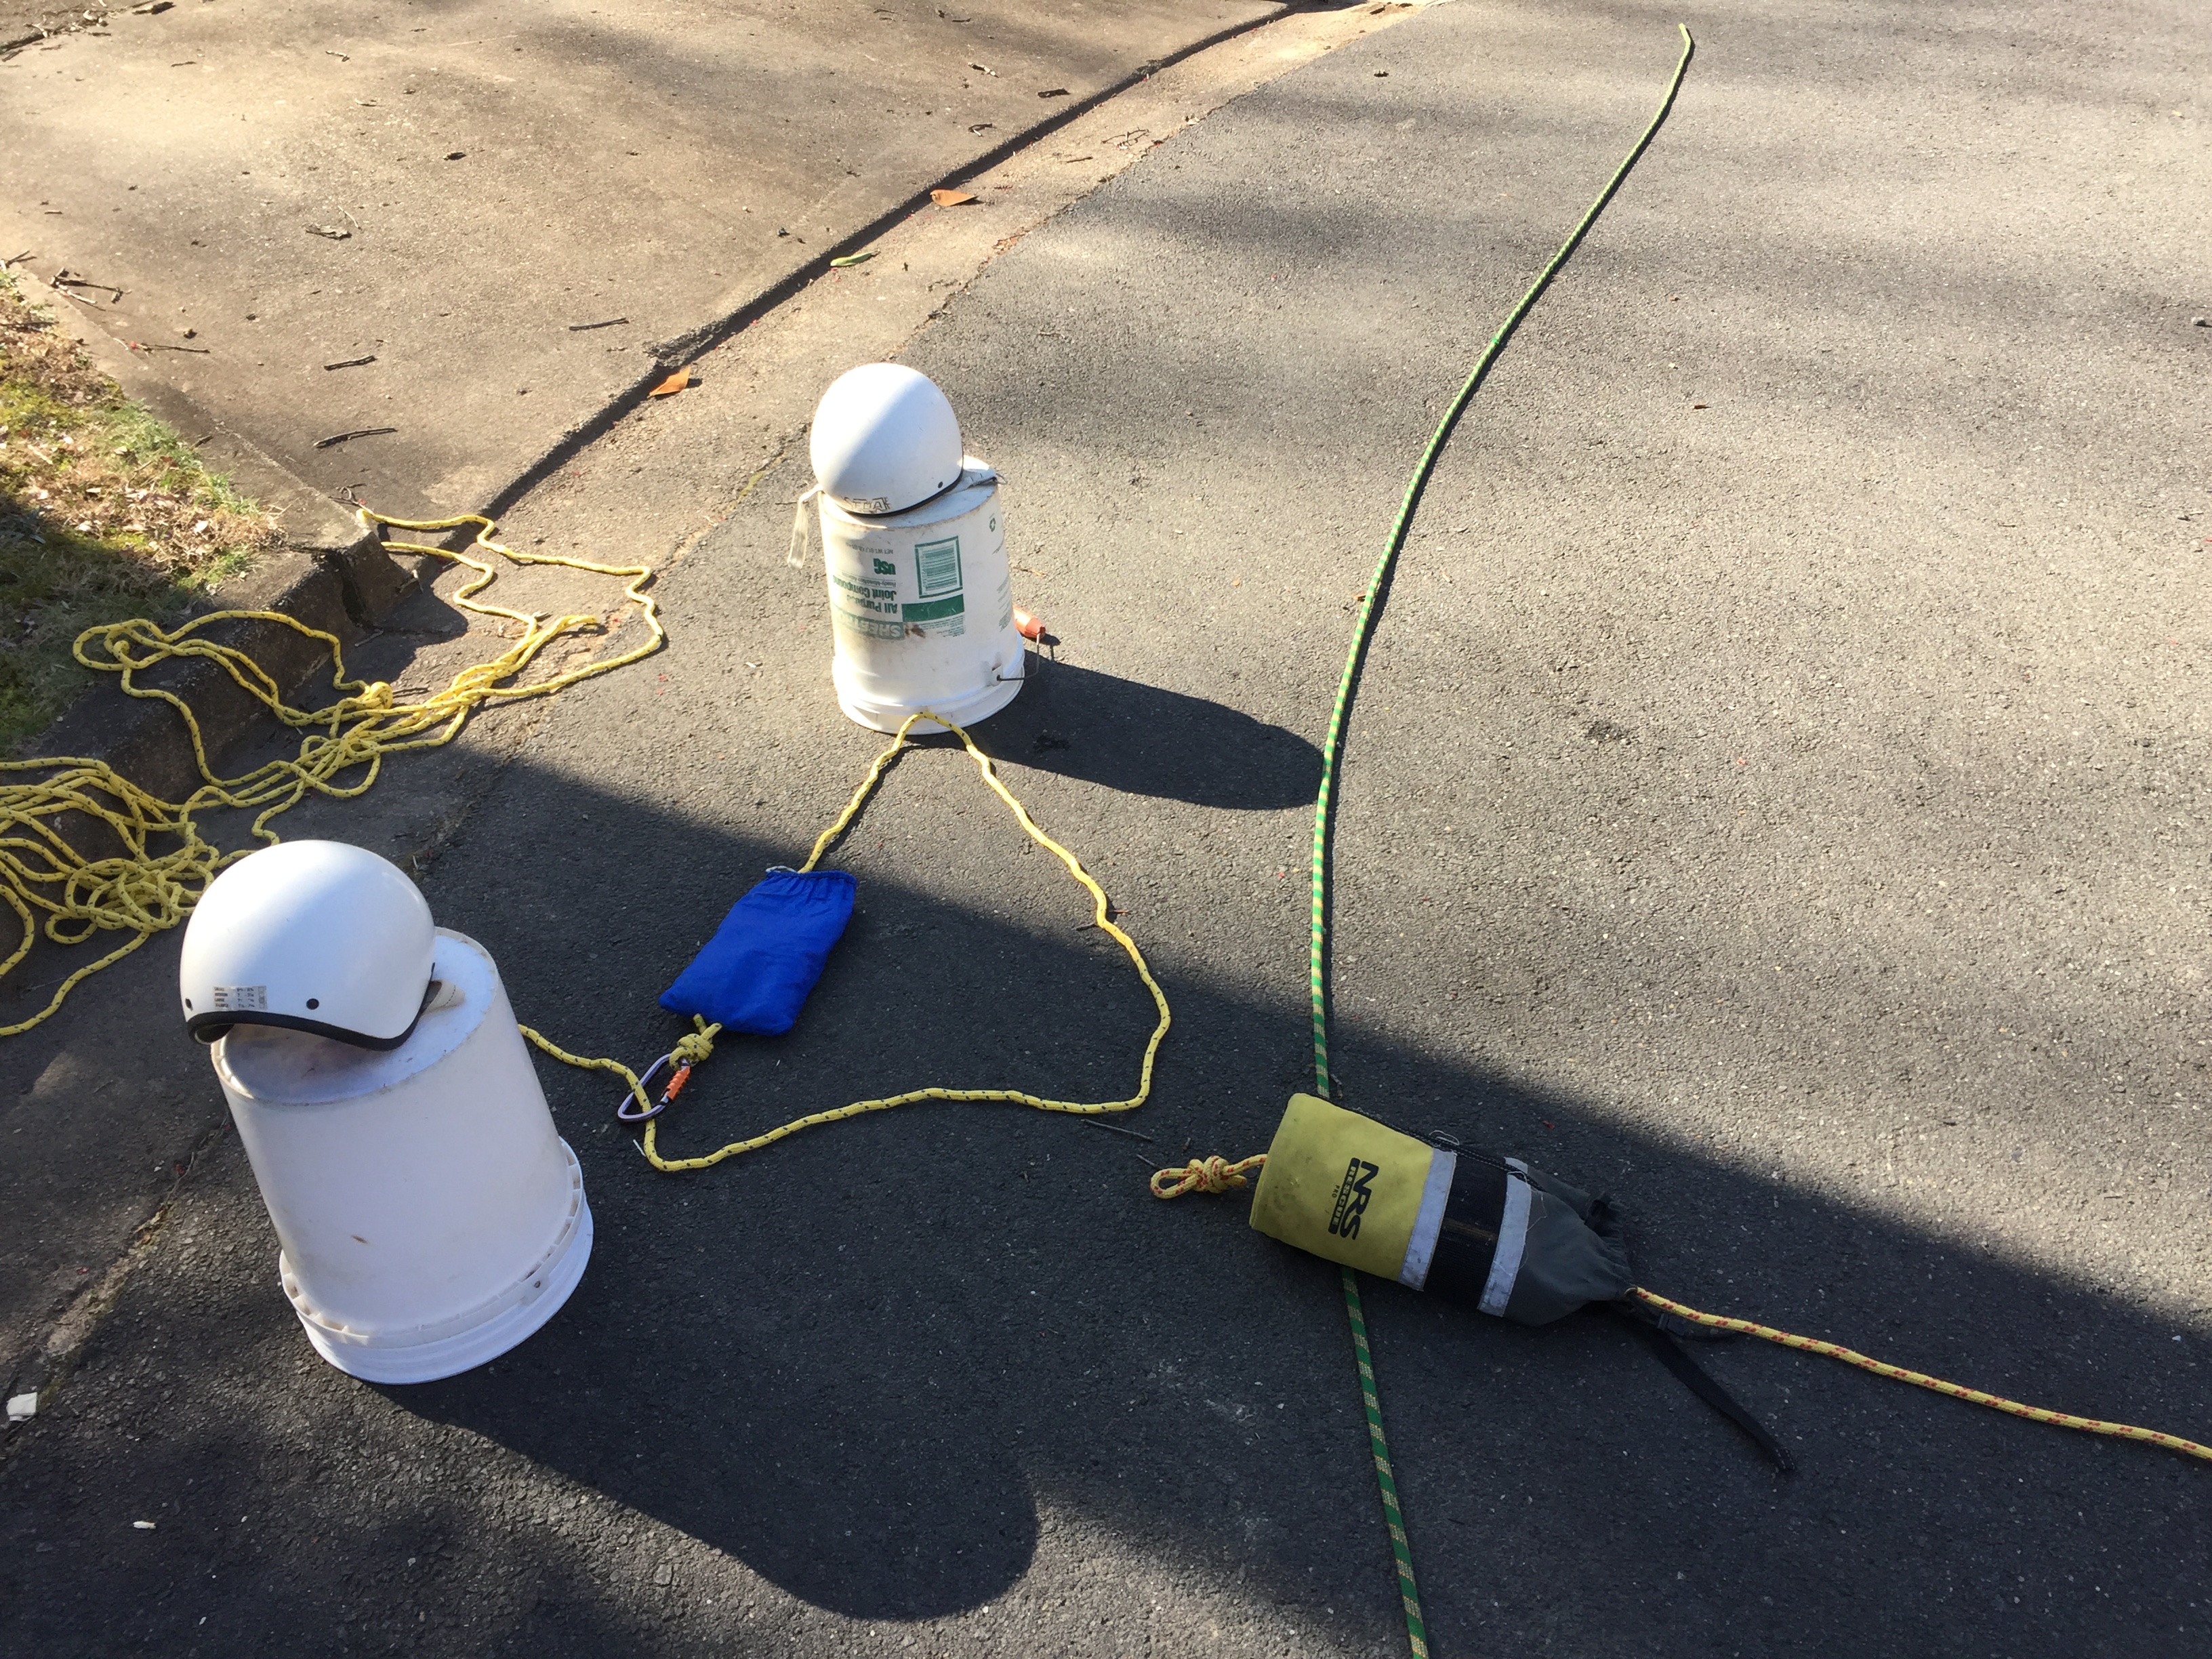
4) Clip the tag line to the loop you created.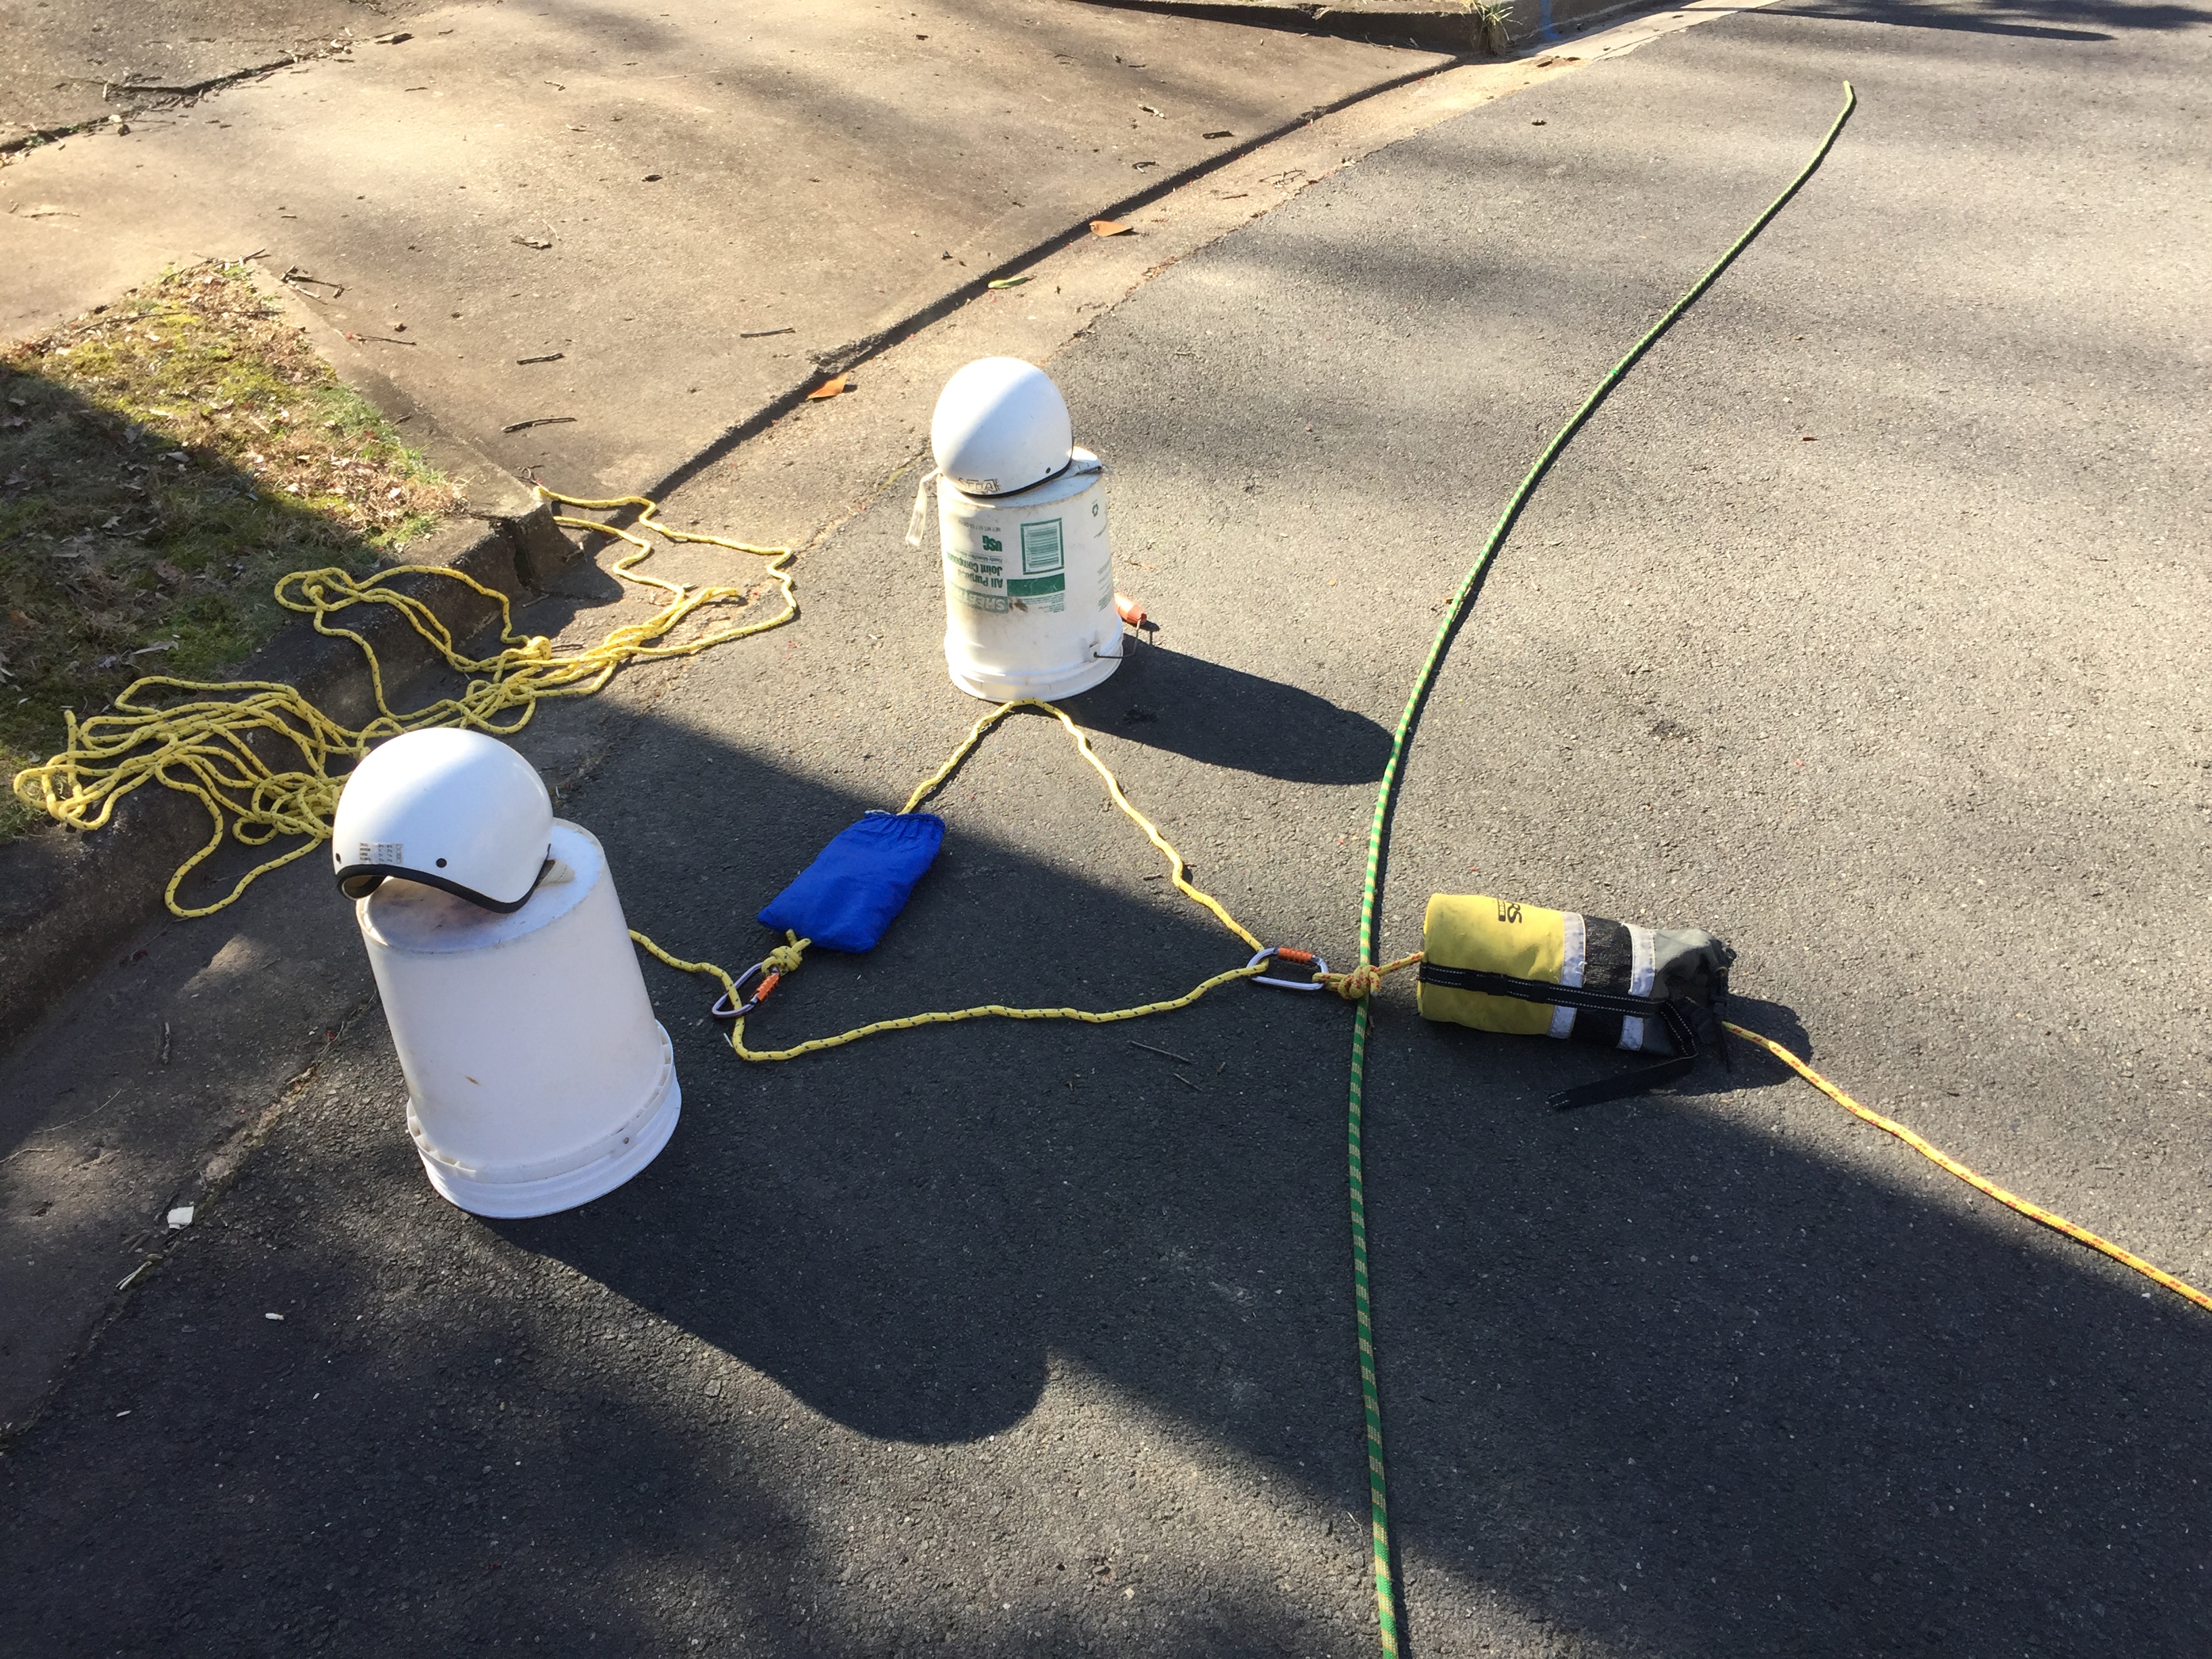
5) Pull the tag line back across the shore while the two rescuers on the loop side maintain a nice triangle. Eventually the triangle is laid right over top the victim. 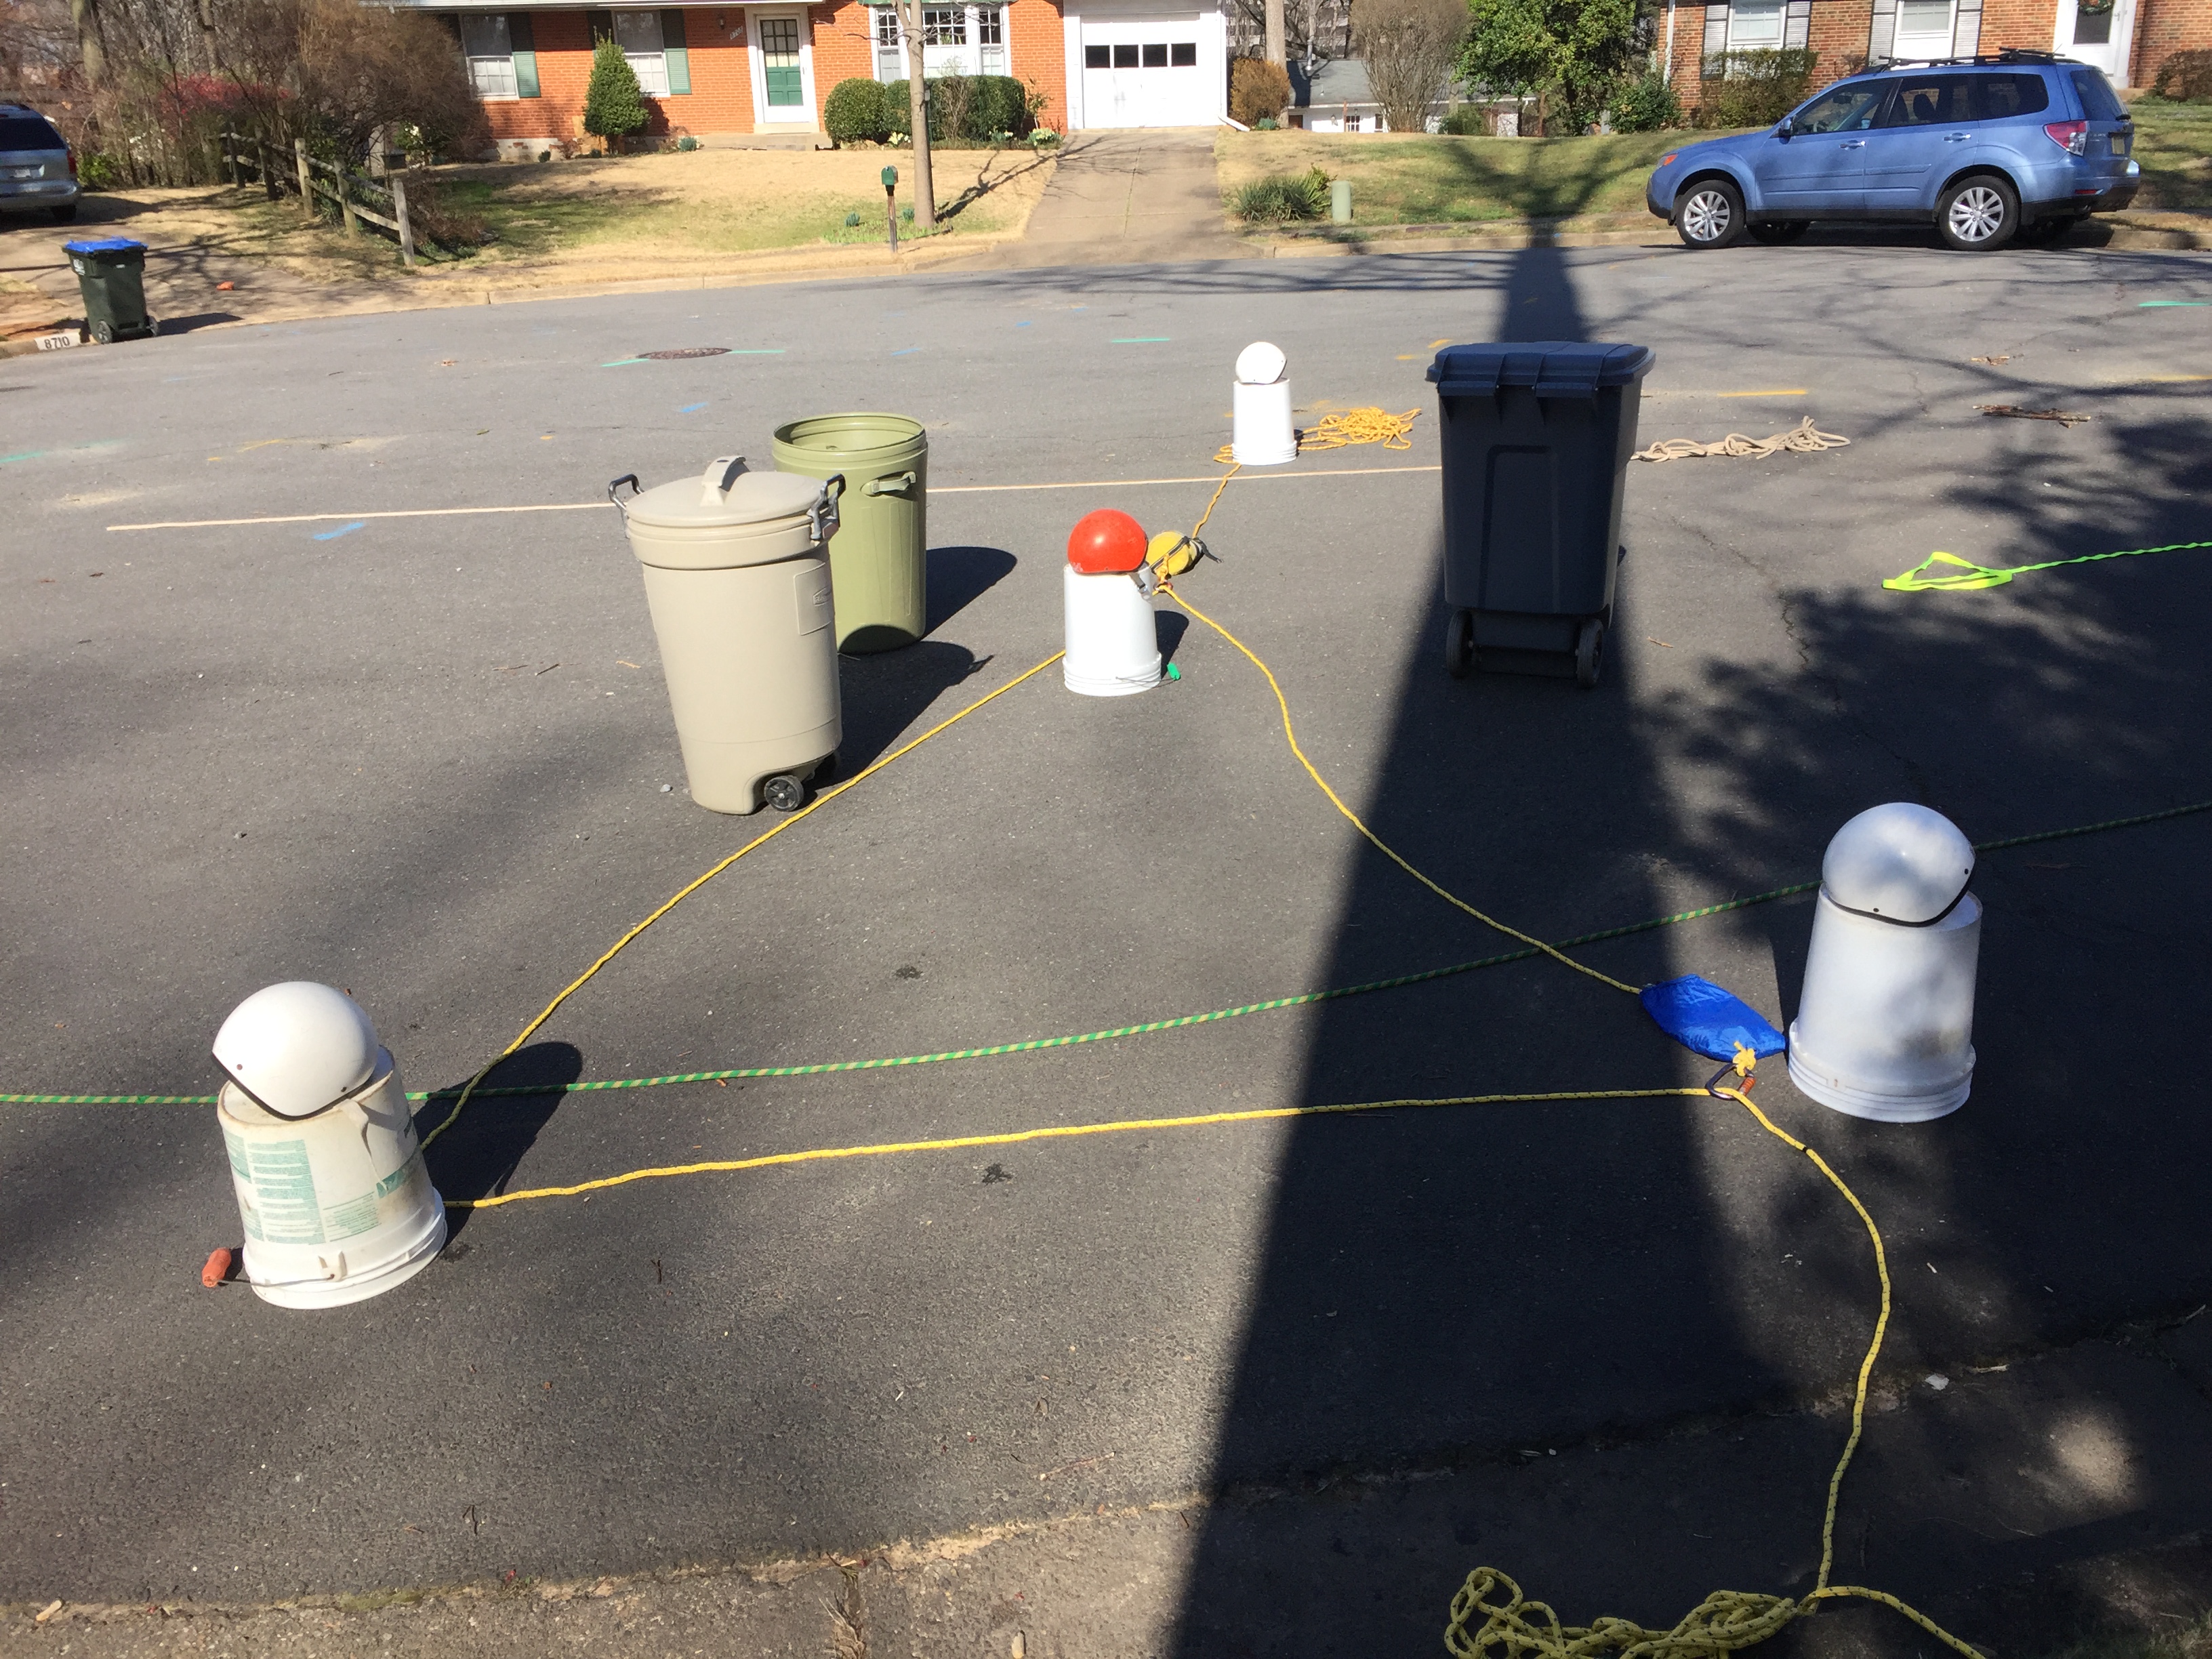
6) Give a little bit of slack on the tag line until it buts up to the victim. The tag line rescuer is now responsible for maintaining that bag against the victim for the rest of the rescue. This is very critical and a common opportunity for failure – avoid the temptation to pull on this side.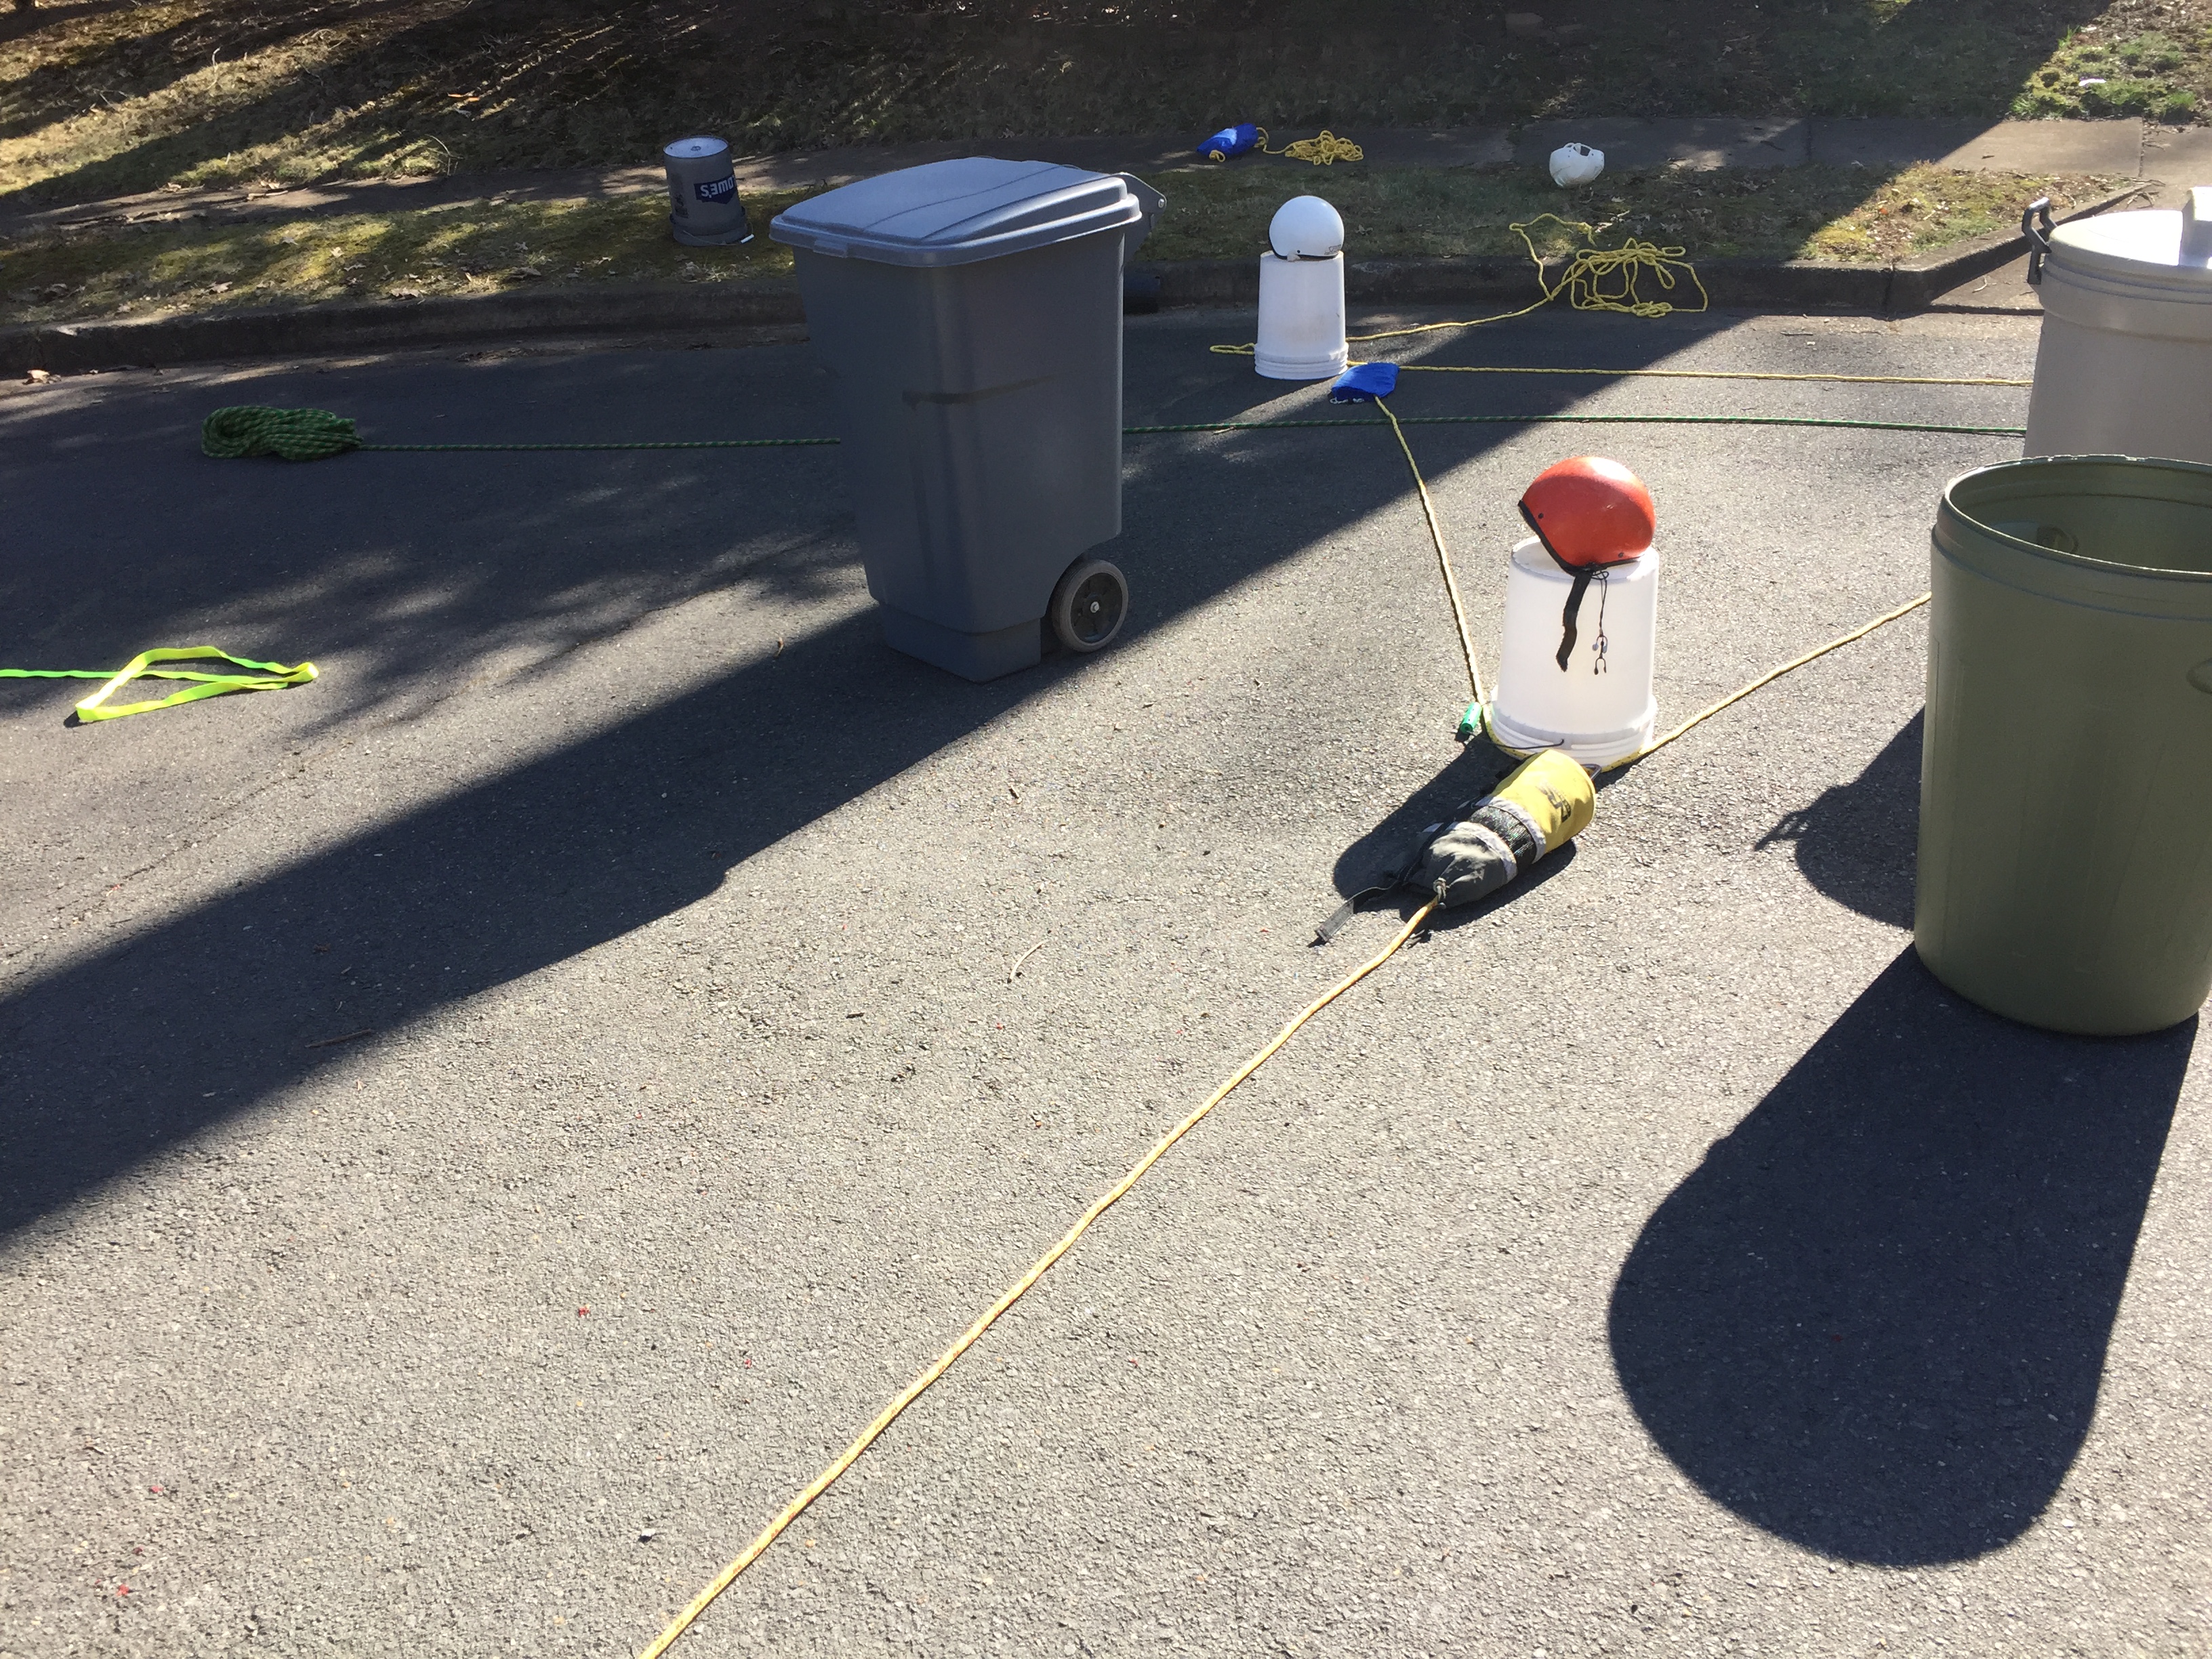
7) The downstream rescuer closes the loop and lets go.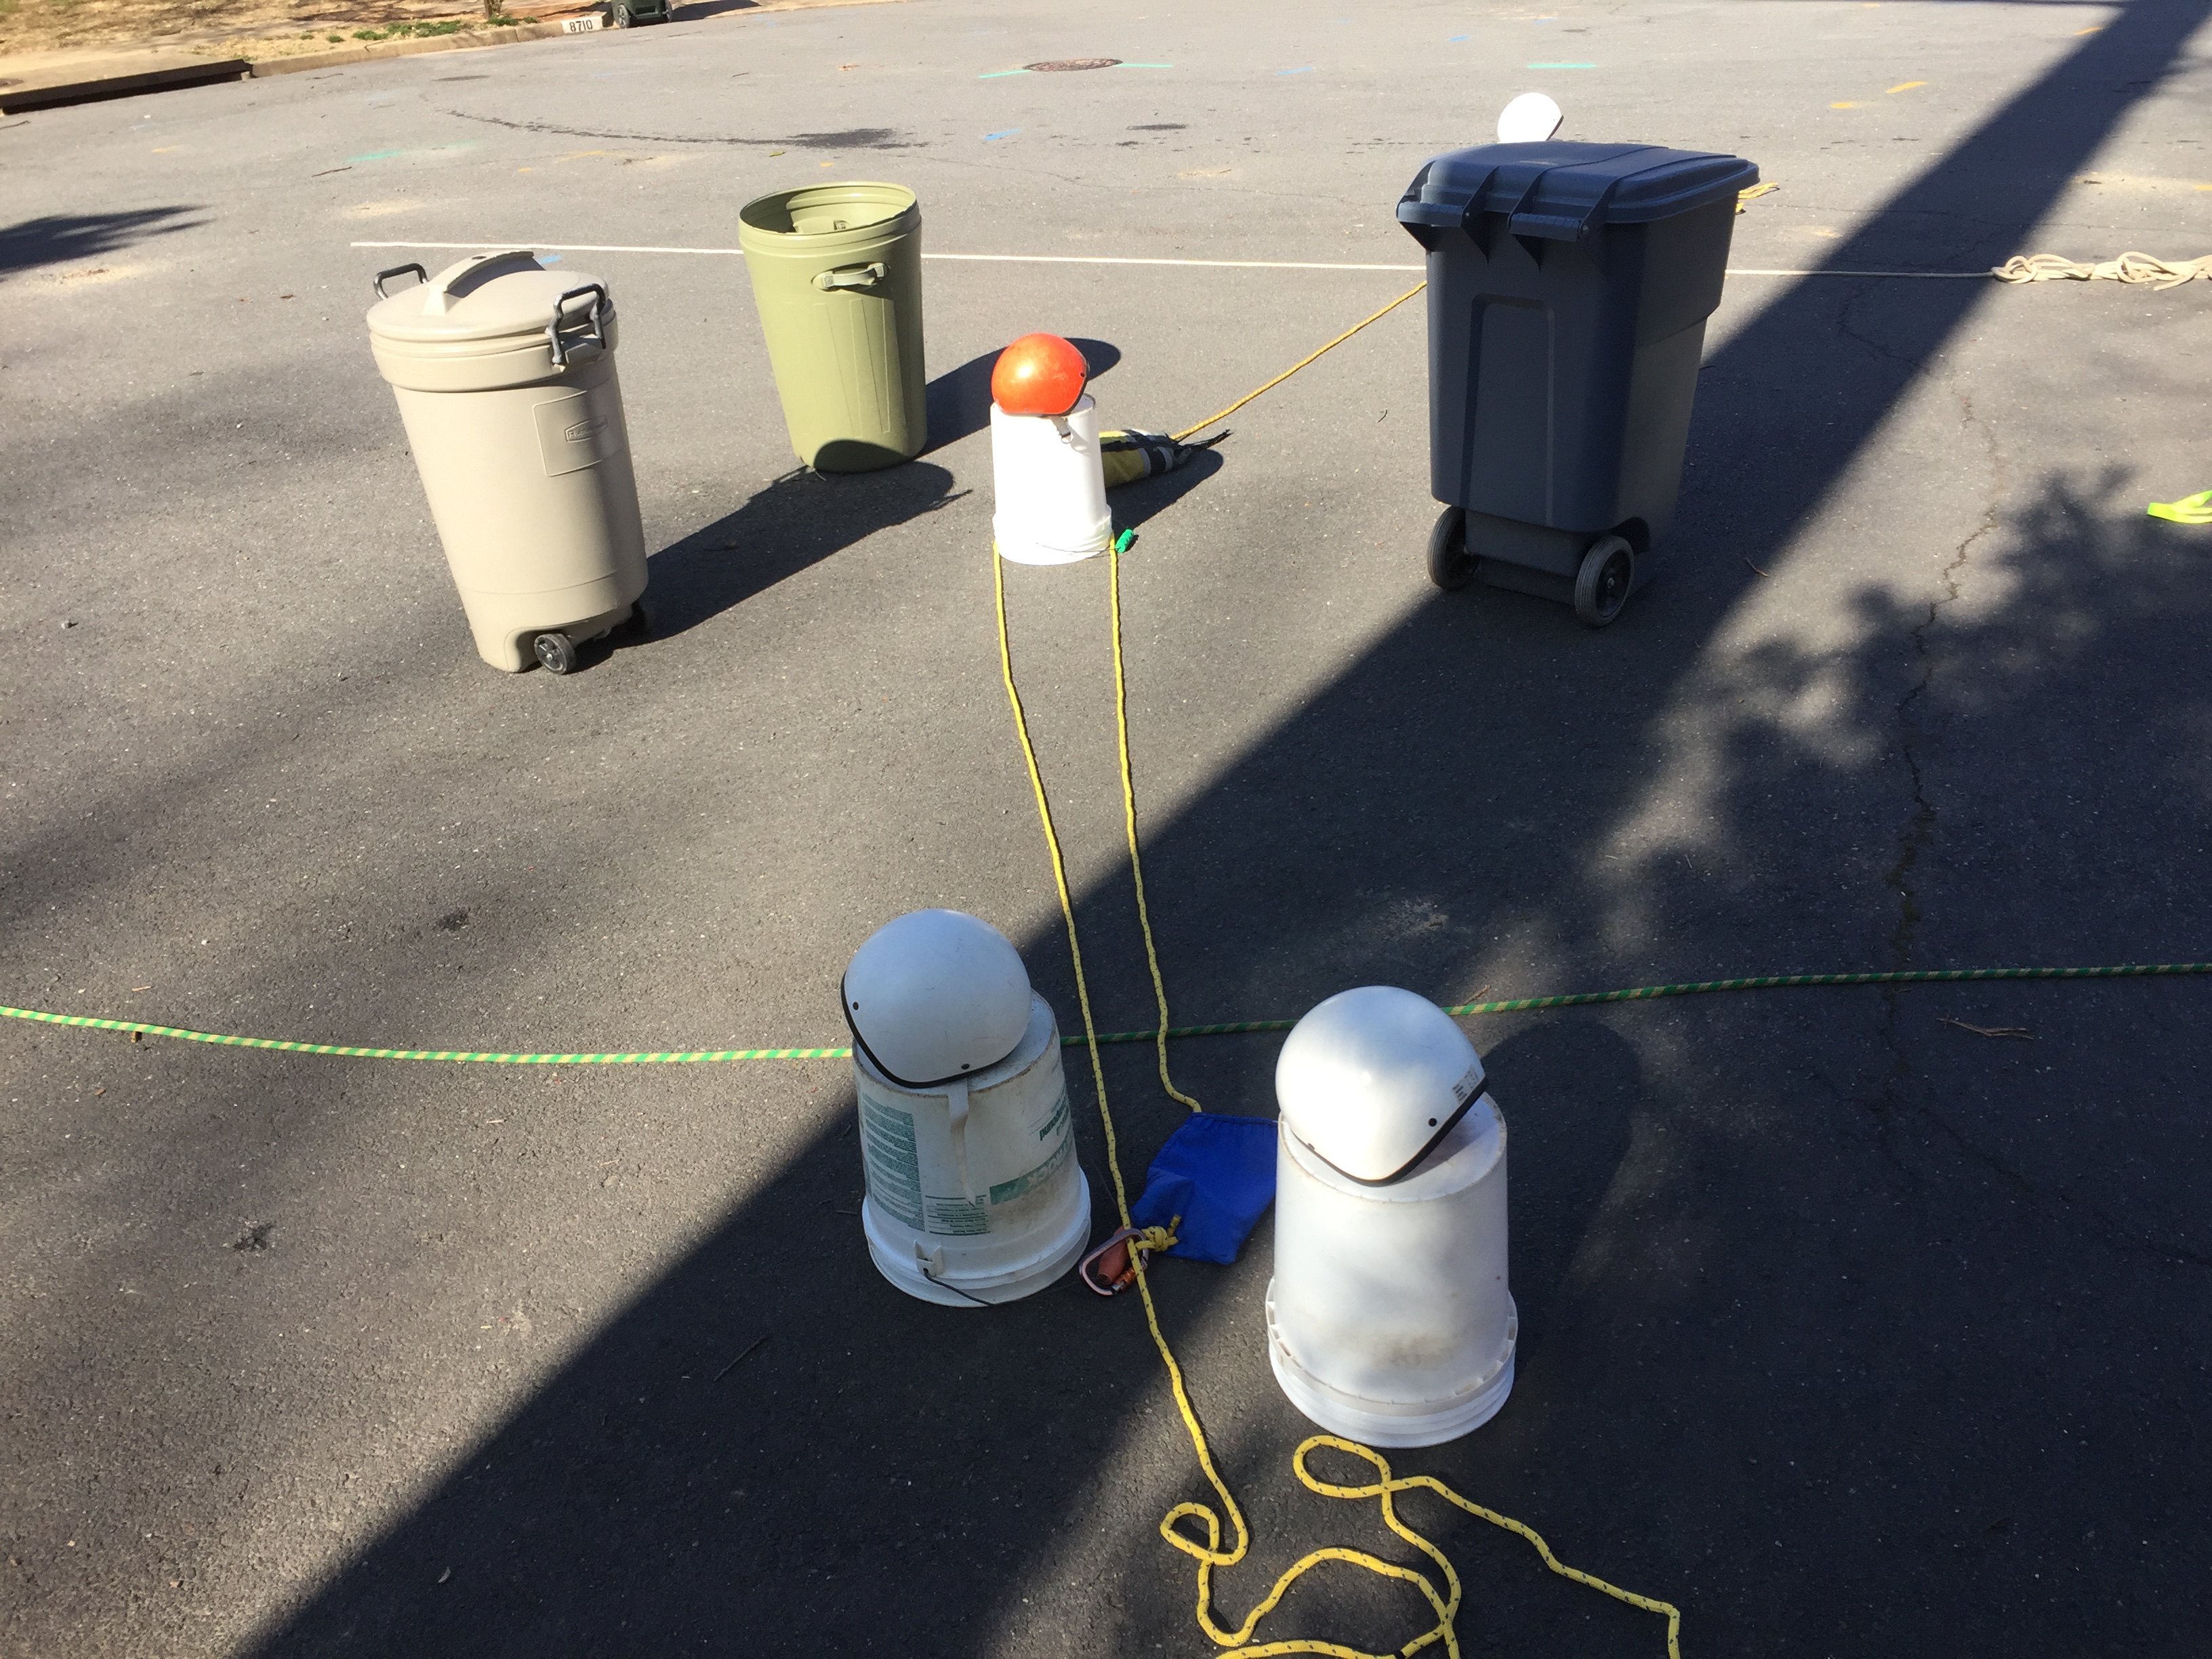
8) Pull the loop shut so it cinches securely around the victim’s torso. 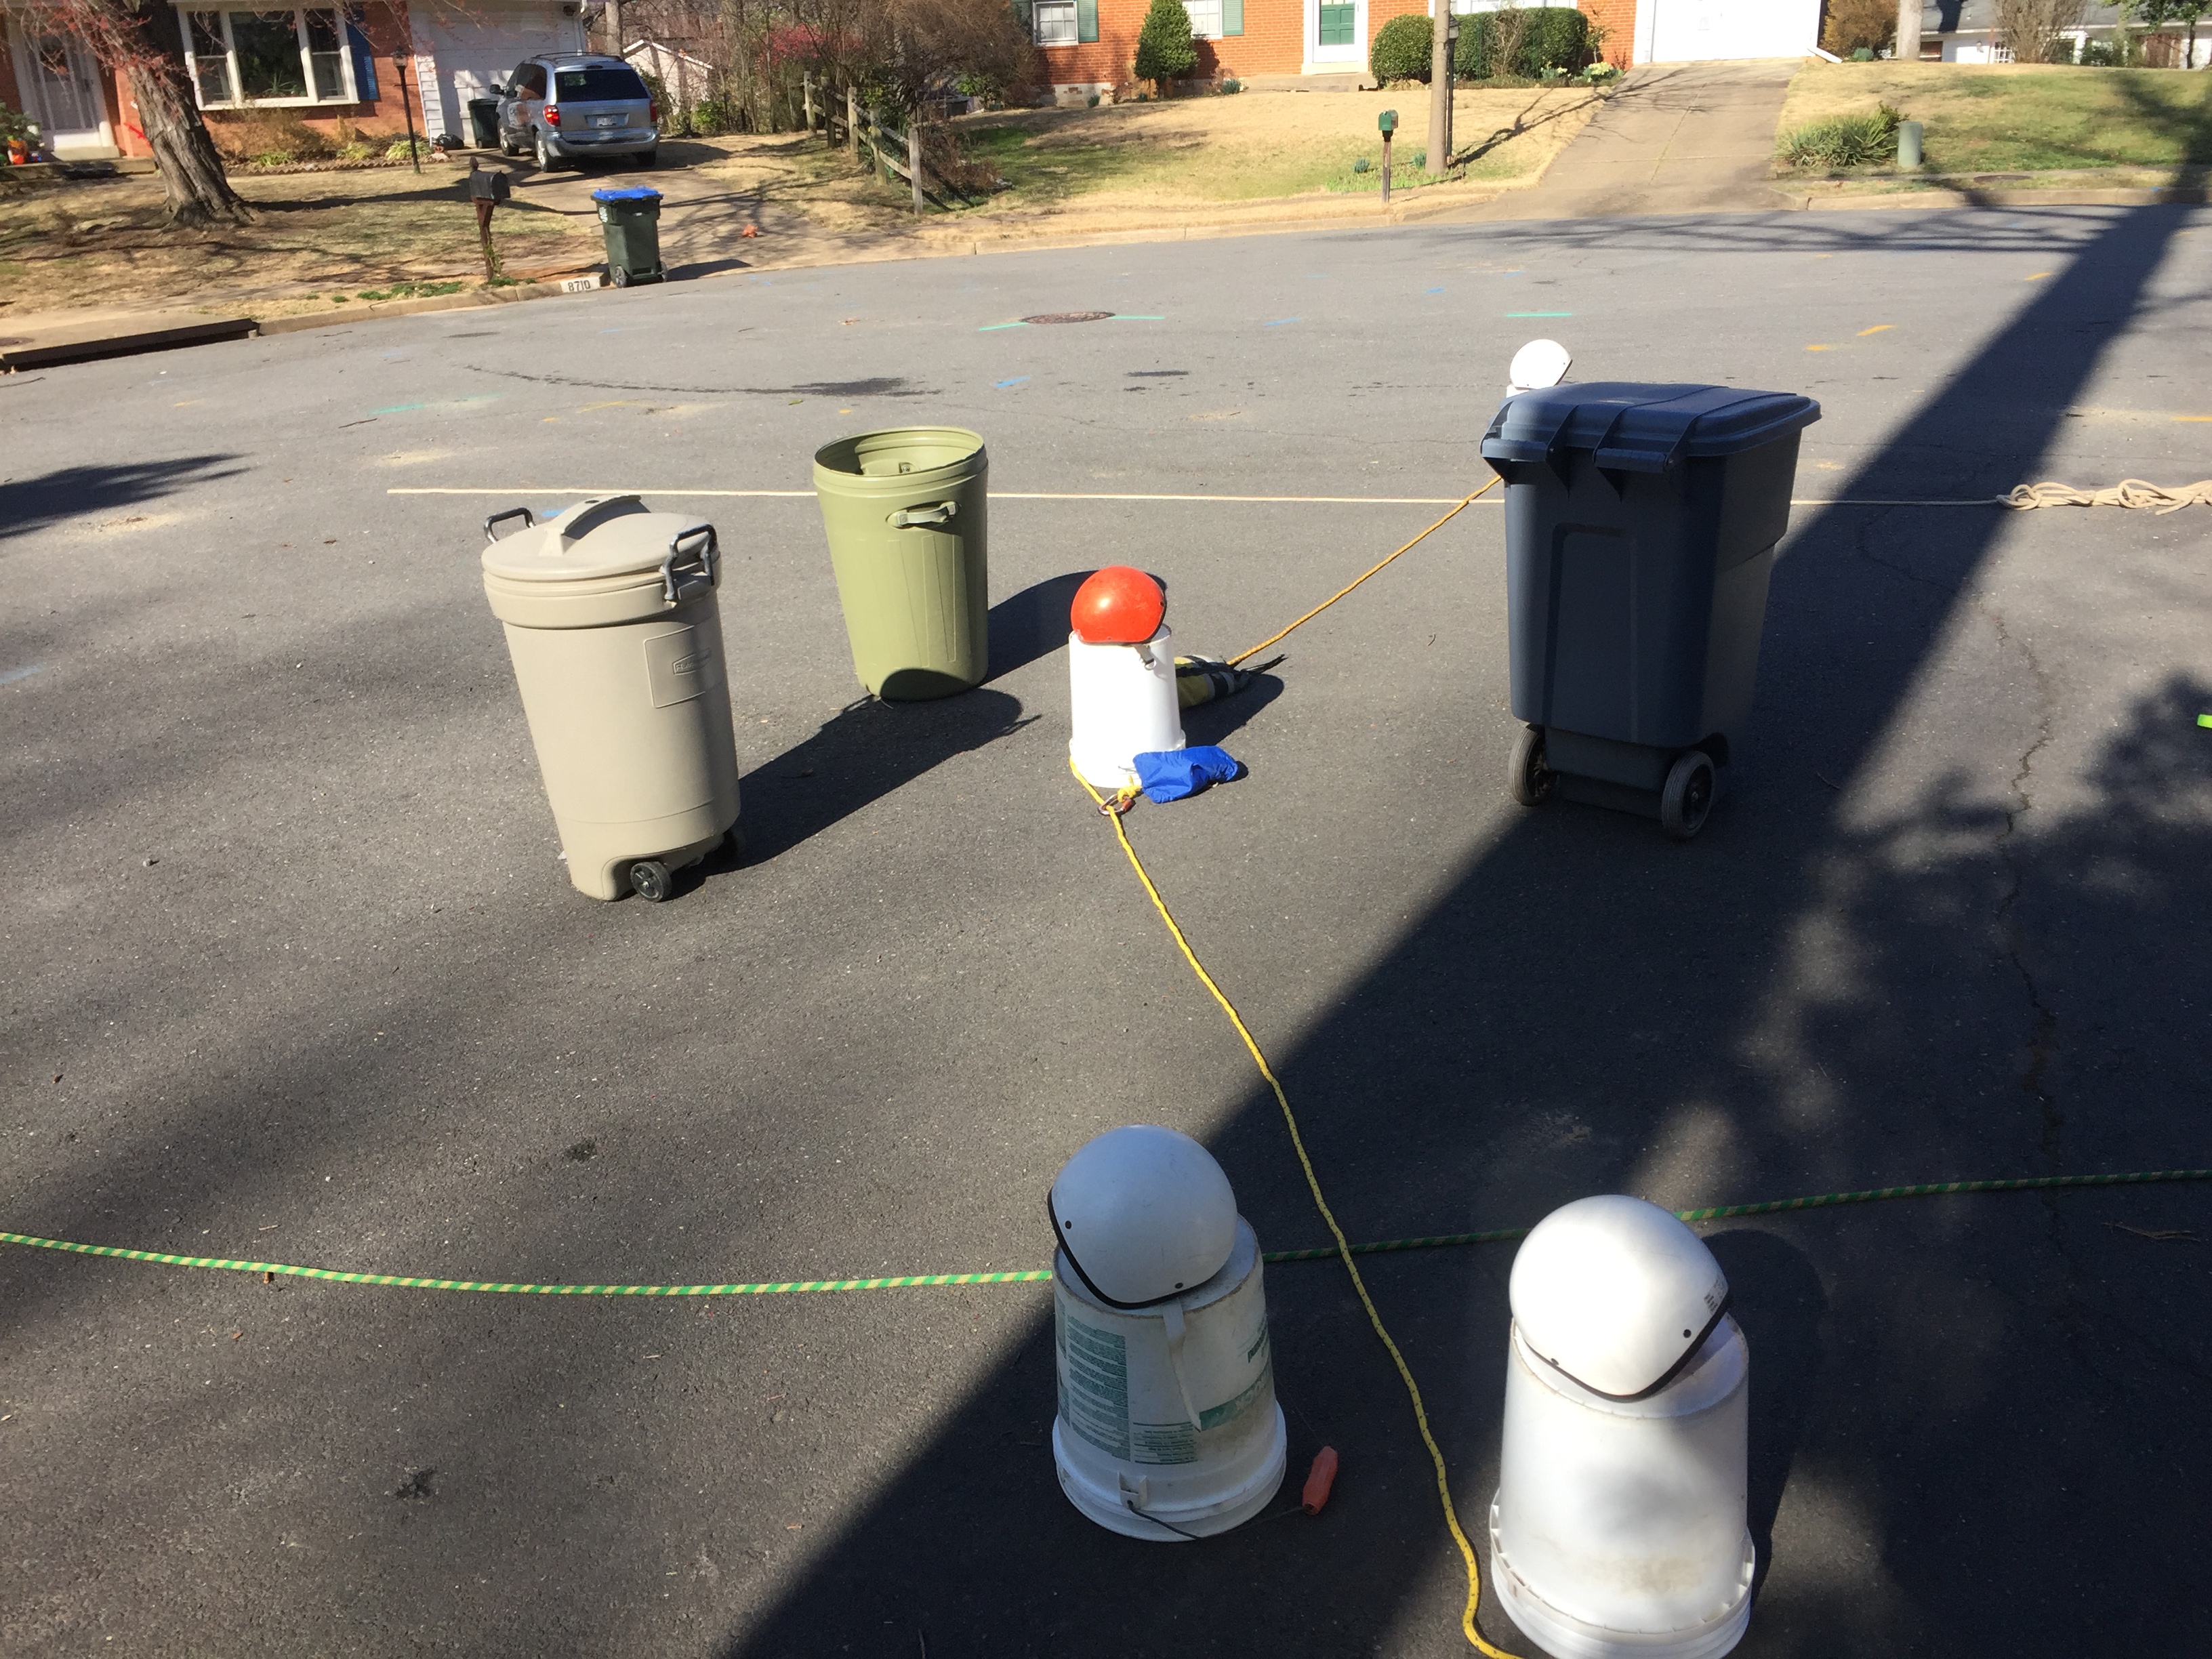
9) Rescuer’s on both sides walk Upstream for a better pull angle. Now it’s time to “Pop” the victim free – do so only from the loop side (not the tag line as that loosens the cinch).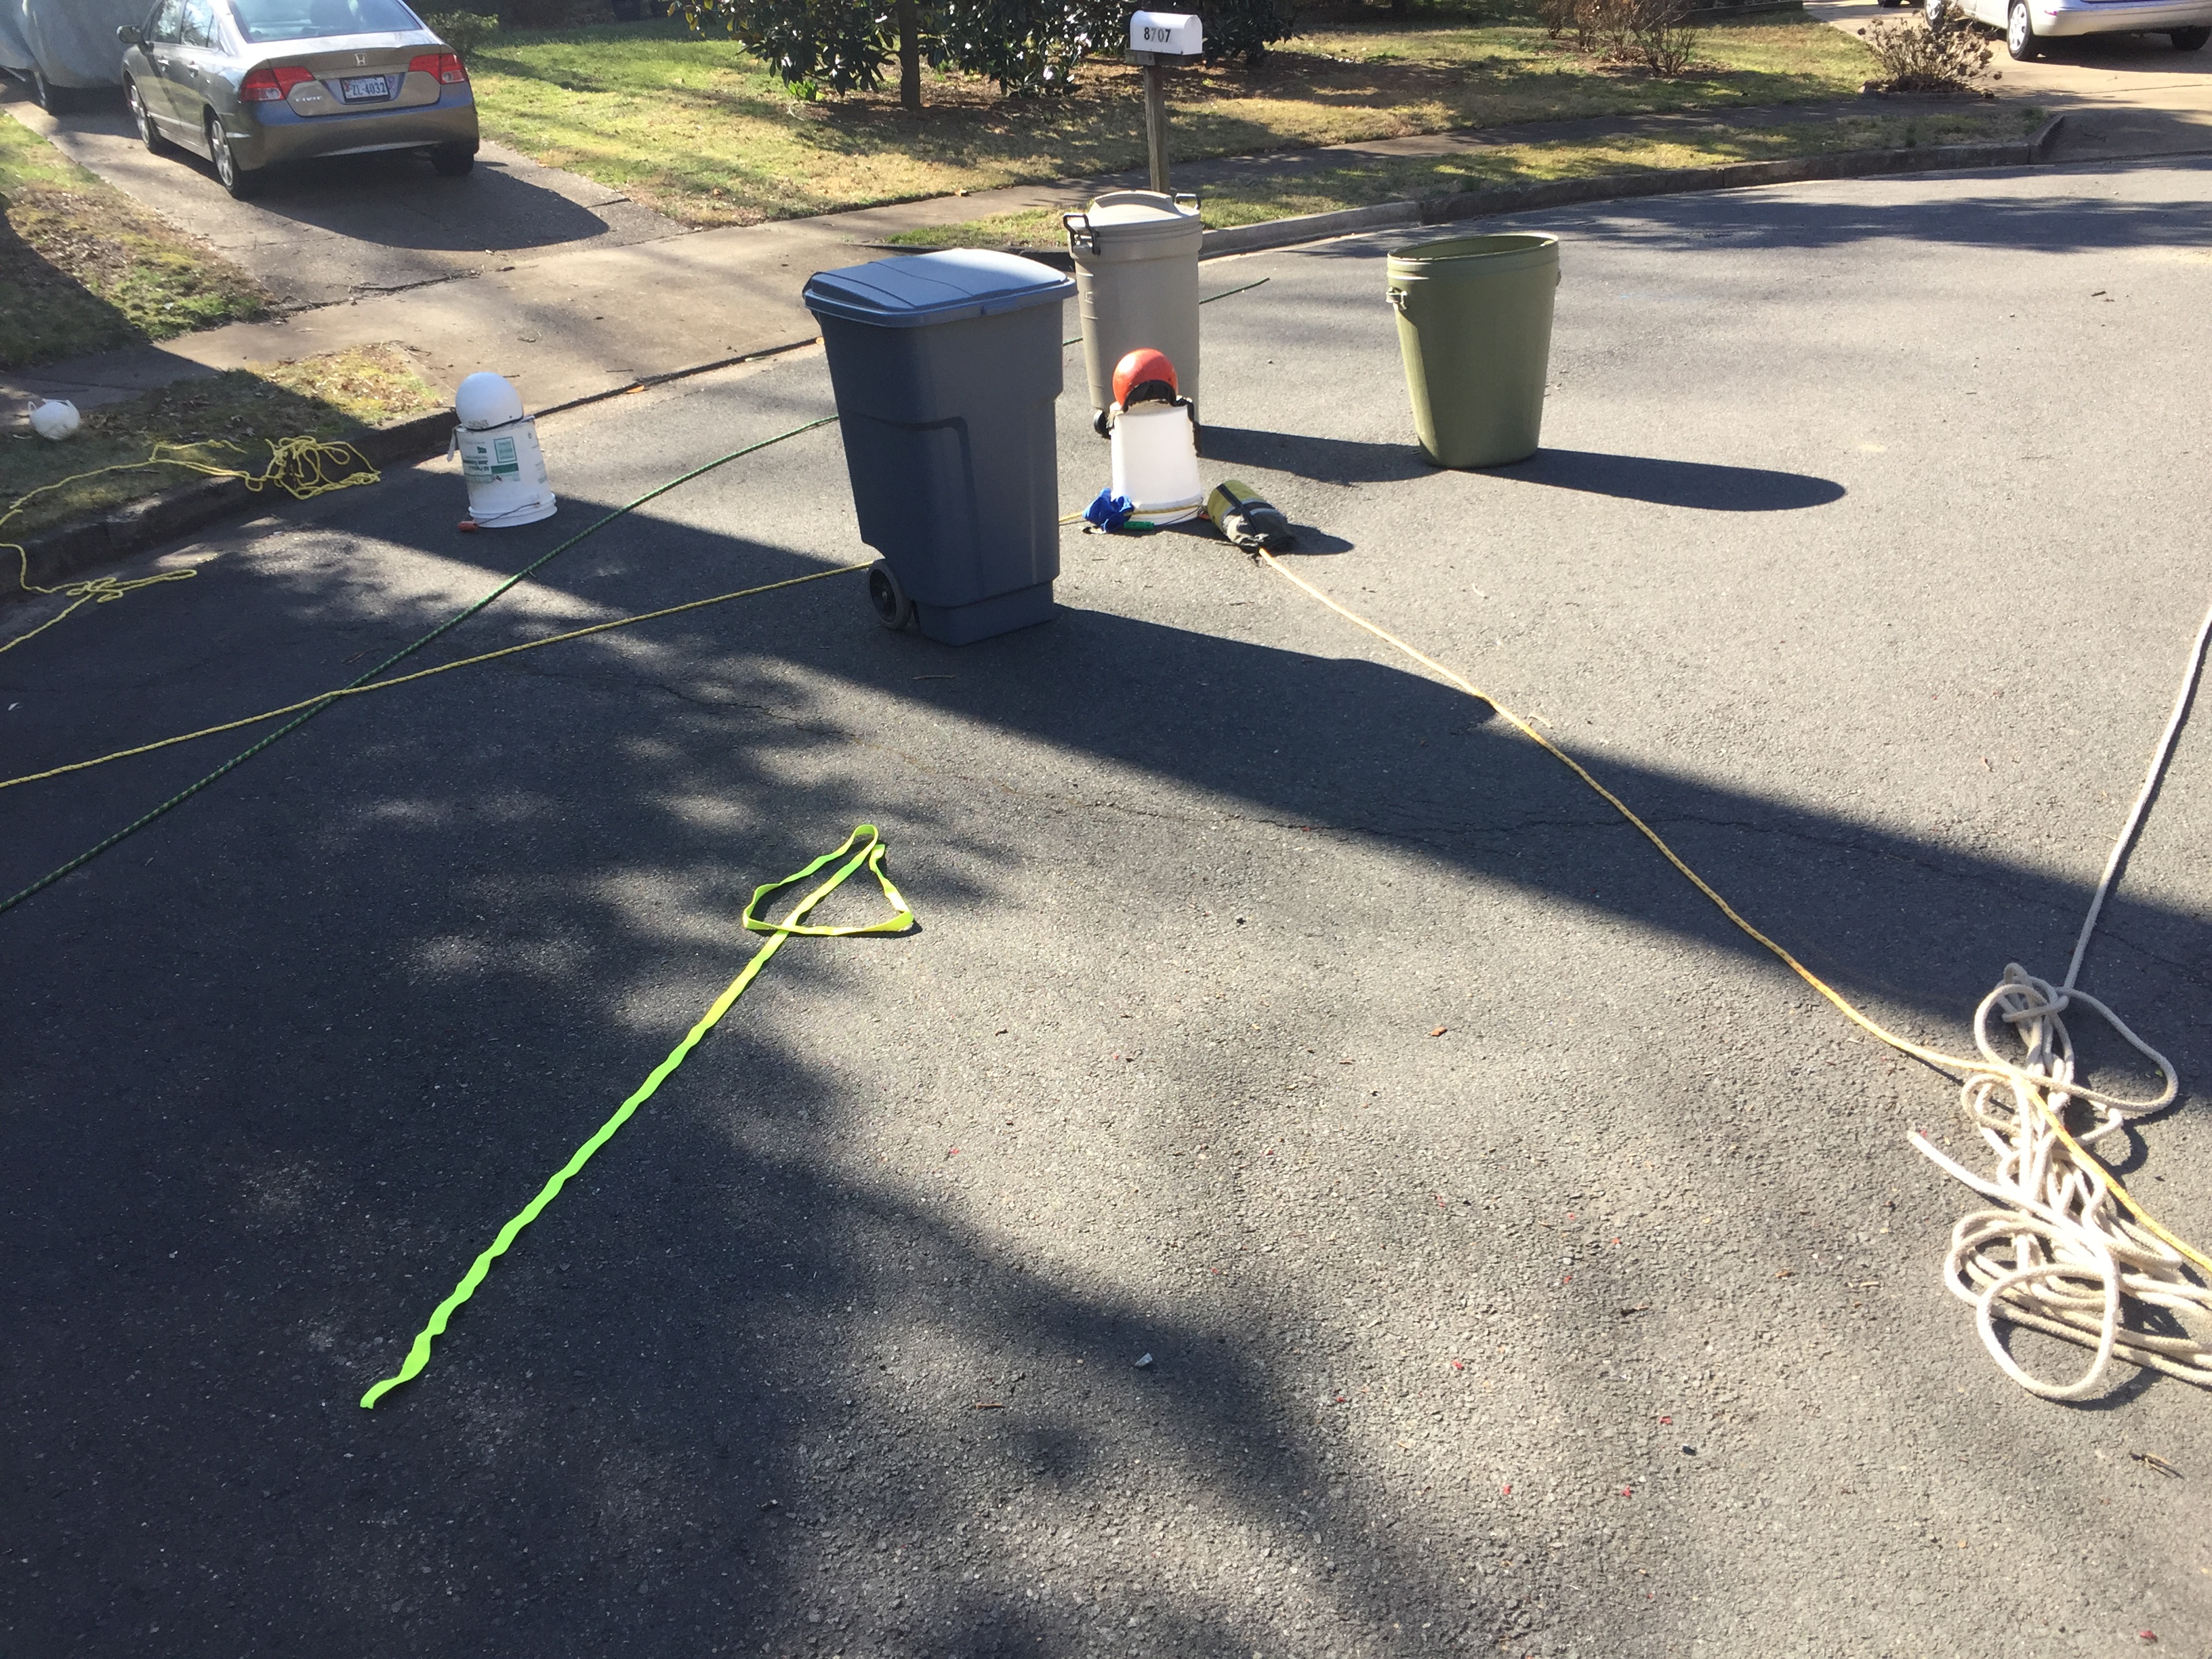
10) The loop side pulls the freed victim to shore and the tag line maintains the cinch by giving slack as needed.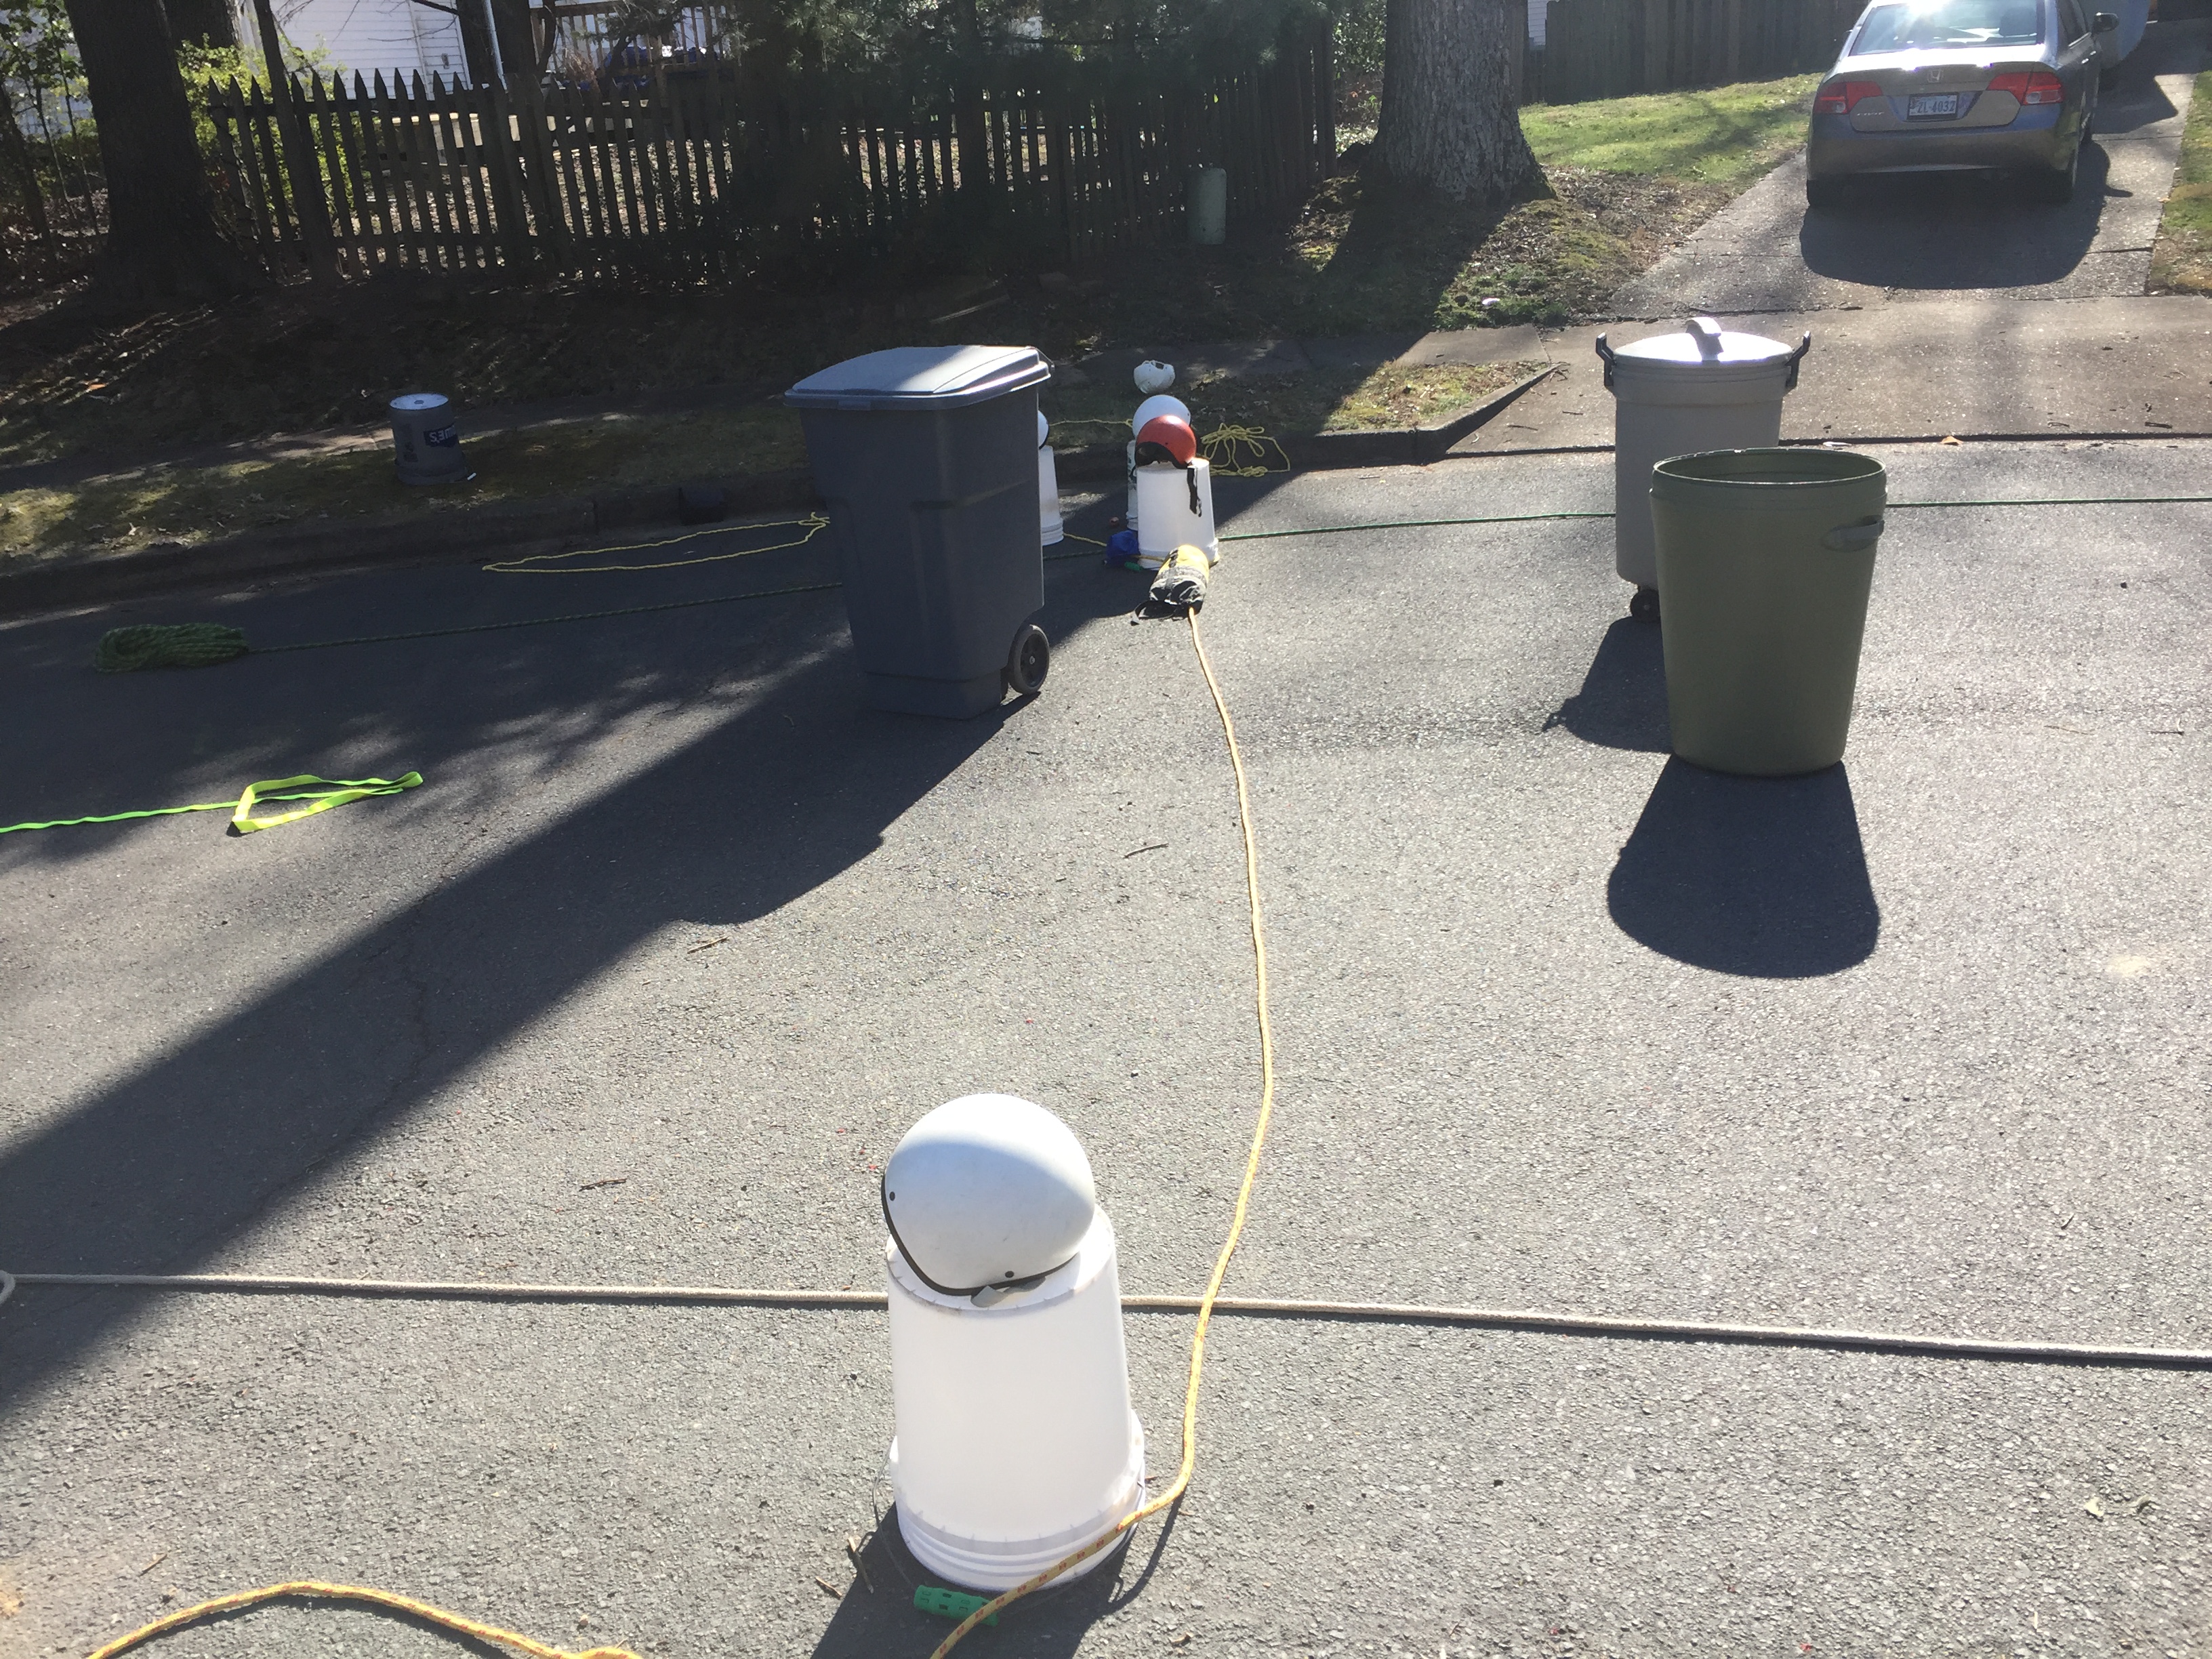
Kiwi Cinch
All cinches share a common goal, wrap a rope around a victim in order to extract them from an entrapment when it isn’t safe to make contact with the victim. There are a variety of methods for accomplishing this task based on the situation where the victim is trapped. The Kiwi Cinch is another cinch that doesn’t require having rescuers on both sides of the river. This cinch only requires two people and has several variants. If the victim is further away from shore like 30’ – 40’, the Kiwi is certainly a great option. Some rapids lend themselves to the Kiwi Cinch, especially those that go around a bend making it far easier to retrieve the rope.
Notes:
- The green and white ropes represent the shore lines.
- The yellow arrow shows the direction of the current and is points downstream.
- The Orange helmet is the victim with a foot entrapment.
- The White Helmets are the rescuers.
Kiwi Steps
1) The victim is trapped and requires assistance. Notice the bend in the rapid (the ropes which represent the shore line form a curve).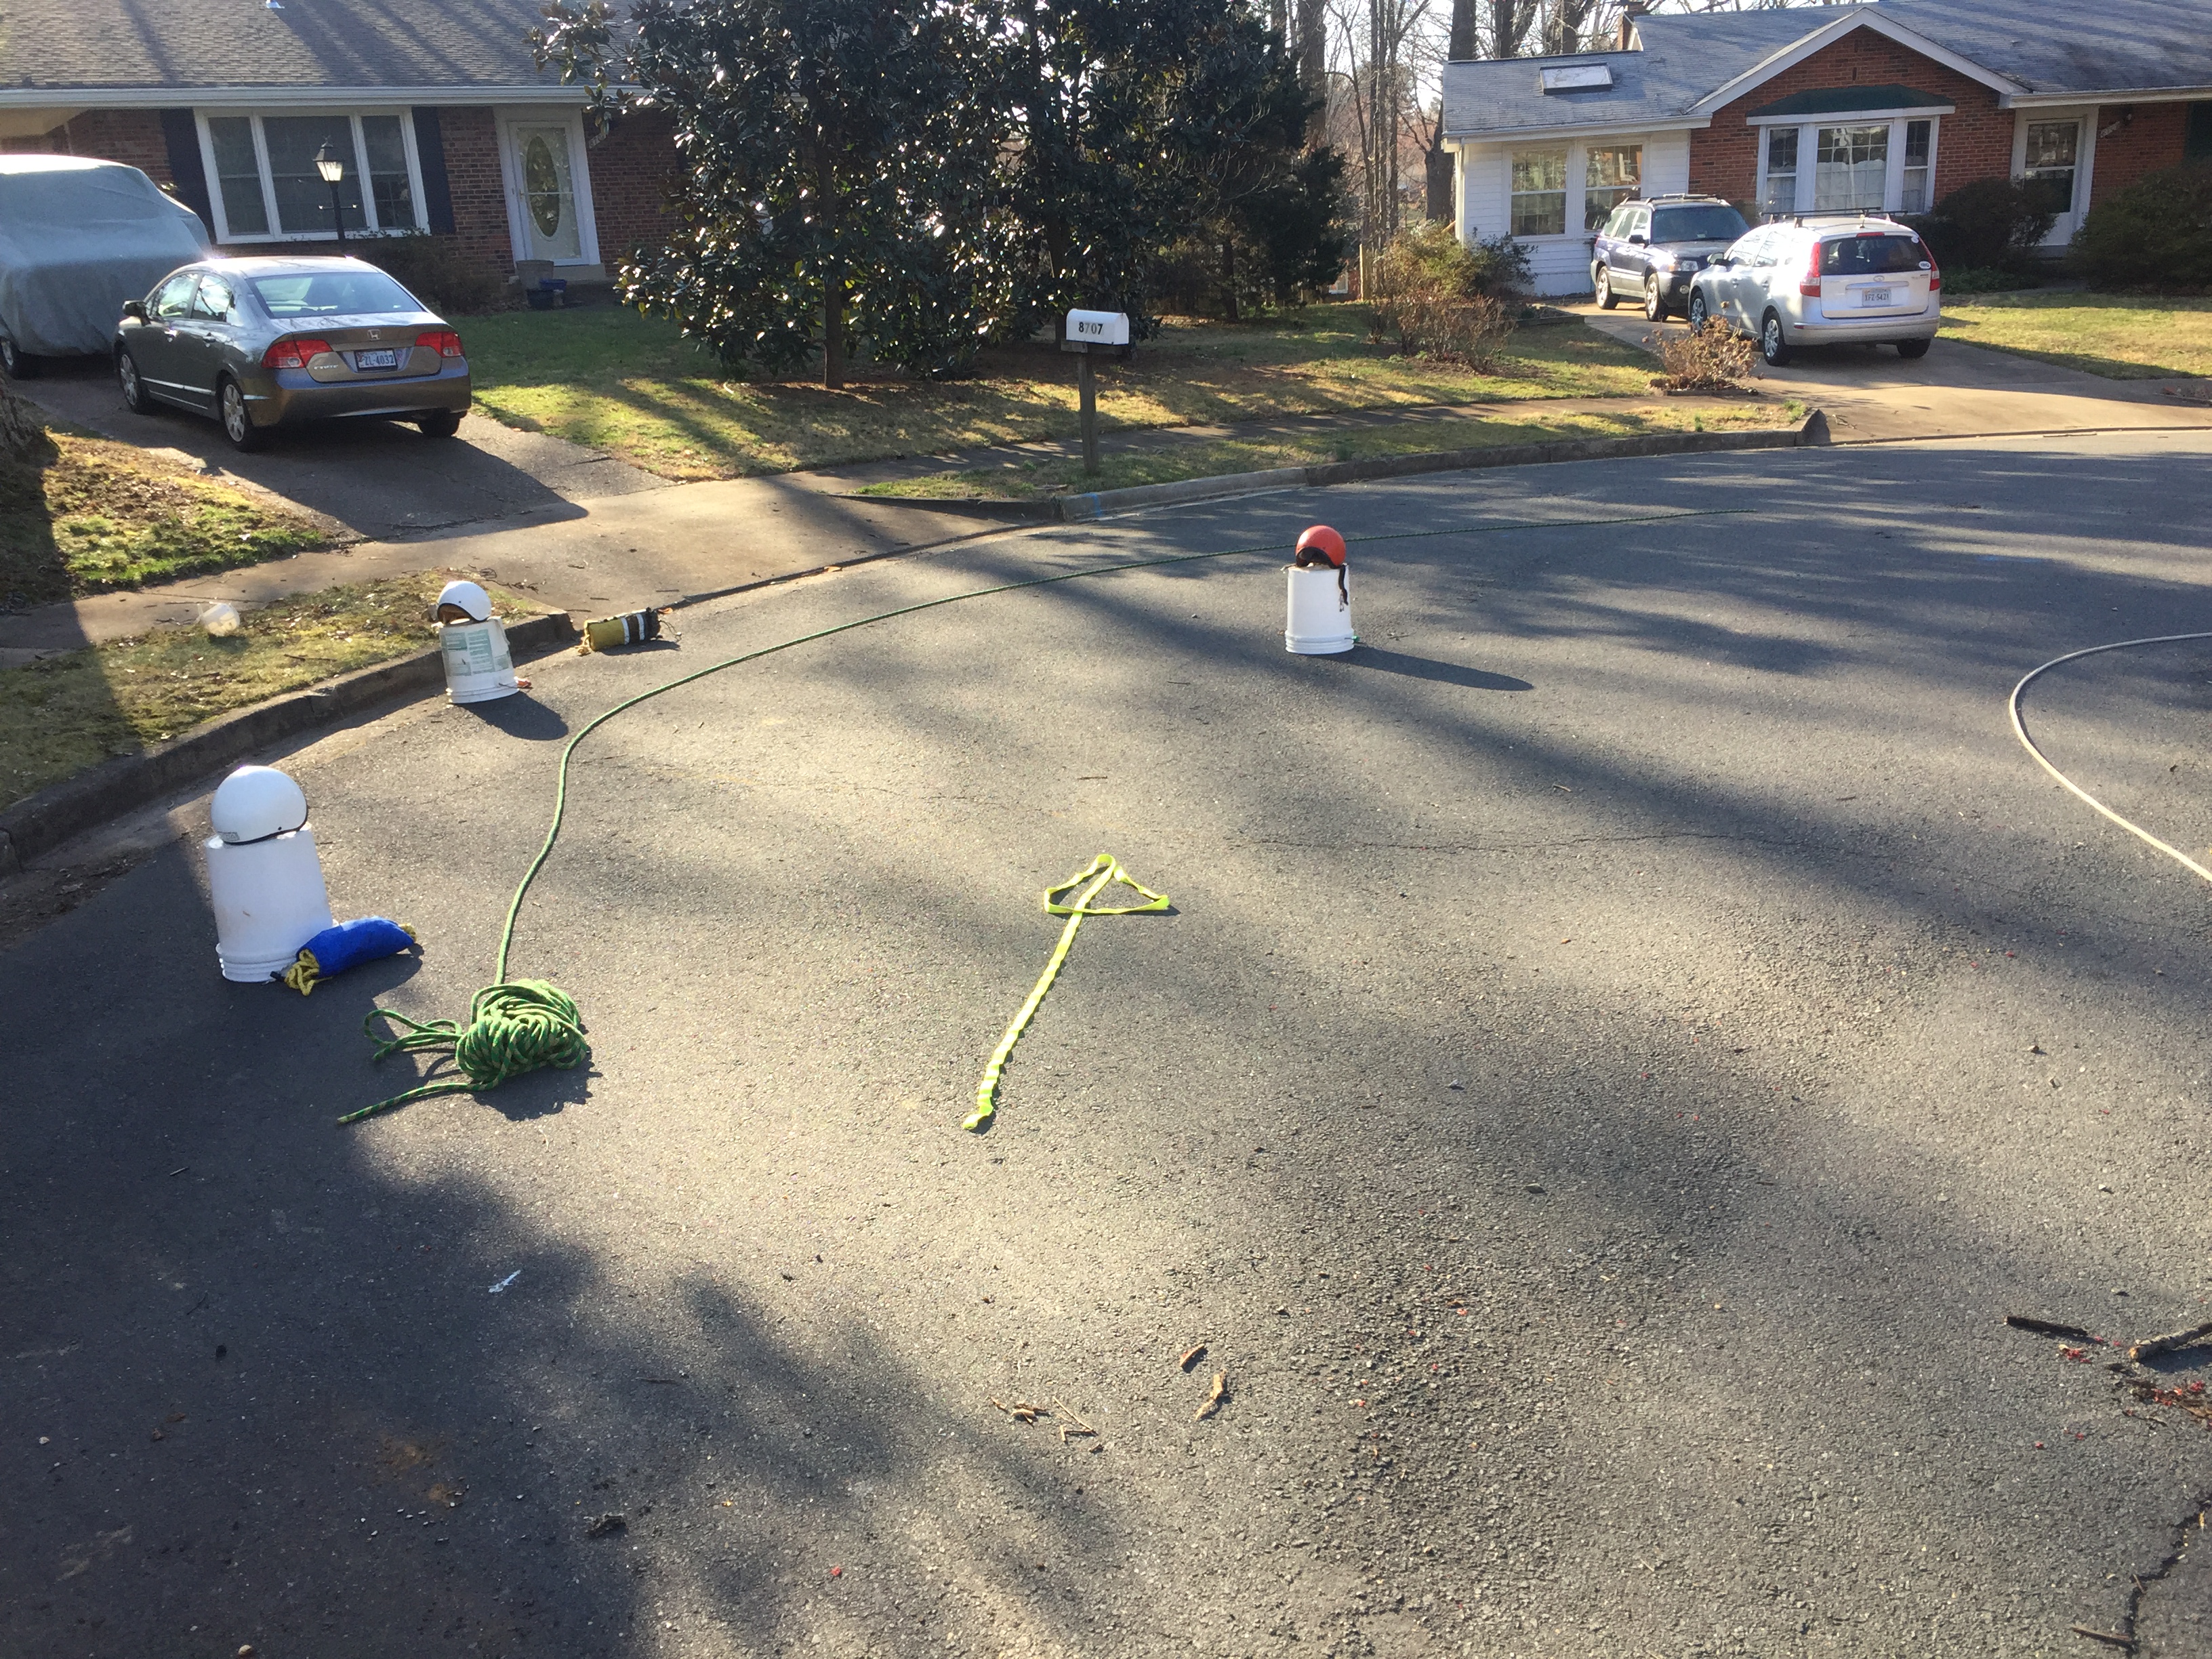
2) Toss a line from Upstream to the outside of the victim. The rope will float past the victim and hover right below him hopefully easy to retrieve.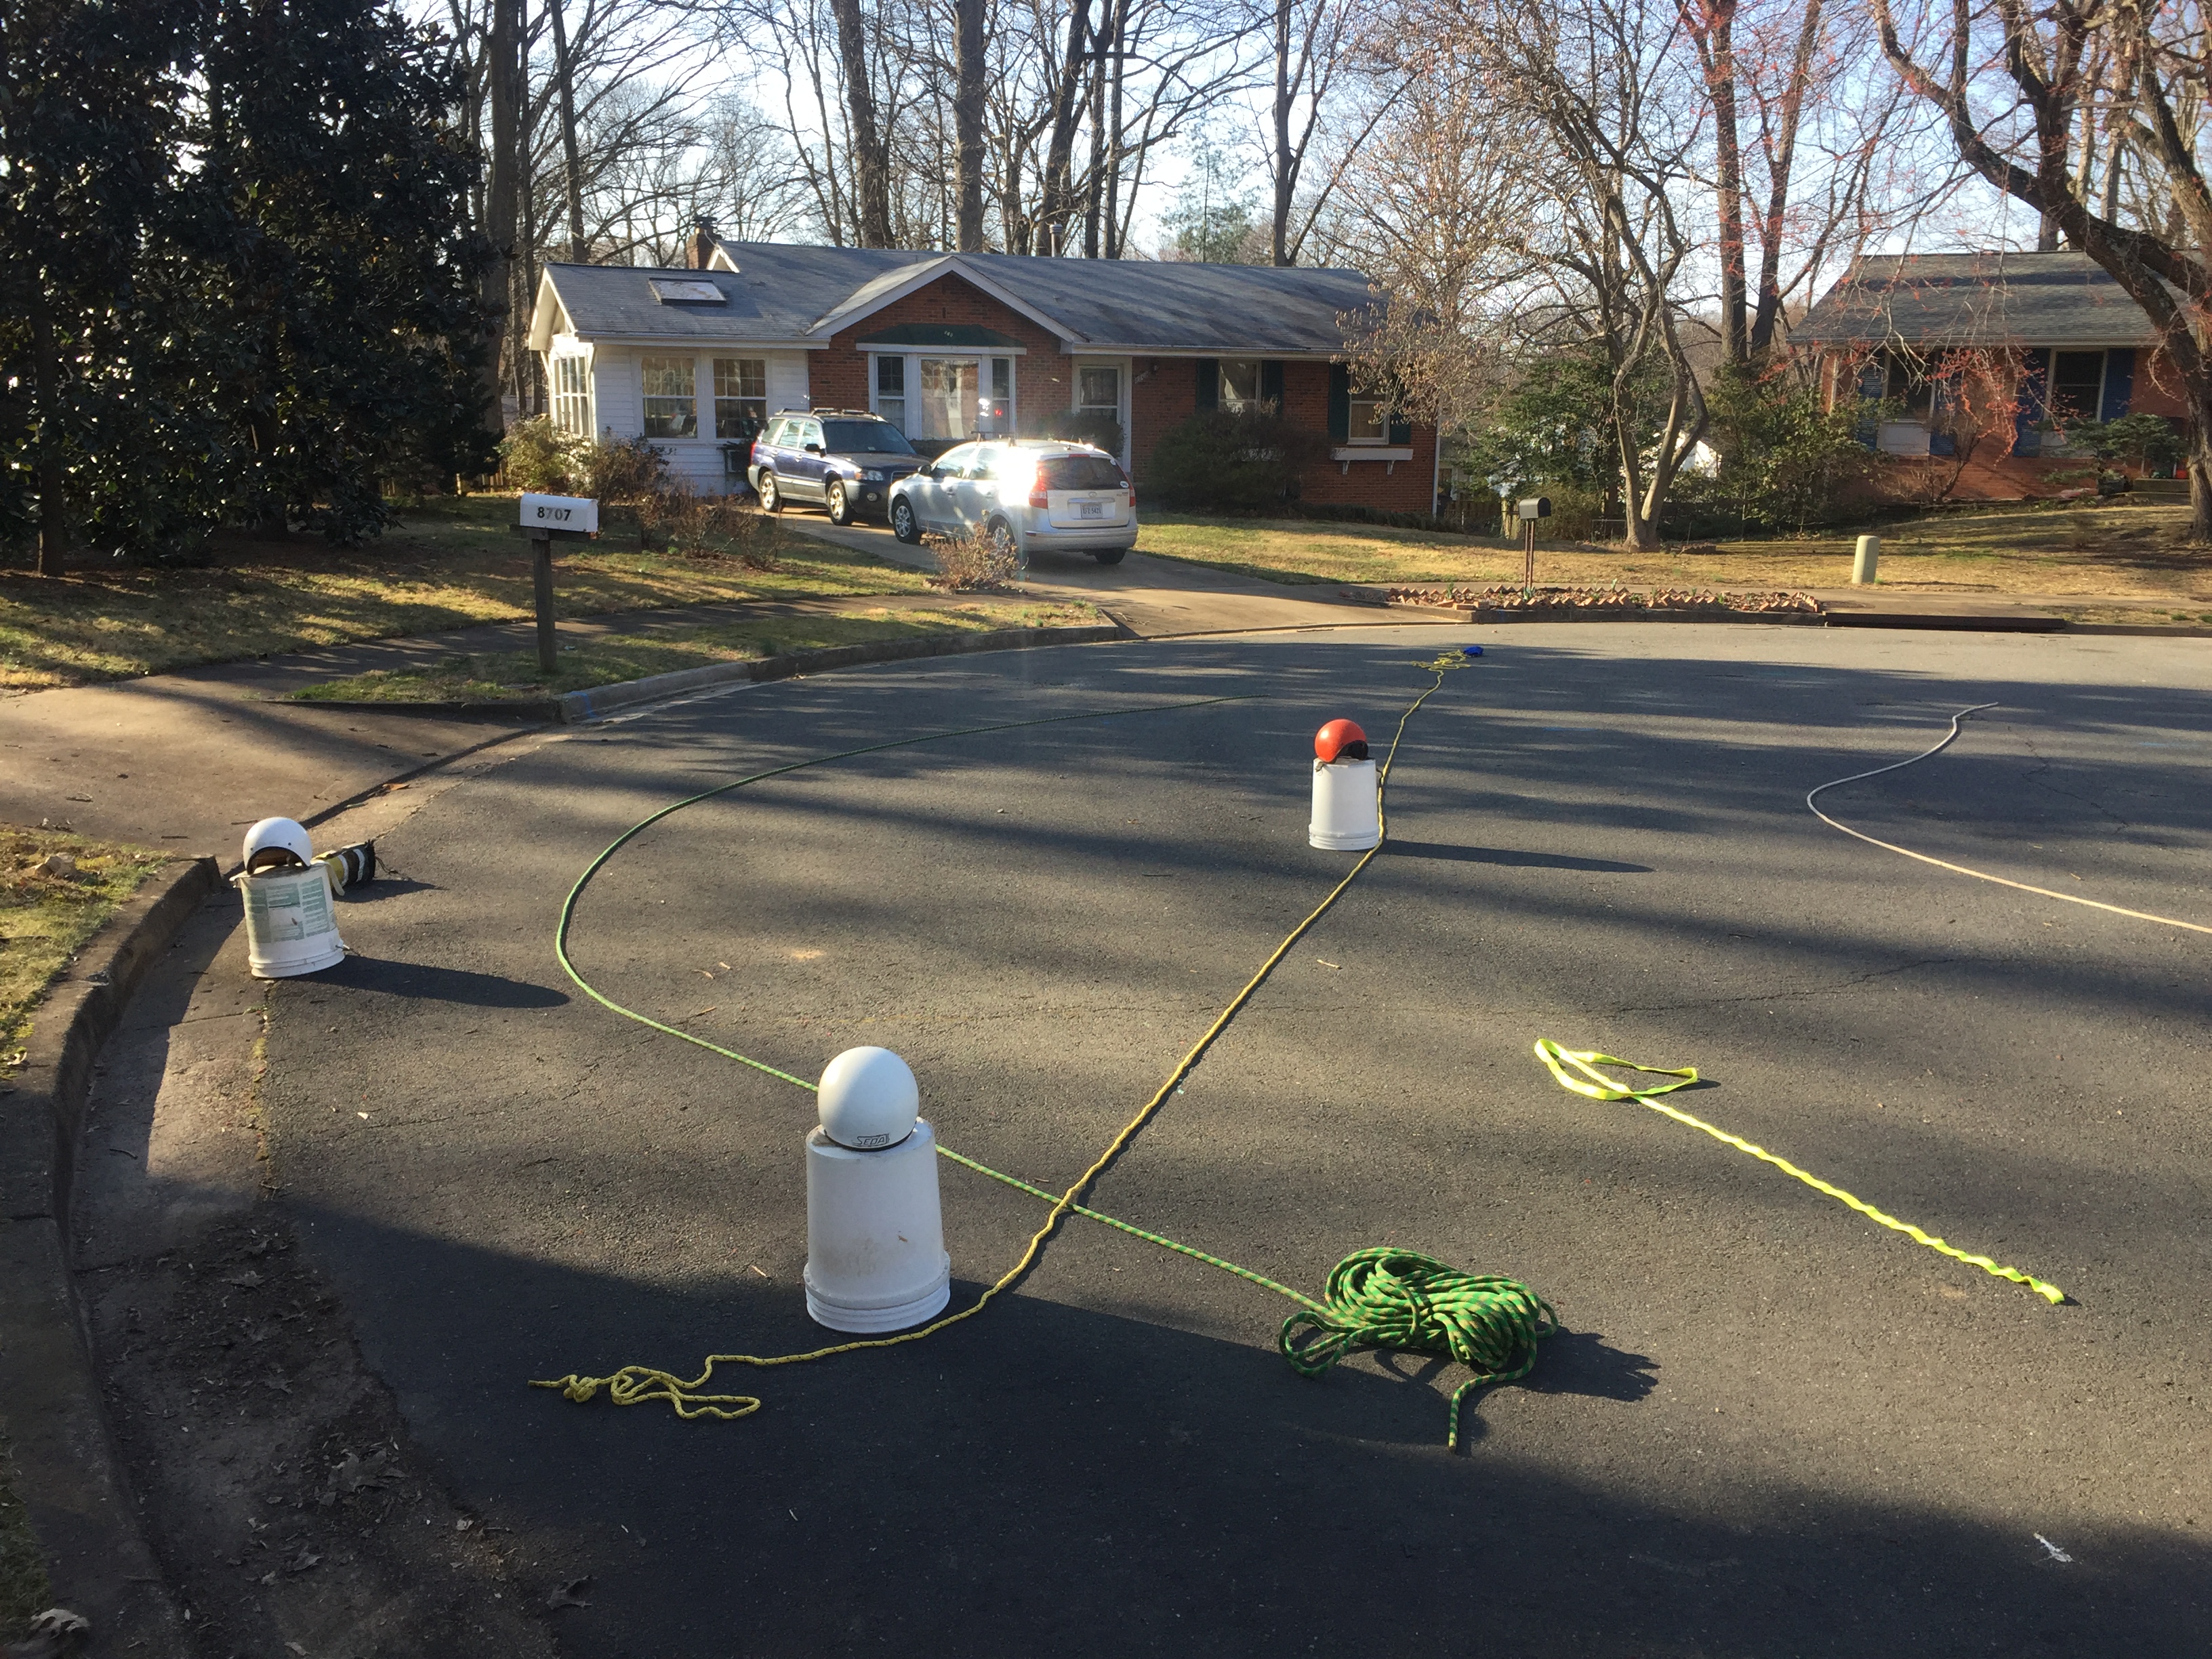
3) This is an example of a throw bag with a line capture device (Snag Plate). I turned the bag inside out to expose the snag plate. There are many alternatives to retrieve the rope dangling midstream like wading, swimming, reaching with a paddle, or in this case a snag line.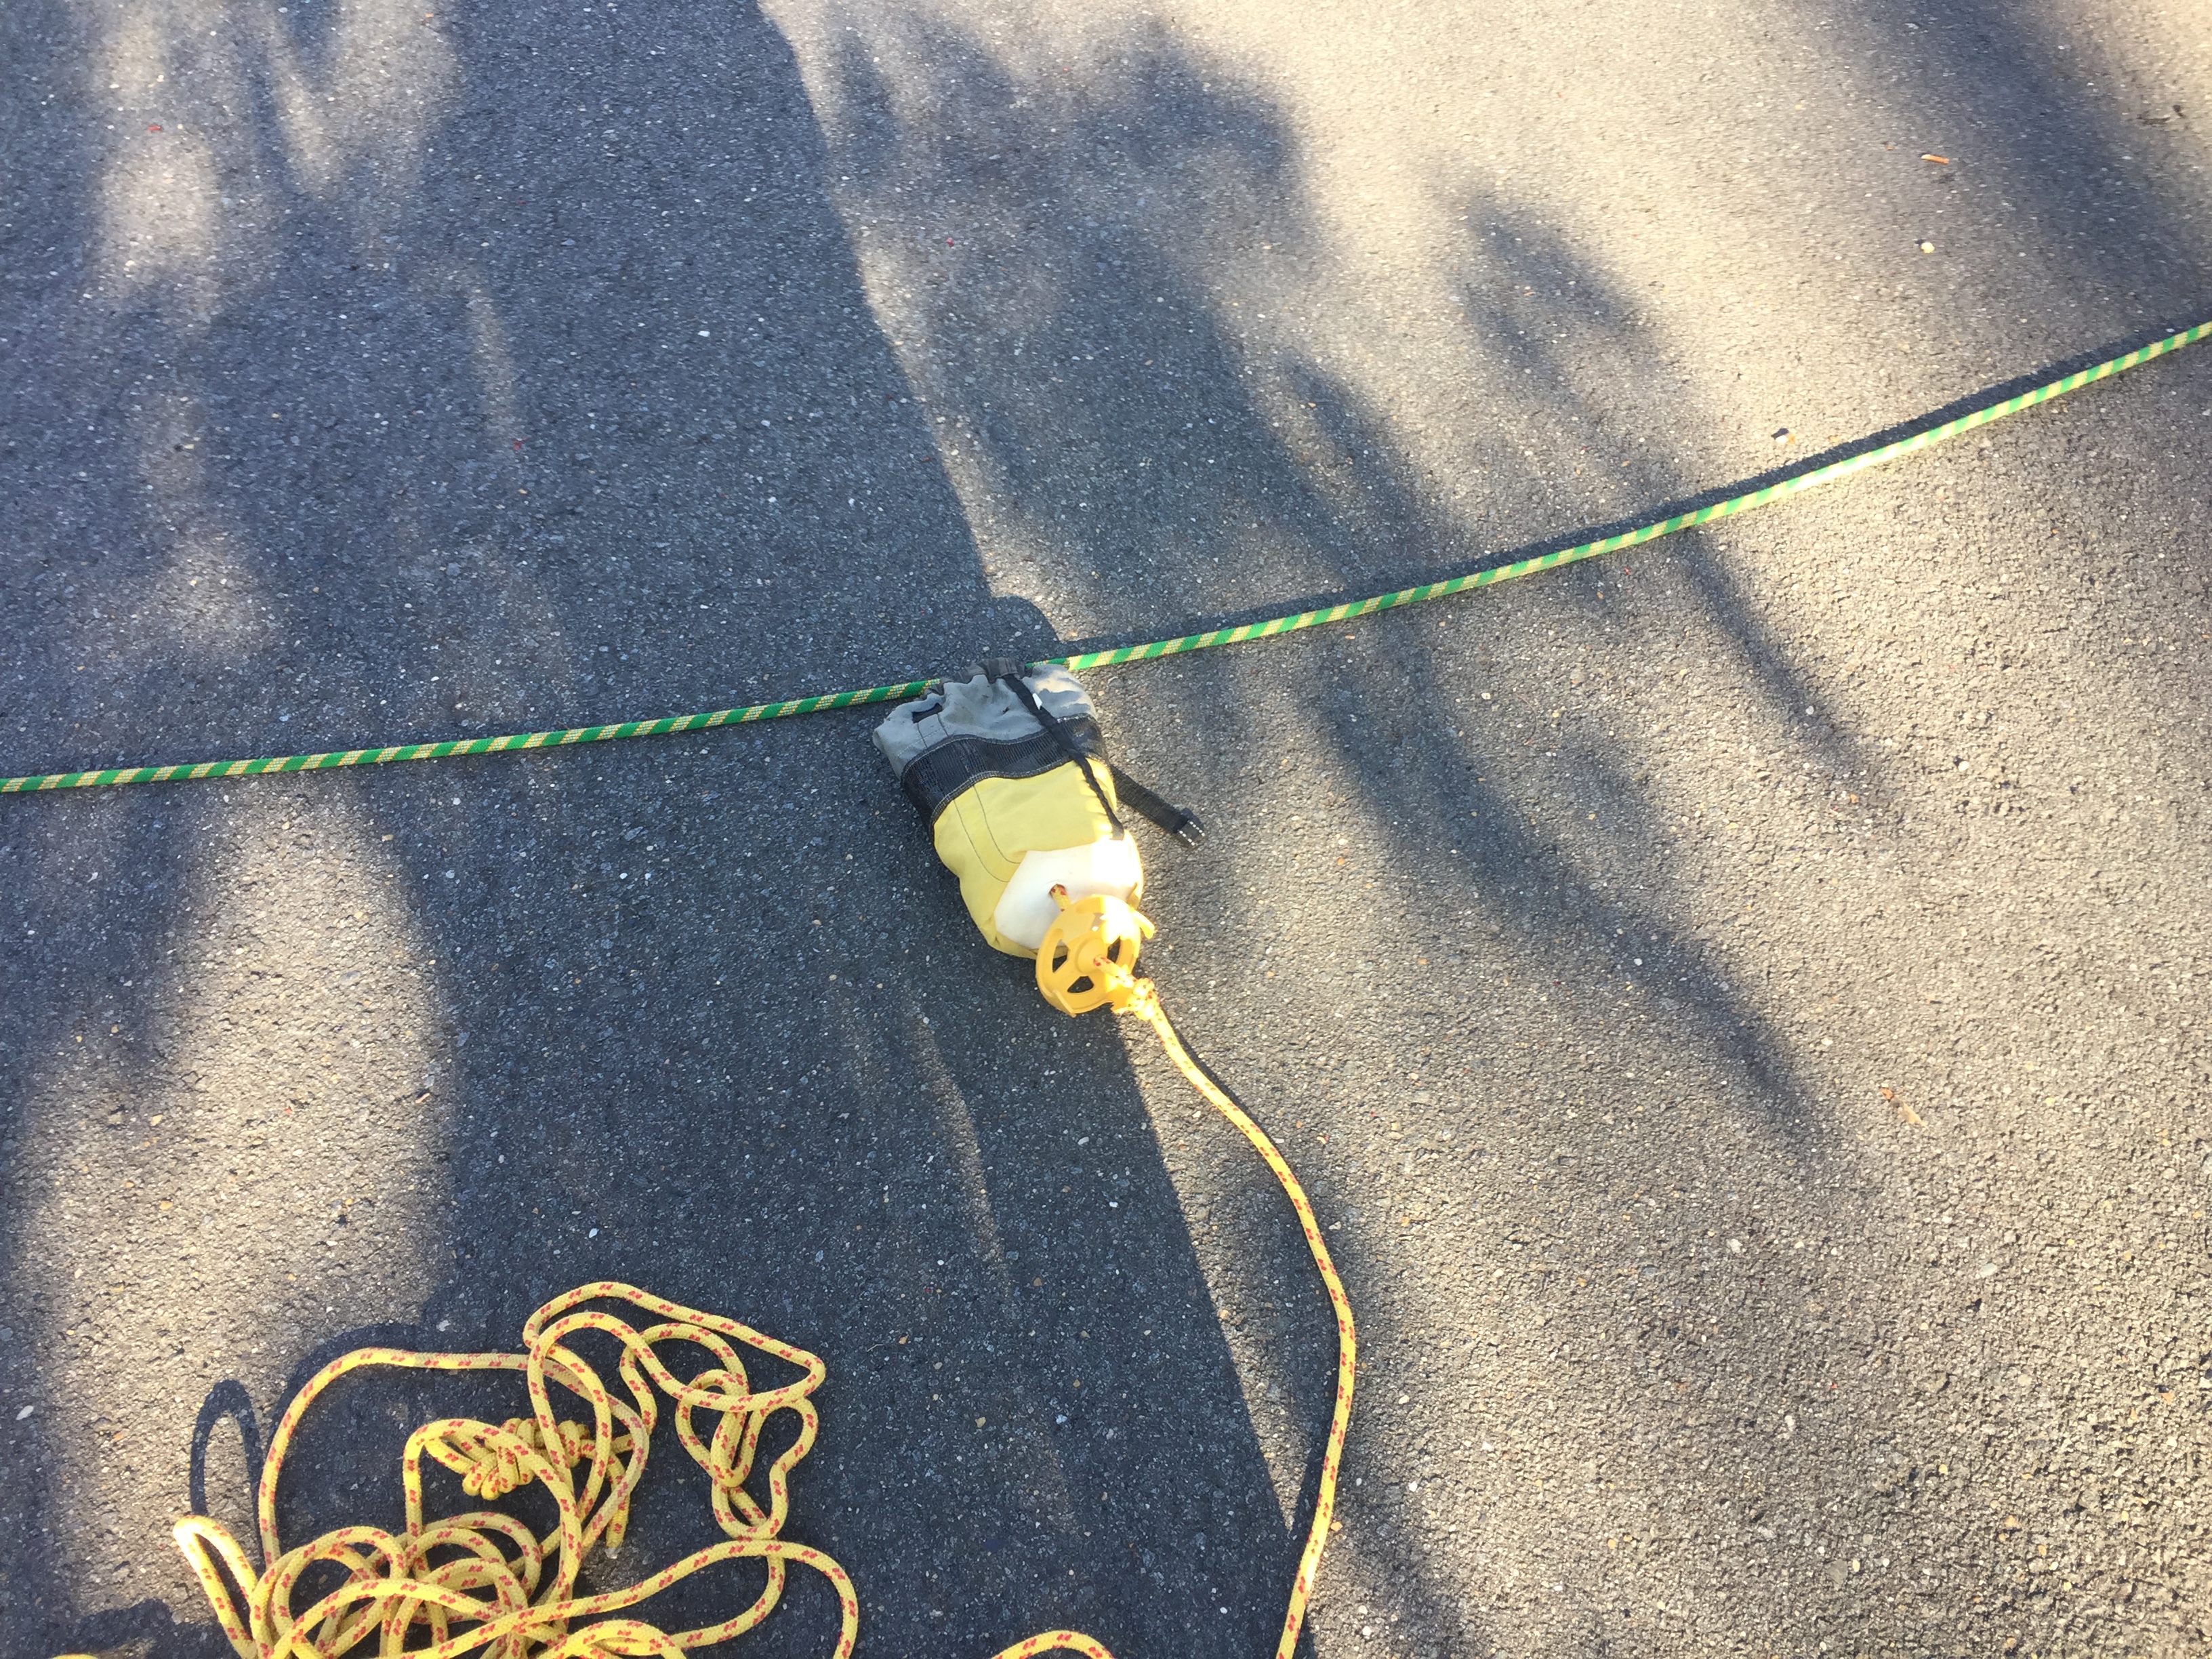
4) To be effective, the bag needs some extra weight which is done by adding a few stones and closing the drawstring.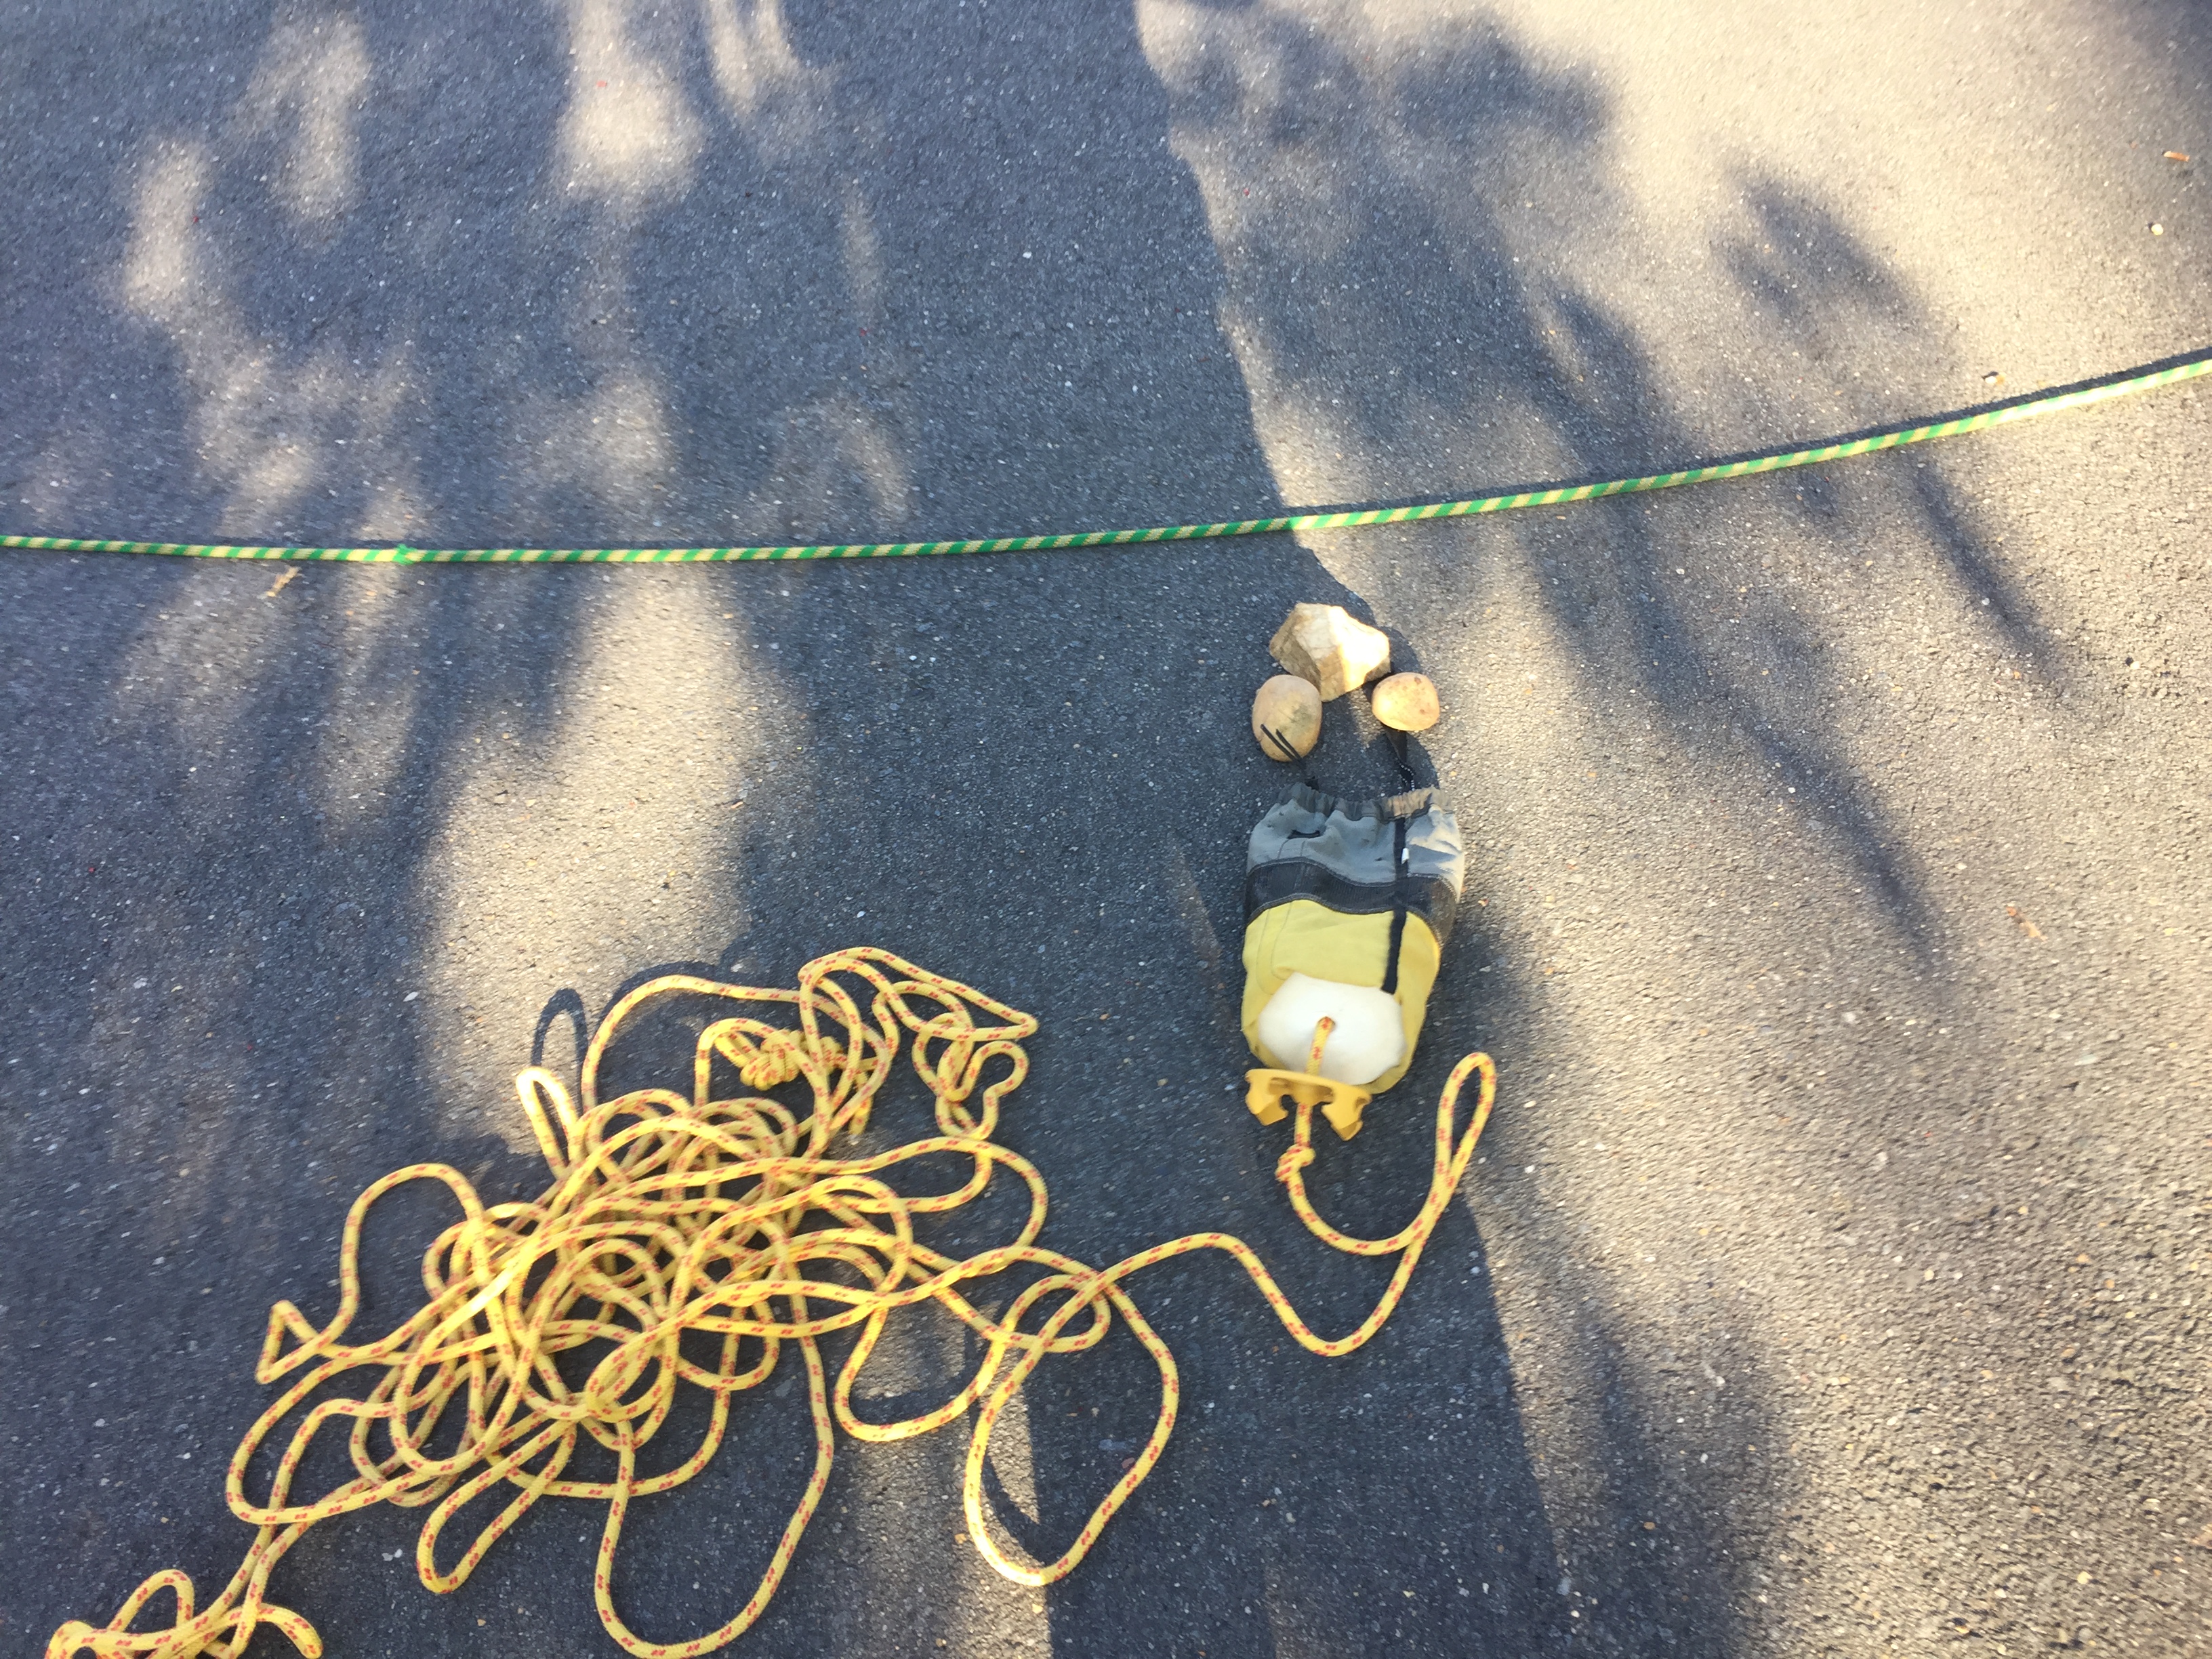
5) Here’s the loaded snag line.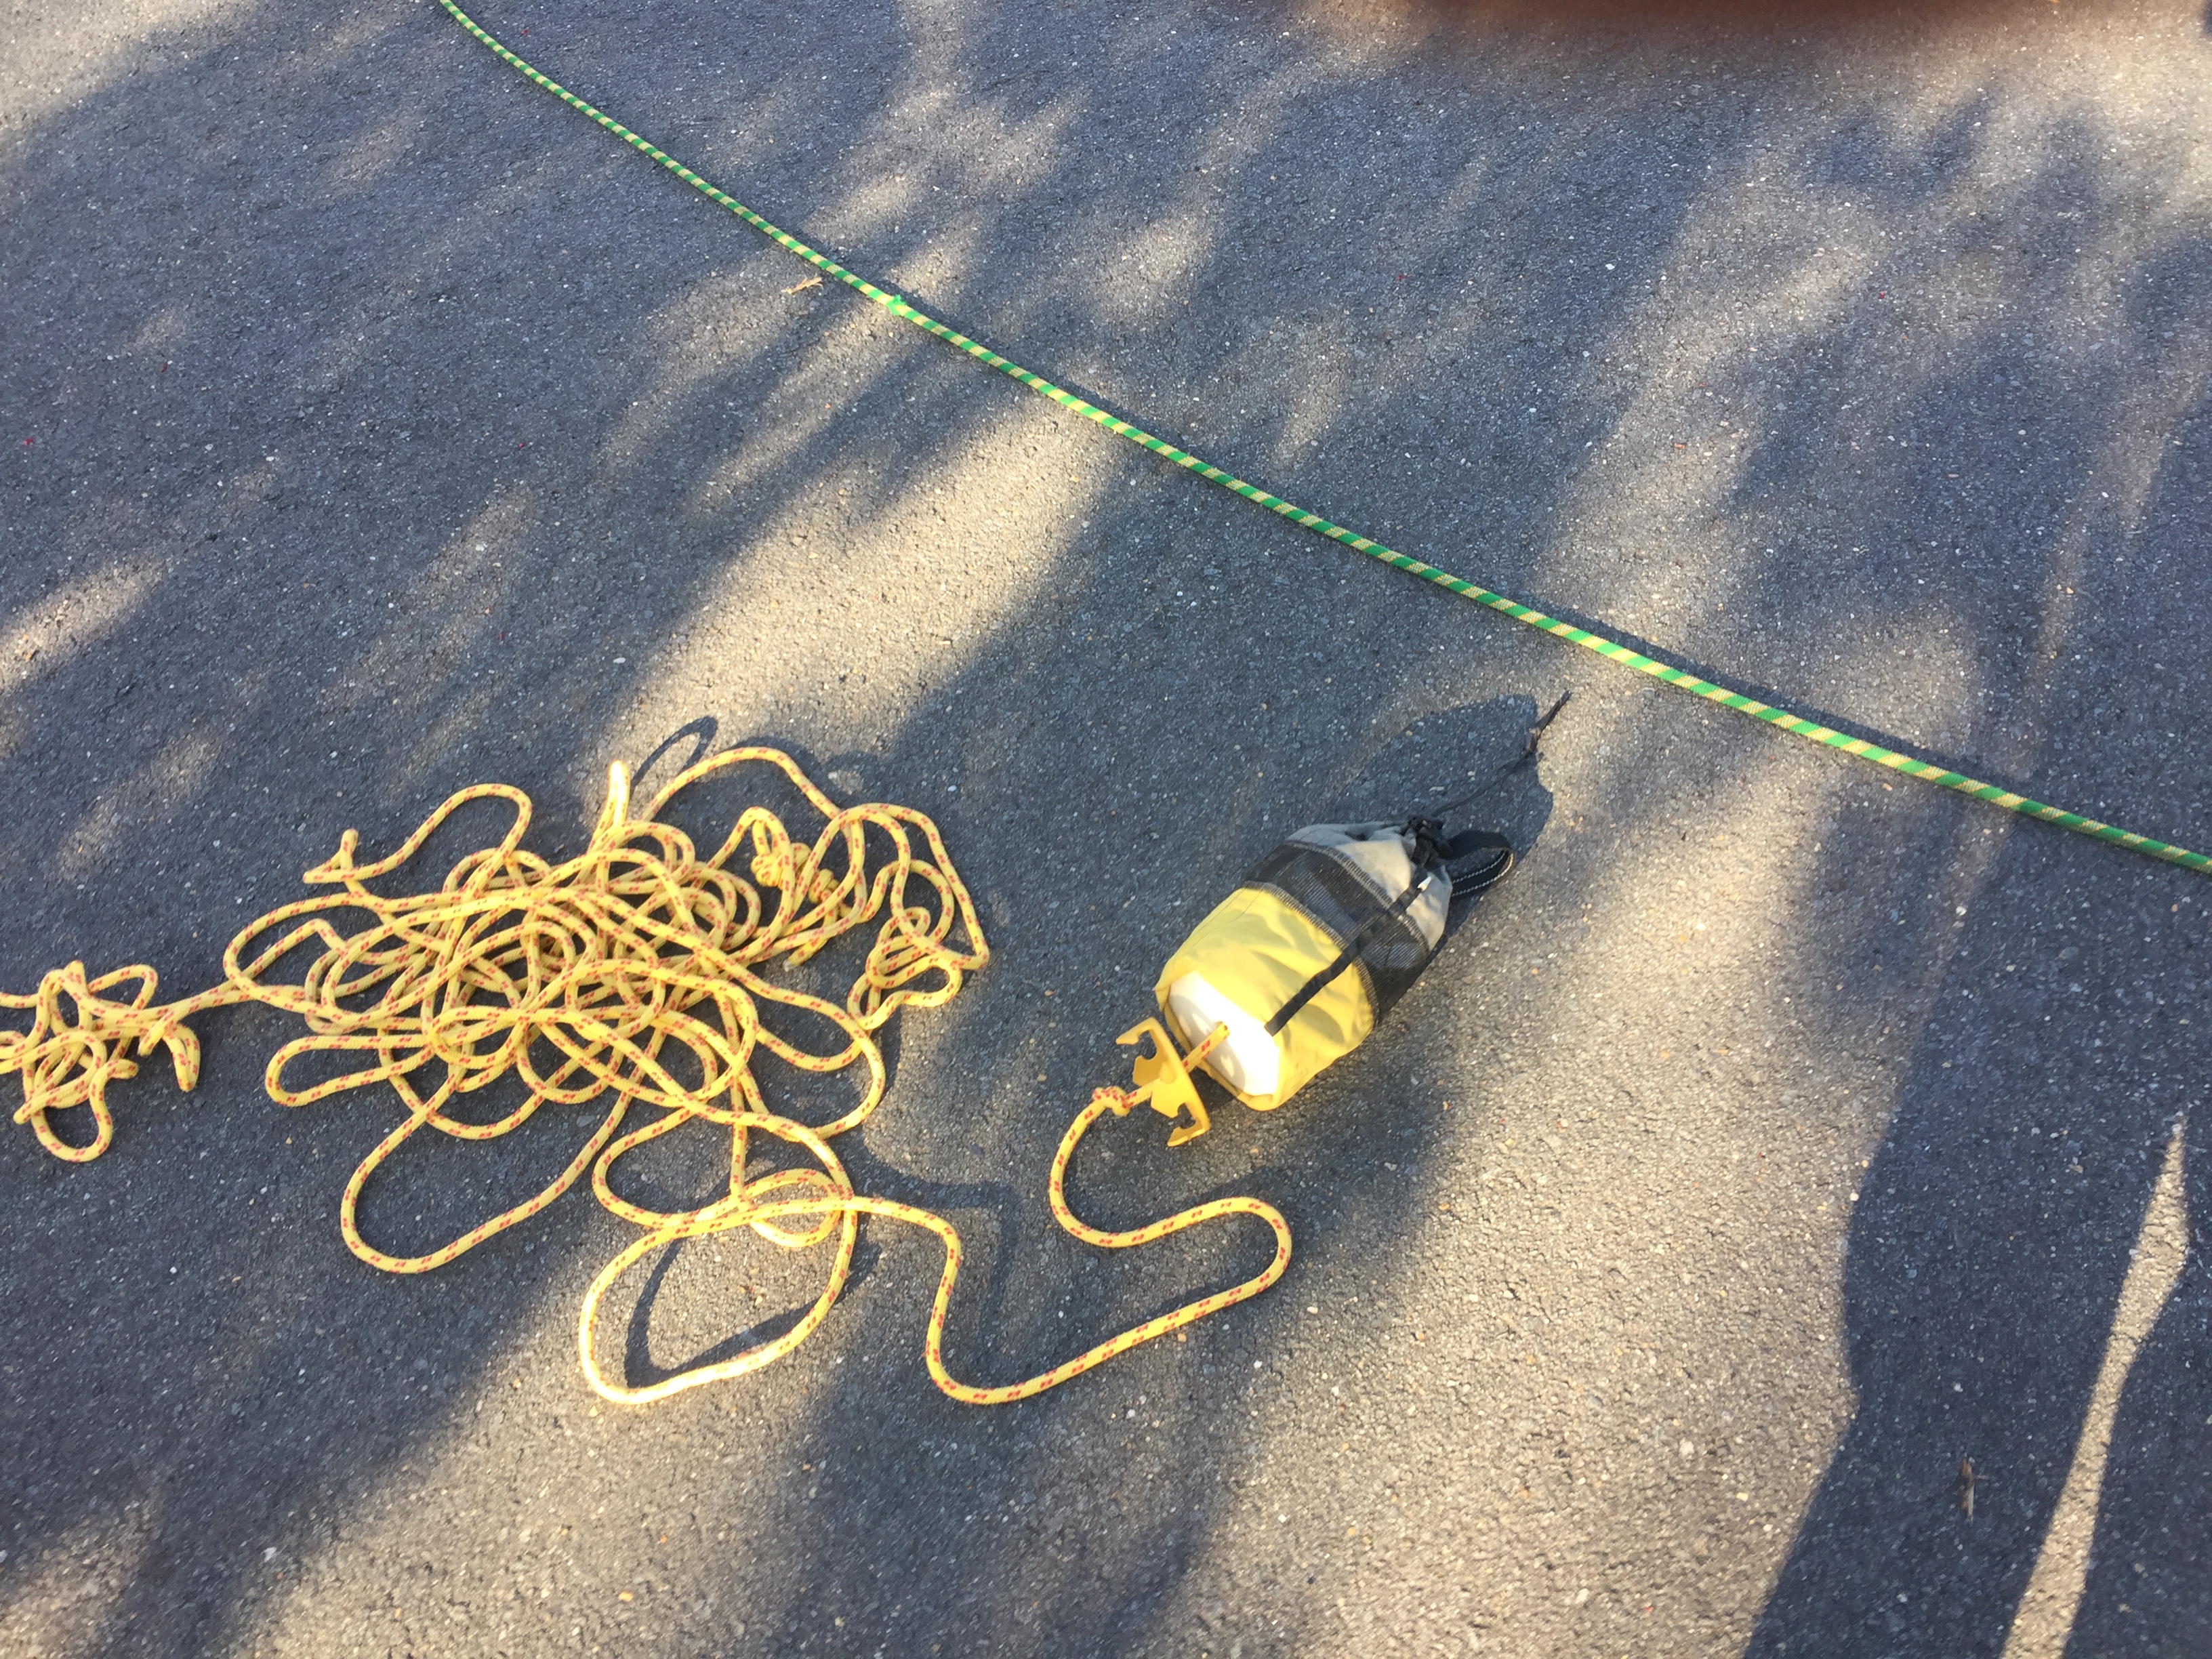
6) The Snag Line is tossed over the rope floating below the victim. Notice how the teeth snag the line making it easy to retrieve.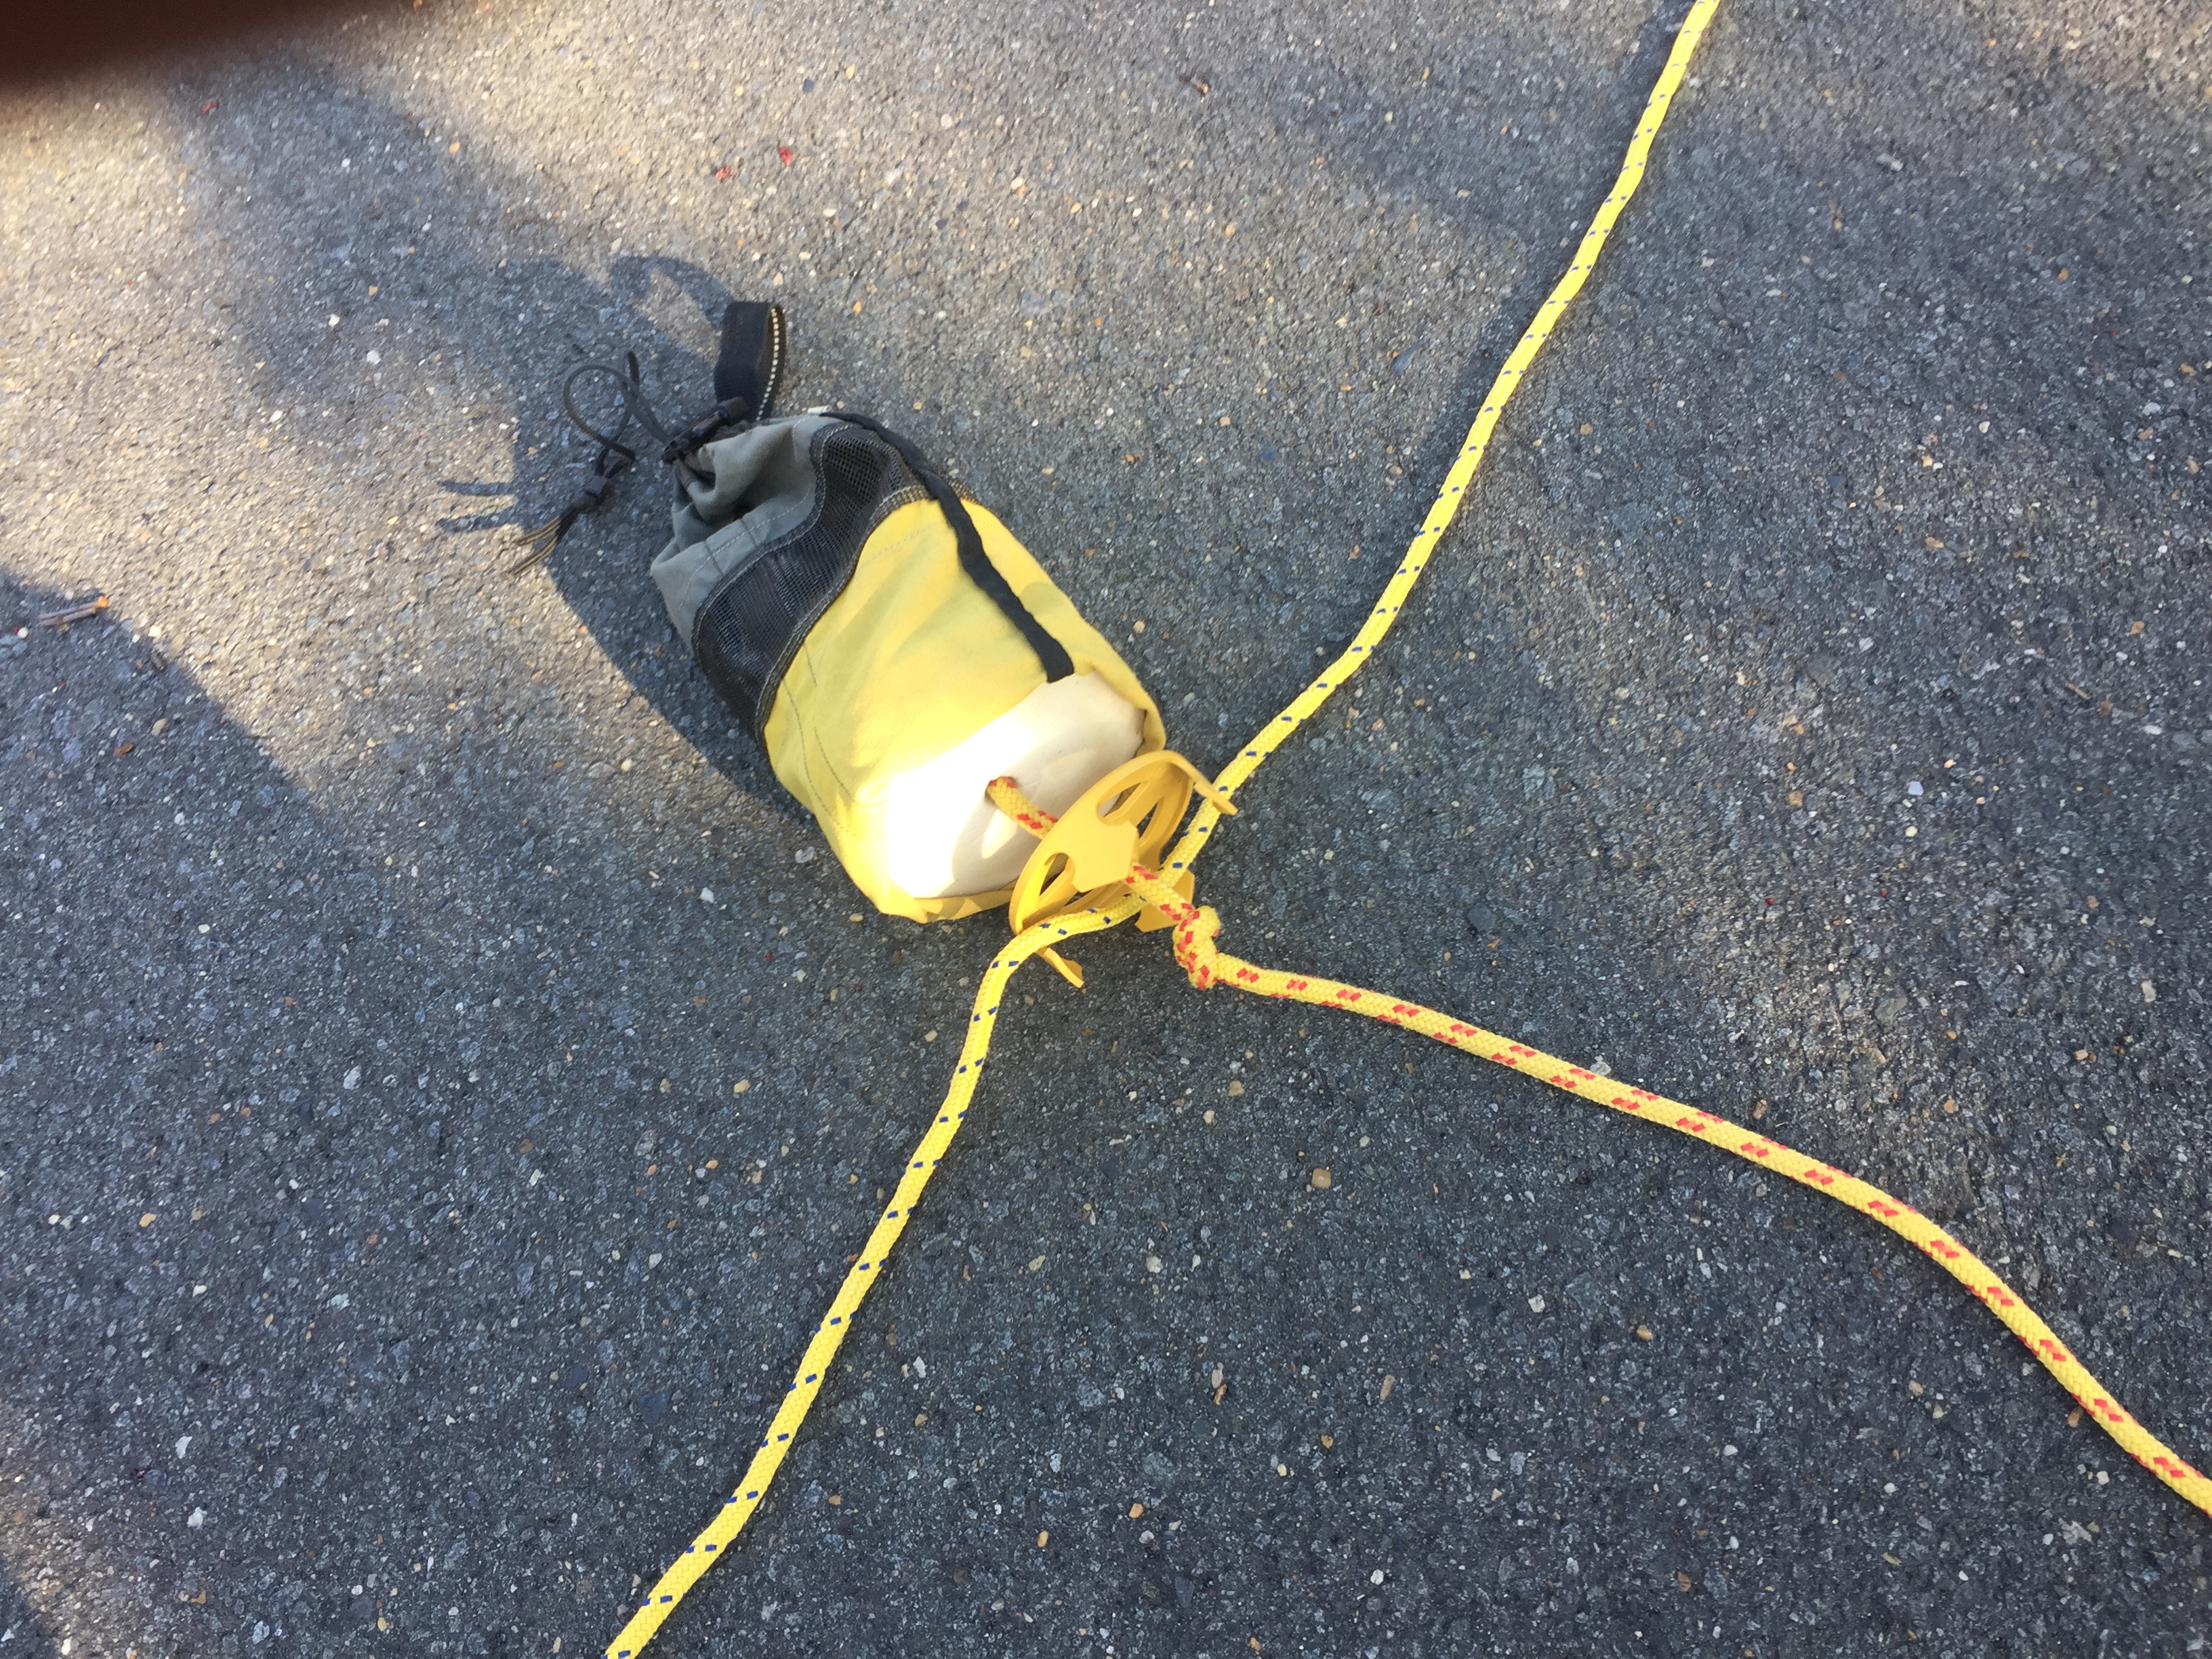
7) Pull the dangling line into shore.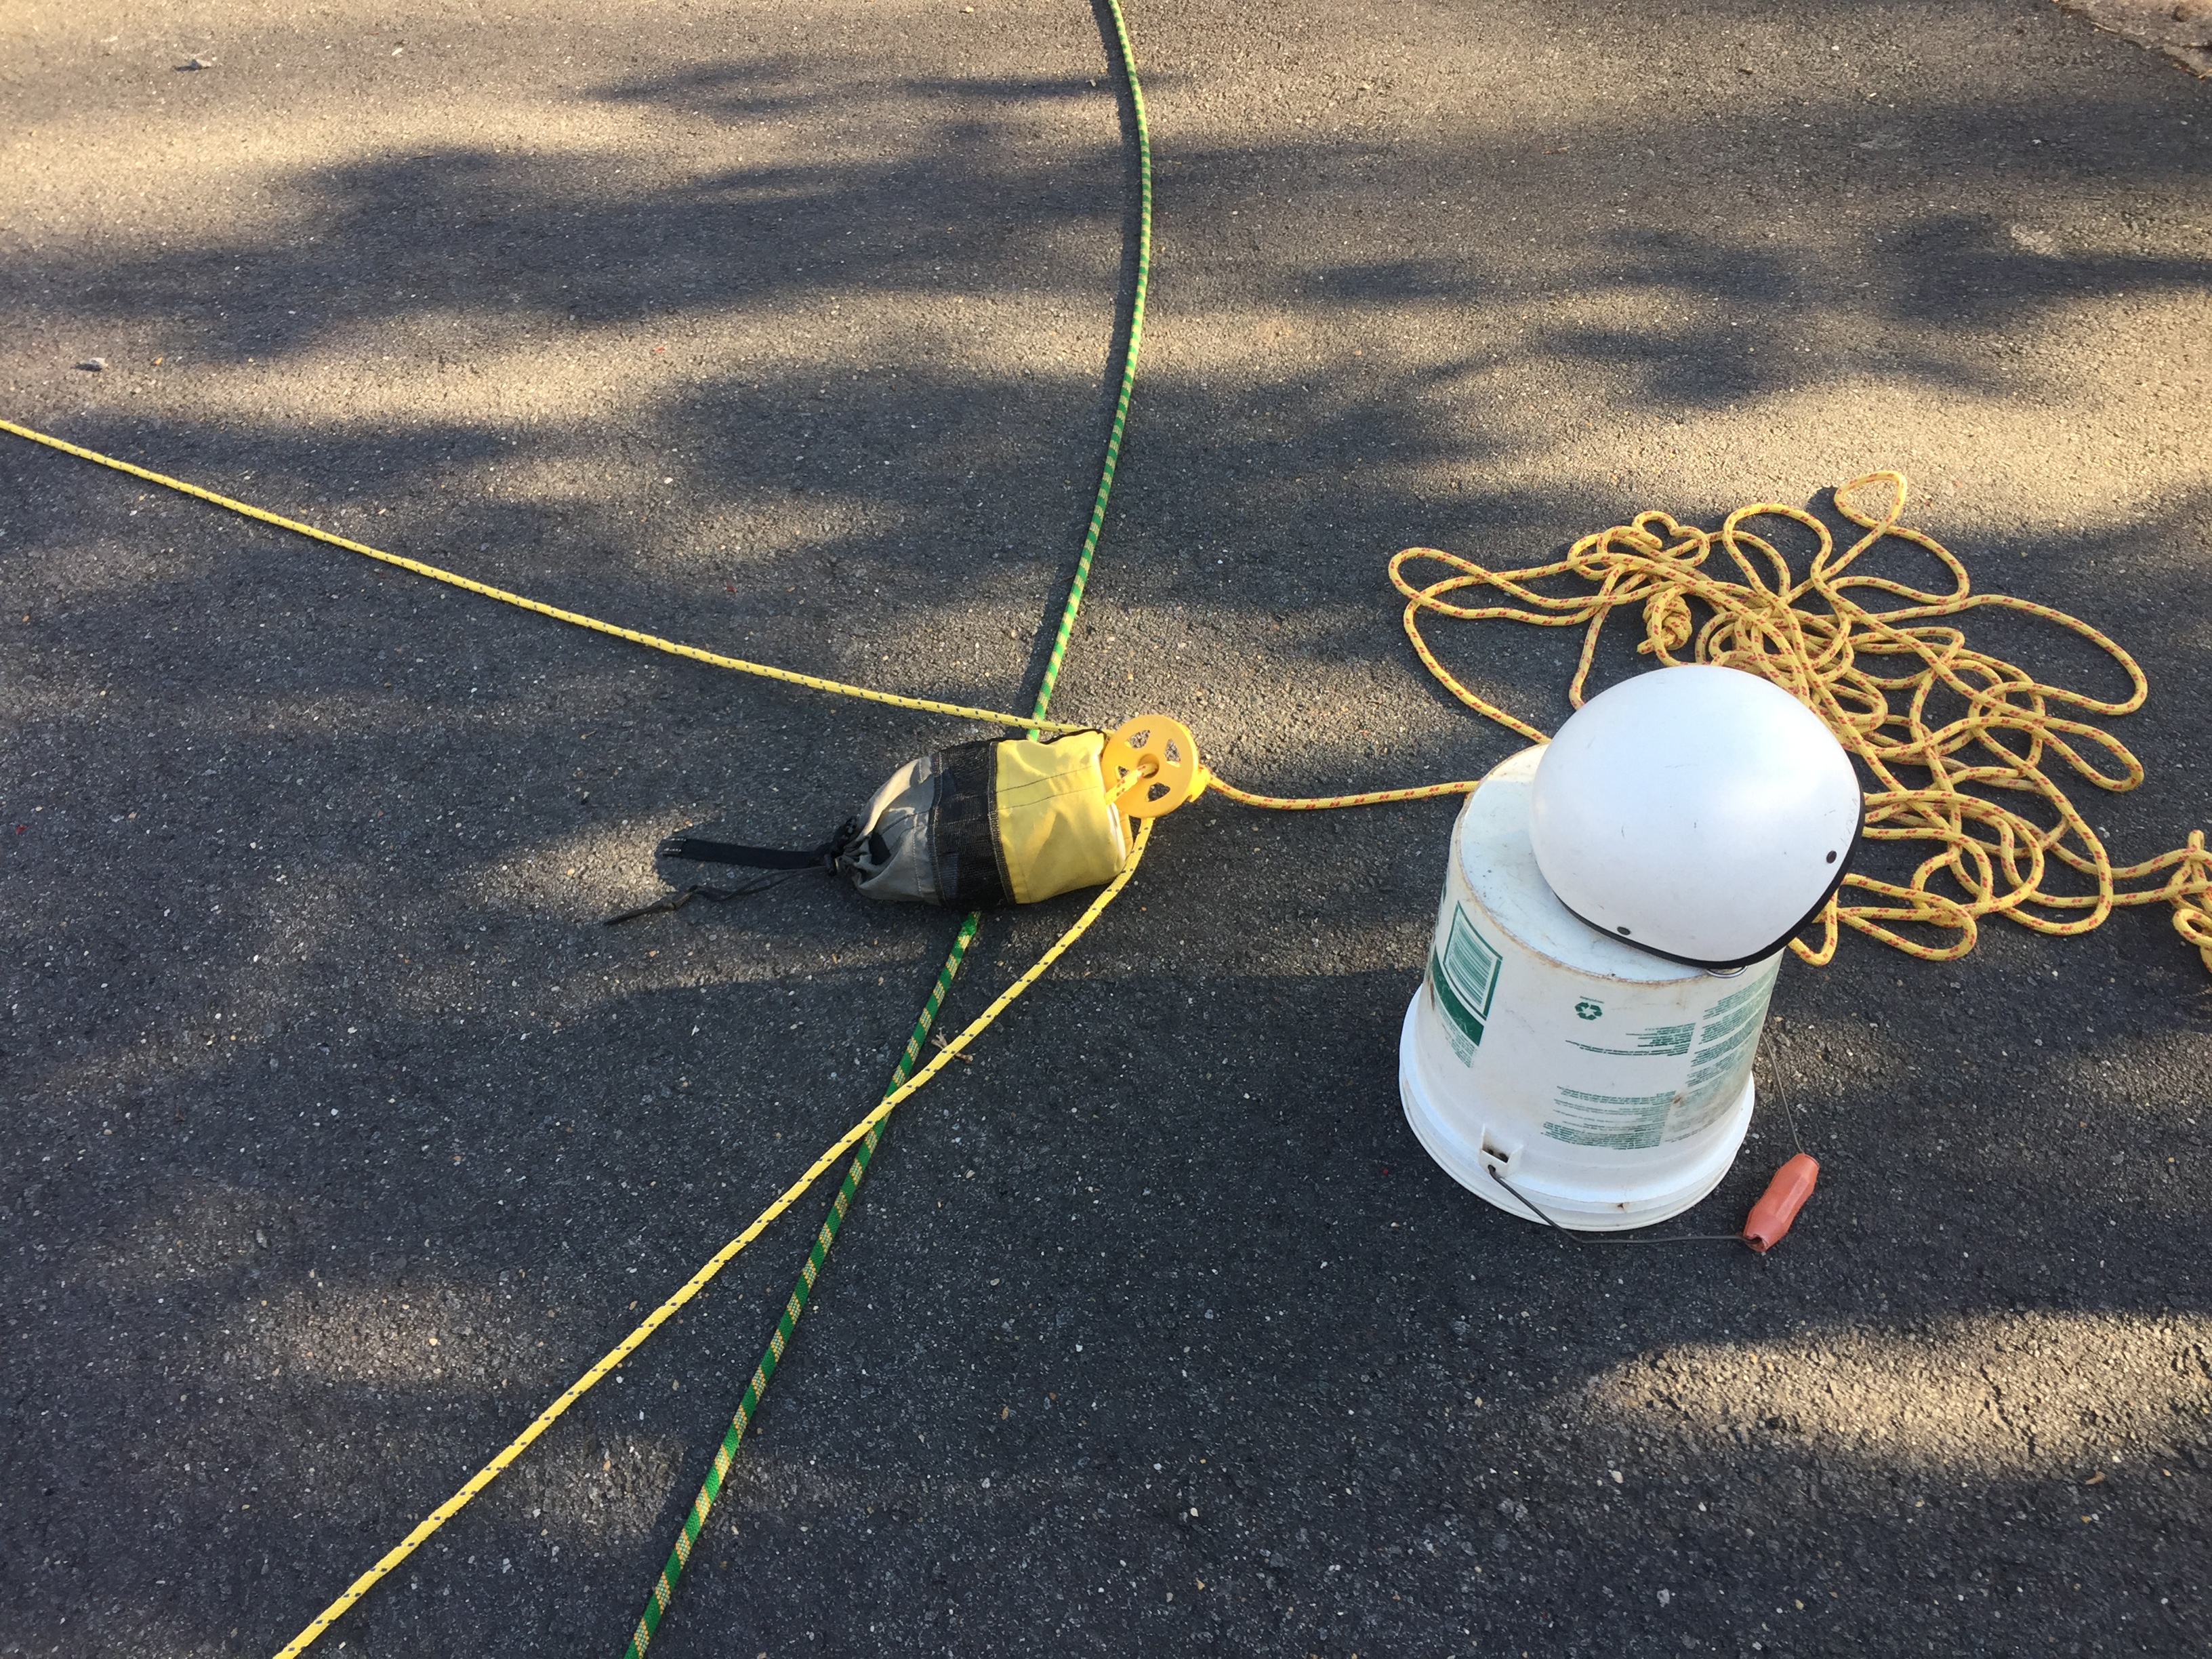
8) Remove the Snag Line and run the end back up the to rescuer upstream. That rescuer holds both ends of the line in a belay. This forms a nice tight stabilization line, perhaps the victim can free themselves with this support – certainly worth asking. This may be an opportune time to “Pop” the victim free or wait for the very secure cinch.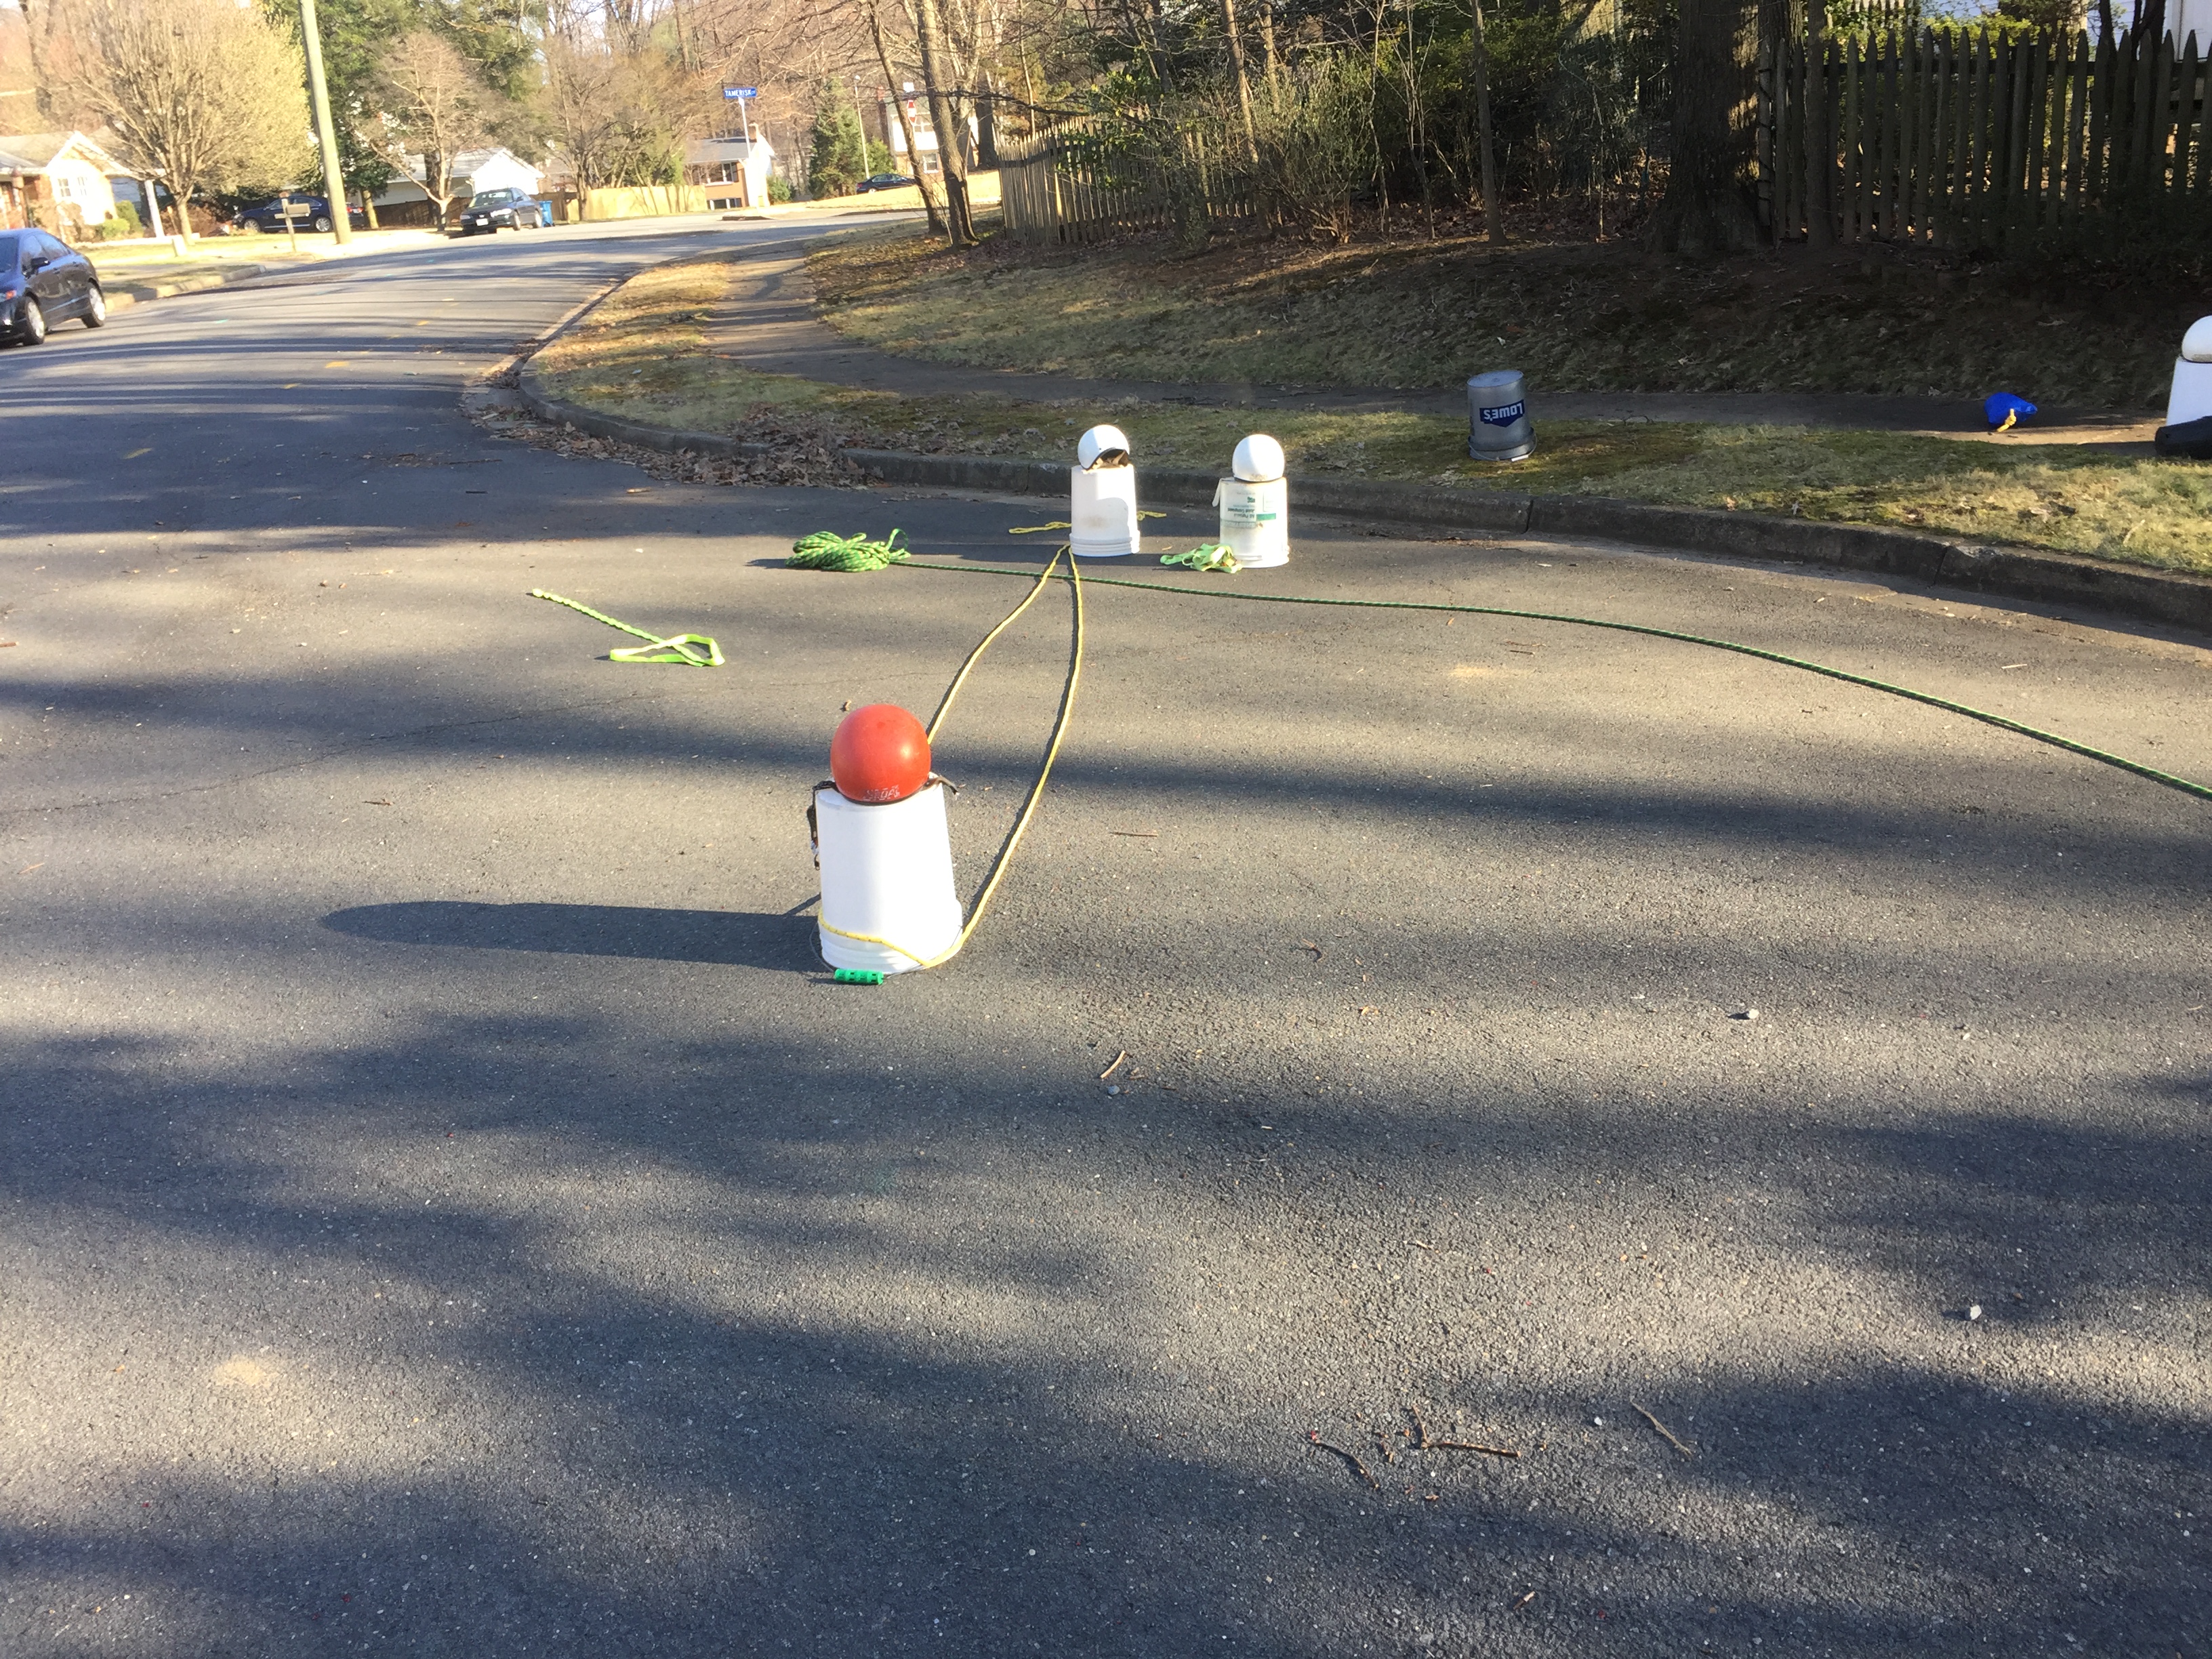
9) Clip a carabiner over both strands of rope that has a rope or webbing attached. I used my guide belt for this purpose. The Downstream rescuer will walk the line tightening the cinch.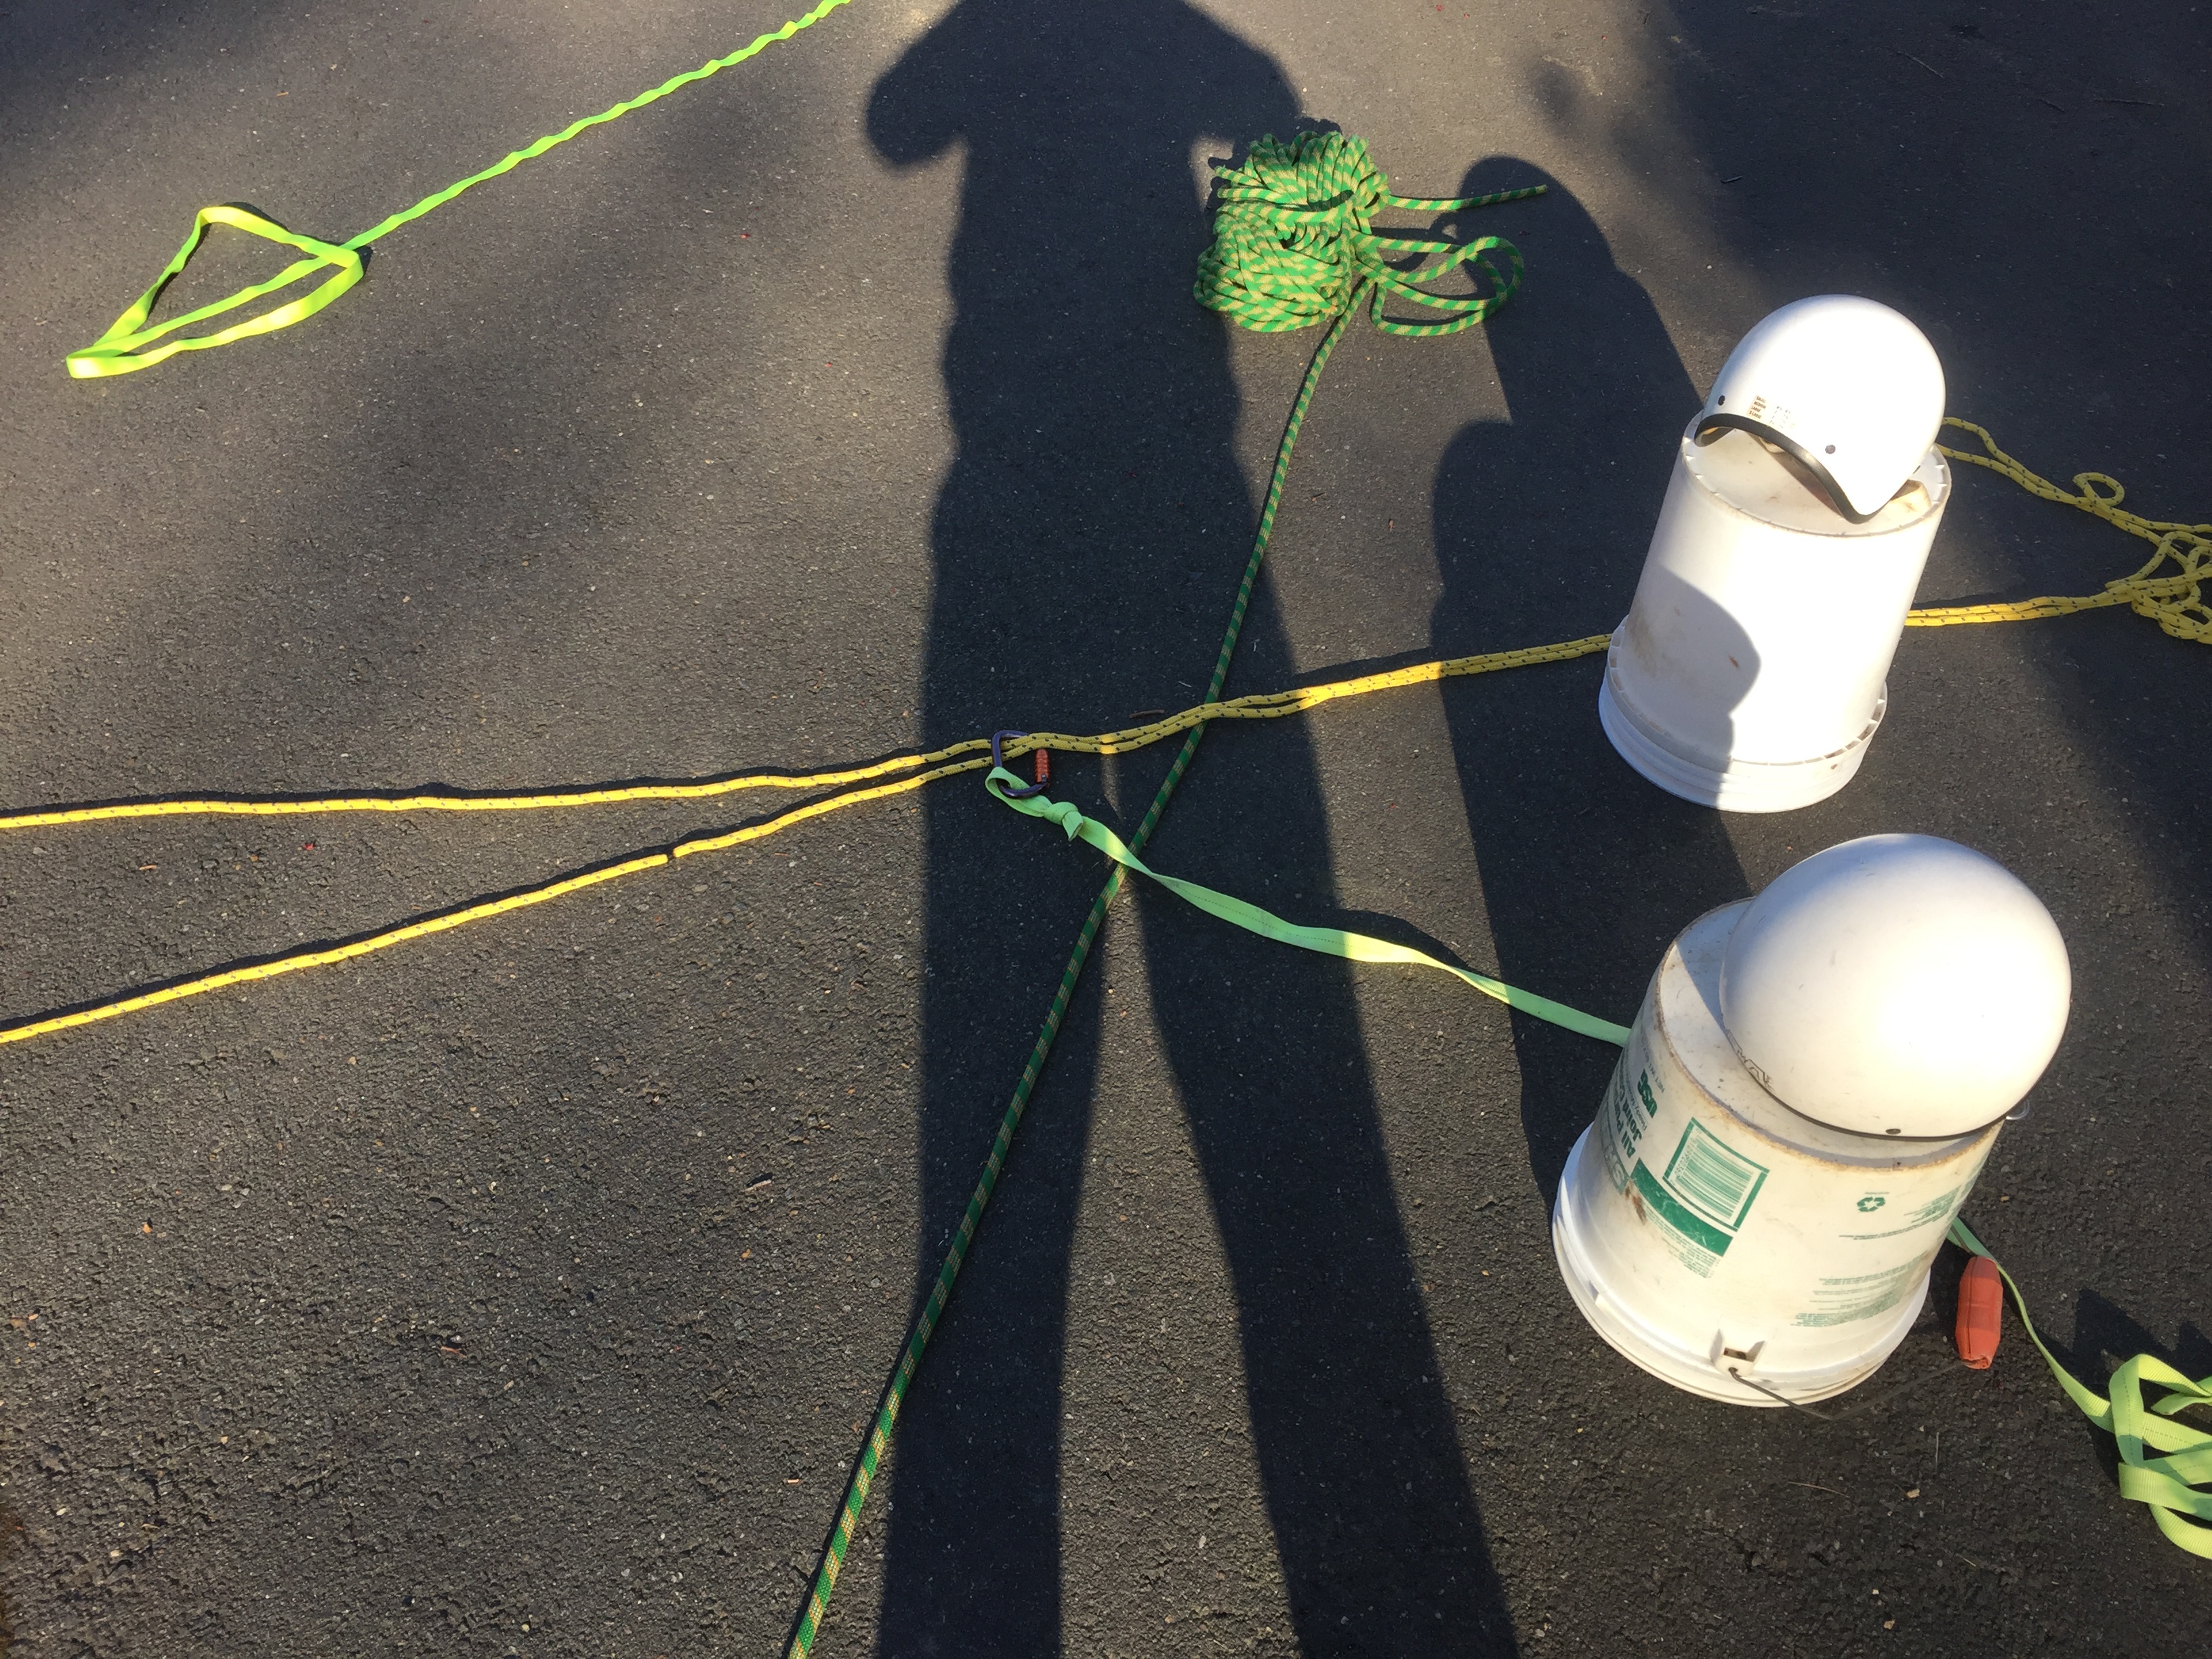
12) Halfway down the line. The cinch is tightening and a useful vector pull is forming.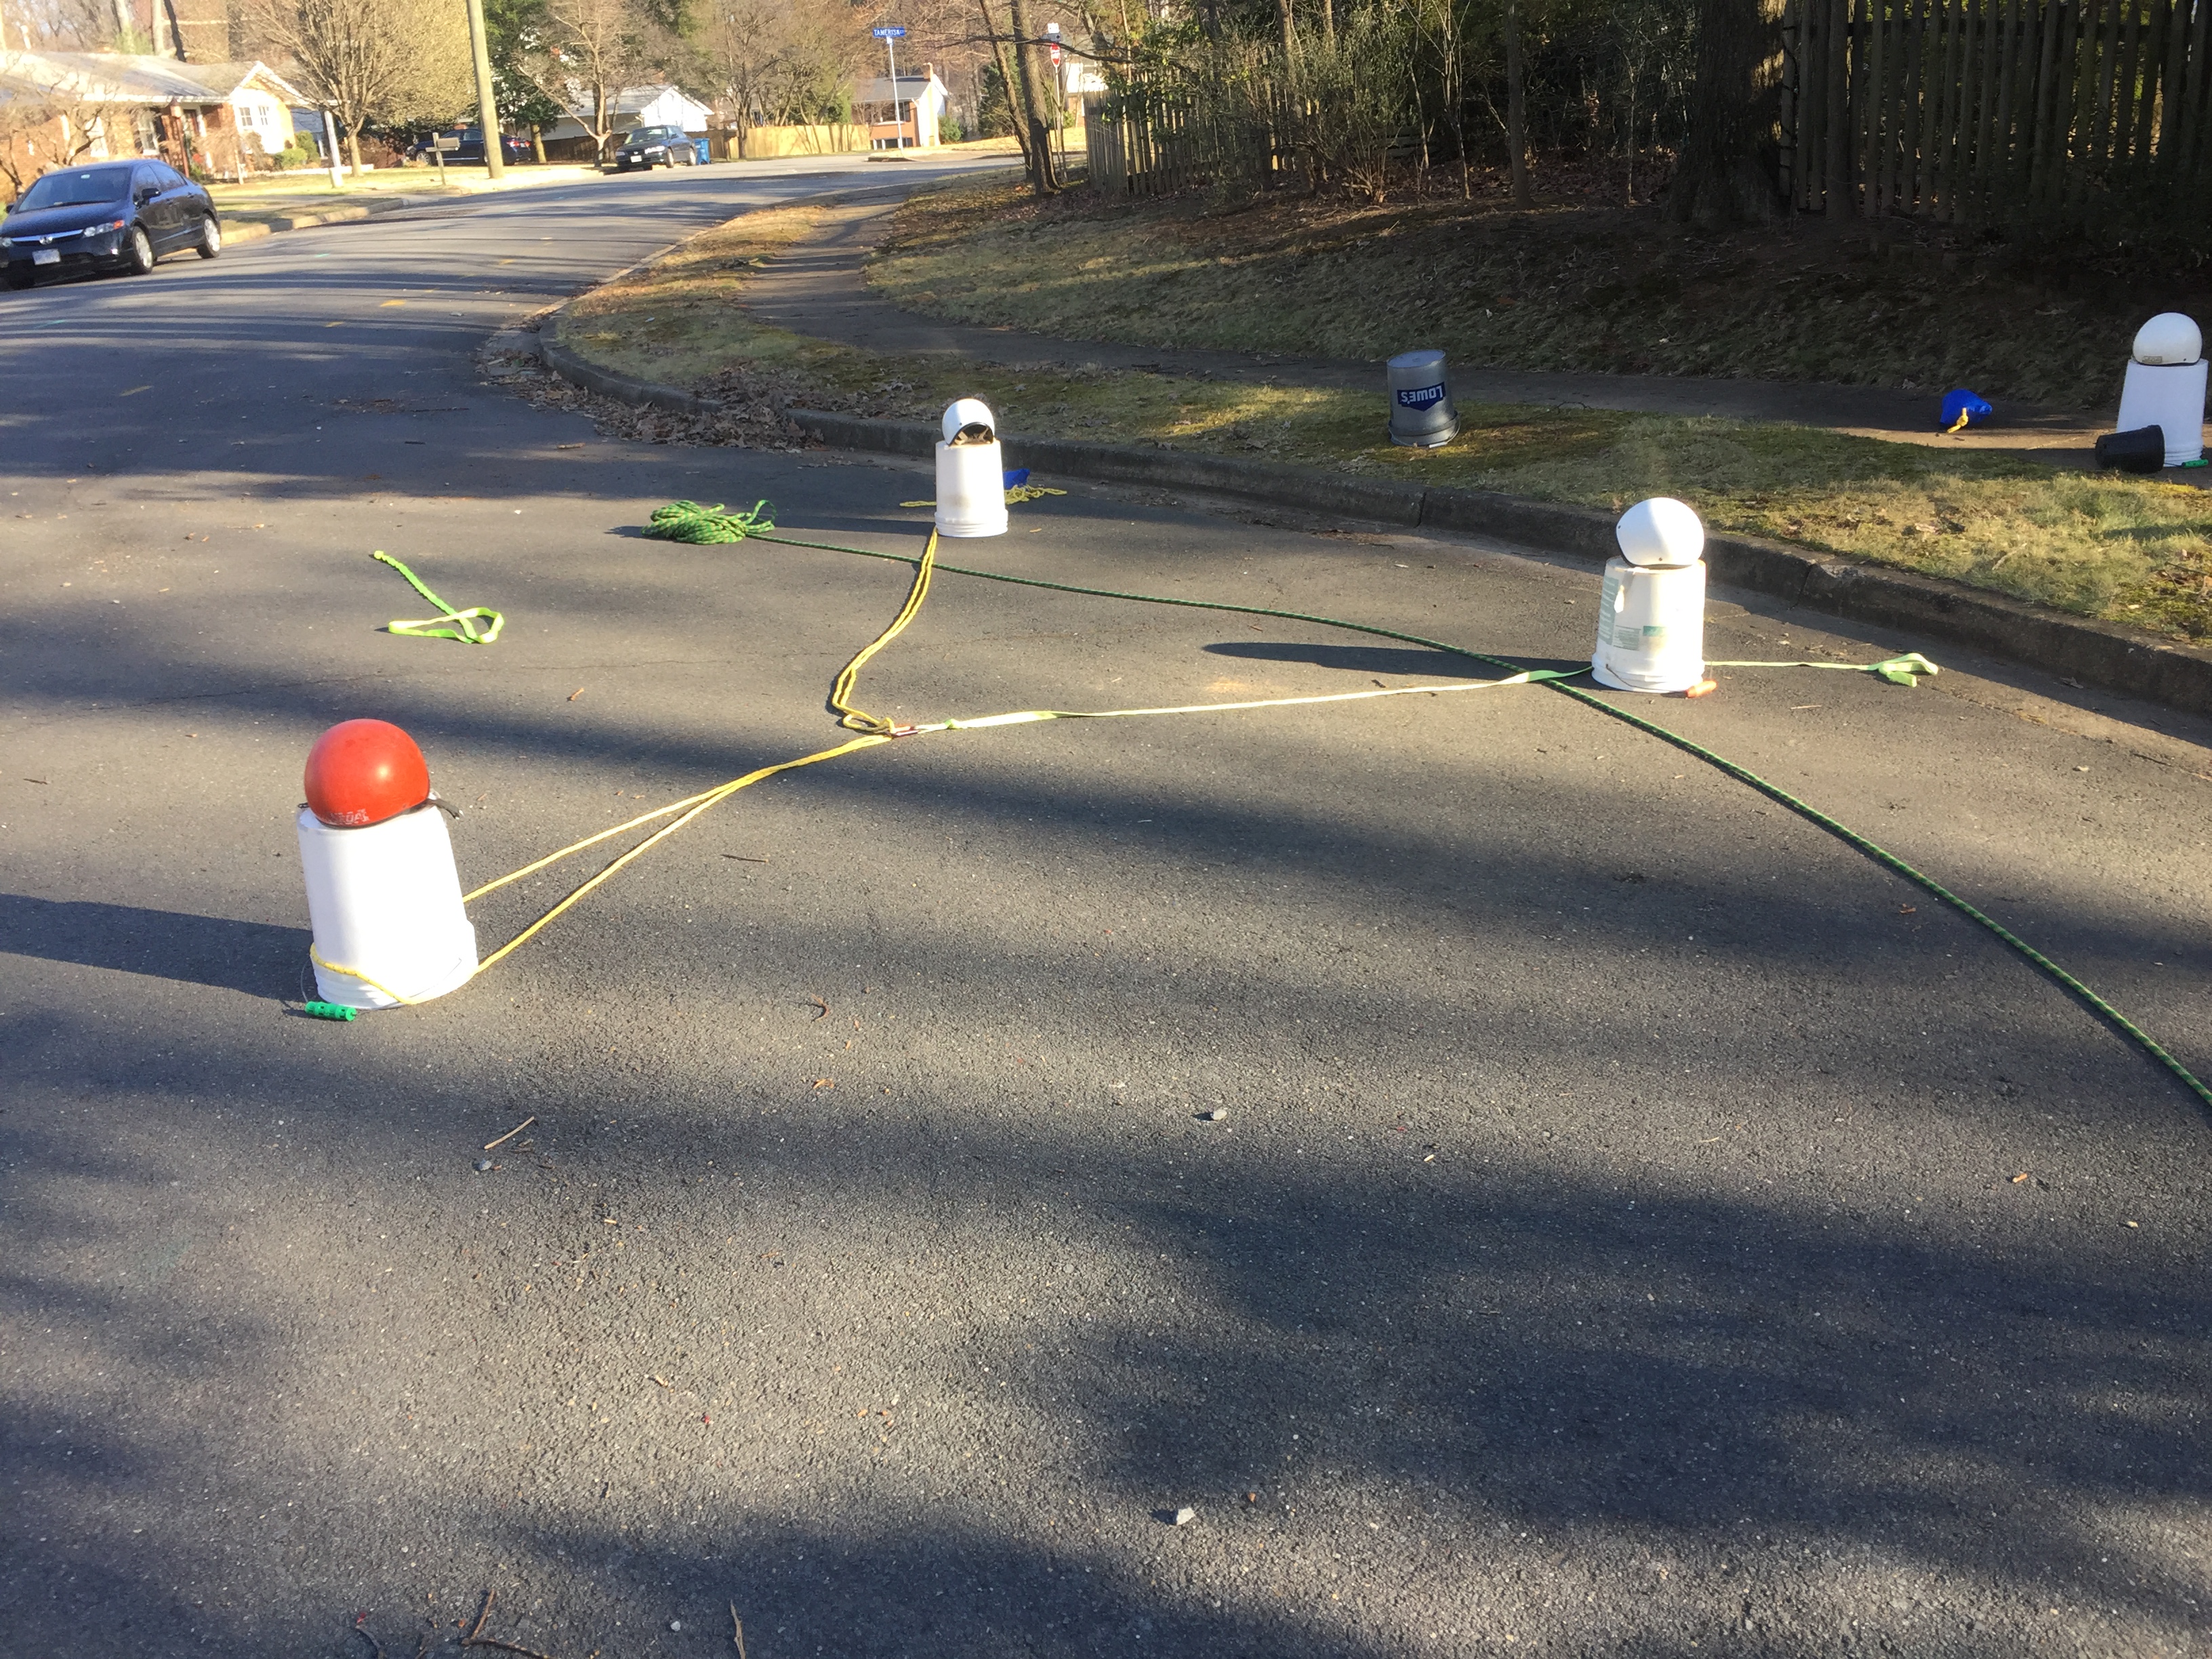
13) The cinch is closed. Now’s a good time to pop him free if you haven’t done so already. As always pull from upstream.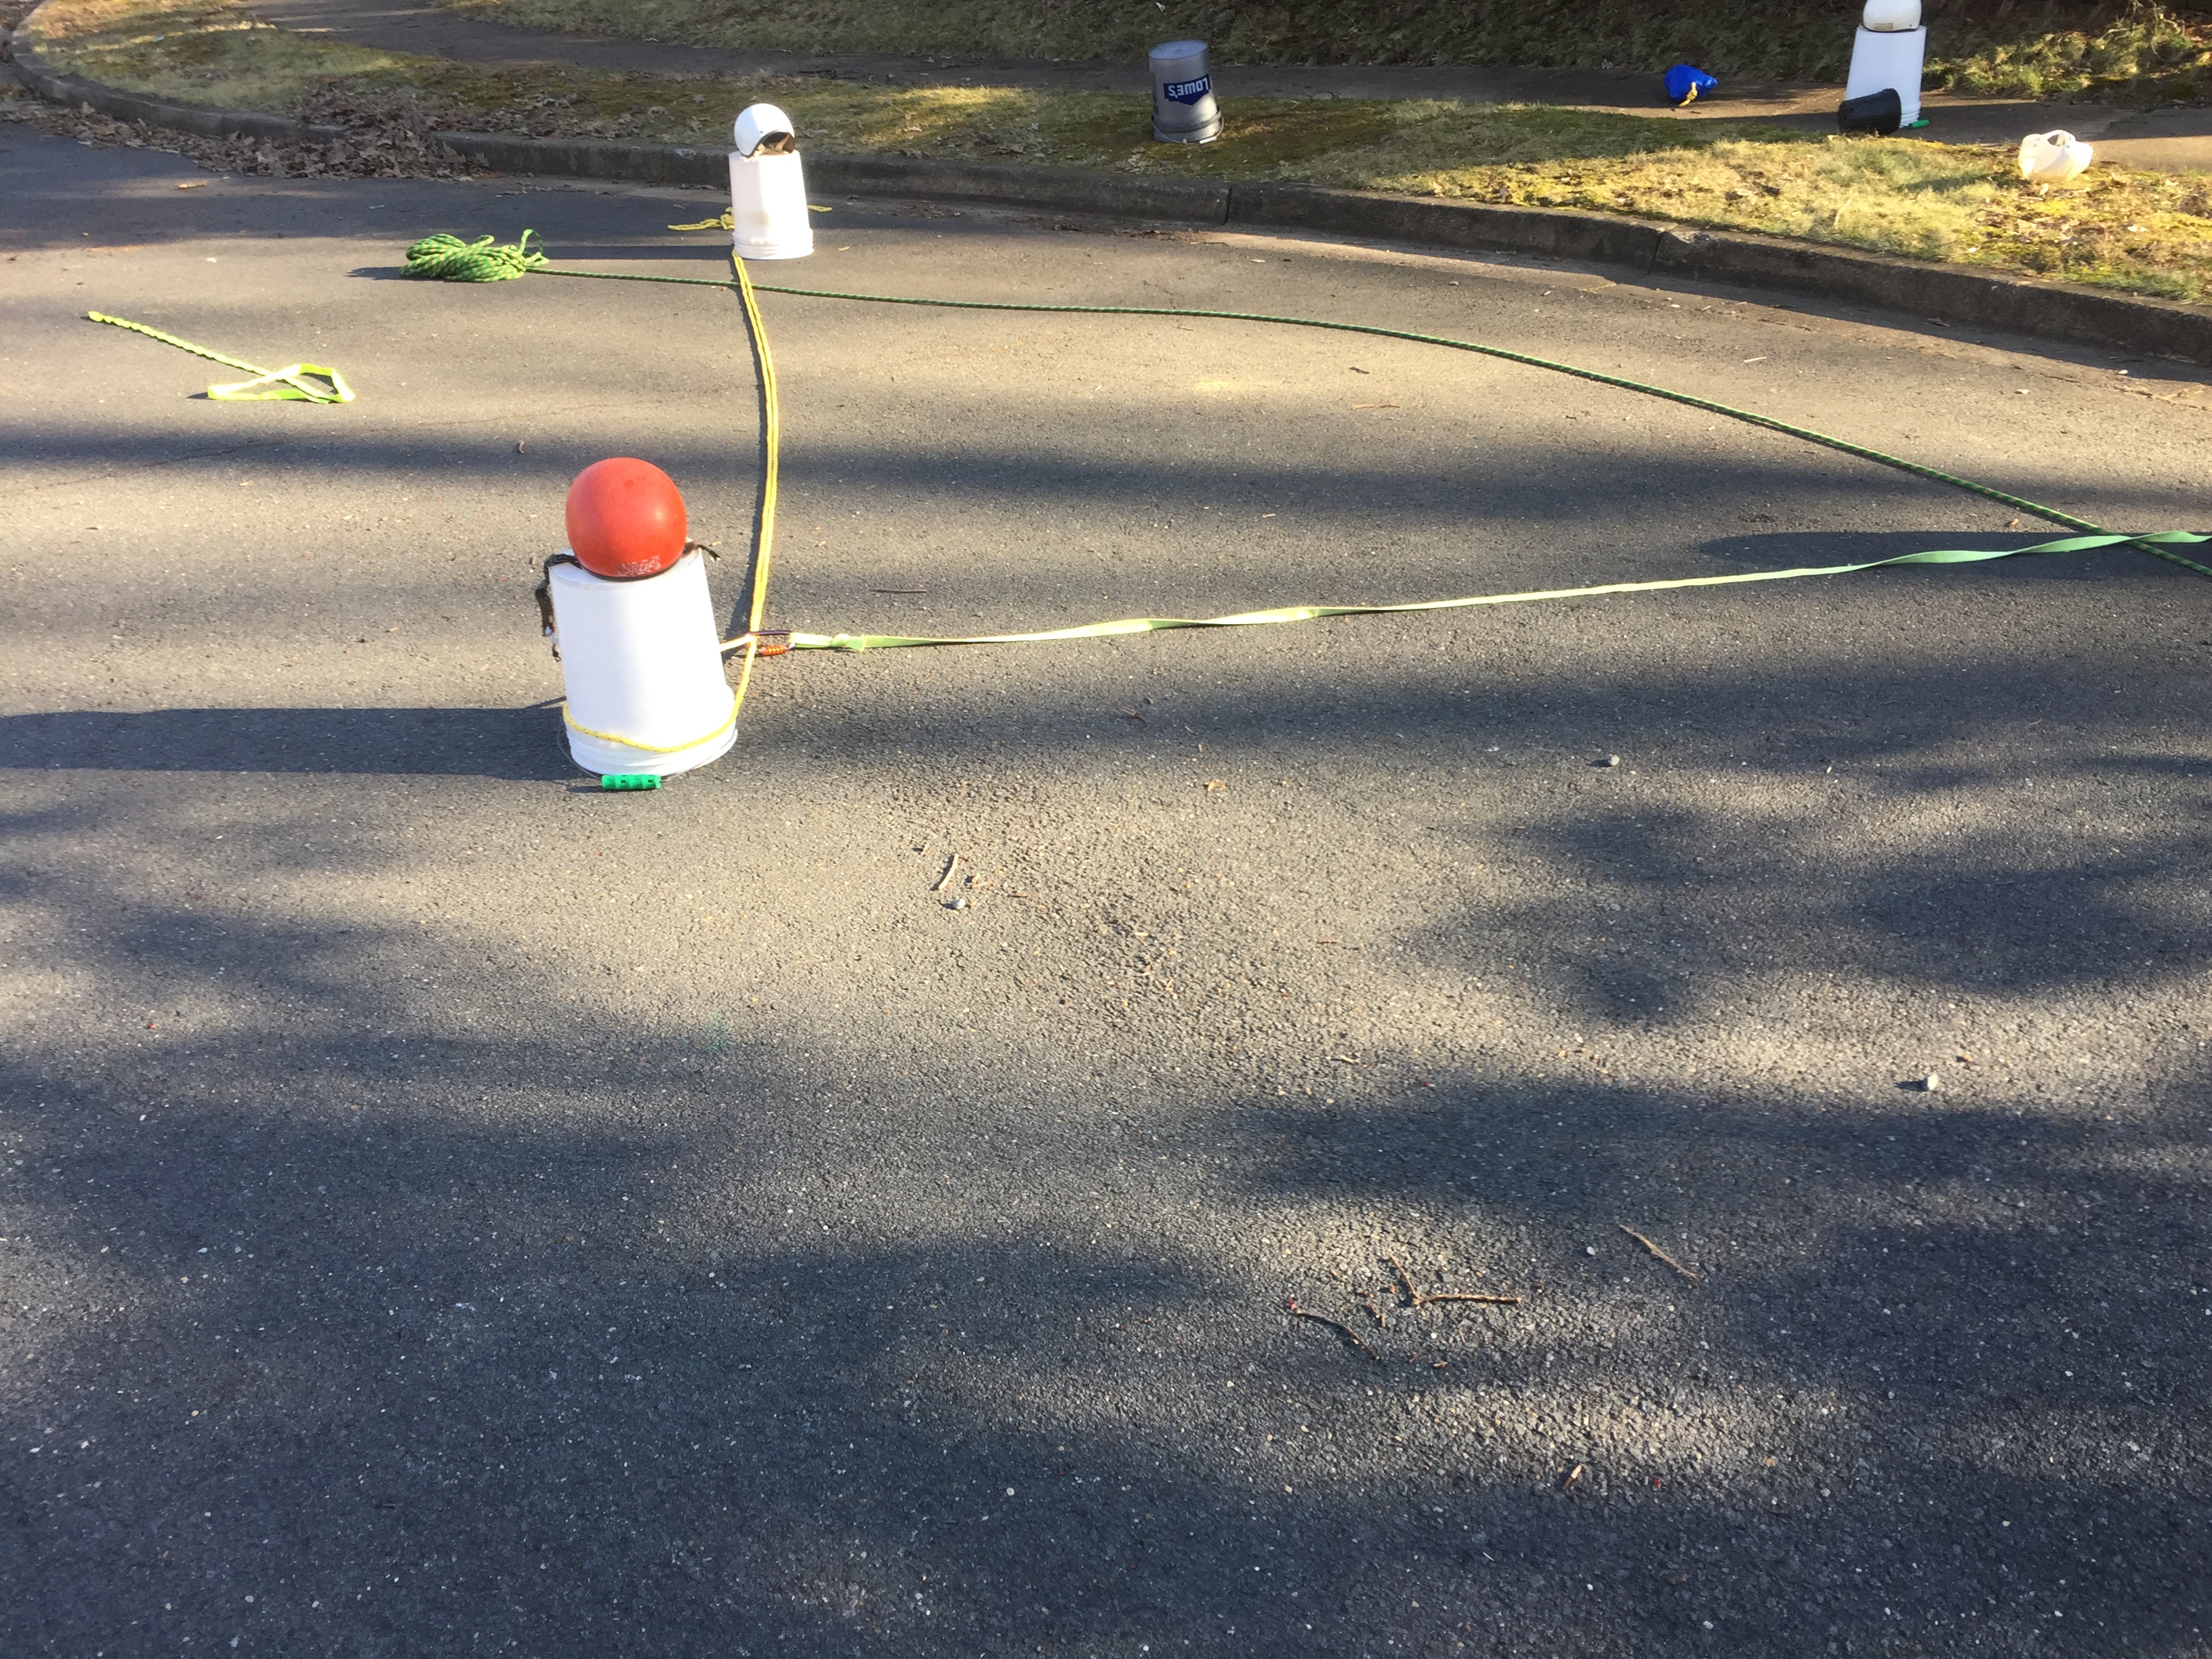
14) Land the victim safely on shore via a pendulum sweep.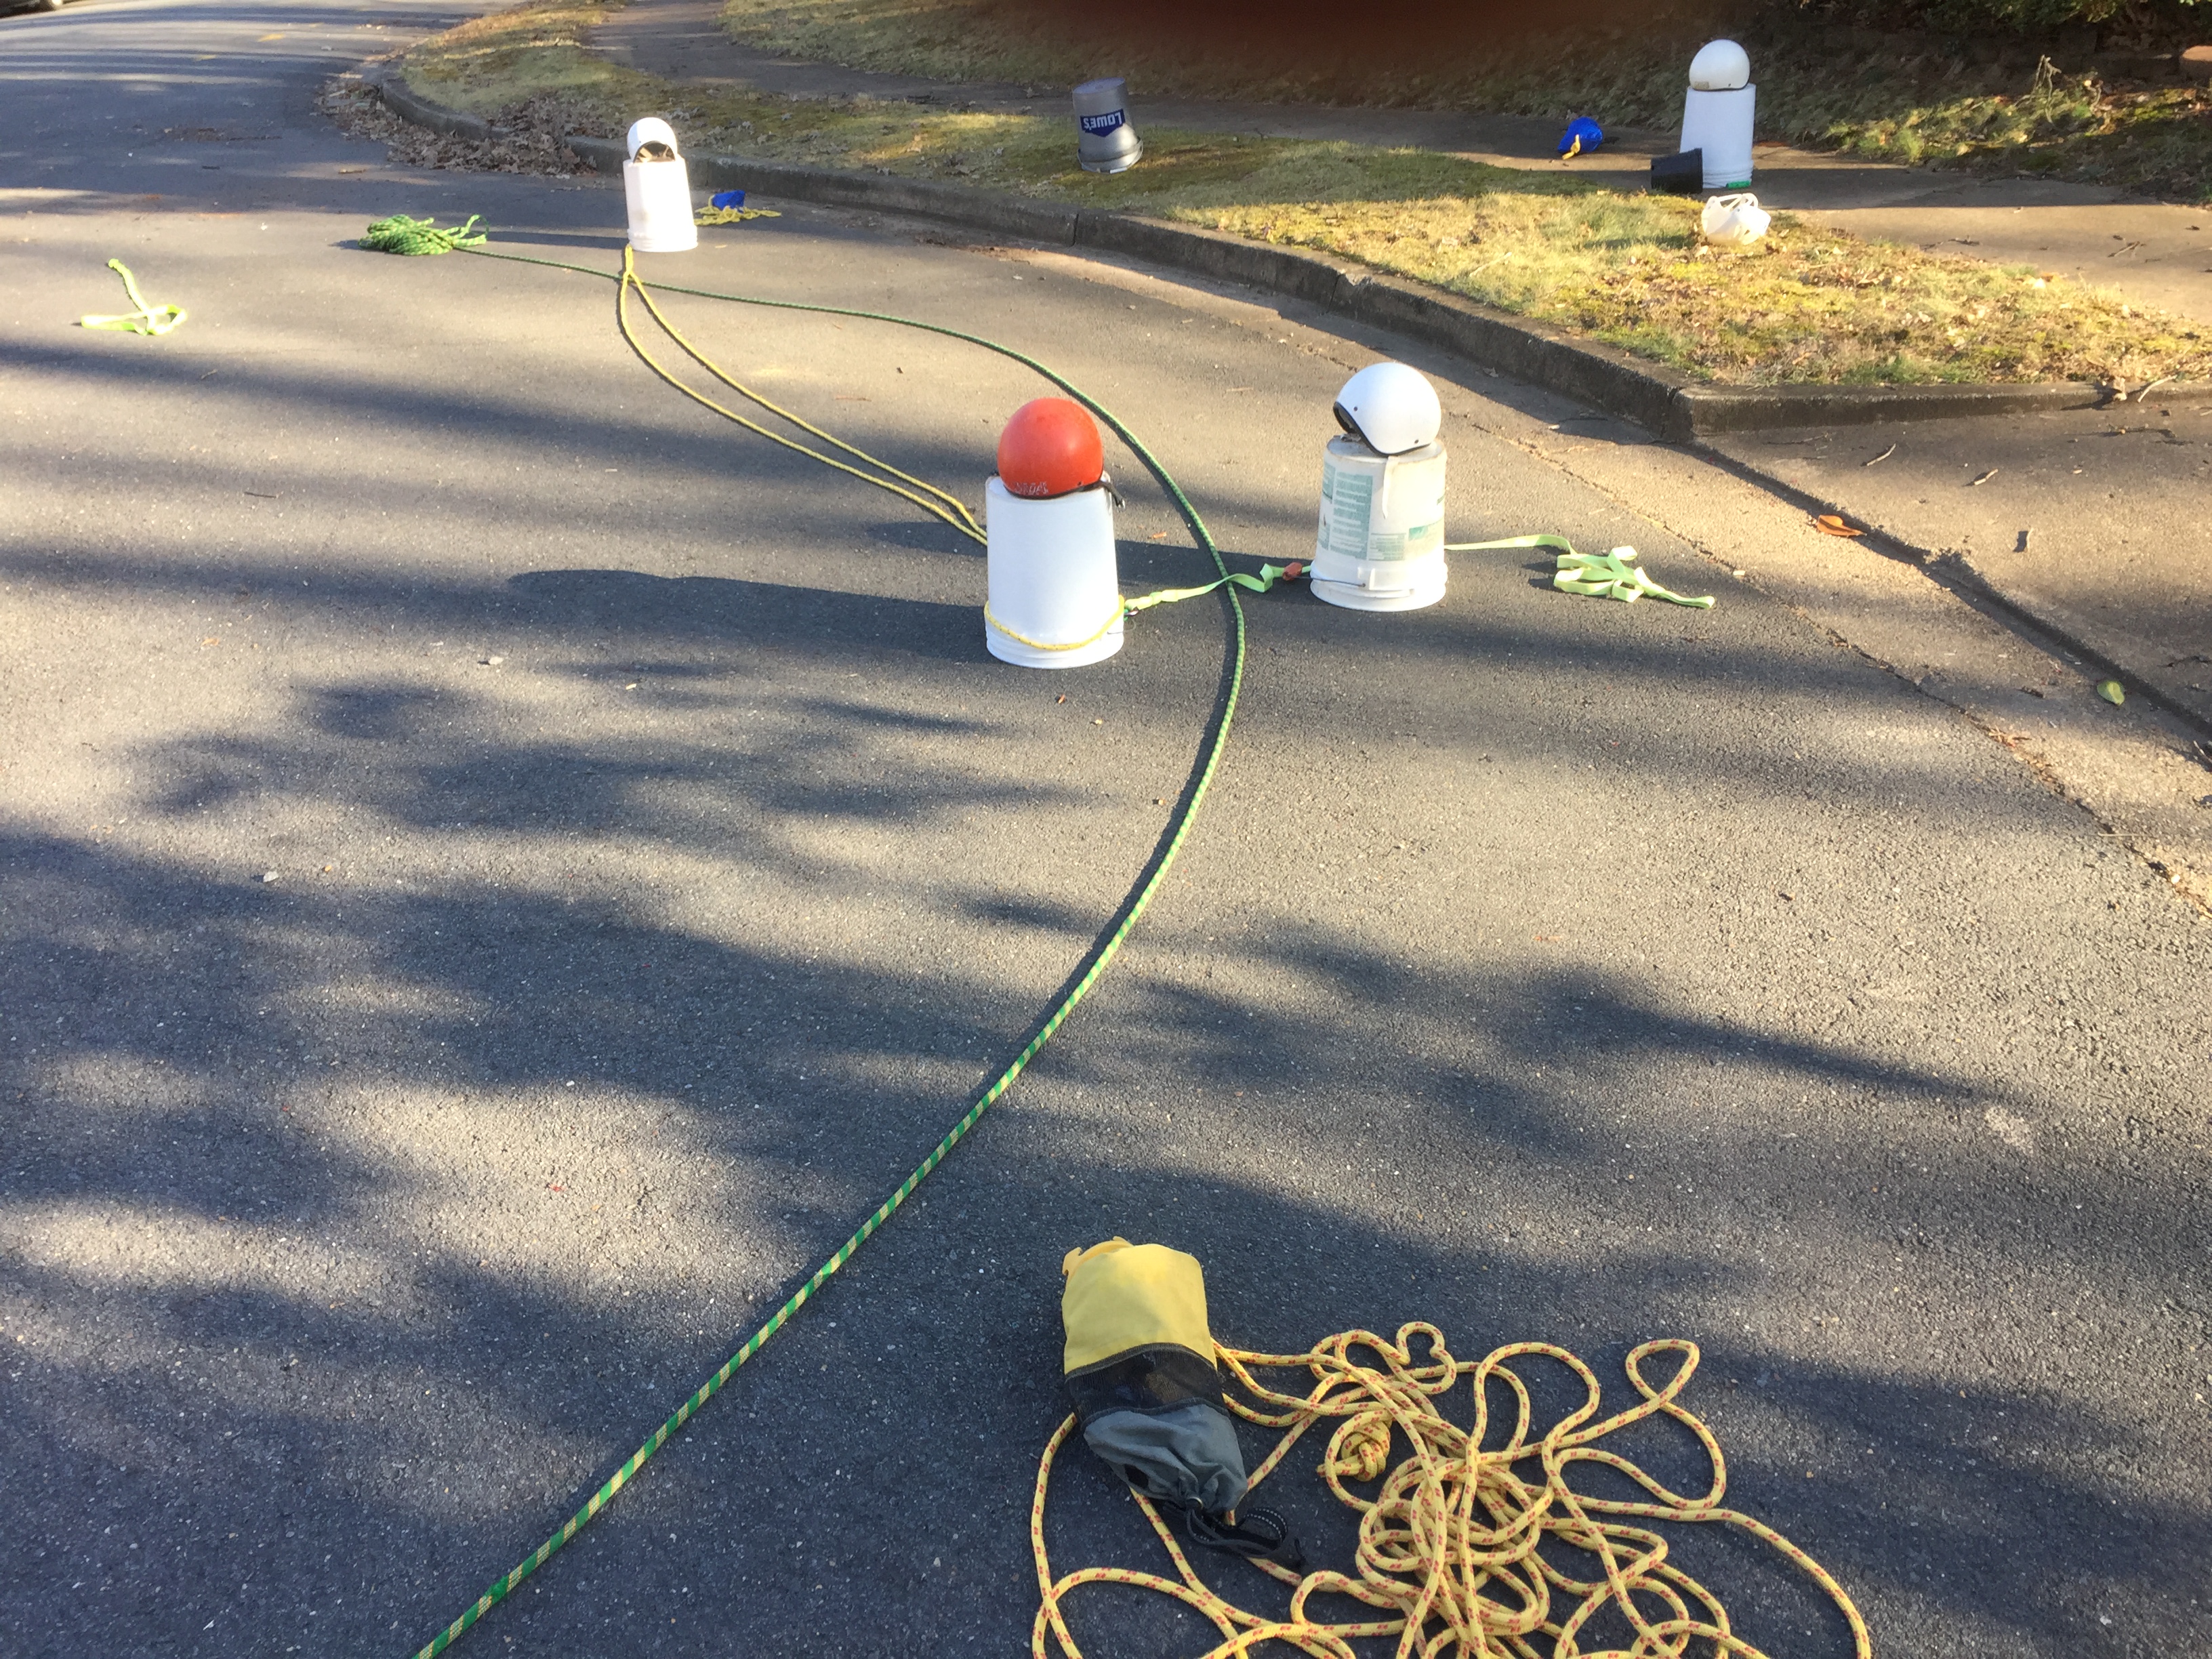
Cinch lines
A cinch line can be quite handy for freeing a pinned boat (or even a trapped paddle). The cinches are great for controlling movement of the object back to shore as well. This is very similar to the fine control provided by a V-Lower. In a few cases, a cinch line may be needed on a trapped paddler as well but should only be used with some care since it may choke down on the paddler and cause severe injuries. When using on a paddler, cinches that provide a means of controlling the loop tightness are preferable to closed cinches. On the plus side once you have the trapped paddler in a controlled loop, controlling their position and movement is pretty easy.
There are a number of cinch techniques available. The ACA concentrates on a few that reinforce good practices like deep V's and use of stabilization lines. These cinches with a little bit of practice are easy to remember and construct in the field.
The following video shows a very simple cinch line set-up: Simple Cinch - Don't Do This!. Although this cinch is very easy to understand and set-up, it provides zero control on how tight the loop gets. It would be very difficult for the victim to quickly escape if they got pulled underwater, a very definite possibility if they came out of their boat in fast water. This approach is fine for gear retrieval but not people. The ACA teaches far better cinch techniques as described below.
This is a far better variation of a simple cinch that also provies a great deal more flexibility: Open Simple Cinch. Another useful cinch is what the ACA calls the Closed Simple Cinch: Closed Simple Cinch. Here are some step-by-step articles: Simple Open Cinch, Simple Closed Cinch.
A very simple cinch technique courtesy of Jim Coffey is the ET3 Cinch (shown at the 3:20 mark). This cinch is very quick to deploy under the right conditions. These are the step by step instructions for the ET3 Cinch.
A very good cinch technique is the Carlson Cinch. This cinch technique assumes you have already set-up a stabilization line and tried a foot snag line rescue - always wise to try first. The following PDF provides a great explanation on this technique: Carlson Cinch.
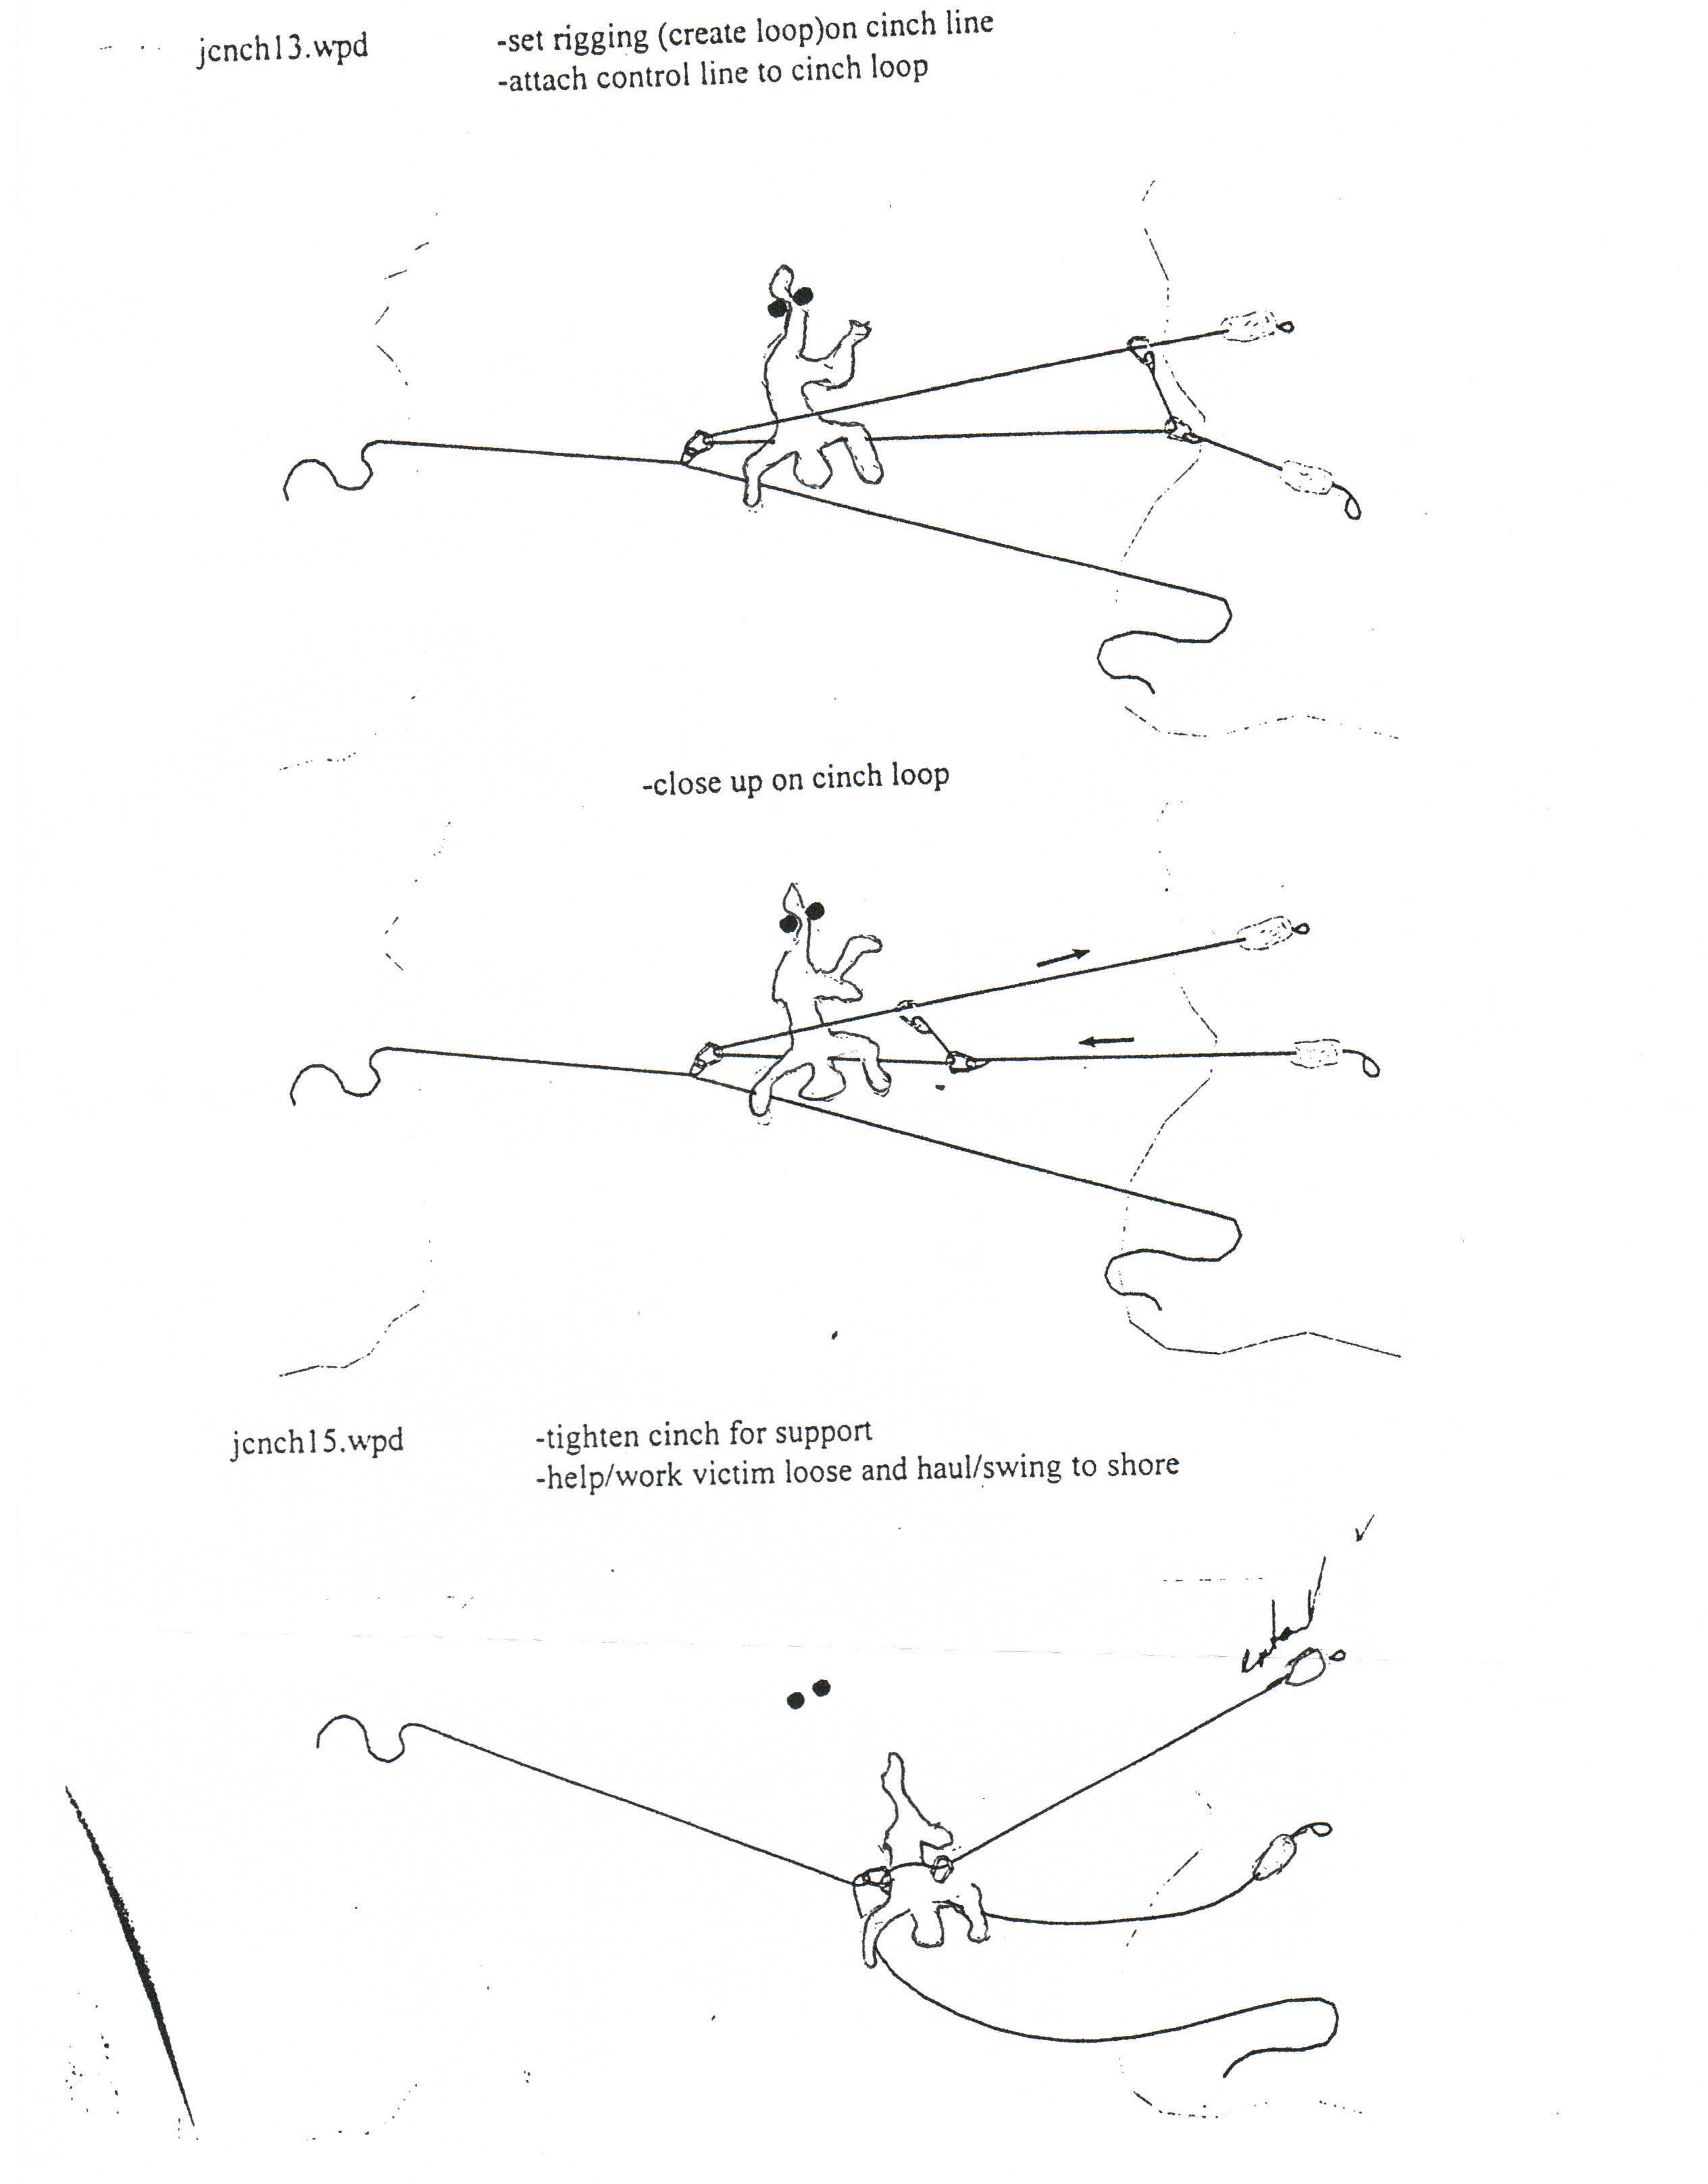
The J Cinch is another variation on cinch lines that scissor the victim. Here is a diagram on this technique:
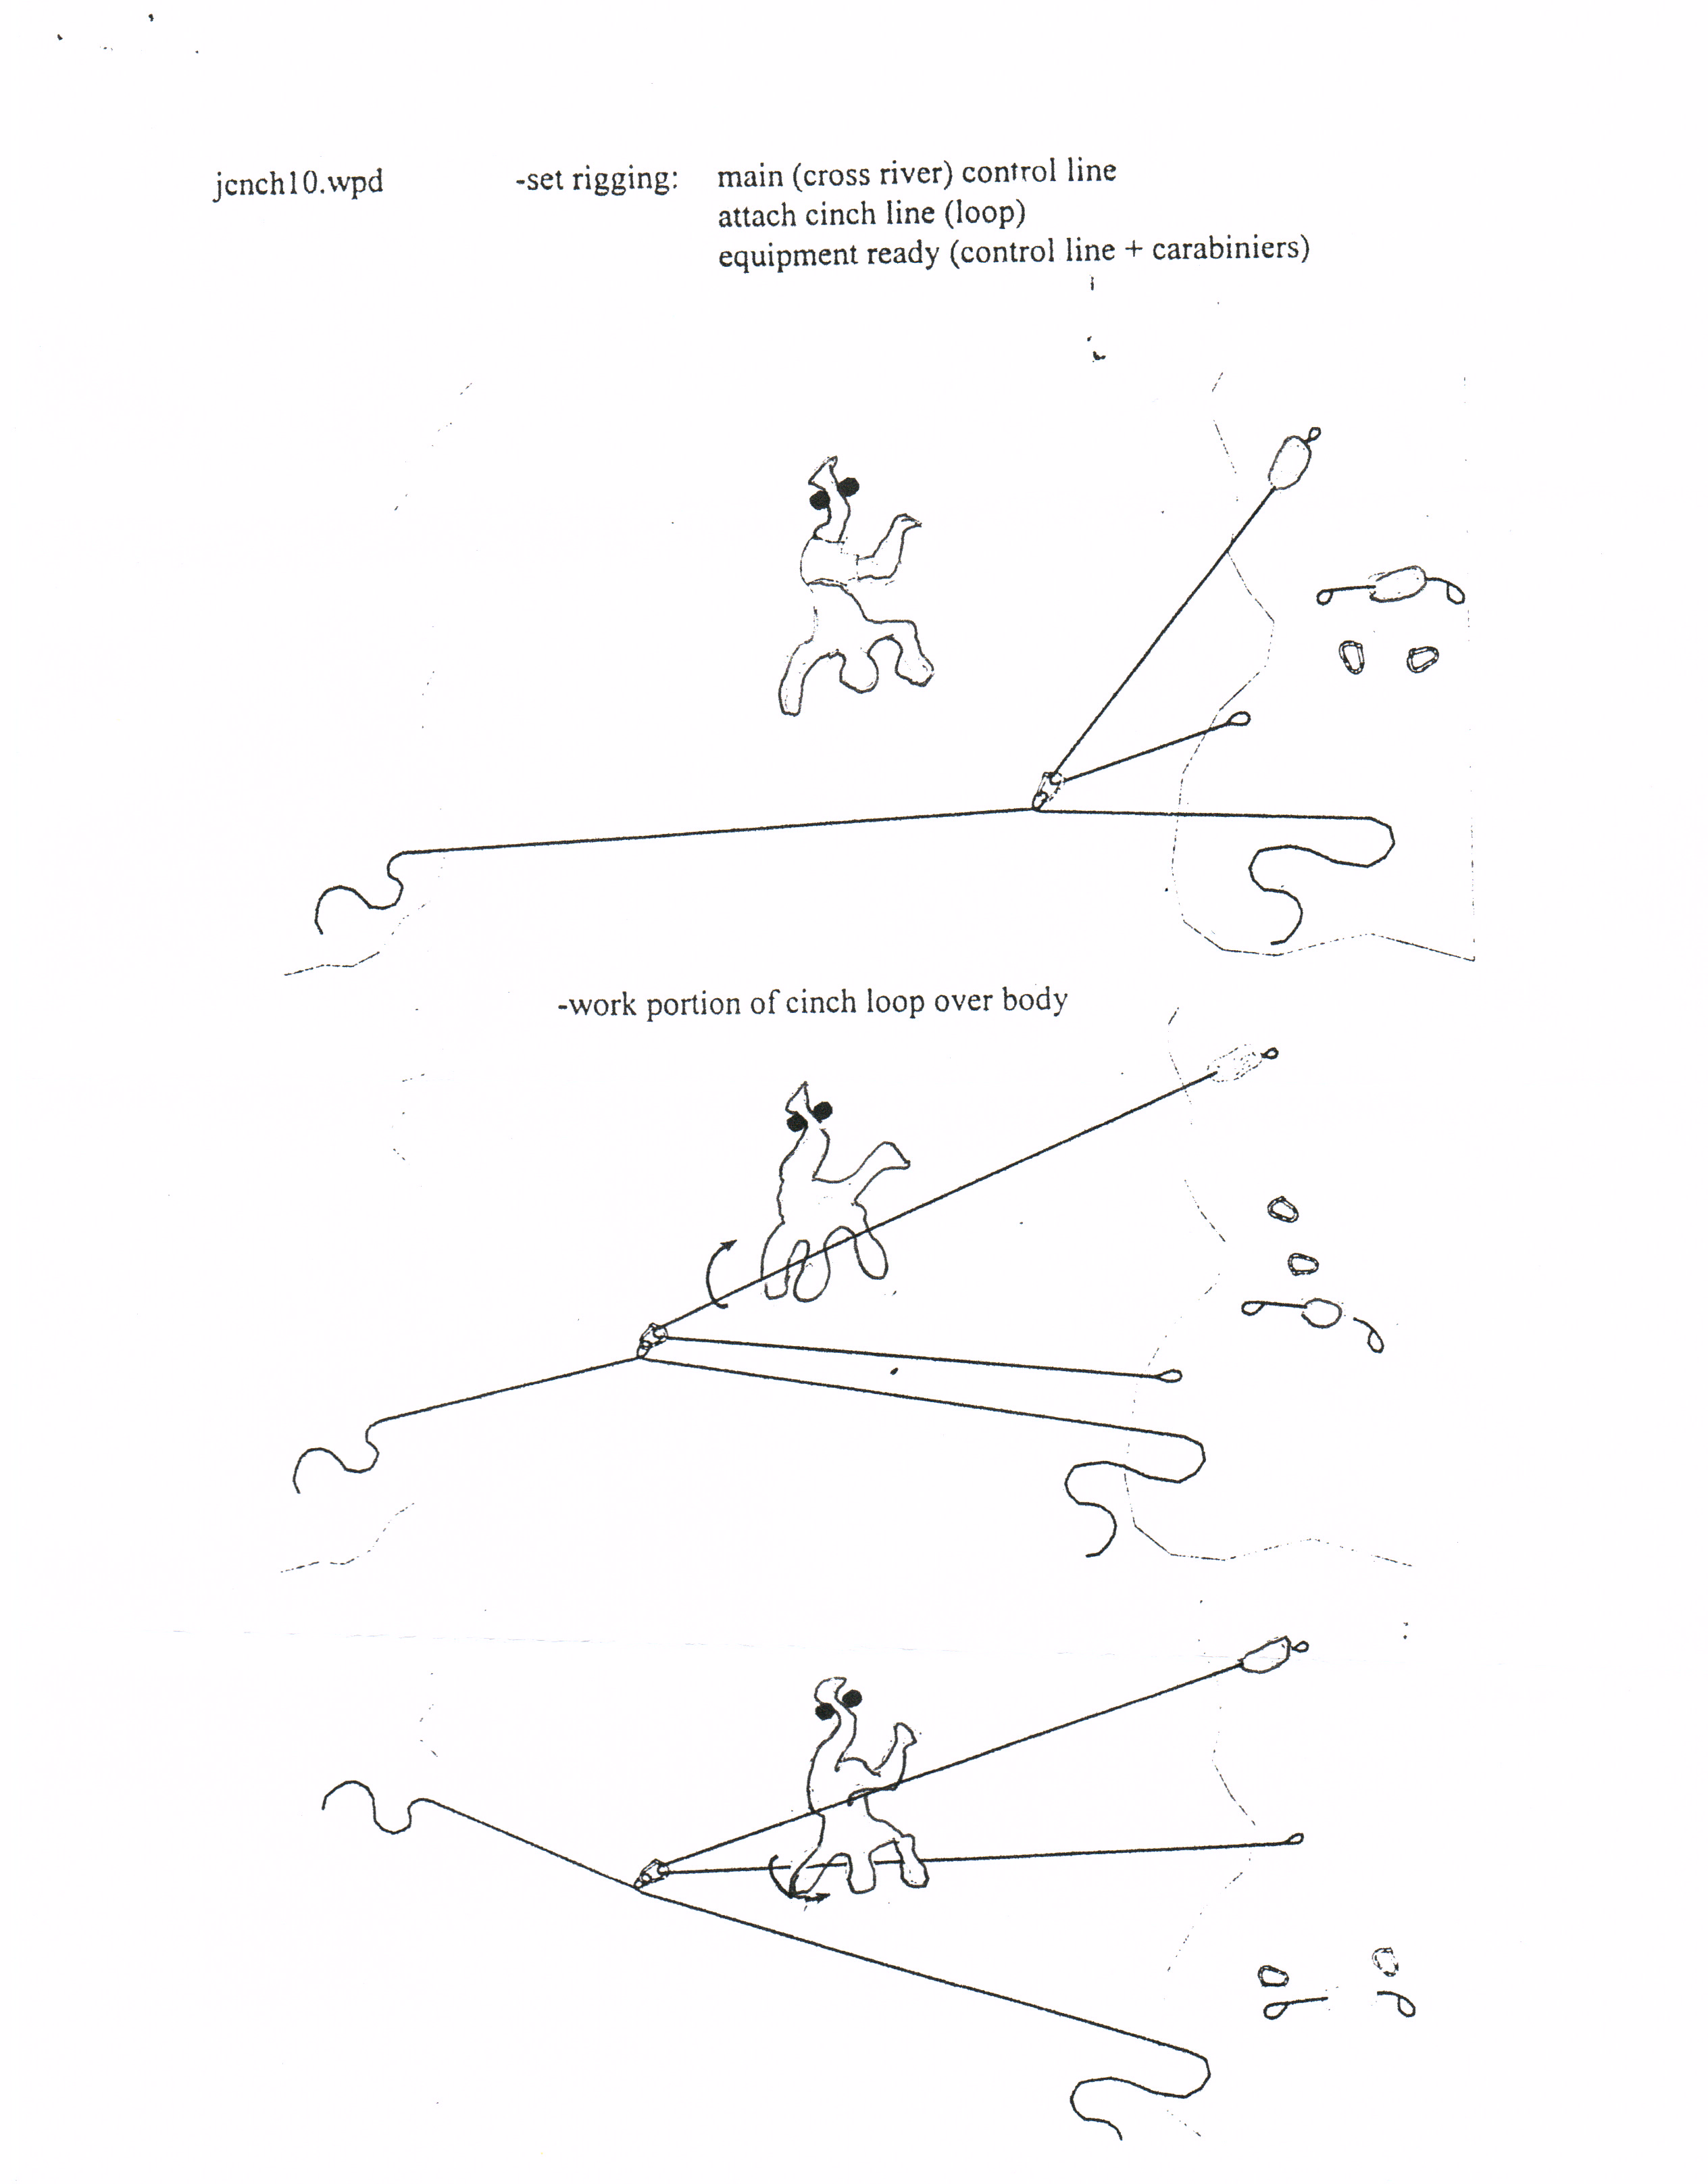 |
 |
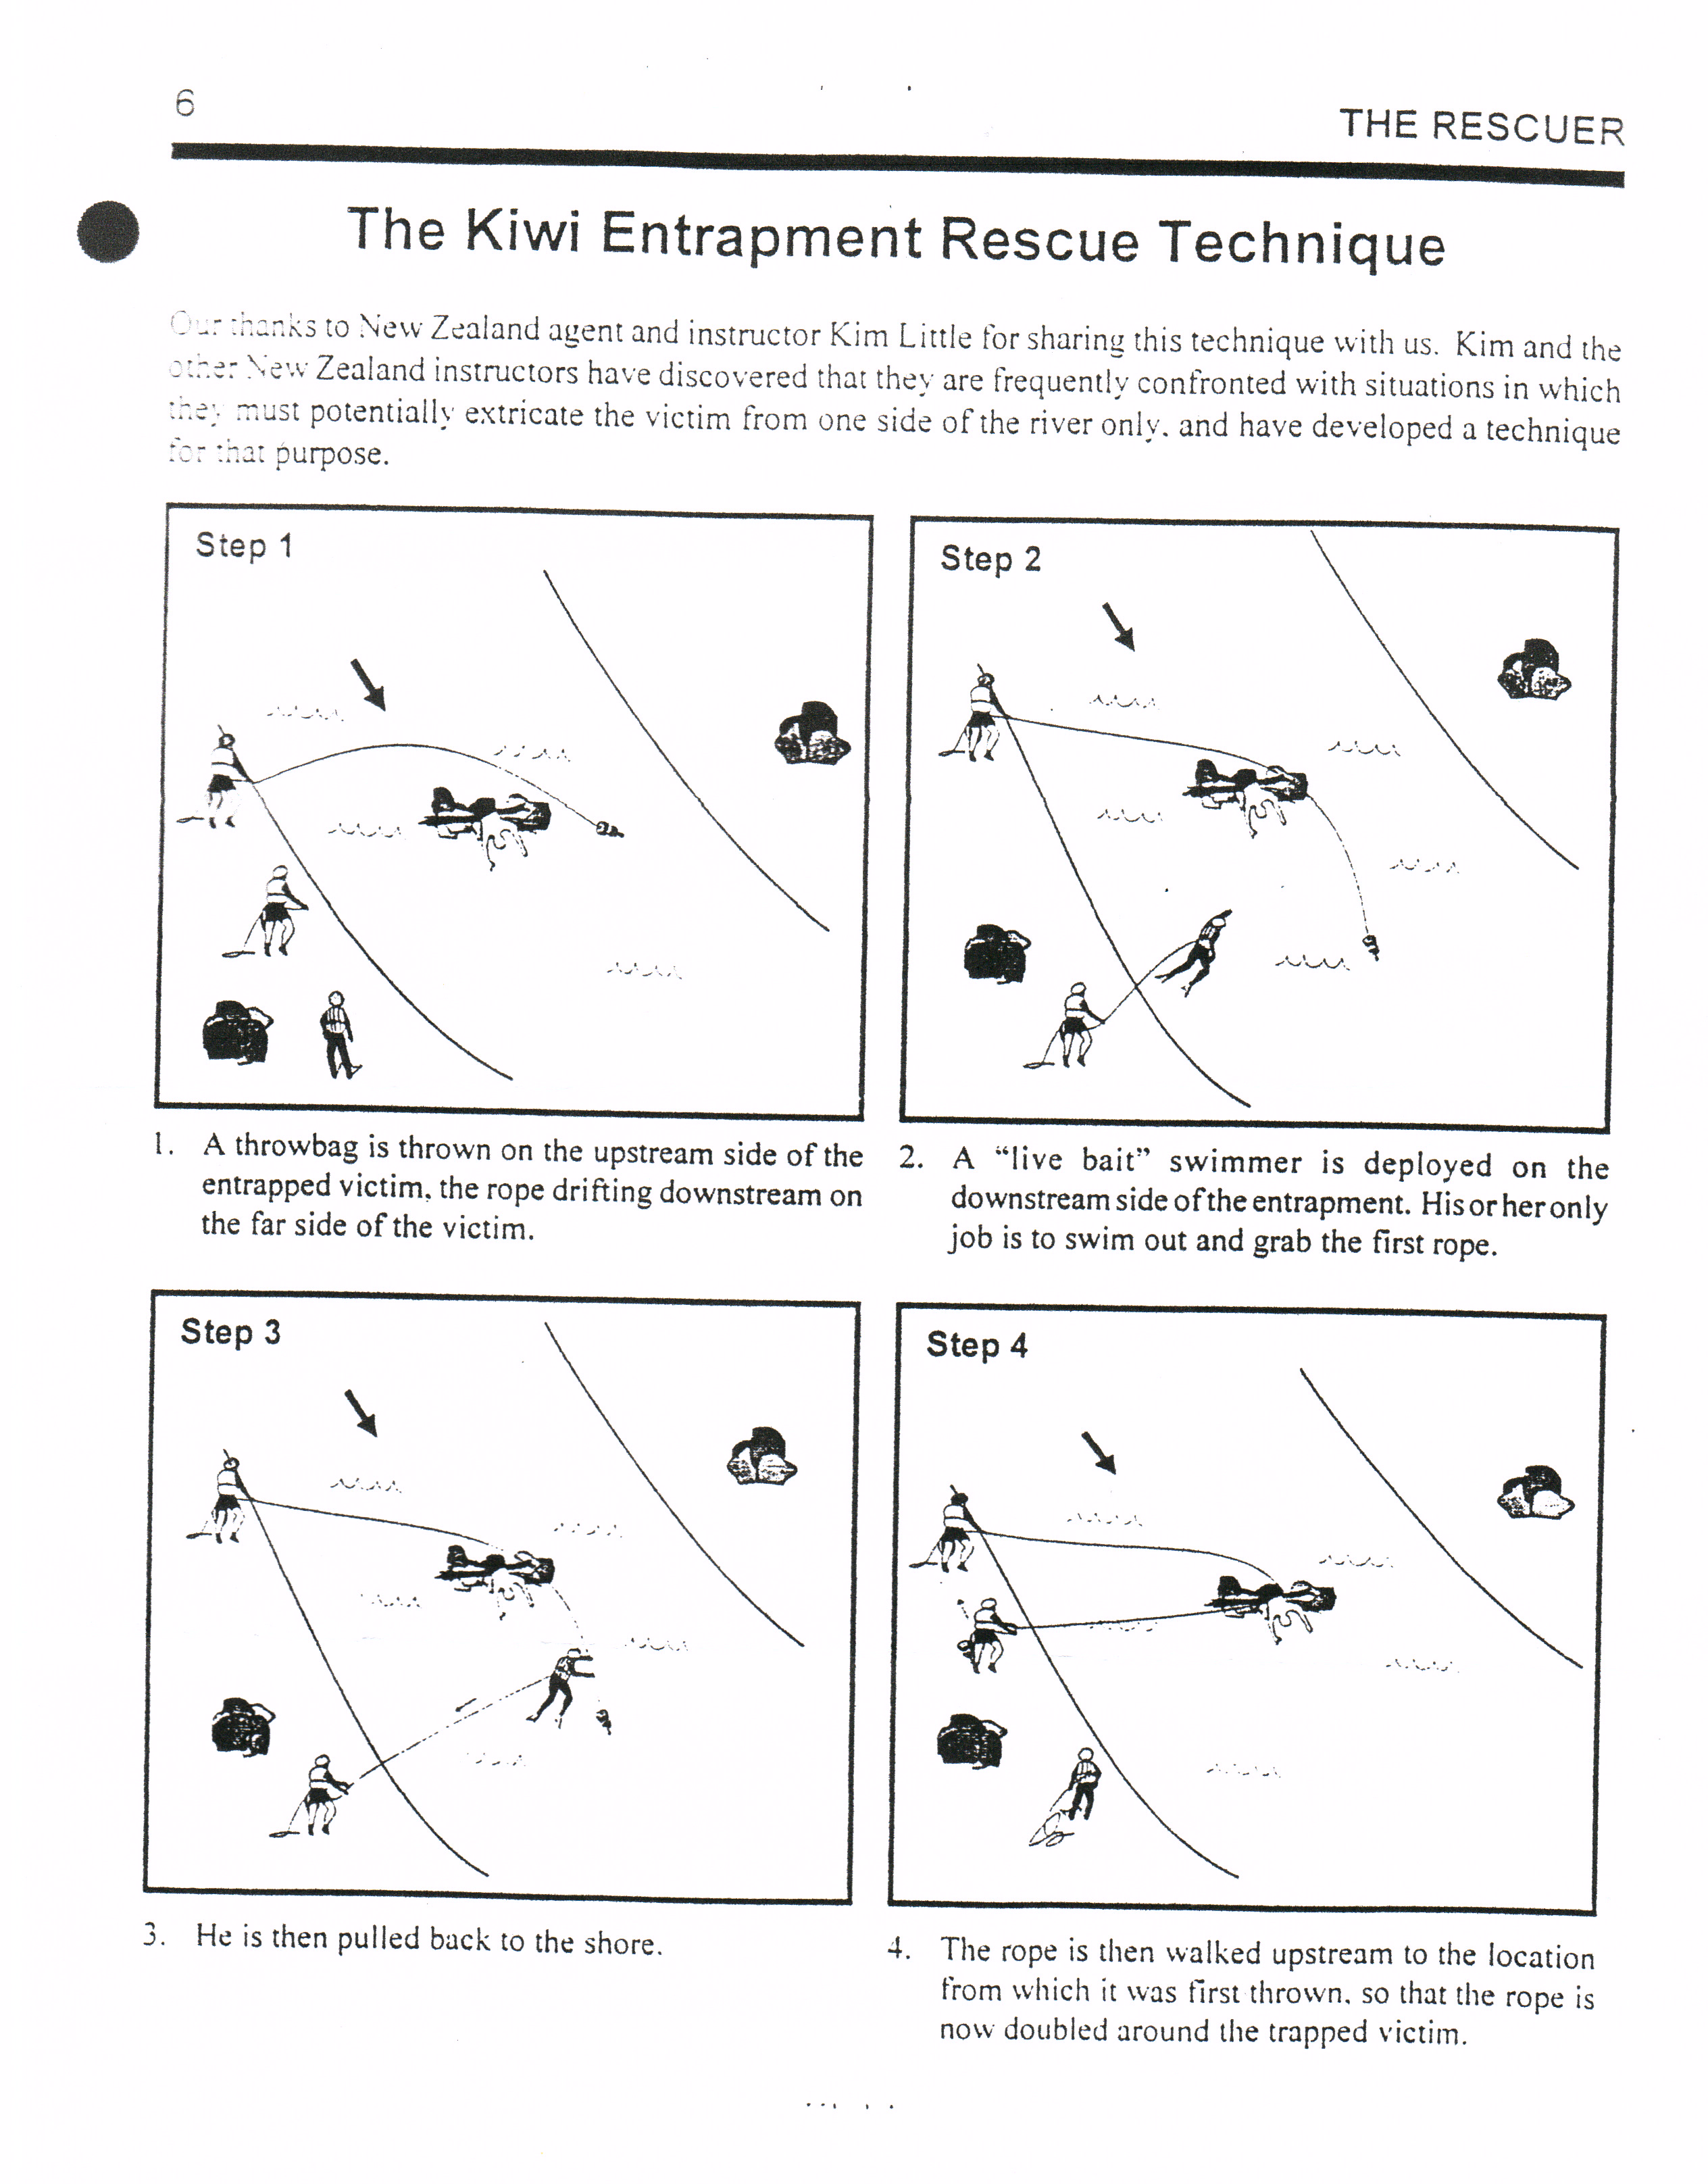
Most cinch lines scissor the victim from both sides of the river. What if you lack access to the other side? Perhaps there is a rock wall on the other side and no wear to stand - now what? A New Zealand instructor Kim Little demonstrated a great cinching method that is quick and easy to set-up called the Kiwi Cinch. The following diagram provides step-by-step instructions on this valuable technique. Here is the Kiwi Cinch in action: Kiwi Cinch Demo.
 |
 |
Another excellent cinch is the Shrinking Loop Cinch. The beauty of this cinch is great control in placement and very fast implementation. Here is a demo: Shrinking Loop Cinch.
As with all cinching techniques, try them out at home in controlled and non-threatening exercises. Although they certainly have their safety challenges, with proper understanding and practice they are quite valuable in entrapment rescues.
Snag line
For a foot entrapment, a weighted line (snag line) is dropped just downstream of the victim and worked back up stream. This can help dislodge the trapped foot and doesn't put rescuers in jeopardy of getting their feet trapped. You will be fighting the current and the force of the water on the trapped paddler. To really be effective, you need to snag the leg right about ankle height. This is why weighting the line to cause it to sink is helful.
An alternative and faster method is the sawing approach. Send a line across at water level just below the victim. Wade into deeper water on both ends. Now, move the snag line lower in the water by sawing back and forth while pressing down. If deep enough, you should be able to saw well below the knees and move upstream to dislodge the foot and free the victim.
Page 2 of 4
- You are here:
-
Home

- Stabilization Training Material