Thermal Protection
There are many options available to keep your core warm. When starting out you can certainly save money by purchasing wet suit instead of a dry suit. Wet suits are very easy to repair and provide excellent abrasion resistance. Wetsuits also require very little maintenance. A decent wetsuit will last decades. Most rescue squads have chosen the wetsuit for this reason. The Farmer John style provides excellent warmth and doesn't restrict mobility. Don't choose a scuba diving wetsuit as they are typically too thick, stick with a 3 mm thickness. Wetsuits cost $100 - $150 new and much less used. Dry suits are the ultimate in comfort, except perhaps that choking feeling around the neck gasket. Latex gaskets surround the neck, wrists, and ankles (better yet, get integrated booties) keep water out. Some have breathable material like Gore-Tex to let water vapor escape. Dry suits require a separate insulating layer, they are just a water barrier. Dry suits require maintenance, are challenging to repair, and don't last as long as a decent whitewater wetsuit. Most paddlers these days go with dry suits as they are far more comfortable and warmer. Dry suits cost $500 - $1,000.
Polypro (or wool) have been used for many years as insulating layers. This type of material lasts many years and is quite inexpensive. Typical cost is $10 - $20 per garment. Cheap wool sweaters used to be more common in years past. Specialty synthetics have mimicked many of the wet insulation properties of wool and are far less bulky. Synthetics can be tossed in the washing machine and don't shrink like wool. One material to avoid is cotton (except perhaps in the summer). Cotton provides no insulation when wet and in some cases it can shrink when frozen.
Fuzzy Rubber, Hydroskin, Mystery Fabric are various high tech insulating layers. All work great and can be used for three season paddling. Prices range from $50 - $150 and typically last many years. Northwest River Supplies is a great place to check out your options. REI, Hudson Trail Outfitters, and Potomac Paddlesports are excellent places to shop as well.
Rash guards like the shirts from Immersion Research or Under Armor are excellent for sun protection and will not overheat you. They typically run about $30.
Splash tops block the wind. You still need an insulating layer underneath to provide warmth. This can be as simple as a cheap nylon windbreaker from Wal-Mart or specially designed for paddling. Ones made for paddling typically come with neoprene wrists and collar to keep some of the water out. Paddling jackets cost $50 - $100 new.
Dry Tops cover only from the waist up. Just like dry suits, you still need an insulating layer underneath. The wrists and neck are latex gaskets to prevent any water seepage. They also have a tunnel system which allows the jacket to sandwich your spray skirt tunnel. These jackets are incredibly warm and many use for four season paddling. All is fine unless you swim or need to help out in a rescue. If you go this route, consider wearing long pants made with a neoprene material or better yet a full farmer john style wet suit. Prices new are typically $200 - $400.
The best advice I can give when dressing to paddle in colder weather is dress in layers and dress to rescue as in full immersion. Here is a good video on how to dress for rescues: Dressing for Rescues.
Shred Ready Helmet Foam Post
Here's a little foam info that I found from Tom at shred ready:
There are many types of foam for helmet liners here is run down. These are the major ones.
Single Impact: Expanded Polystyrene: amy variations and densities. Foam of choice for Single impacts. Usually must be molded in the densities good for bike helmets. Has no memory
Vinyl Nitrile: VN used in football helmet, hockey helmets and some kayaking helmets. Multiple impact. better than EPP at 2 3 hits and equal at 6 impacts. Sorta heavy compare to EPP and EPS. We use this in the Shaggy, Vixen, Sherlock, Shensu, FMJ, TDUB
EPP: Expanded Polyprolyene: by far the choice for most helmets needing mulitple impacts. Light. Must be molded in densities for meeting bike, snow standards. Hard to find. Some really cool new EPP's coming out and we are using it in the Phly and Lektor protektor
Zorbium Foam: a break through in foam. Soft at low impacts where EPS would hurt in low impact velocities, but hardens up in higher velocity impacts. It is a speical varation of PU foam. so it soaks up water. You have to use a coating to stop the water from being soaked up. Not used in many sports helmets right now. Was a bit heavy when they put it out on the market, but have since reduced the weight considerably. Being used mainly in helicopter pilot helmets.
Polyethene, cross linked. This is mini cell. Not as stiff as VN and rebounds quicker than VN.
I am sure there are lots more foams. This is where most of the research is in helmets. Figuring out new foams that allow a thinner liner that will still manage impacts at the same or better than other foams.
What you want in a mulitple impact foam is one that is hard to push on with your fingers and rebounds slowly.
Also, manageing the energy of impacts is also dependent on the thickness of the foam. The idea of a helmet is to stop the head before the foam bottoms out and your head hits the inside of the shell. The thicker the foam the more distance you have to slow down the head before it hits the inside of the helmet. You want as thick as foam as possible .
tom
shred ready
Protection from rocks and water
Whitewater Shoes
Decent whitewater shoes are crucial for rescue work. Your feet are your foundation, if you slip and turn an ankle - you are now another victim that needs to be managed. Rescue work often involves quick rock scrambling, wading, evacuation, lifting, and sometimes swimming in rapids. A good rescue shoe needs to provide great support, great sole protection, and a reasonably grabby surface. Many boaters paddle in bare feet or use sandals. Neither of these are suitable for rescue work. Sandals can easily get snagged on underwater objects and provide no protection for your ankles. Play boaters have far more limited options for footwear. One option is to stow more sturdy footwear in the back of the boat.
Whitewater shoes are the ideal choice and there are many brands and models to choose from: NRS Whitewater Shoes. Whitewater shoes provides excellent foot protection and many have soles that are somewhat resistant to slipping on wet rocks. Prices range from $40 - $175. Another good choice is the 5.10 Canyoneer II shoe: 5.10 Canyoneer Review which costs around $134. Here is a link to 5.10 Amphibious shoes: 5.10 Water Shoes. Based on my personal experience, the Water Tennies are quite good. The Savant handles well but is very poorly stiched unfortunately. I haven't tried out their new SAR shoe - looks interesting.
The following video from Zoar Outdoors provides an excellent advice on selecting rescue shoes: Selecting Rescue Shoes.
Helmets (AKA: The Brain Bucket)
The helmet is probably your most critical piece of safety gear. Unfortunately, many paddlers either choose not to wear one or favor fashion over a sound piece of gear. Another disturbing trend is the "one size fits all" approach many vendors have chosen. Most do provide extra shims to let you customize fit but many paddlers skip this crucial step. This is one piece of gear I highly recommend purchasing locally at a specialty boating shop. Make certain that they help you custom fit the helmet before leaving the store. Each helmet brand has their own unique method for adjusting fit and you really want a comfortable but snug fit. A simple check is to try and rock the front of your helmet exposing your forehead with a finger or two. If the helmet rocks back more than a 1/2", continue your shim work. Another pet peeve is the trend towards brick hard inner linings. Yes they will not compress a great deal but that means all of the impact energy is transferred to your skull (and neck as well) and that may cause serious neck injury (not to mention a splitting headache). When it comes to helmet linings, thicker foam that doesn't fully compress is always better. I also prefer a full coverage helmet over the baseball cap style. An even better approach is multiple density foam systems - graduated from soft to firm.
The shell on the outside must be really strong so it doesn't crack - whitewater is no place for bike helmets. Two good approaches are the somewhat flexible shell used by WRSI and more expensive fiberglass shell helmets (no give). The flexible shell absorbs energy much like car crumple zones. The hard shell disperses energy over a wide surface area.
Make certain you understand any strap and buckle adjustments. The helmet needs to be snug but comfortable. Pretend you are about to cascade off a 25' waterfall but you have time get your helmet ready. This is the way you should always set-up your helmet.
Here is a great study by Johns Hopkins on Whitewater Helmets that will help you understand good helmet design: Good Helmet Design. Tom from Shred Ready Helmets provided an interesting Boater Talk Forum post on various helmet foams: Shred Ready Helmet Foam Post. This is a nice video on selecting a kayak helmet: Selecting a Kayak Helmet.
A new trend for creek boating is full face helmets. For most boaters, this isn't necessary as the rolling tuck position protects the face. It does make a great deal of sense for serious creek boaters that run really long shallow slide rapids though. One drawback to a full face is communication, others will find it difficult to hear you speaking. For this reason, I use a standard full coverage when teaching classes.
There are many vendors of whitewater helmets:
- WRSI: WRSI Helmets
Note: Well designed and economical helmet - Head Trip (also Rock Hedz): Head Trip Helmets
Note: Well designed helmet with Ensolite padding that handles hard and soft hits. - Pro-Tec: Pro-Tec Helmets
Note: Well designed full coverage helmets although I would stick with the newer ones. - Sweet Helmets: Sweet Helmets
Note: Generally the most expensive brand but has reasonable protection. Some models don't do as well on easier impacts - test for yourself. - Shred Ready Helmets: Shred Ready Helmets
Note: Very fashionable and reasonably priced. Uses a brick hard foam liner or a very thin liner. This one smarts when you bang your head.
Expect to pay $90 - $400 for a new kayak helmet. Used helmets are substantially less expensive. If you can find a used Seda helmet - buy it! These are the old motorcycle full coverage whitewater helmets with really thick foam.
Life Jackets (AKA: PFD)
Once you get past the beginner stage, you will be encountering very turbulent water. In addition, many rapids are formed in shallow spots and it is no fun getting banged up by rocks. Whitewater vests help keep you on the river surface and provide some limited protection when banging into rocks. At the same time, good vests shouldn't restrict your mobility. Most paddlers go with some form of Type III PFD specifically designed for whitewater boating.
One of the most important considerations is the right fit. This can be a significant problem for children and small adults. If the PFD is too large, it will ride up on the body and block your vision. In some cases, it may slip off the body during a rescue. Many PFDs come with adjustment straps to ensure a more snug fit - learn how to properly secure your model.
All PFDs must have very sturdy shoulder straps as a common rescue technique is pulling on the shoulder strap. They should be strong enough to lift a couple of hundred pounds in dead weight.
A PFD should be bright in color and ideally have reflective material. Pocket/s are very valuable on a PFD as well. I also recommend tie-downs and small loops for securing items like your safety whistle and river knife. I highly recommend ensuring your PFD is Coast Guard approved - some parks out West require this (like the Grand Canyon for instance).
It doesn't hurt to verify that it still has adequate flotation each year by jumping in the water. If it fails to float you properly (like it did when it was brand new), replace it immediately.
Later on in your paddling hobby, you may wish to upgrade to a rescue vest (after taking the Swift Water Rescue class).
If you have a choice, I highly recommend getting a PFD that has a strong front zipper. These usually have extra fasteners as well. Zippered PFDs are far easier to get in and out of and will not wreck zippers on your dry suit (spoken from personal experience). Here is a nice video on selecting a Life Vest: Selecting a PFD.
There are a number excellent brands of PFDs available such as Astral, Extrasport, Stohlquist, Kokatat, NRS, and Patagonia (Lotus Designs). Prices range from $50 - $210 new.
Equipment
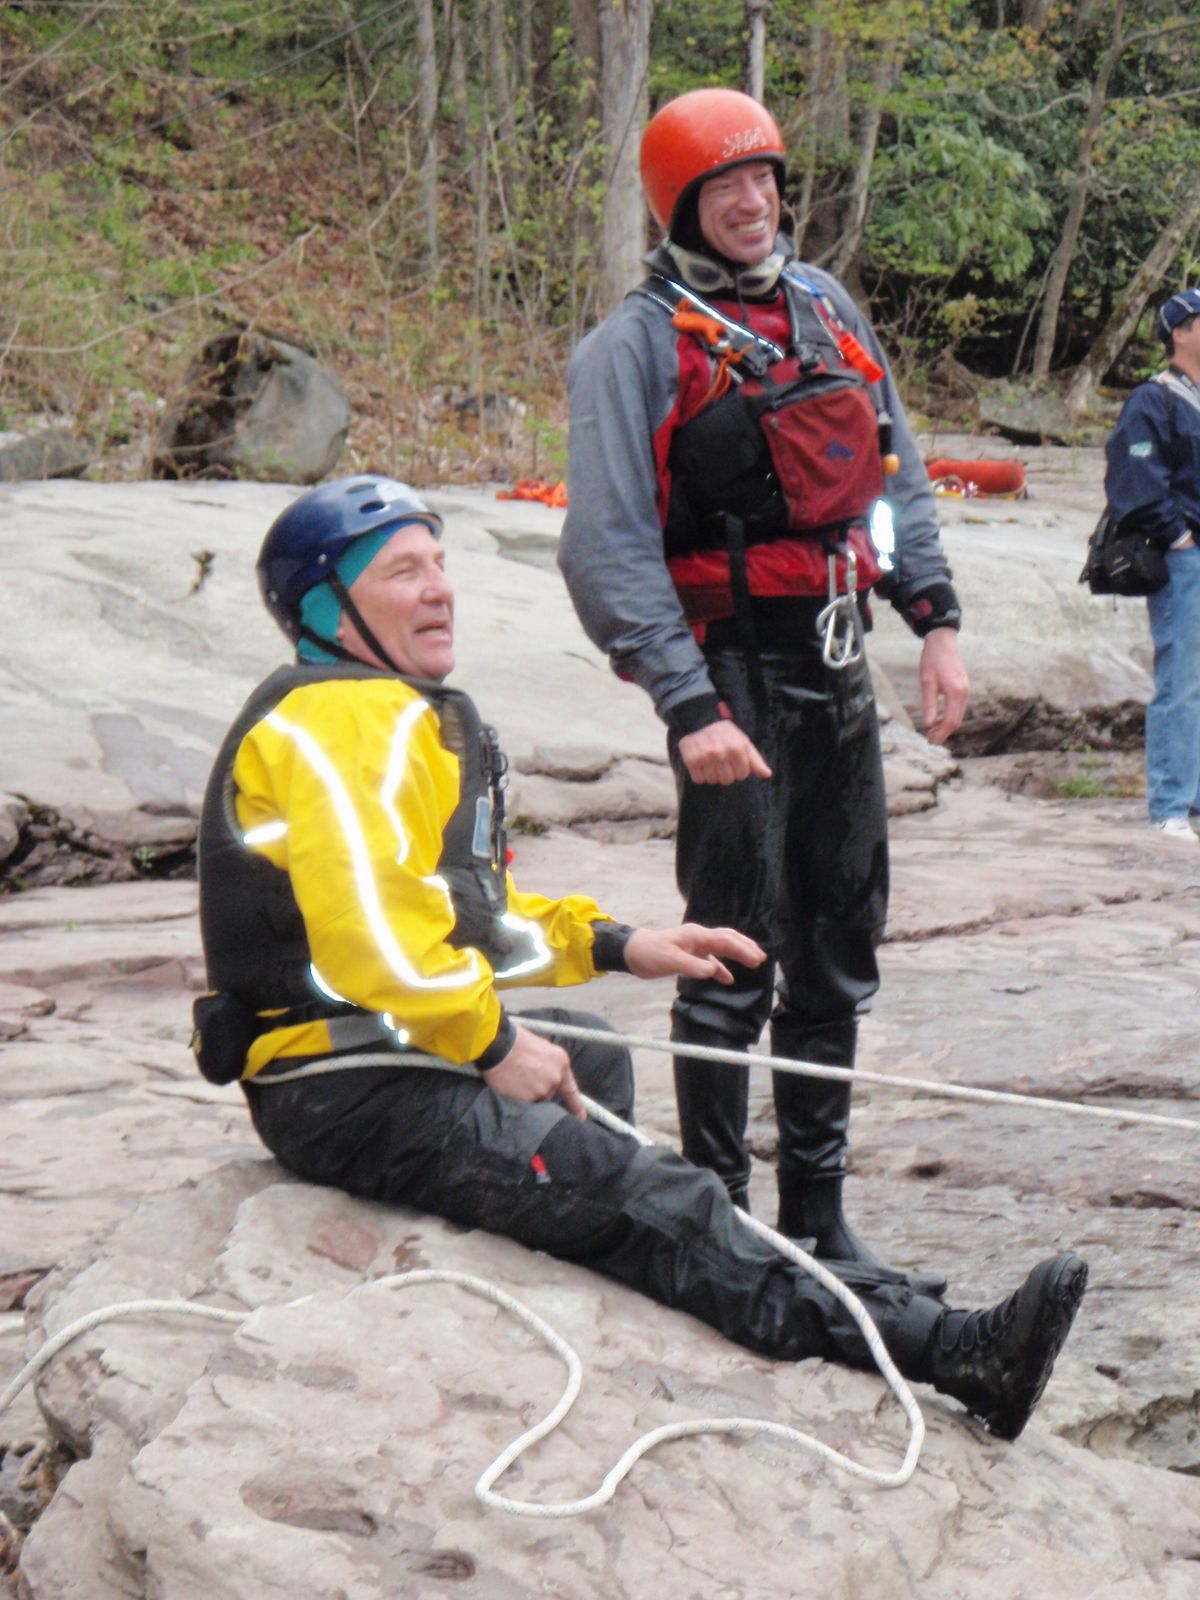 Dress for success. Think of boating the same way you would prepare for a full contact sport like football. You wouldn't play football without head protection, the same is true for whitewater boating. I also recommend "Dress to Rescue". Some rescue situations require swimming in cold water. Paddling with a dry top instead of a dry suit in the Winter works fine until you swim or need to get in the water. Rescue work requires special equipment like throw ropes, carabineers, and sometimes a rescue vest.
If you are taking this course, you probably have some experience in your canoe or kayak and have suitable gear for most day trips. You may be considering more advanced whitewater and want solid rescue and accident avoidance skills. Rescue work does require some special equipment that you hopefully are not required to use on every trip. Some great examples are throw bags, carabineers, rescue knife, etc. You probably should examine your present boating equipment to ensure it is still in good shape - what good is a dry suit with torn gaskets. For the most part, we will be concentrating on rescue gear. Here is a nice introduction video on various rescue equipment: Sample Rescue Gear.
Page 7 of 7
- You are here:
-
Home

- Equipment Training Material