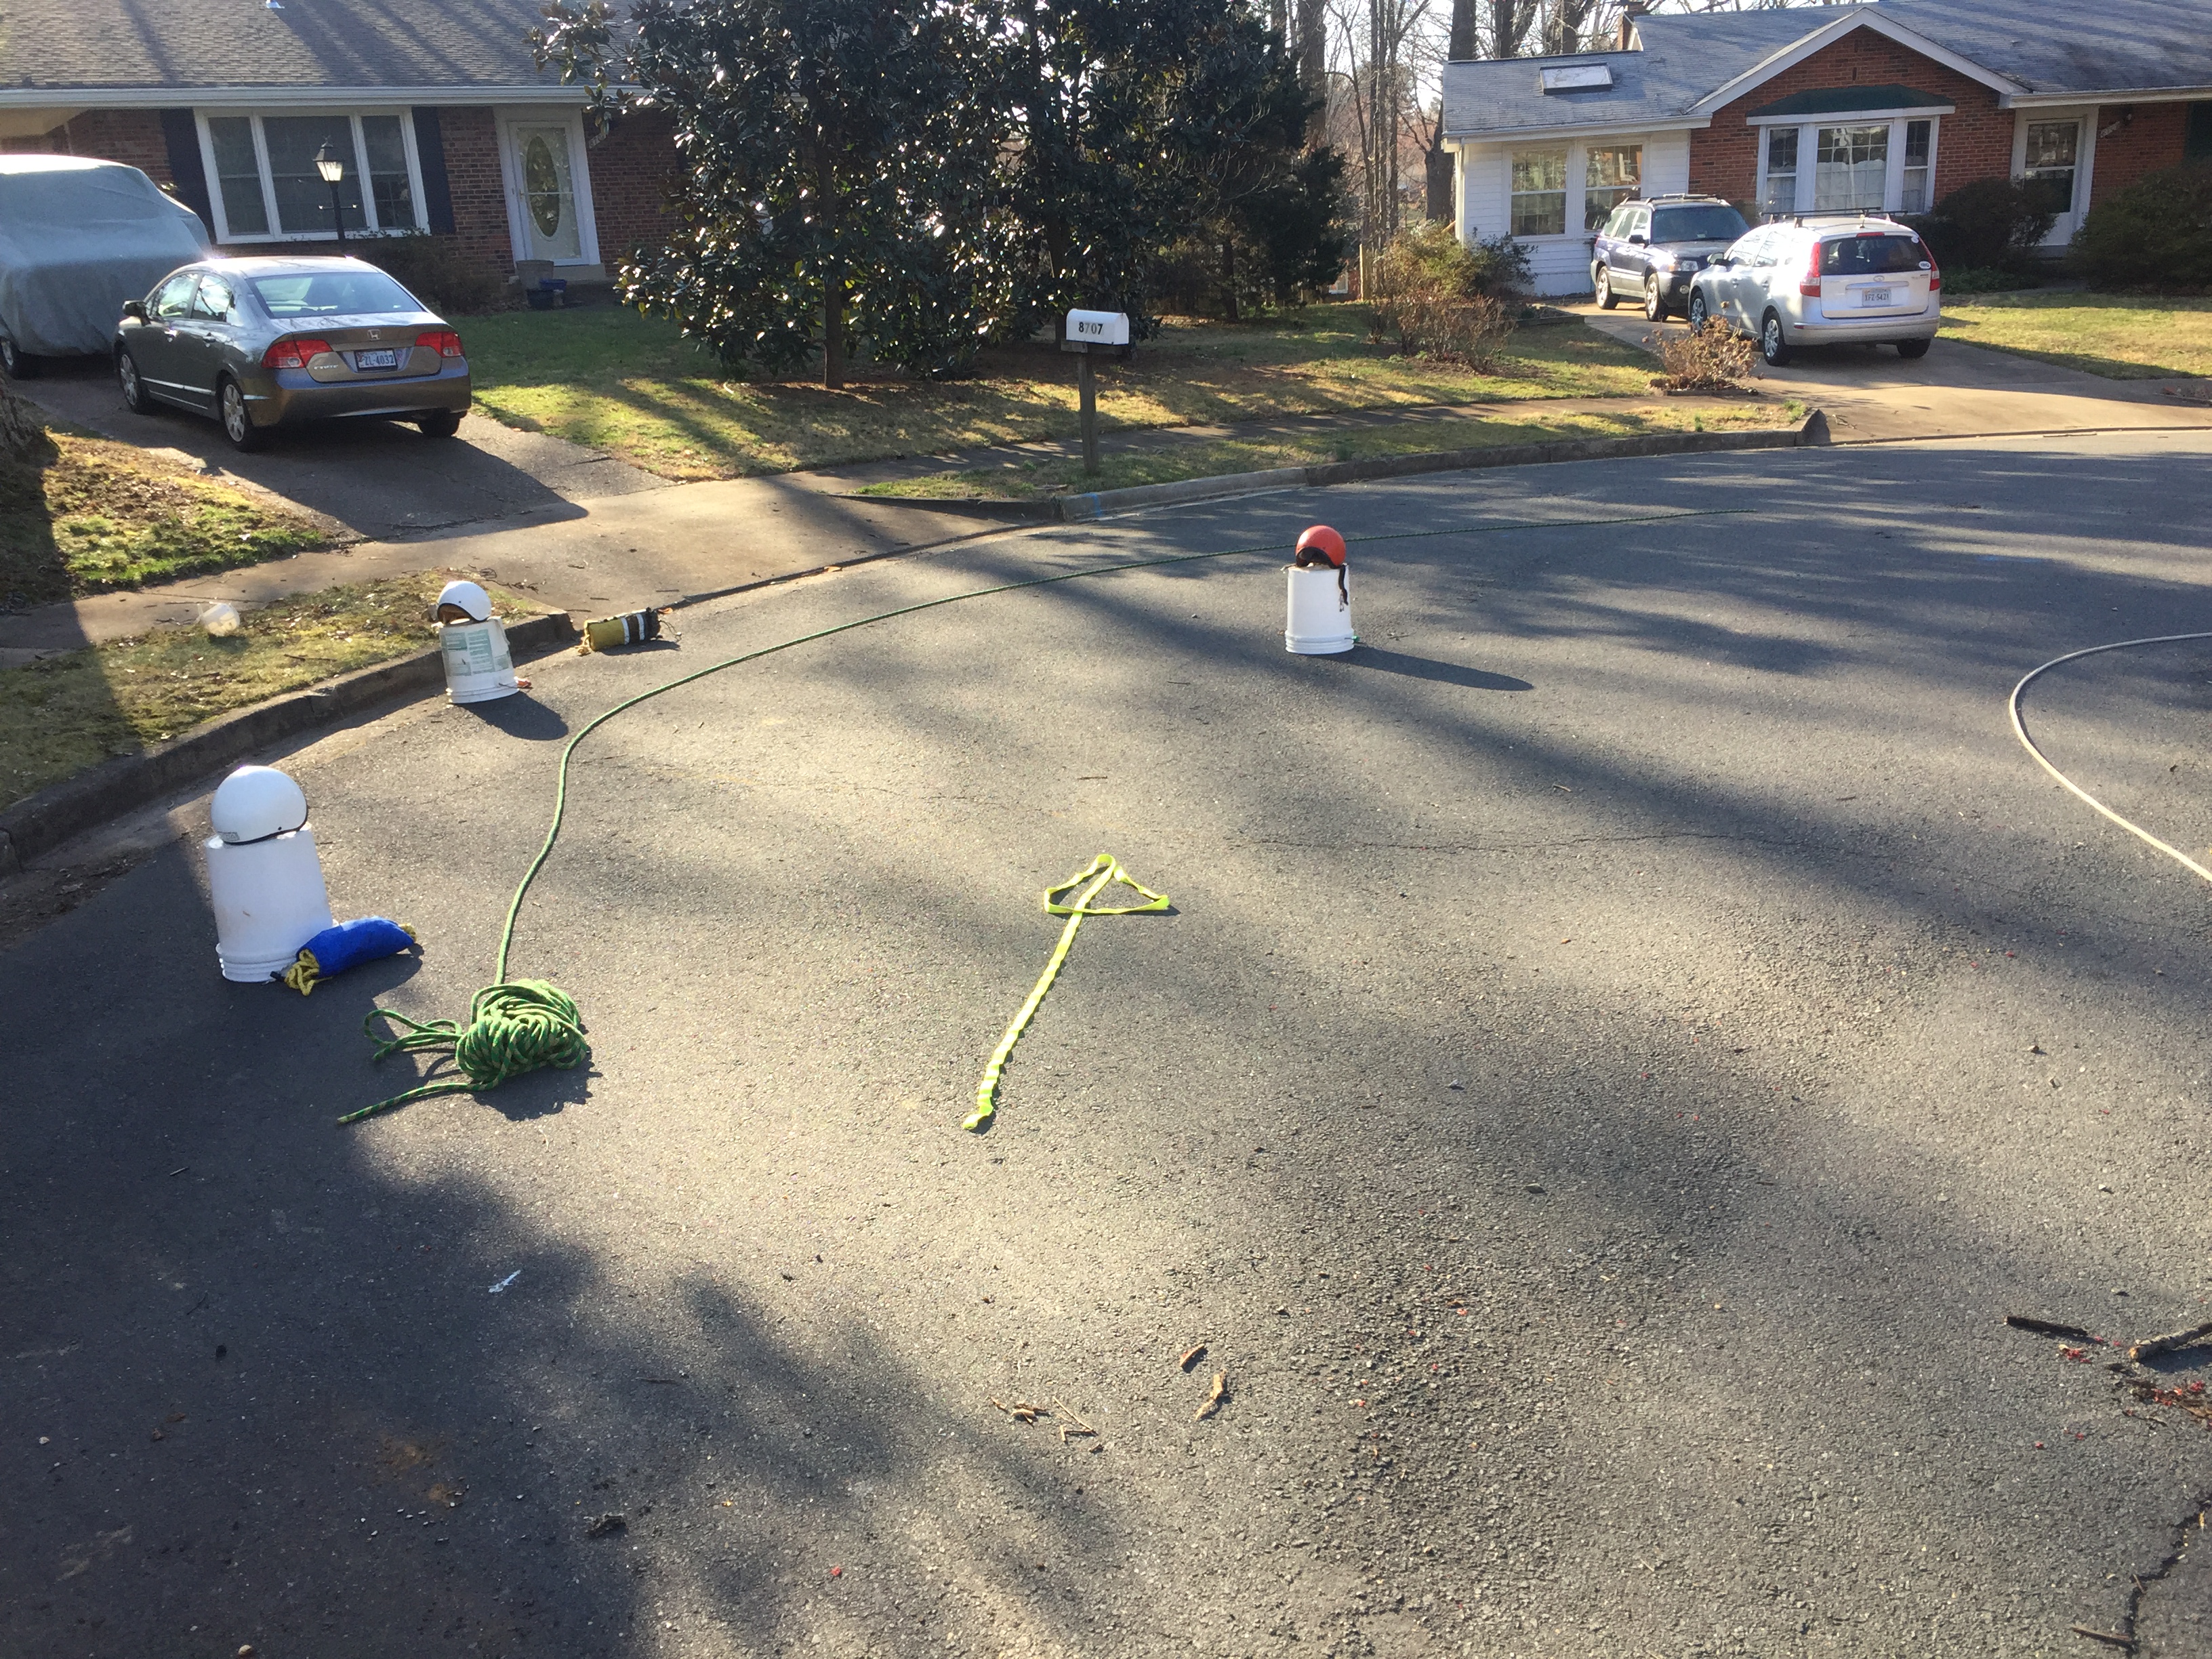
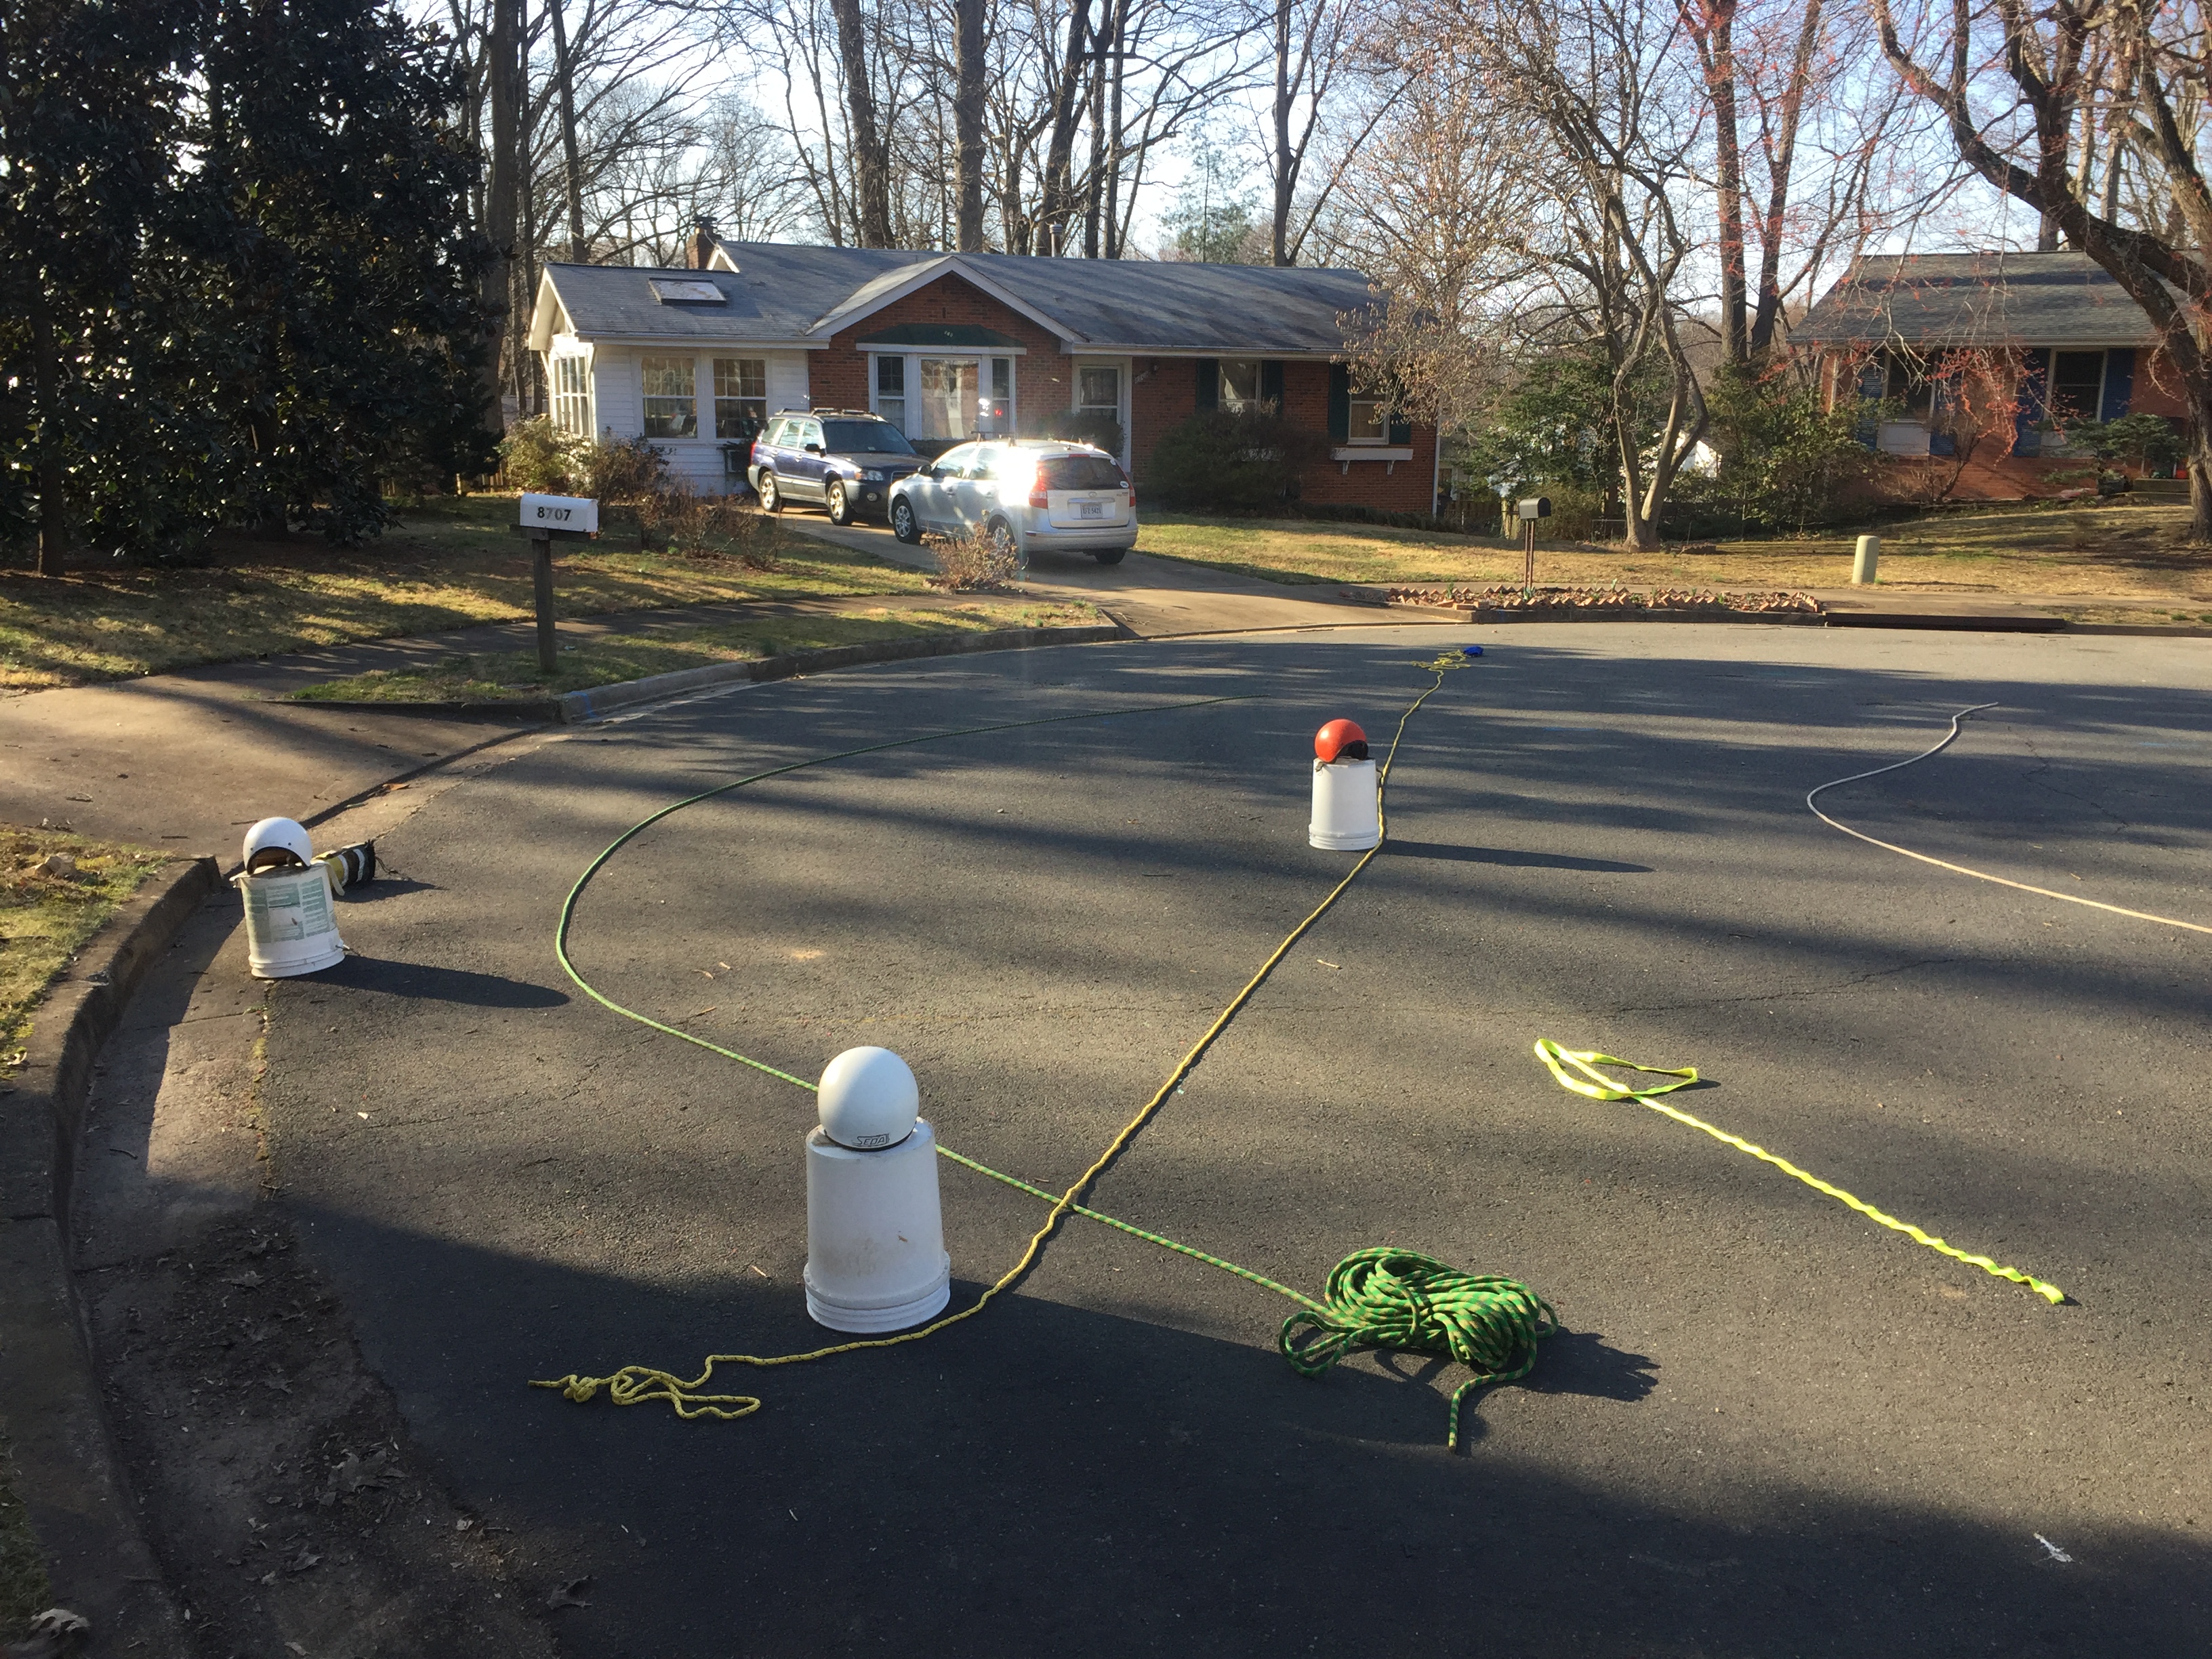
All cinches share a common goal, wrap a rope around a victim in order to extract them from an entrapment when it isn’t safe to make contact with the victim. There are a variety of methods for accomplishing this task based on the situation where the victim is trapped. The Kiwi Cinch is another cinch that doesn’t require having rescuers on both sides of the river. This cinch only requires two people and has several variants. If the victim is further away from shore like 30’ – 40’, the Kiwi is certainly a great option. Some rapids lend themselves to the Kiwi Cinch, especially those that go around a bend making it far easier to retrieve the rope.
Notes:
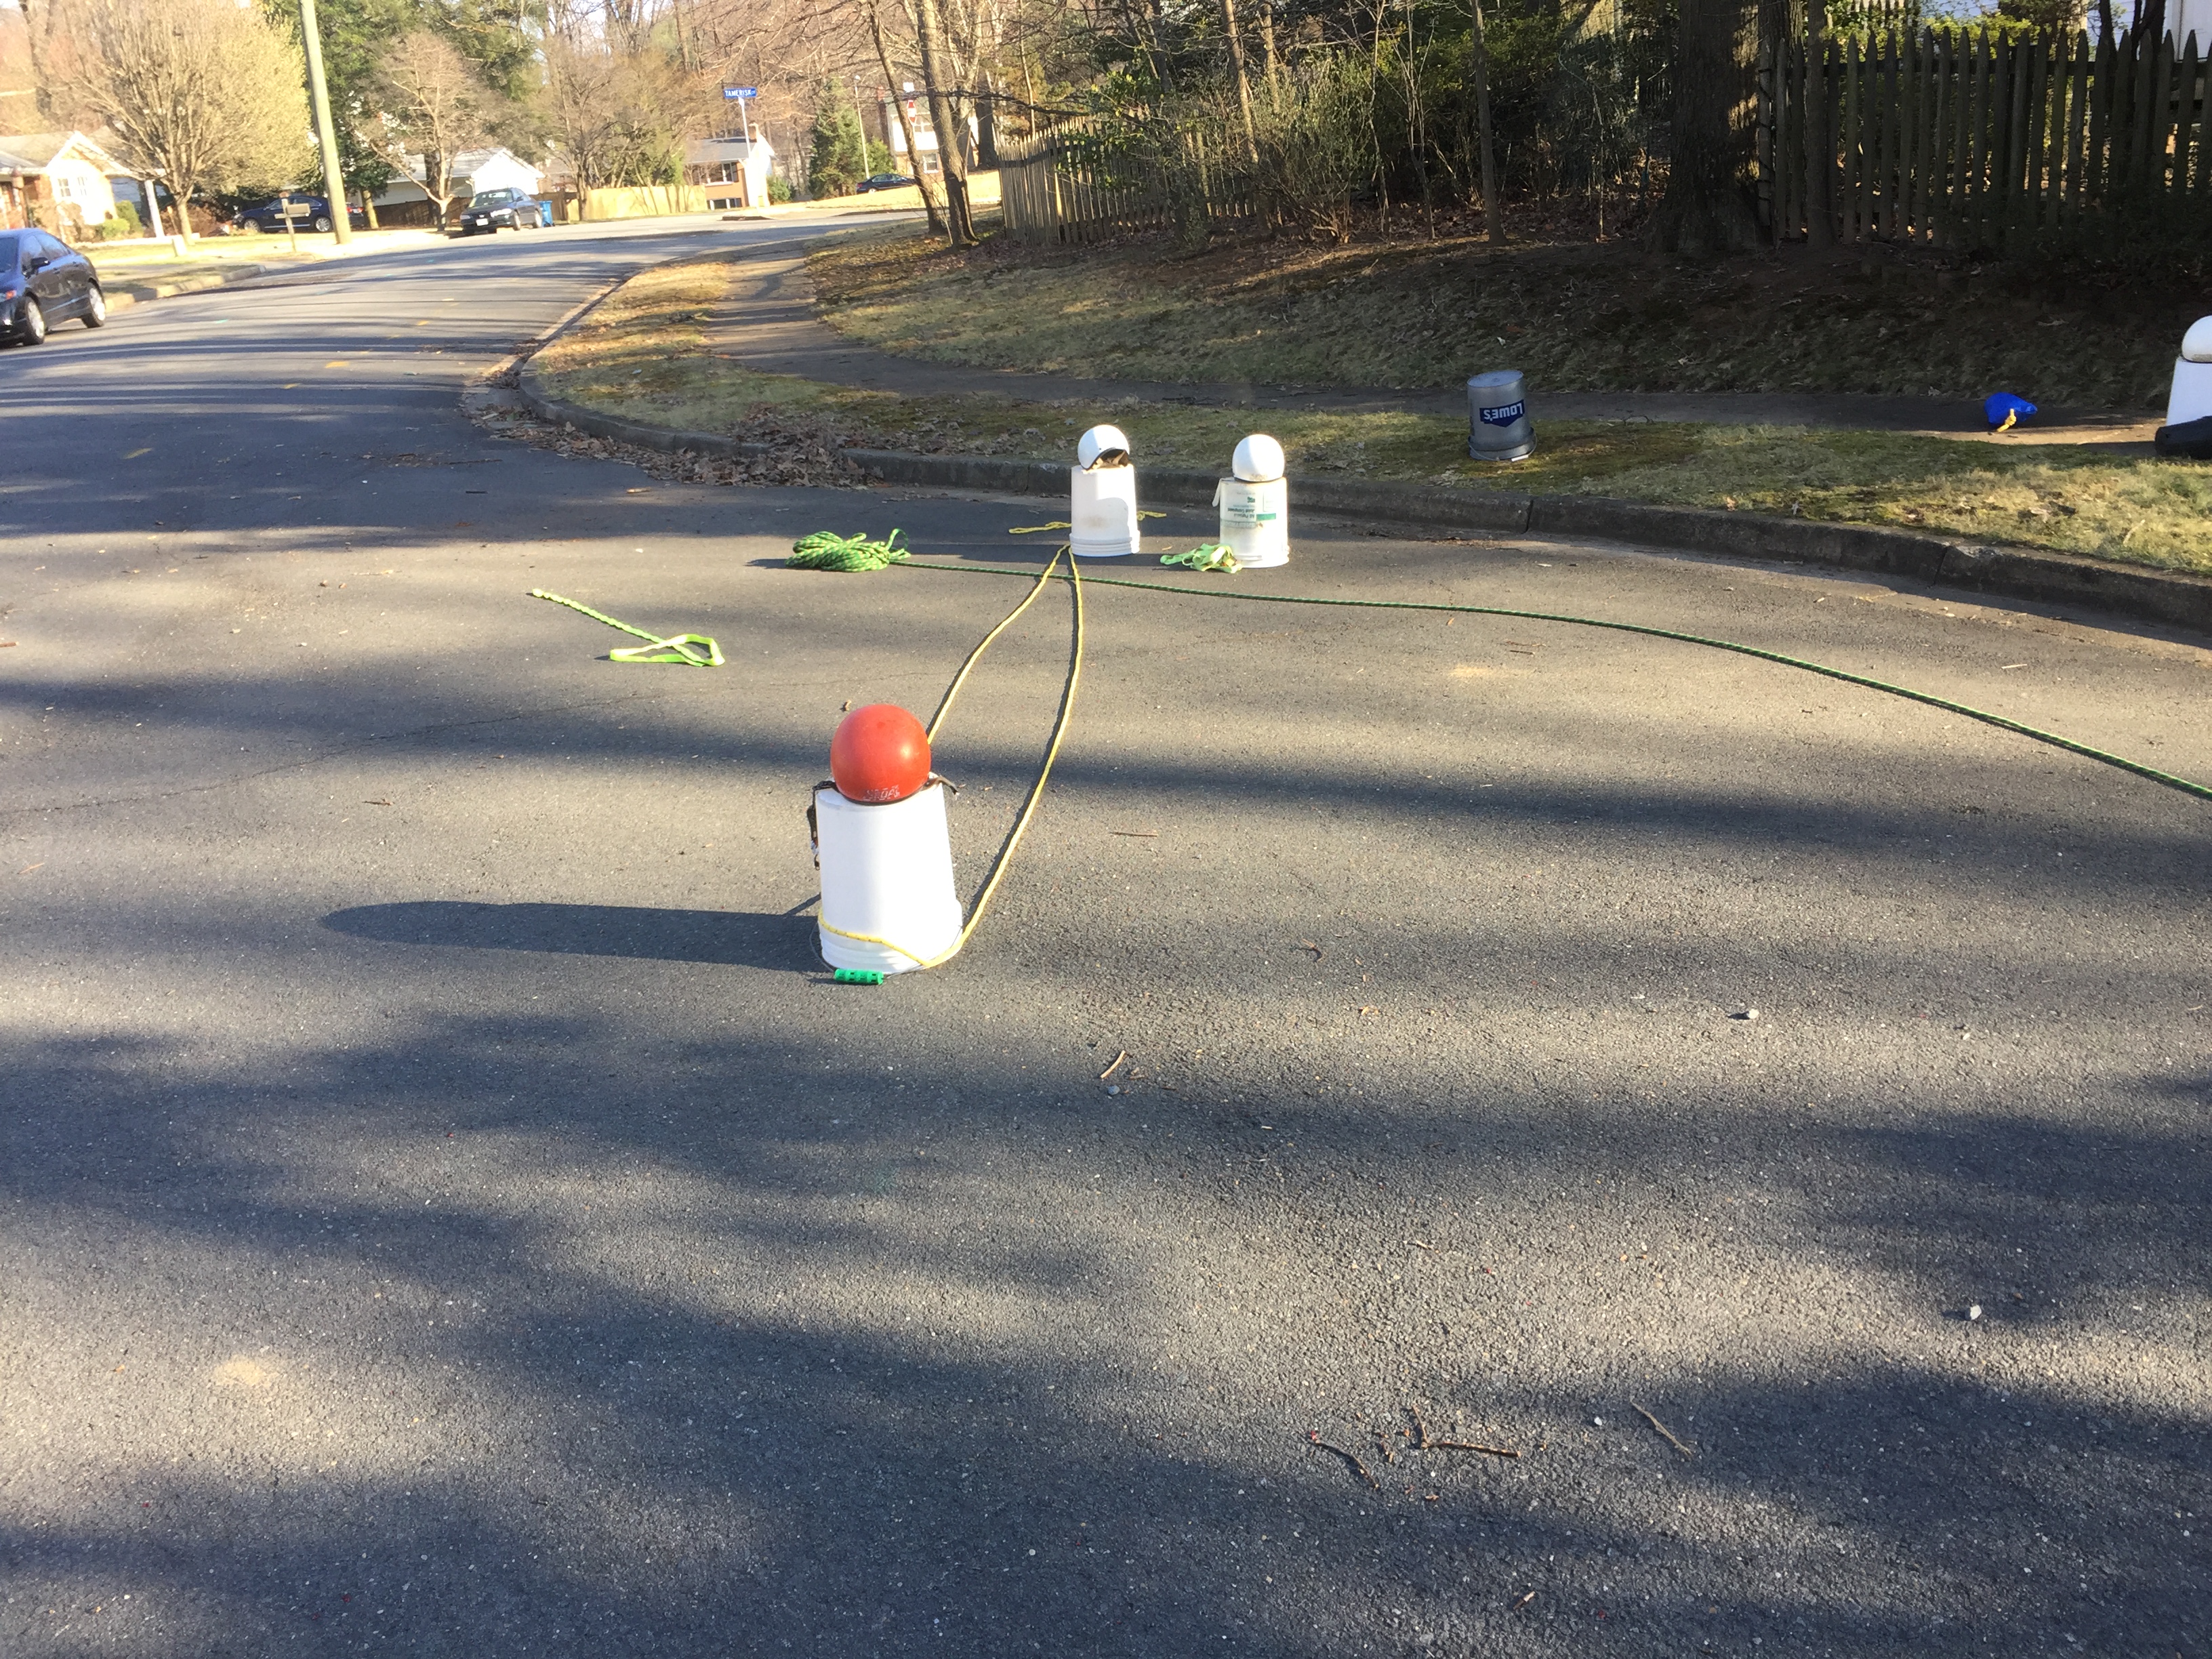
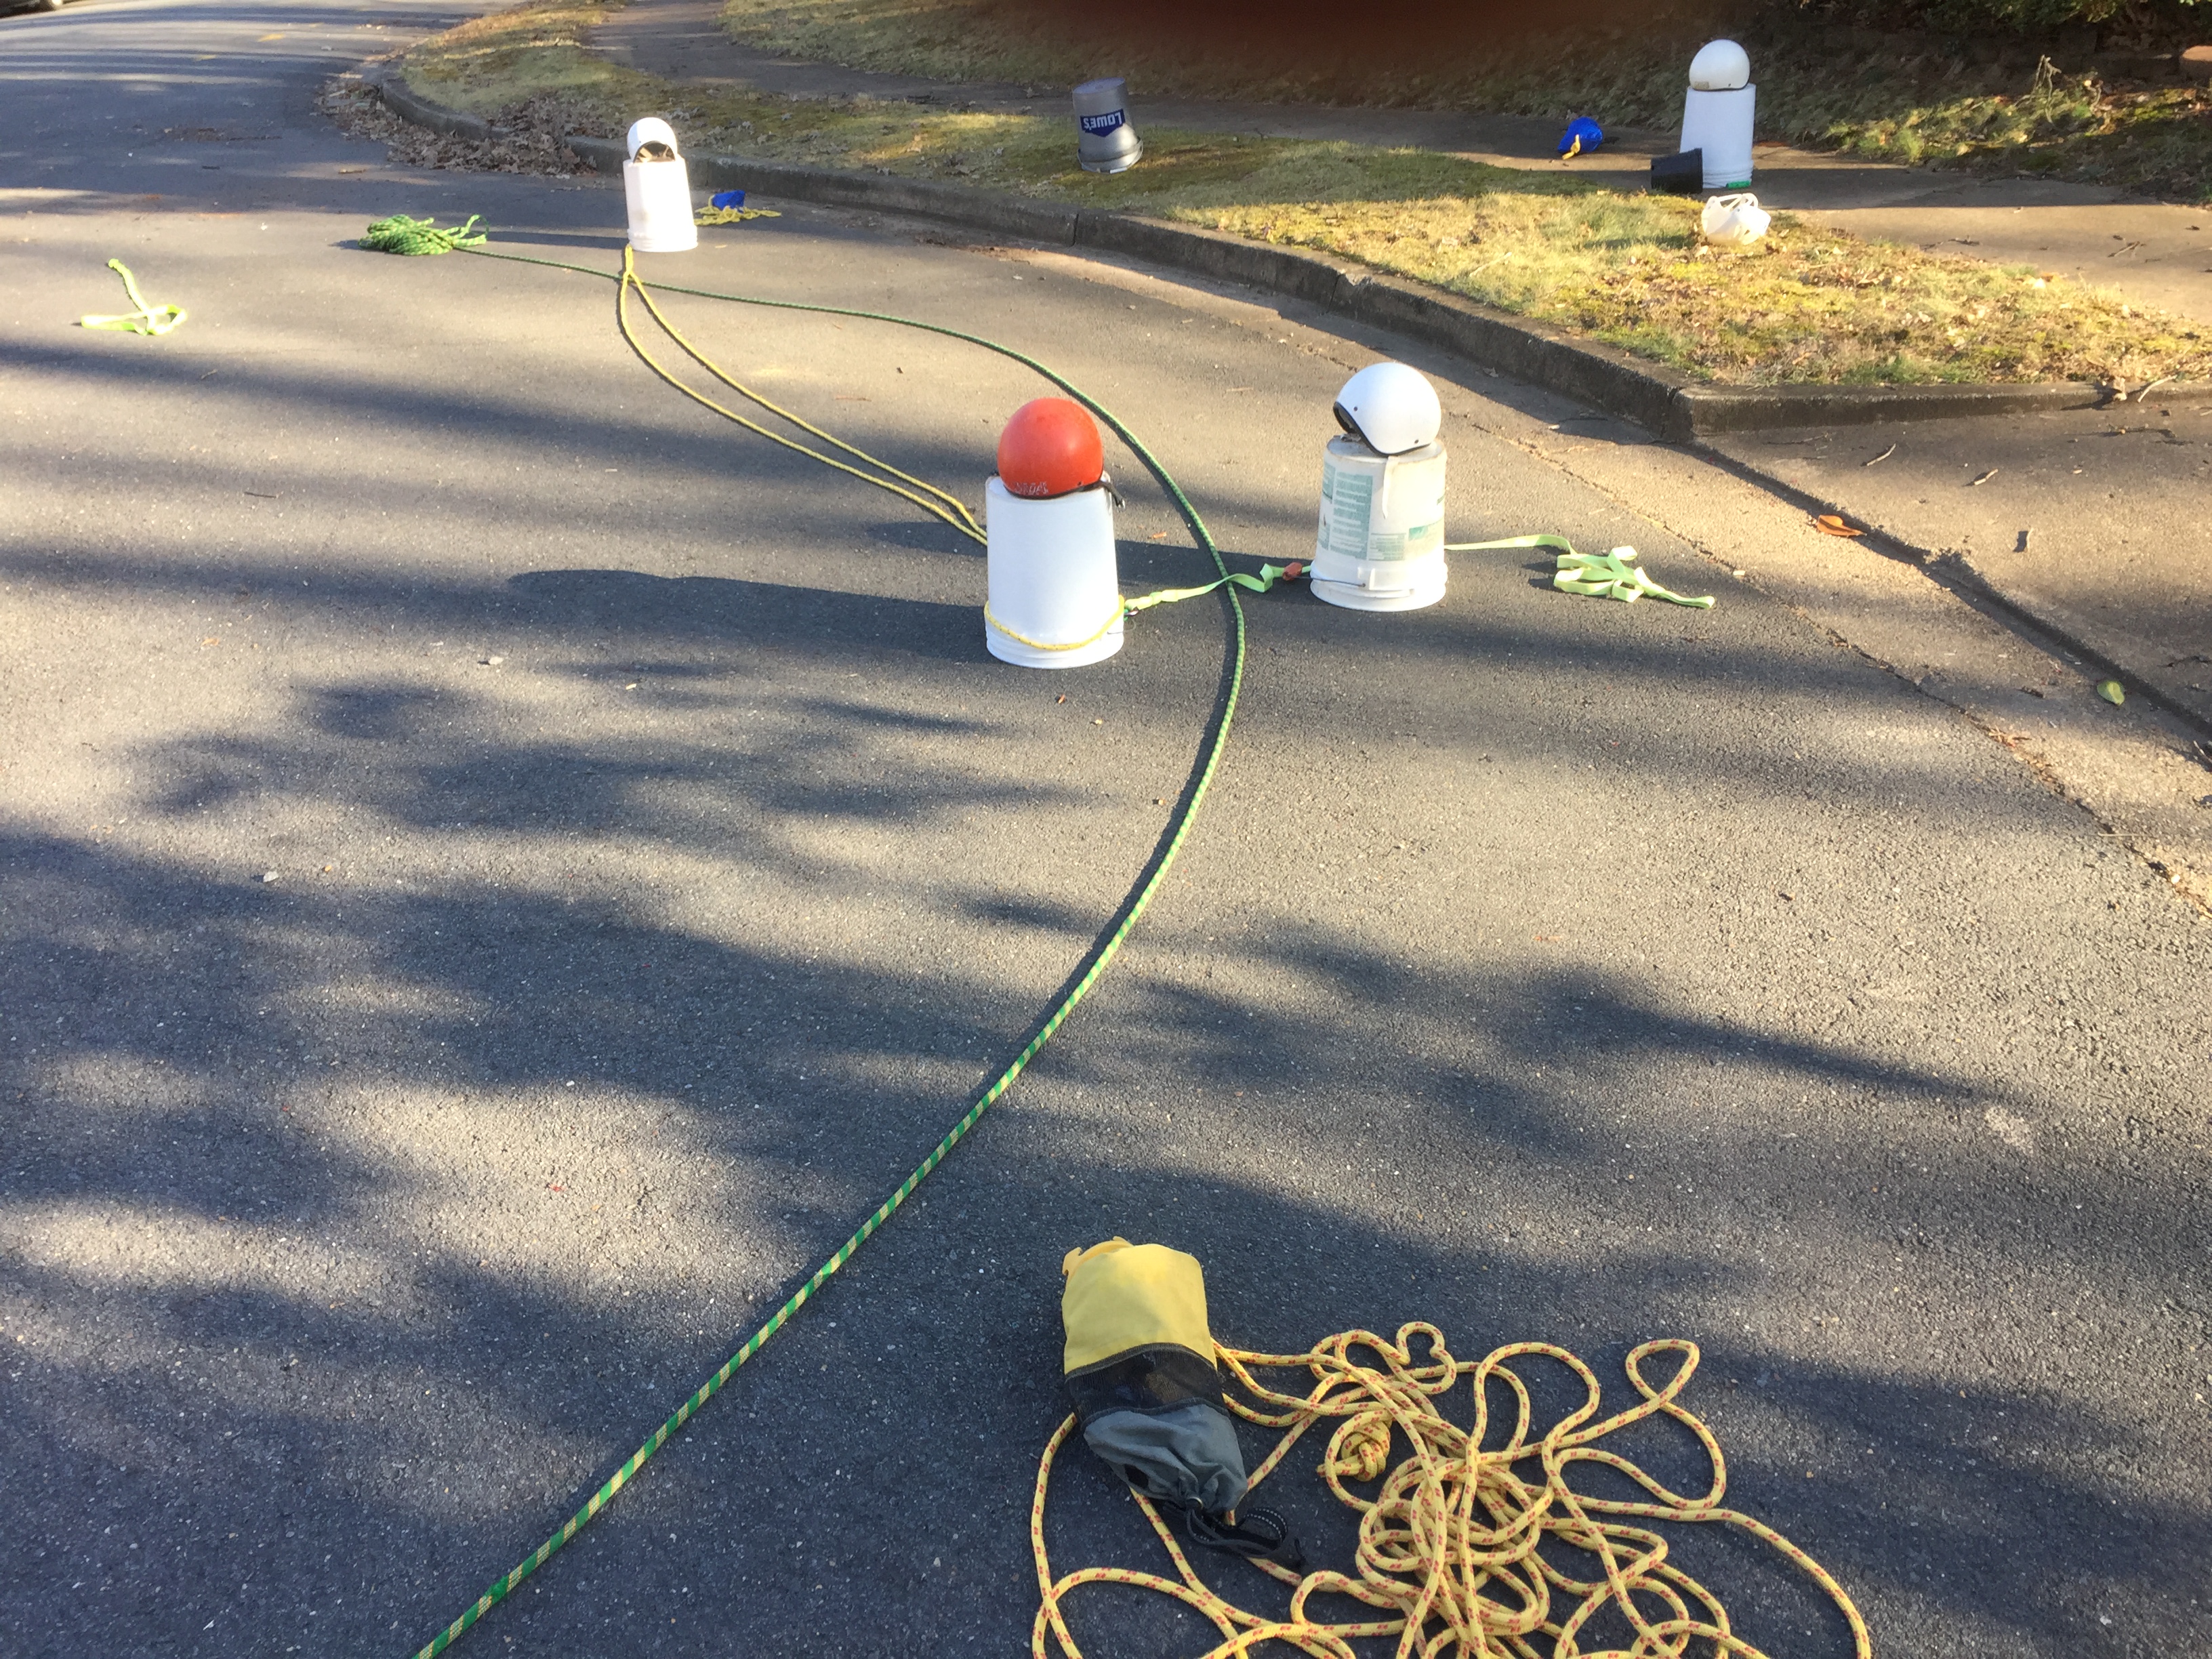
- The green and white ropes represent the shore lines.
- The yellow arrow shows the direction of the current and is points downstream.
- The Orange helmet is the victim with a foot entrapment.
- The White Helmets are the rescuers.
Kiwi Steps
1) The victim is trapped and requires assistance. Notice the bend in the rapid (the ropes which represent the shore line form a curve).
2) Toss a line from Upstream to the outside of the victim. The rope will float past the victim and hover right below him hopefully easy to retrieve.
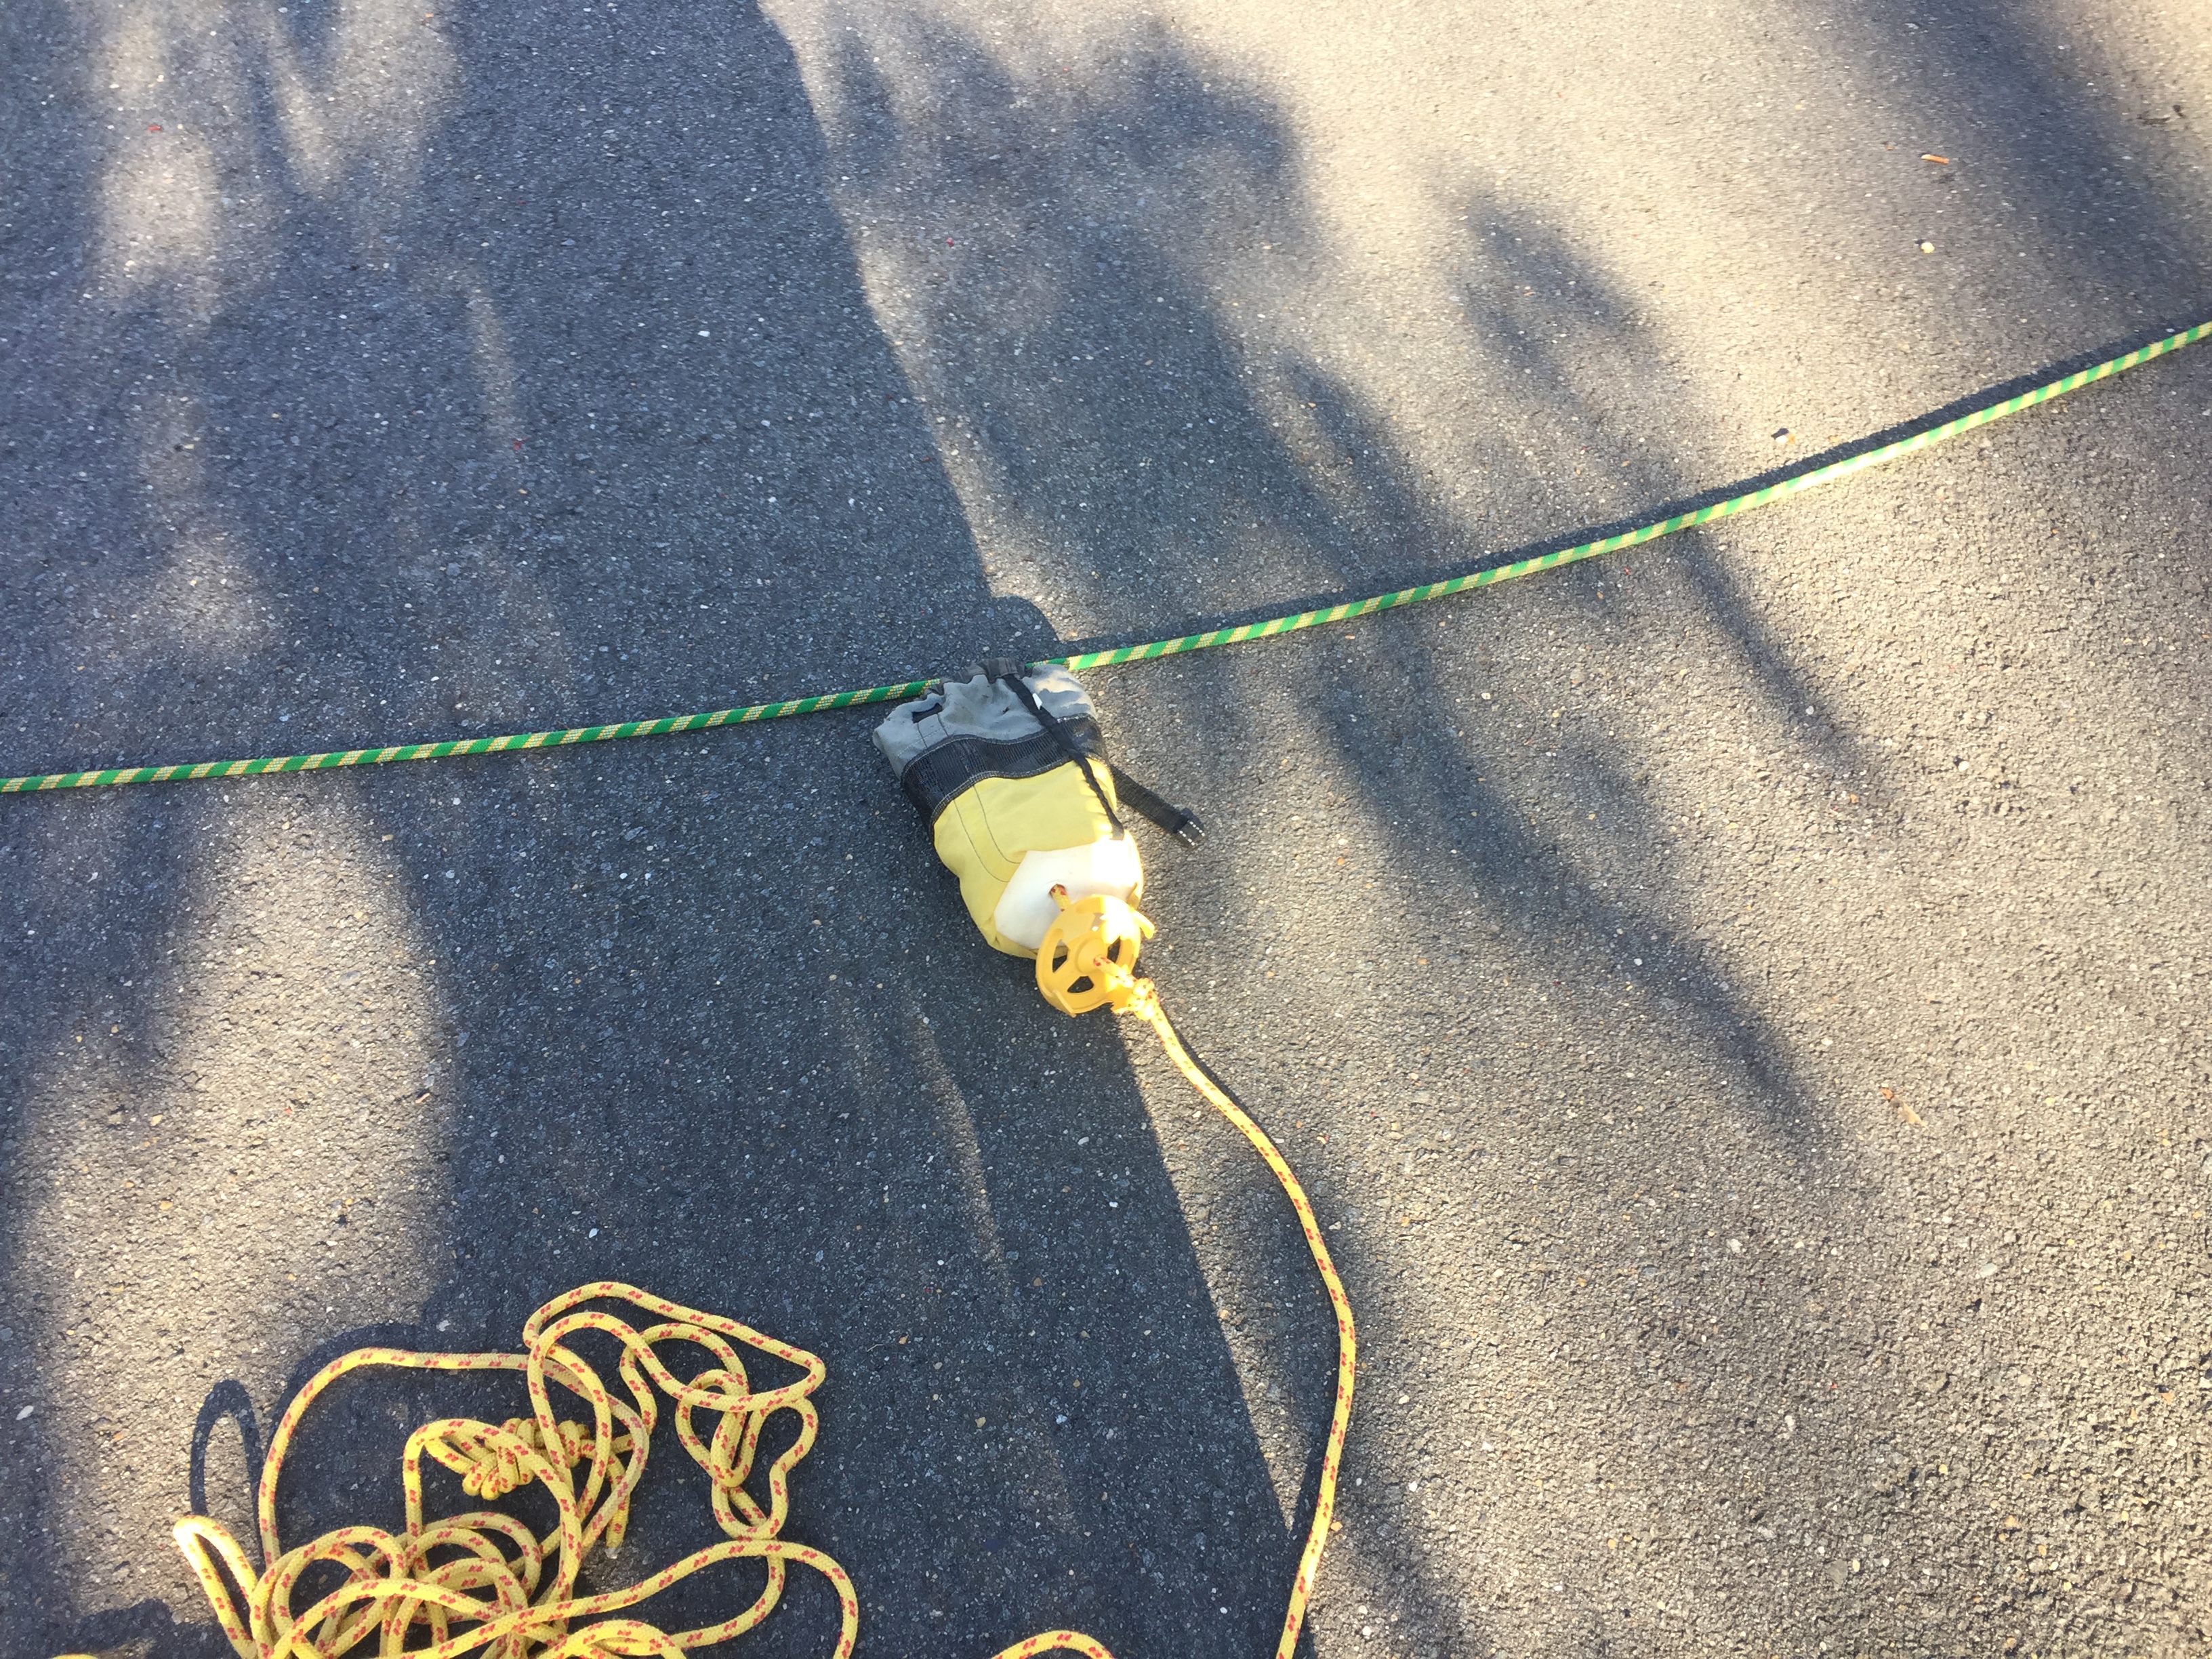
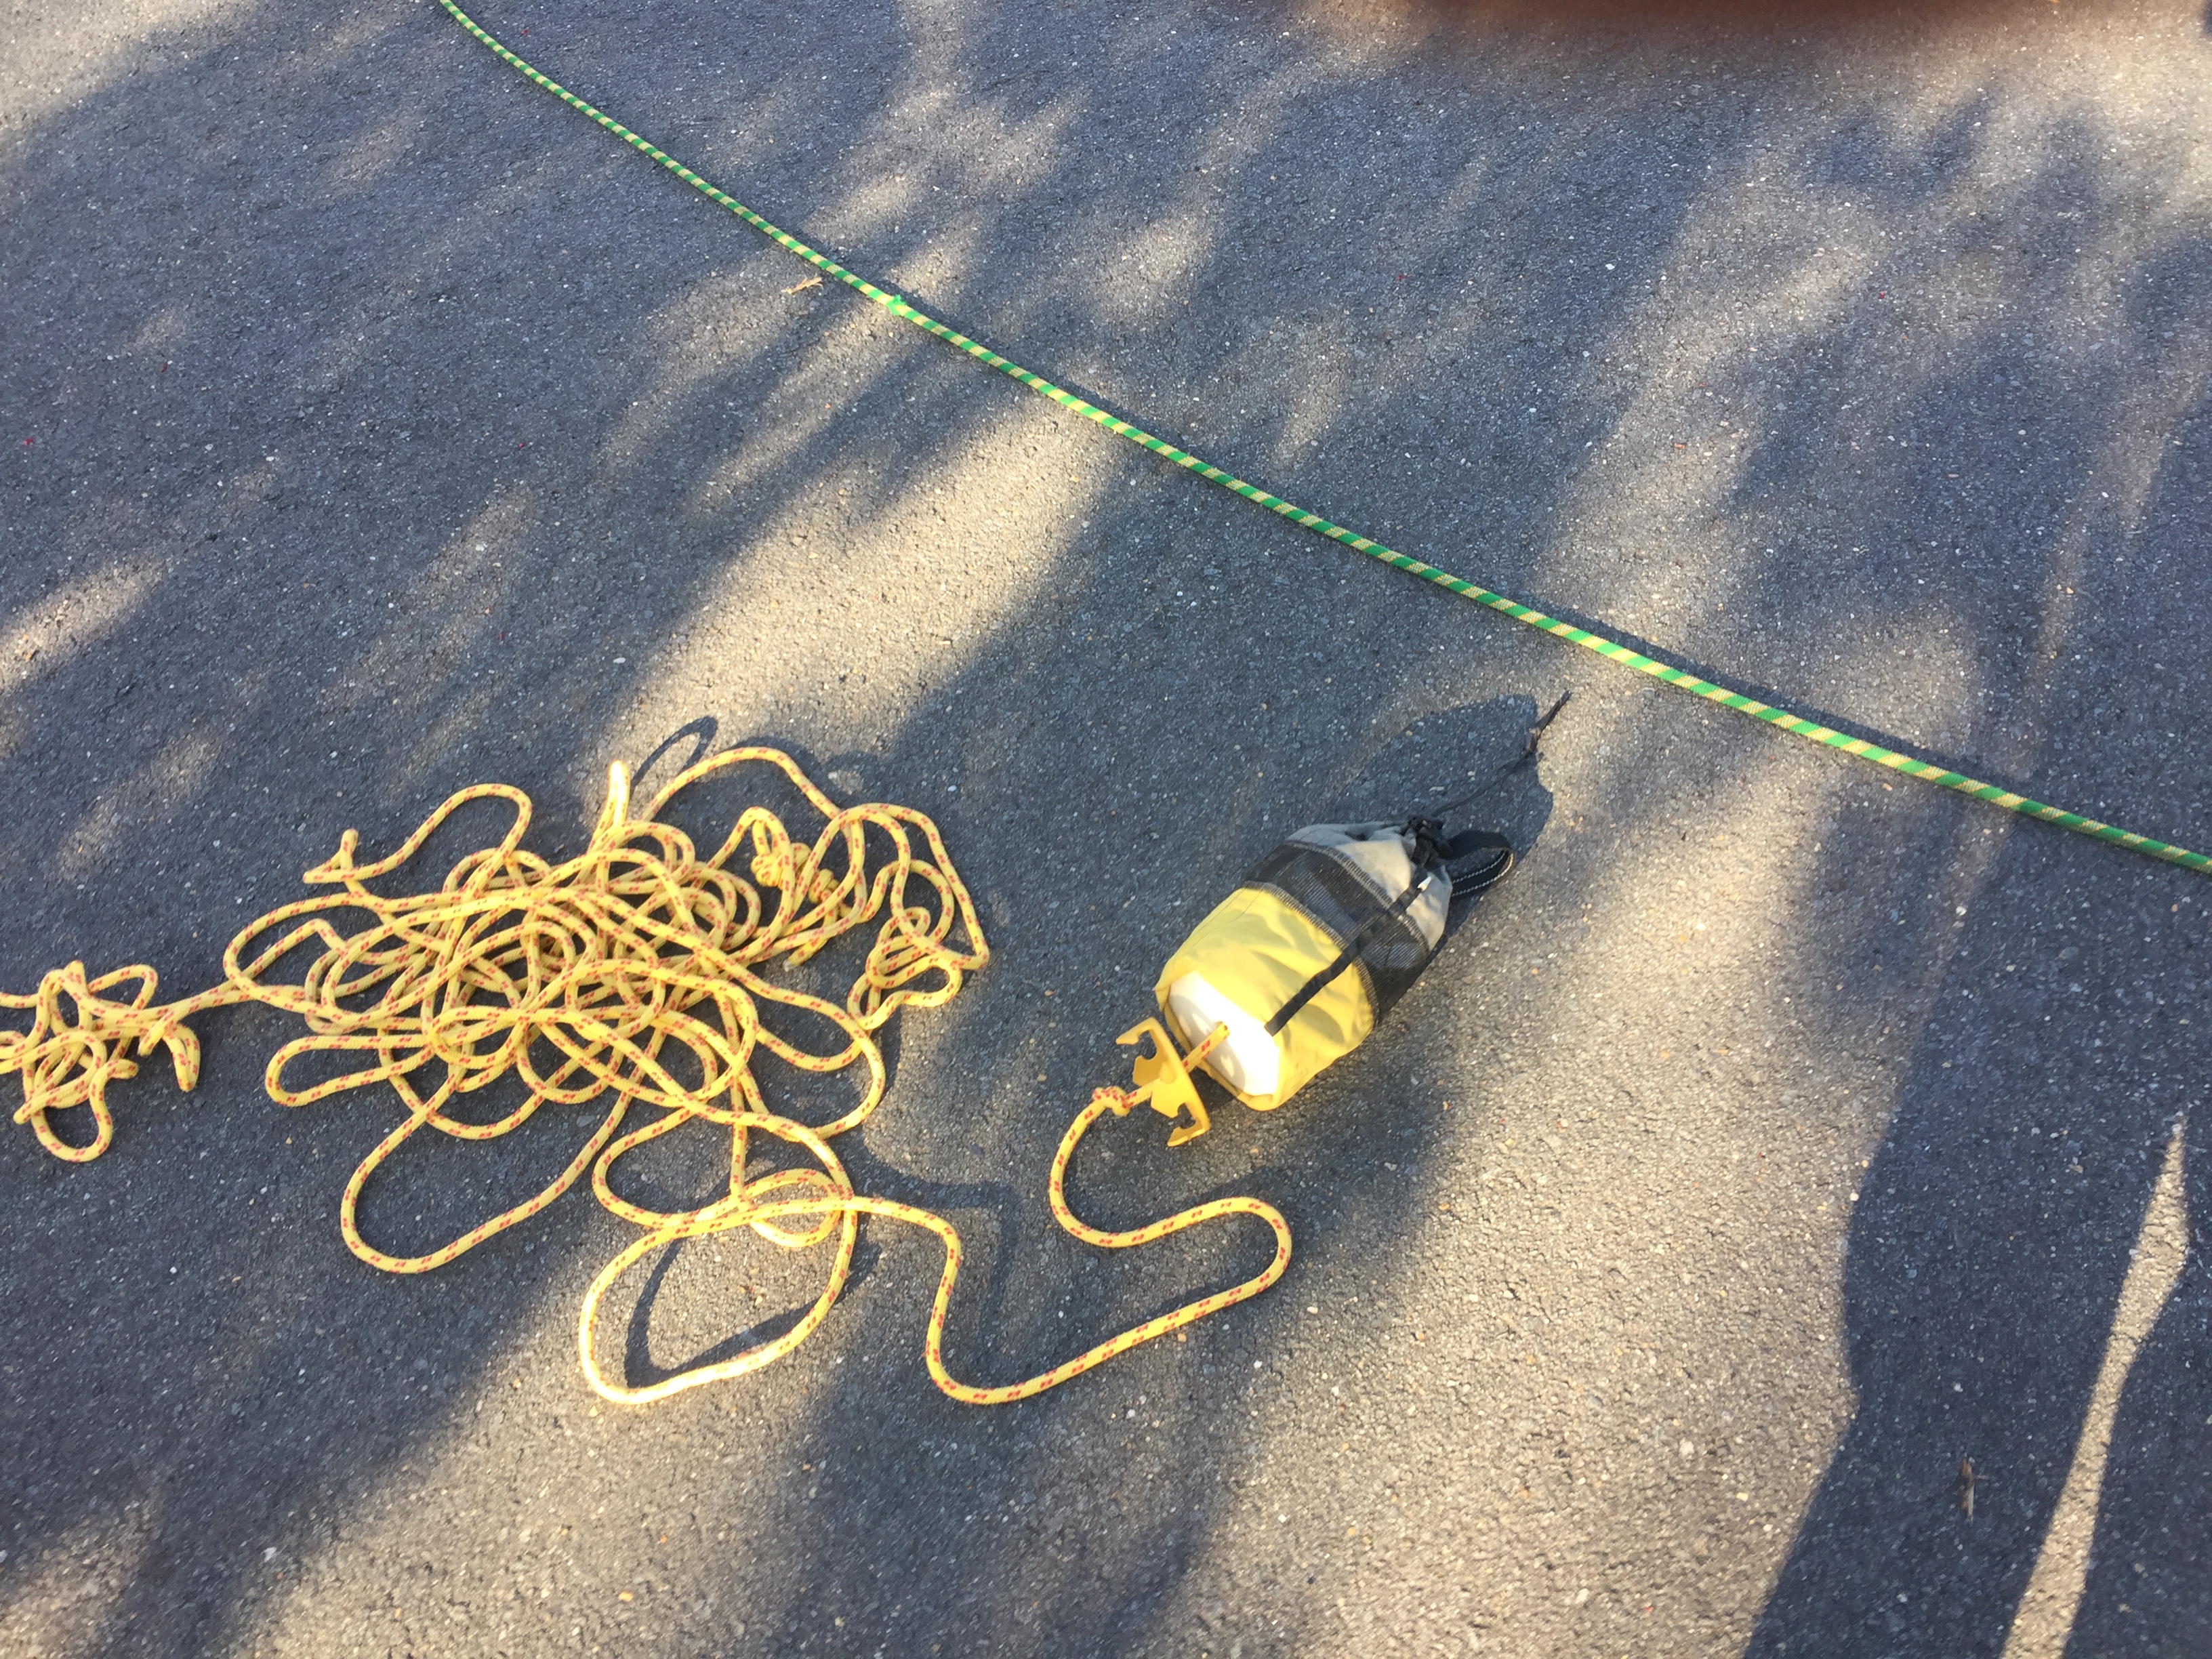
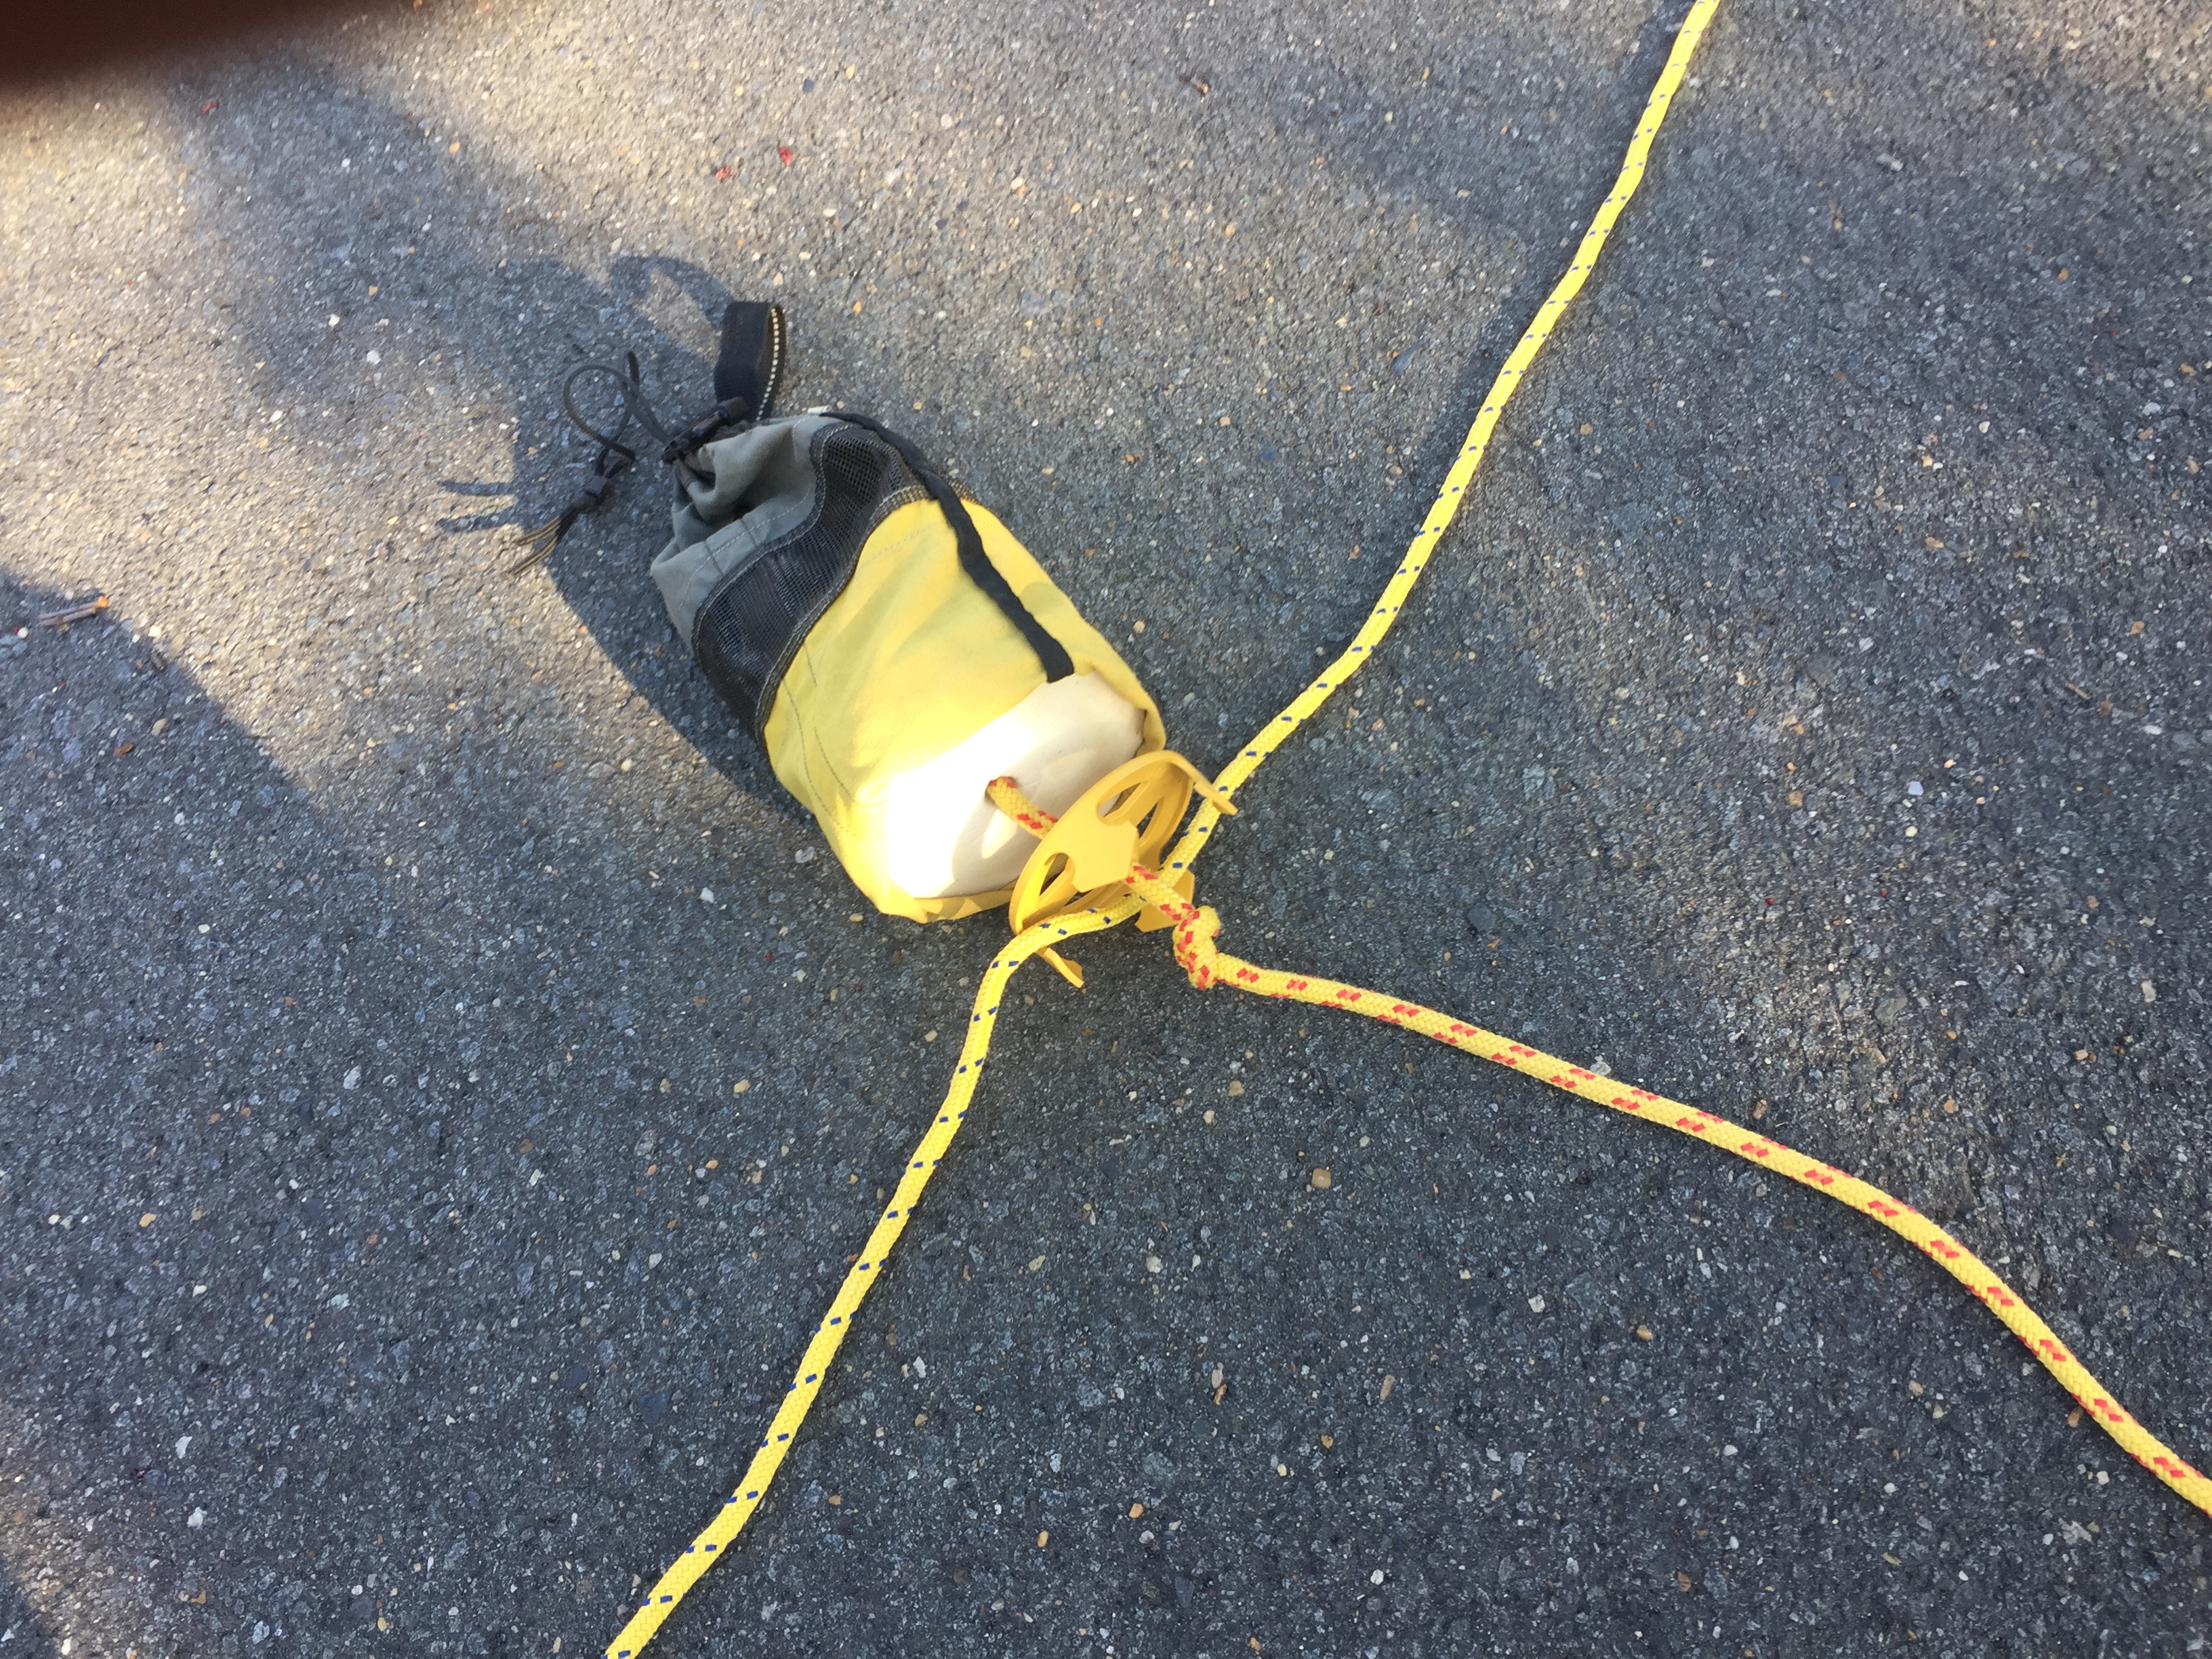
3) This is an example of a throw bag with a line capture device (Snag Plate). I turned the bag inside out to expose the snag plate. There are many alternatives to retrieve the rope dangling midstream like wading, swimming, reaching with a paddle, or in this case a snag line.
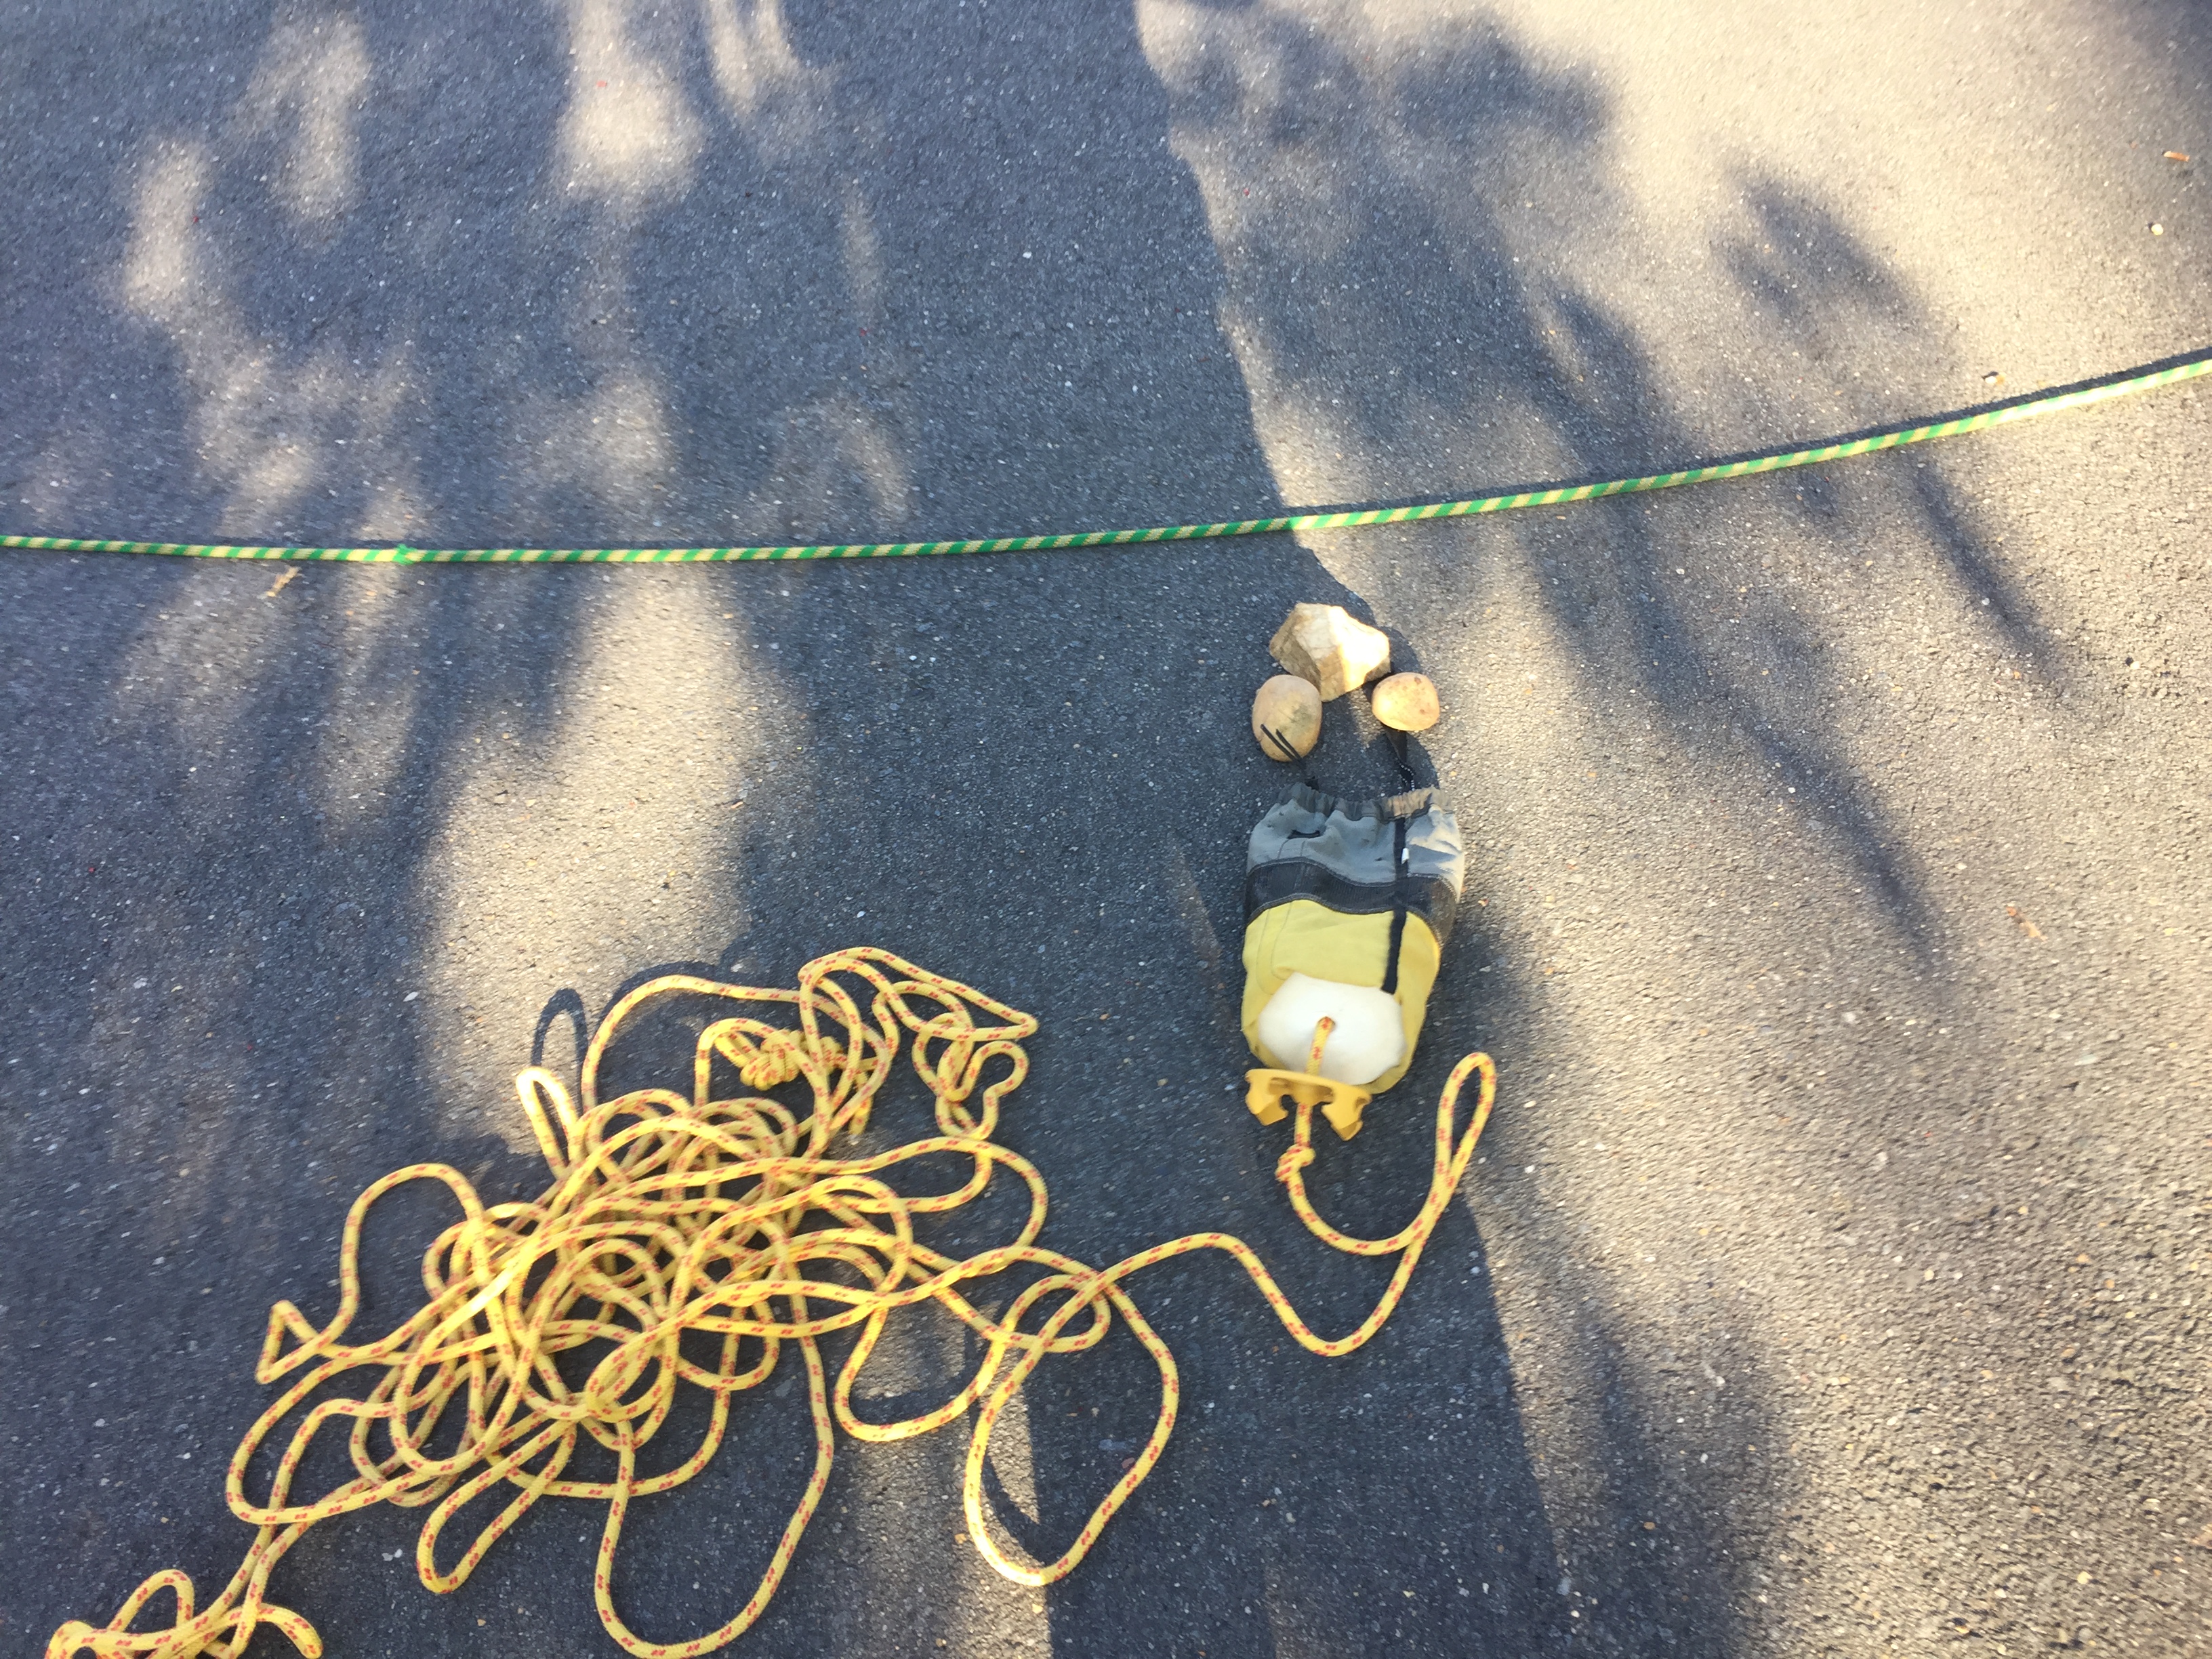
4) To be effective, the bag needs some extra weight which is done by adding a few stones and closing the drawstring.
5) Here’s the loaded snag line.
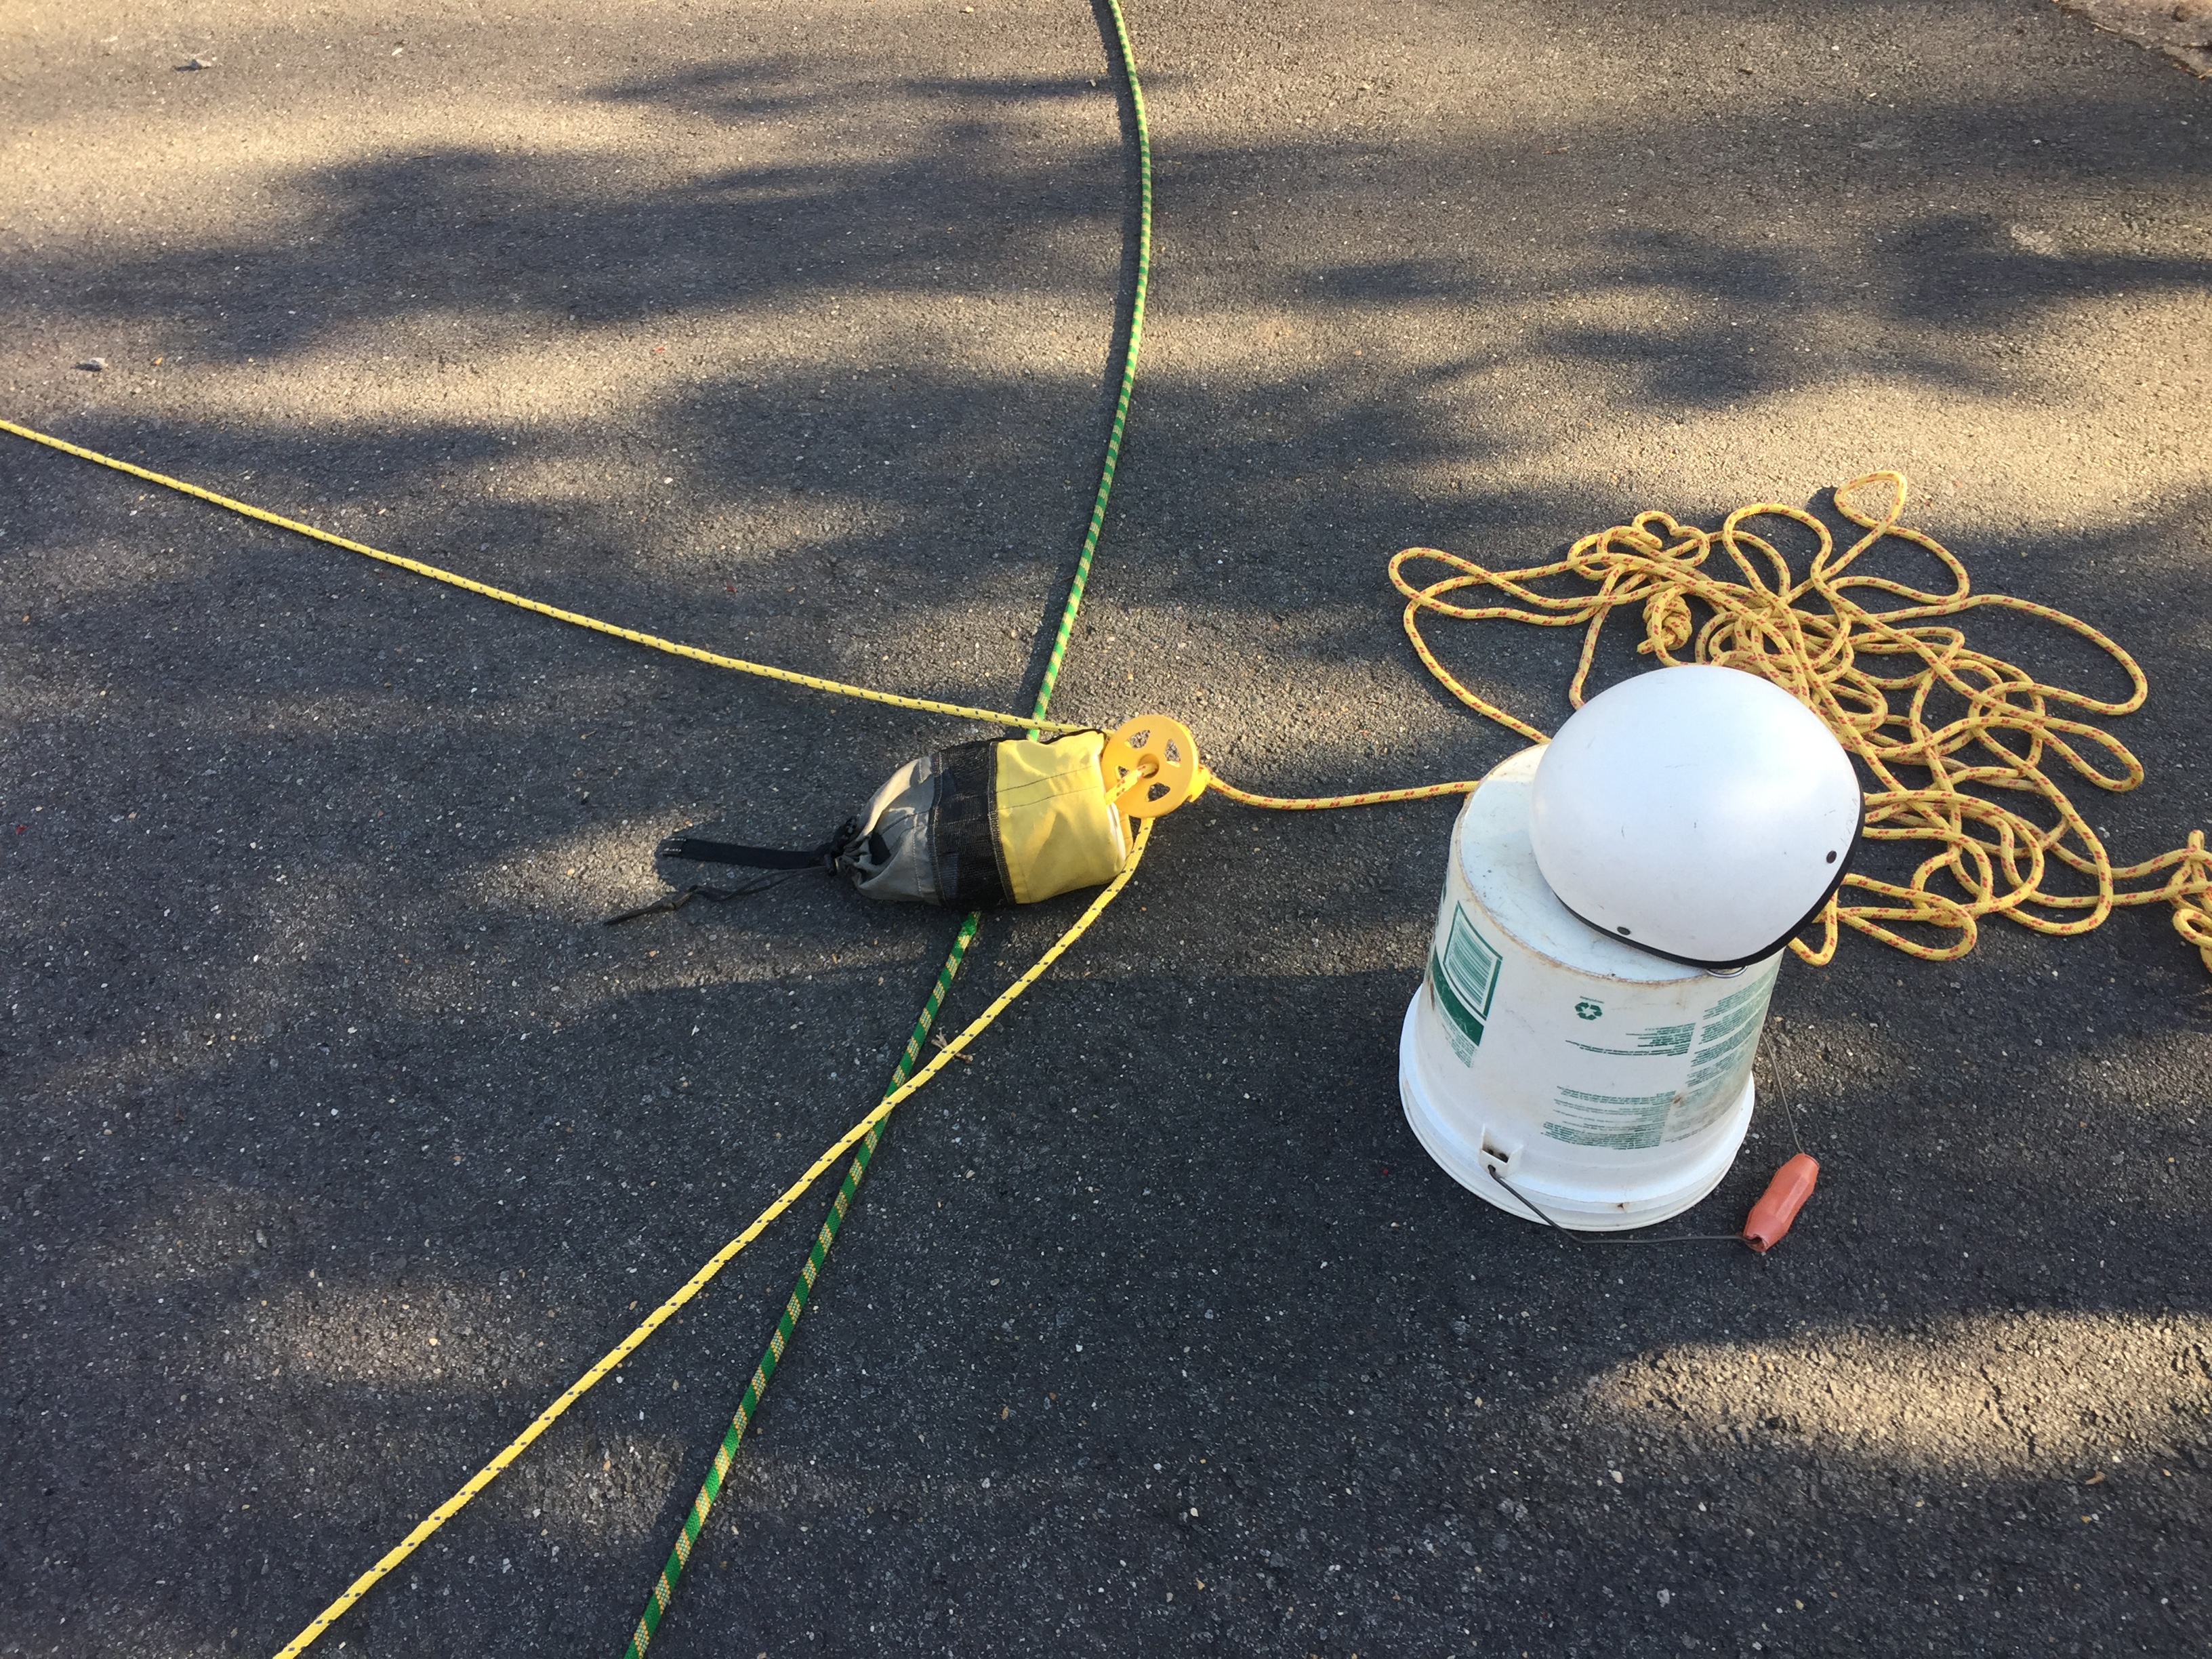
6) The Snag Line is tossed over the rope floating below the victim. Notice how the teeth snag the line making it easy to retrieve.
7) Pull the dangling line into shore.
8) Remove the Snag Line and run the end back up the to rescuer upstream. That rescuer holds both ends of the line in a belay. This forms a nice tight stabilization line, perhaps the victim can free themselves with this support – certainly worth asking. This may be an opportune time to “Pop” the victim free or wait for the very secure cinch.
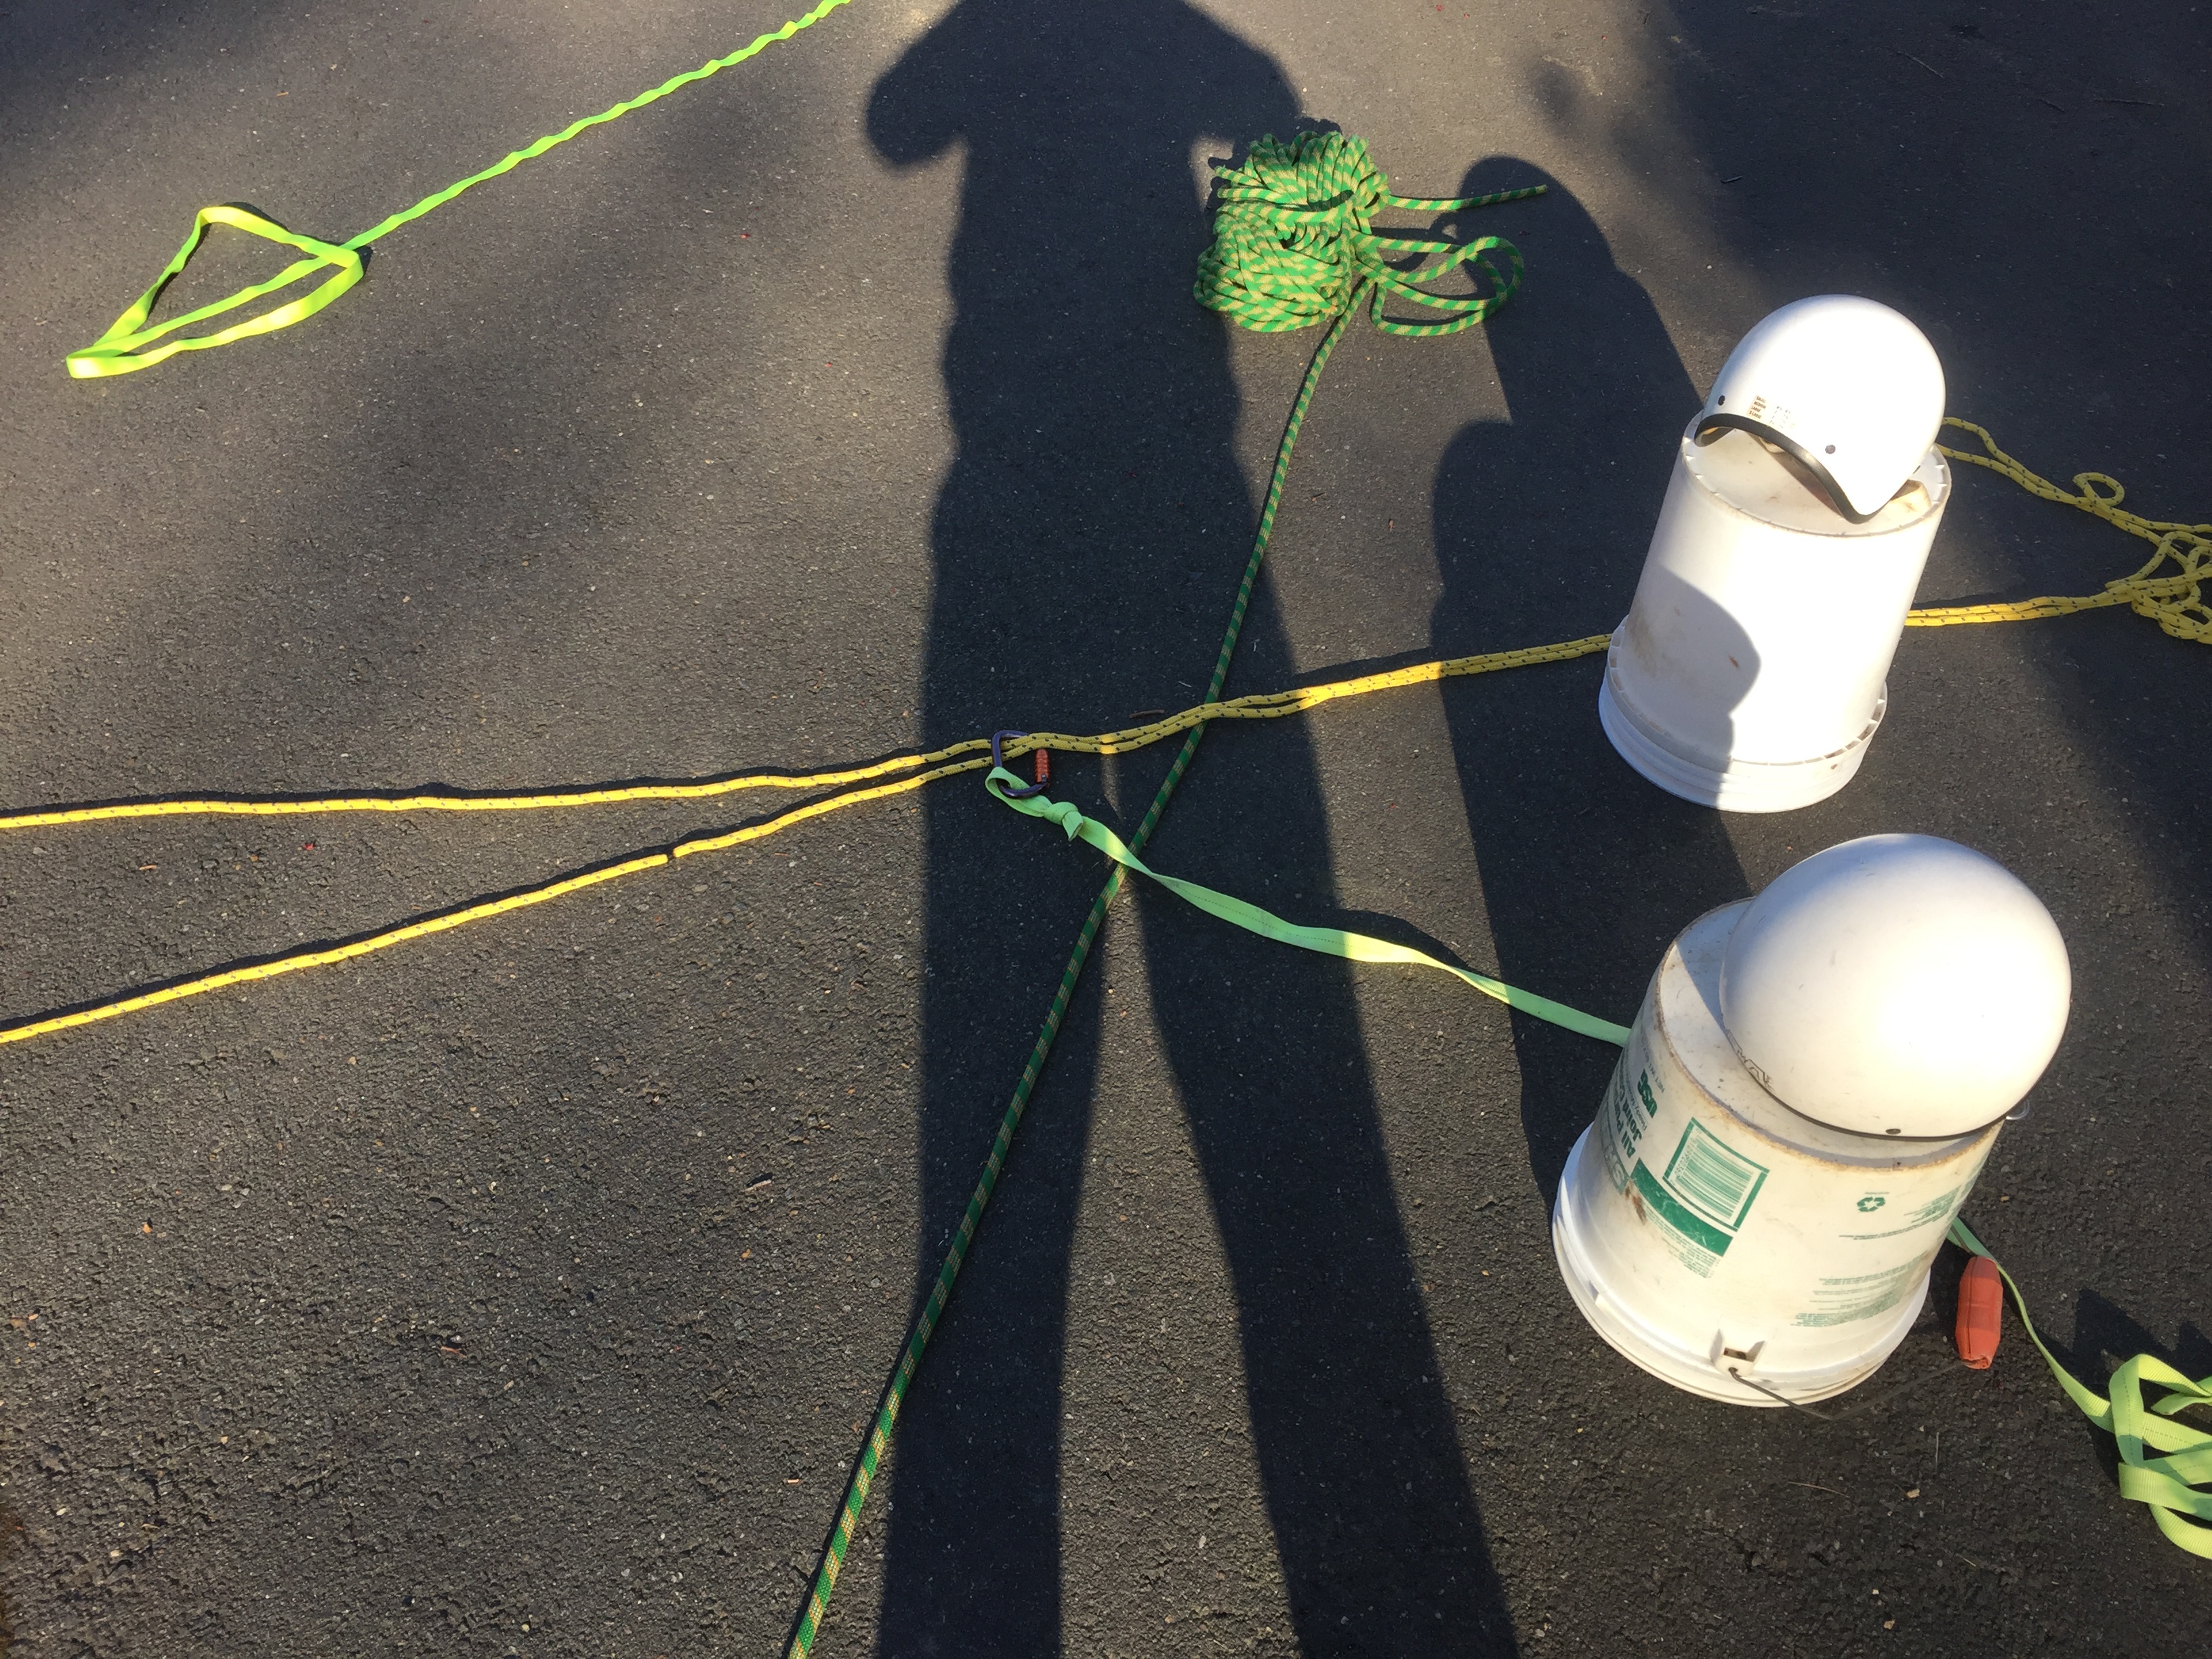
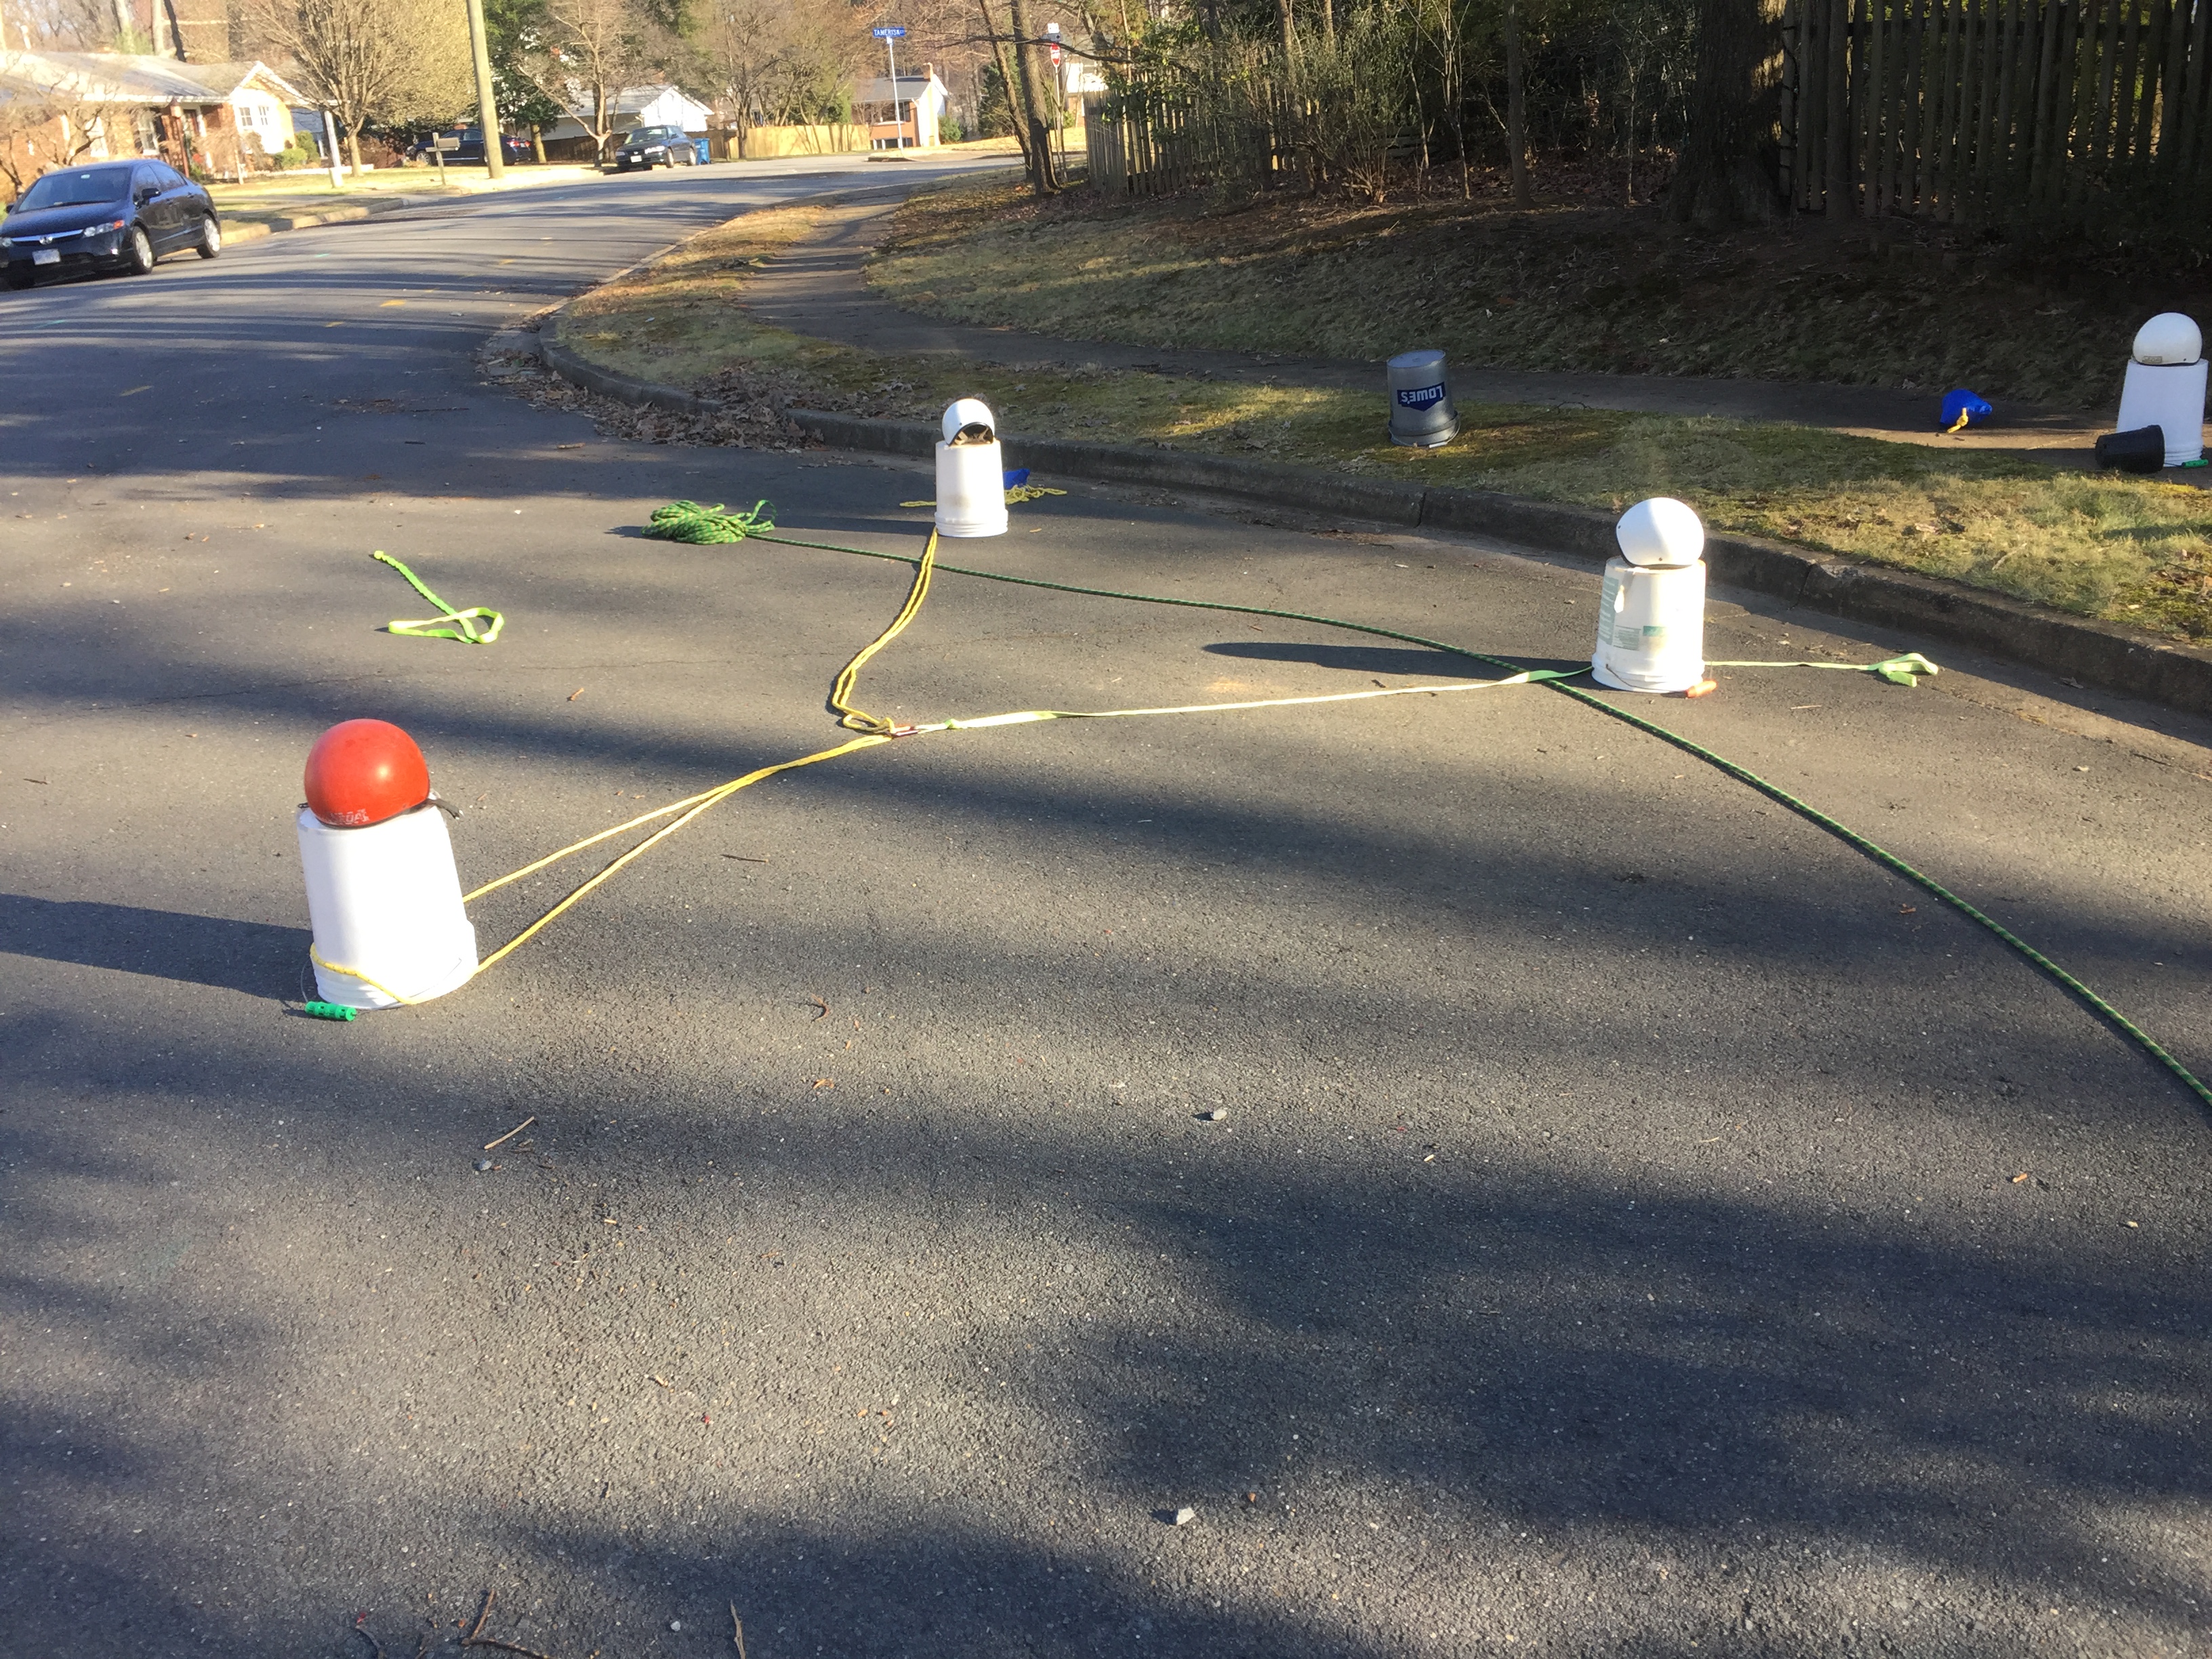
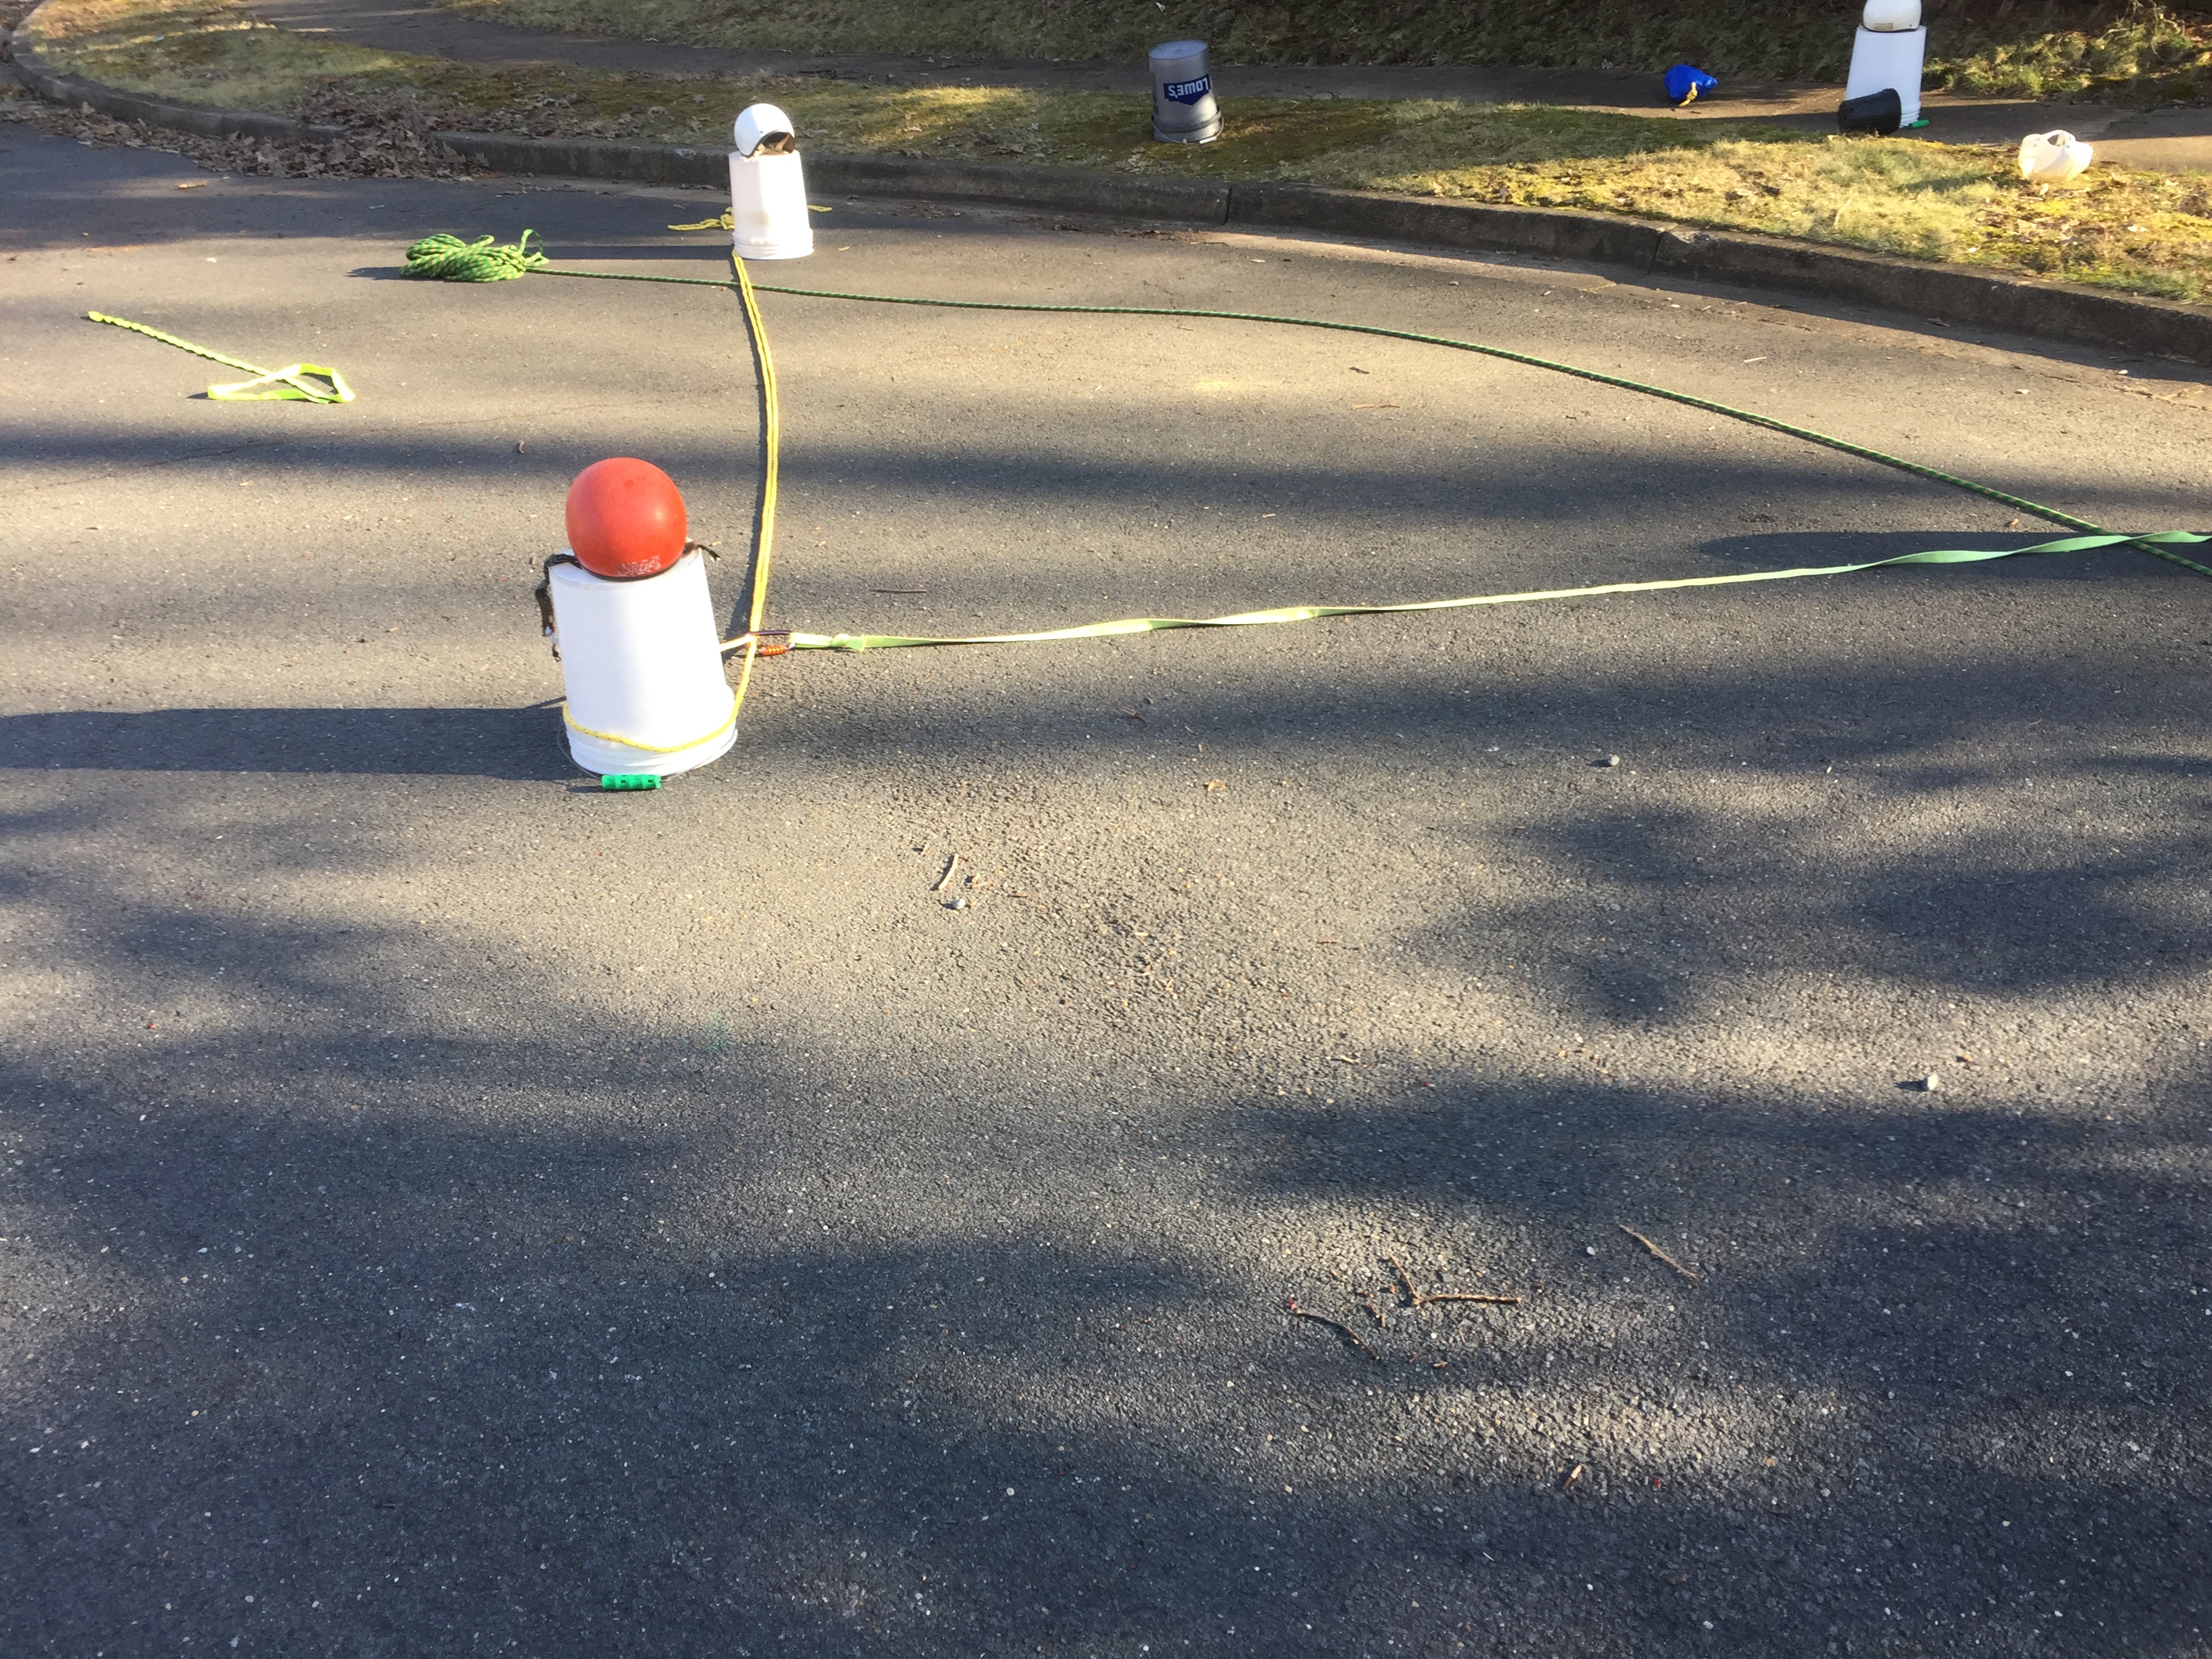
9) Clip a carabiner over both strands of rope that has a rope or webbing attached. I used my guide belt for this purpose. The Downstream rescuer will walk the line tightening the cinch.
12) Halfway down the line. The cinch is tightening and a useful vector pull is forming.
13) The cinch is closed. Now’s a good time to pop him free if you haven’t done so already. As always pull from upstream.
14) Land the victim safely on shore via a pendulum sweep.
