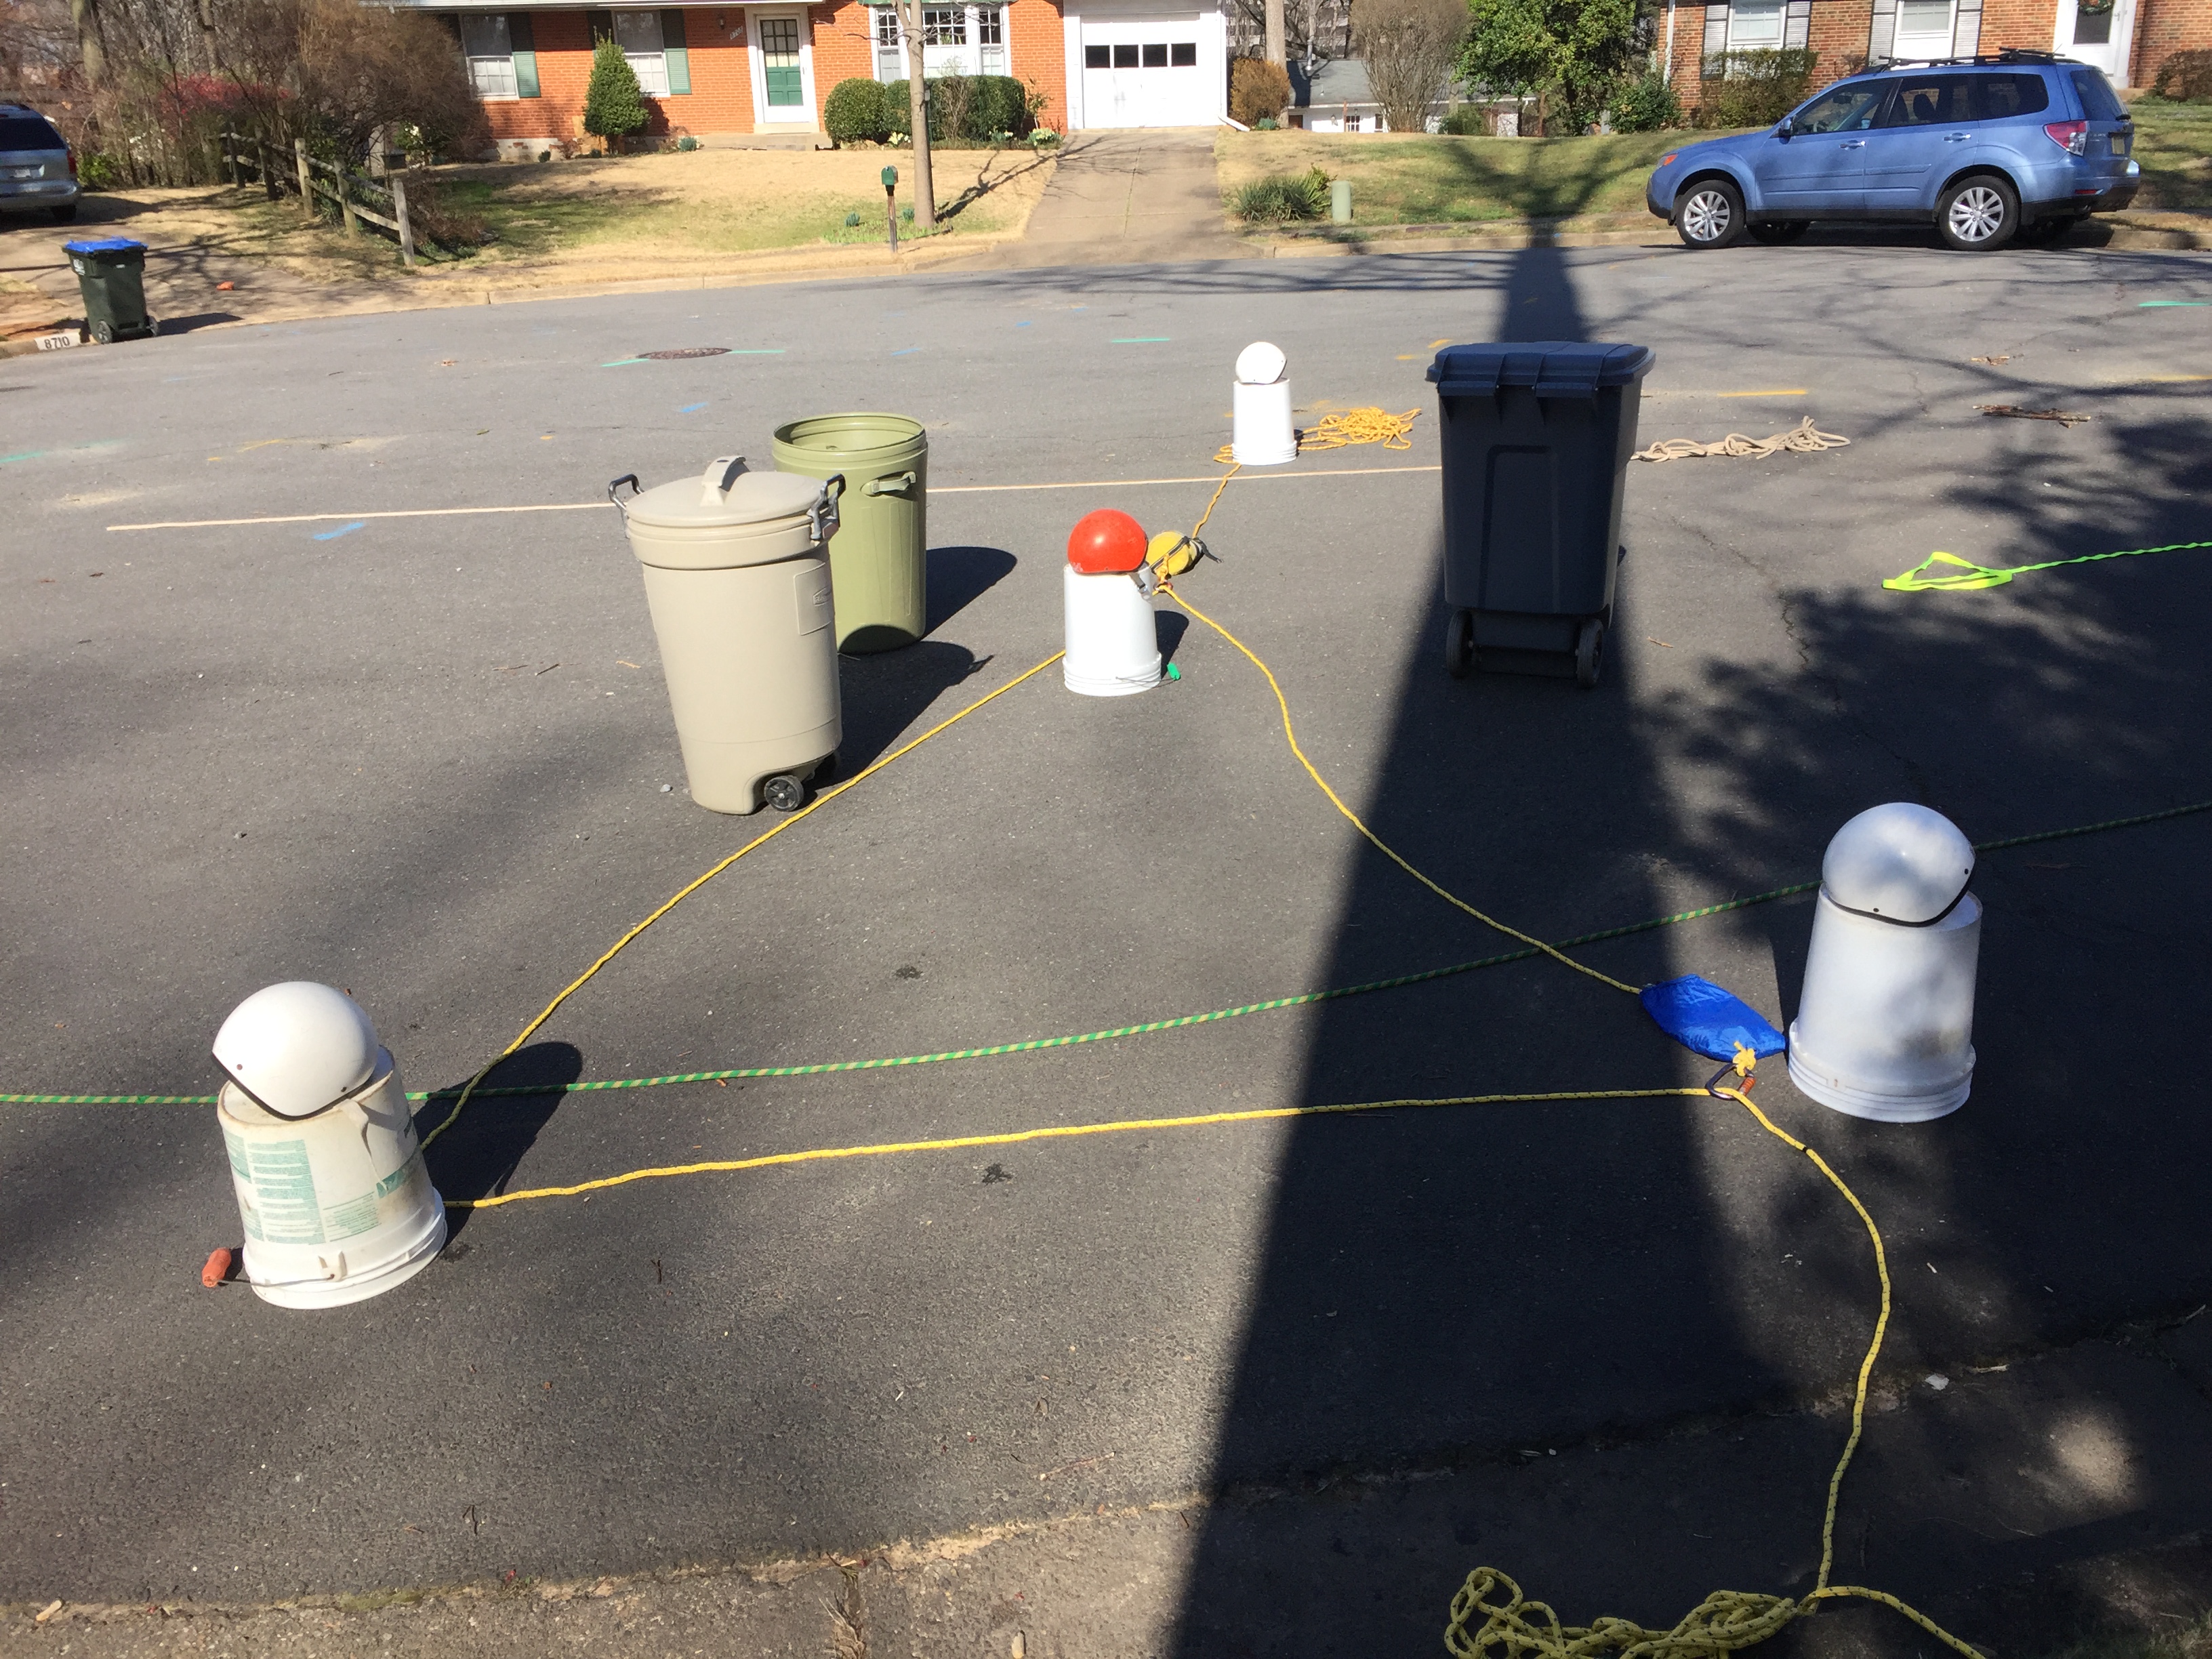
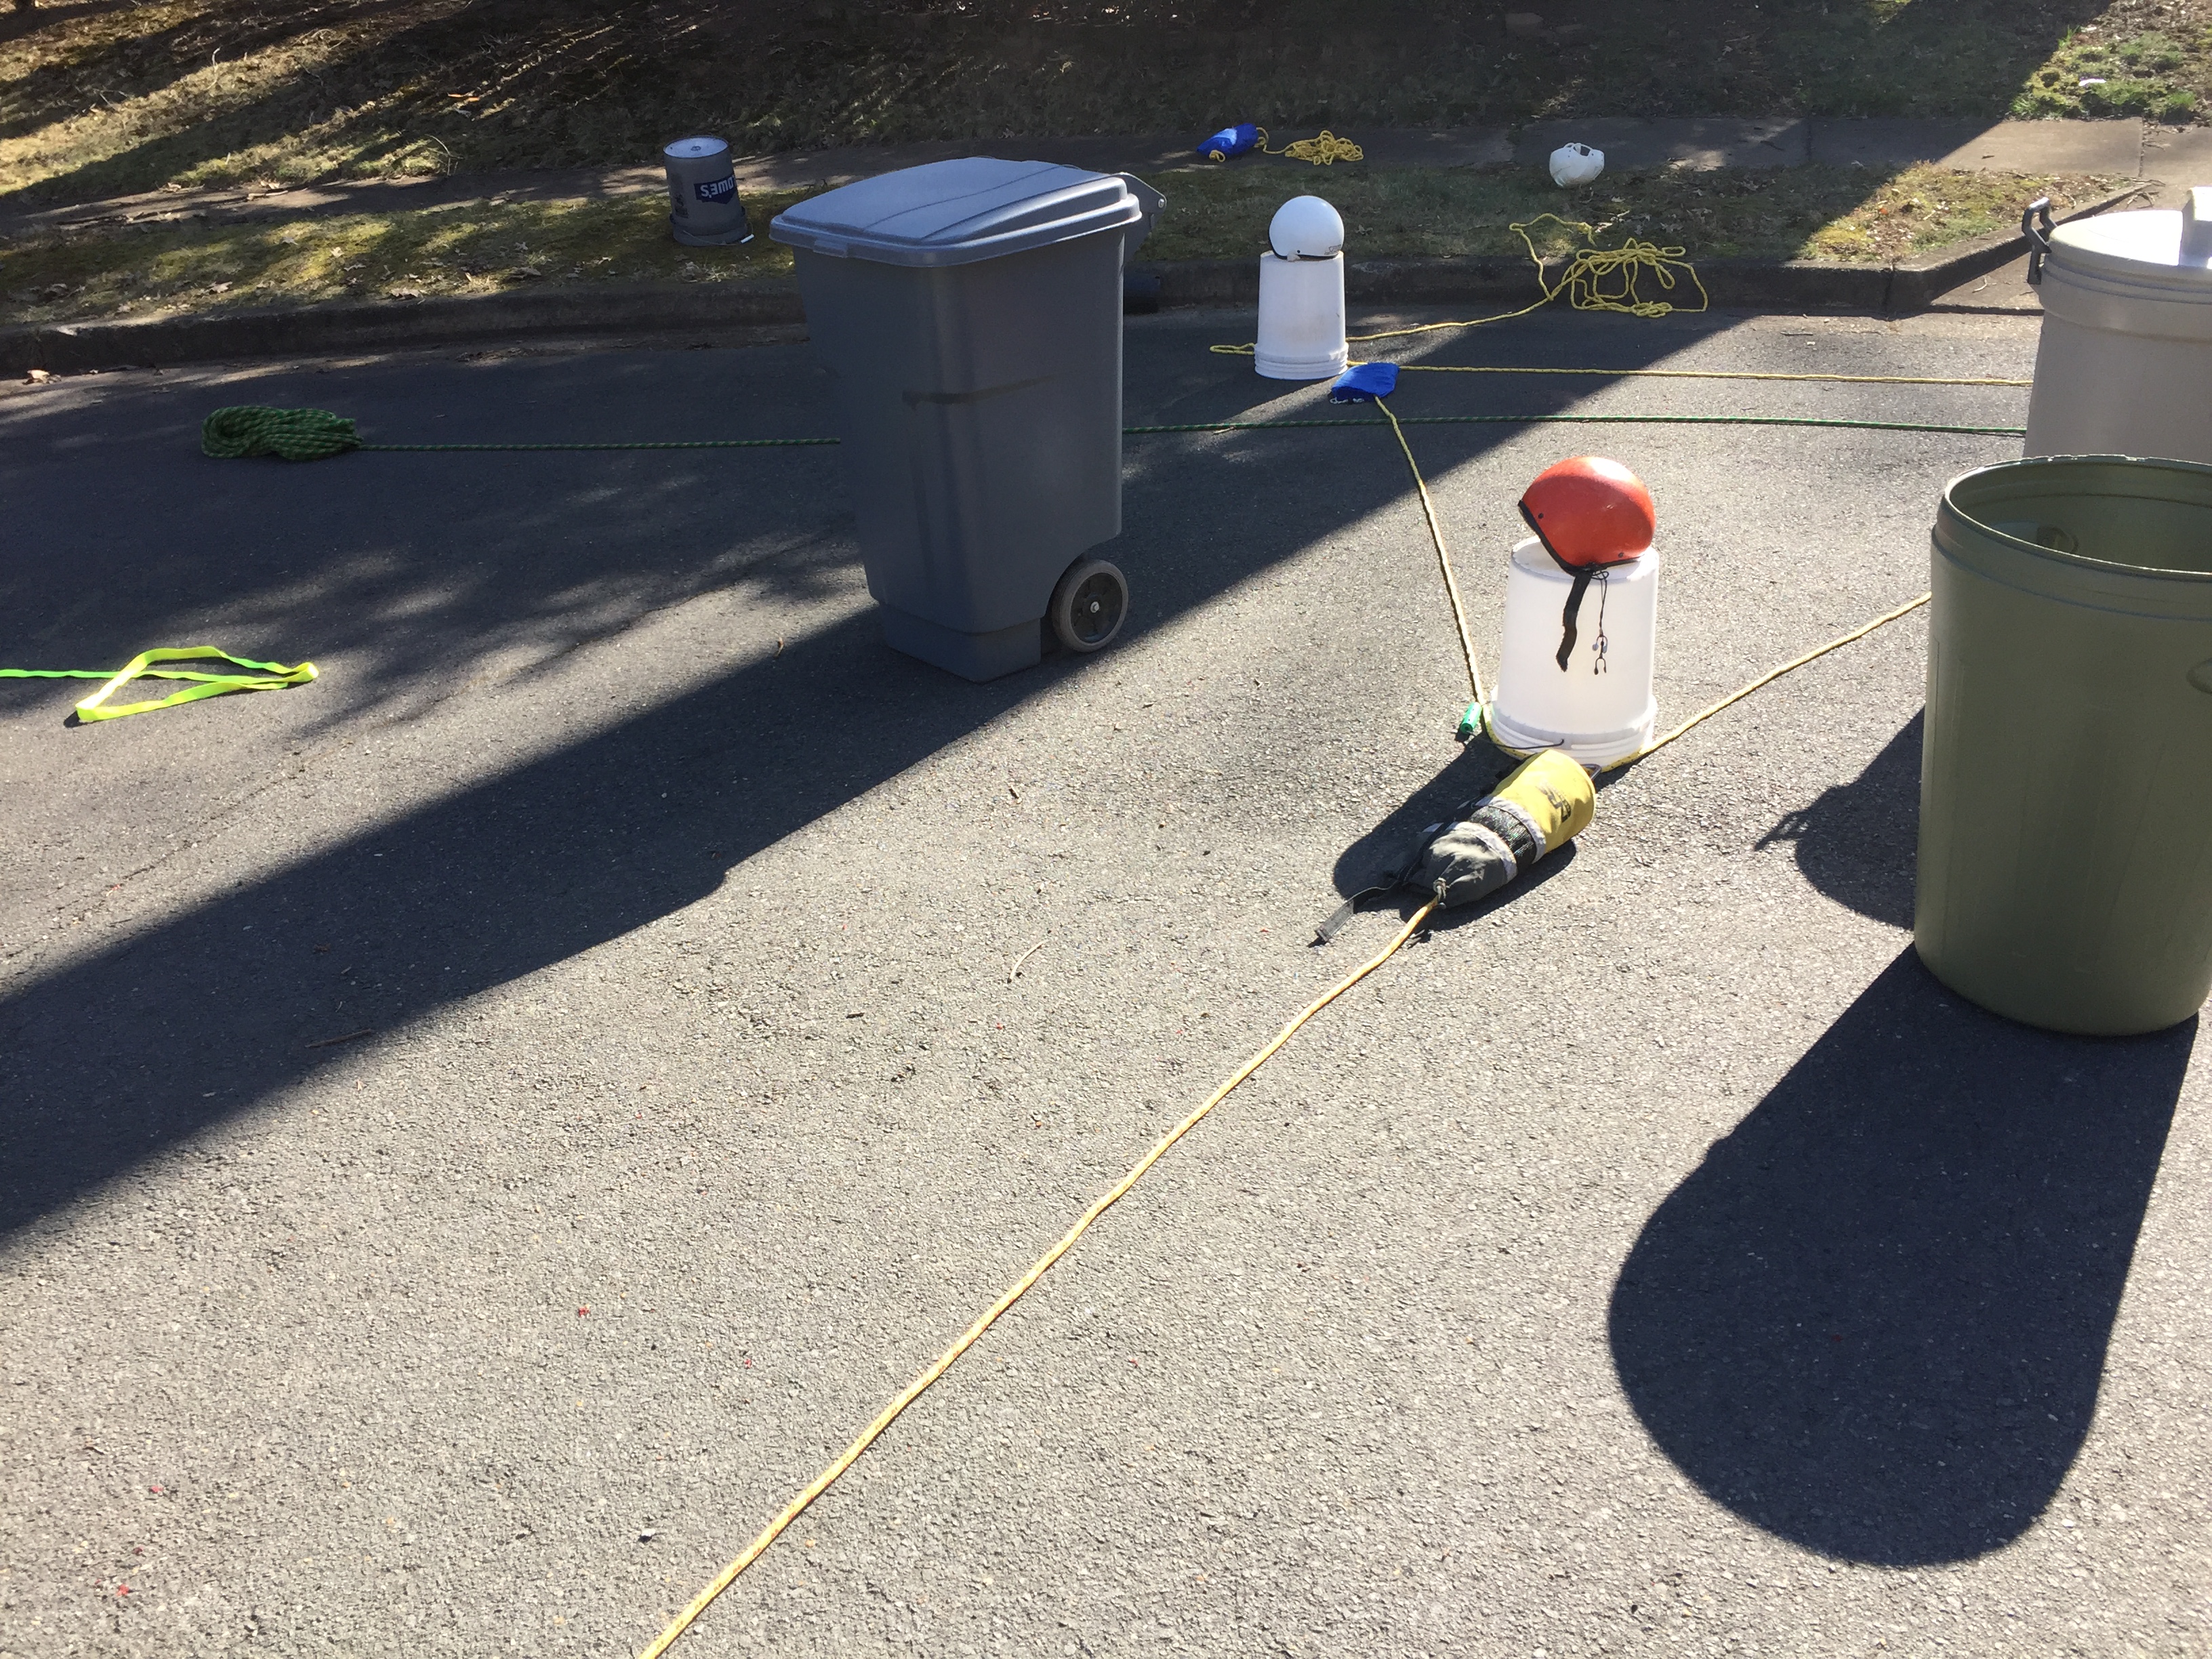
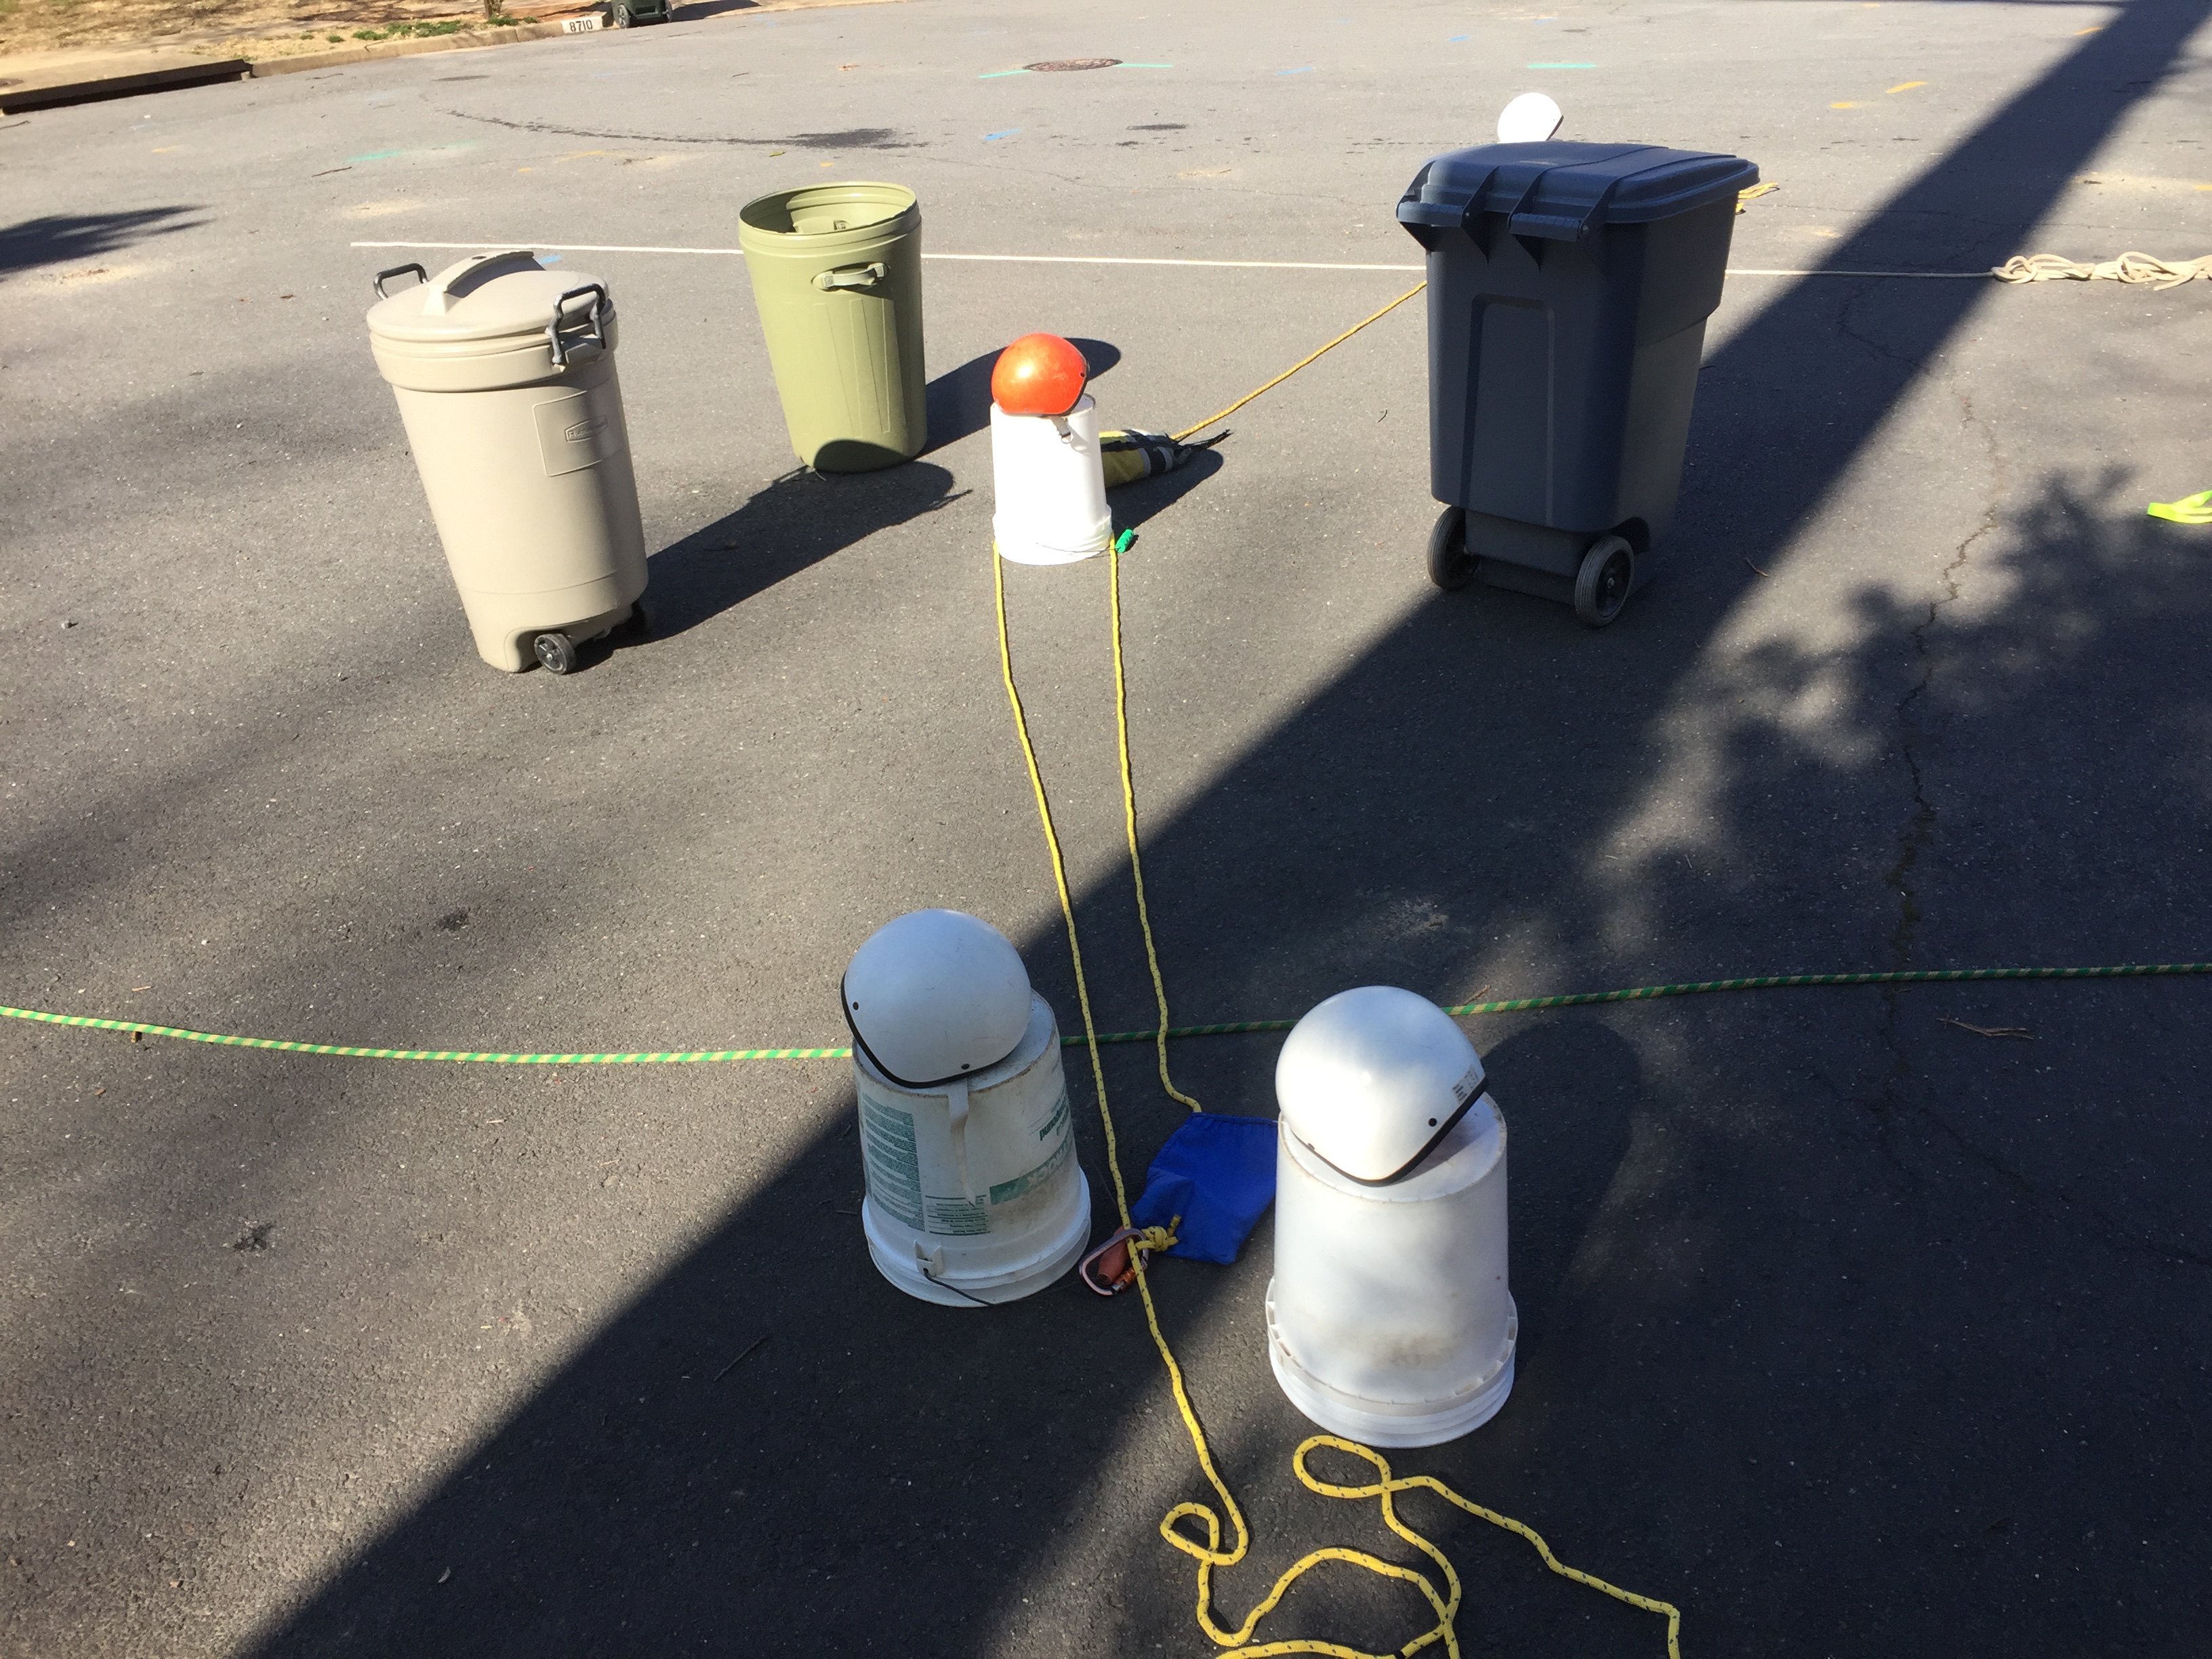
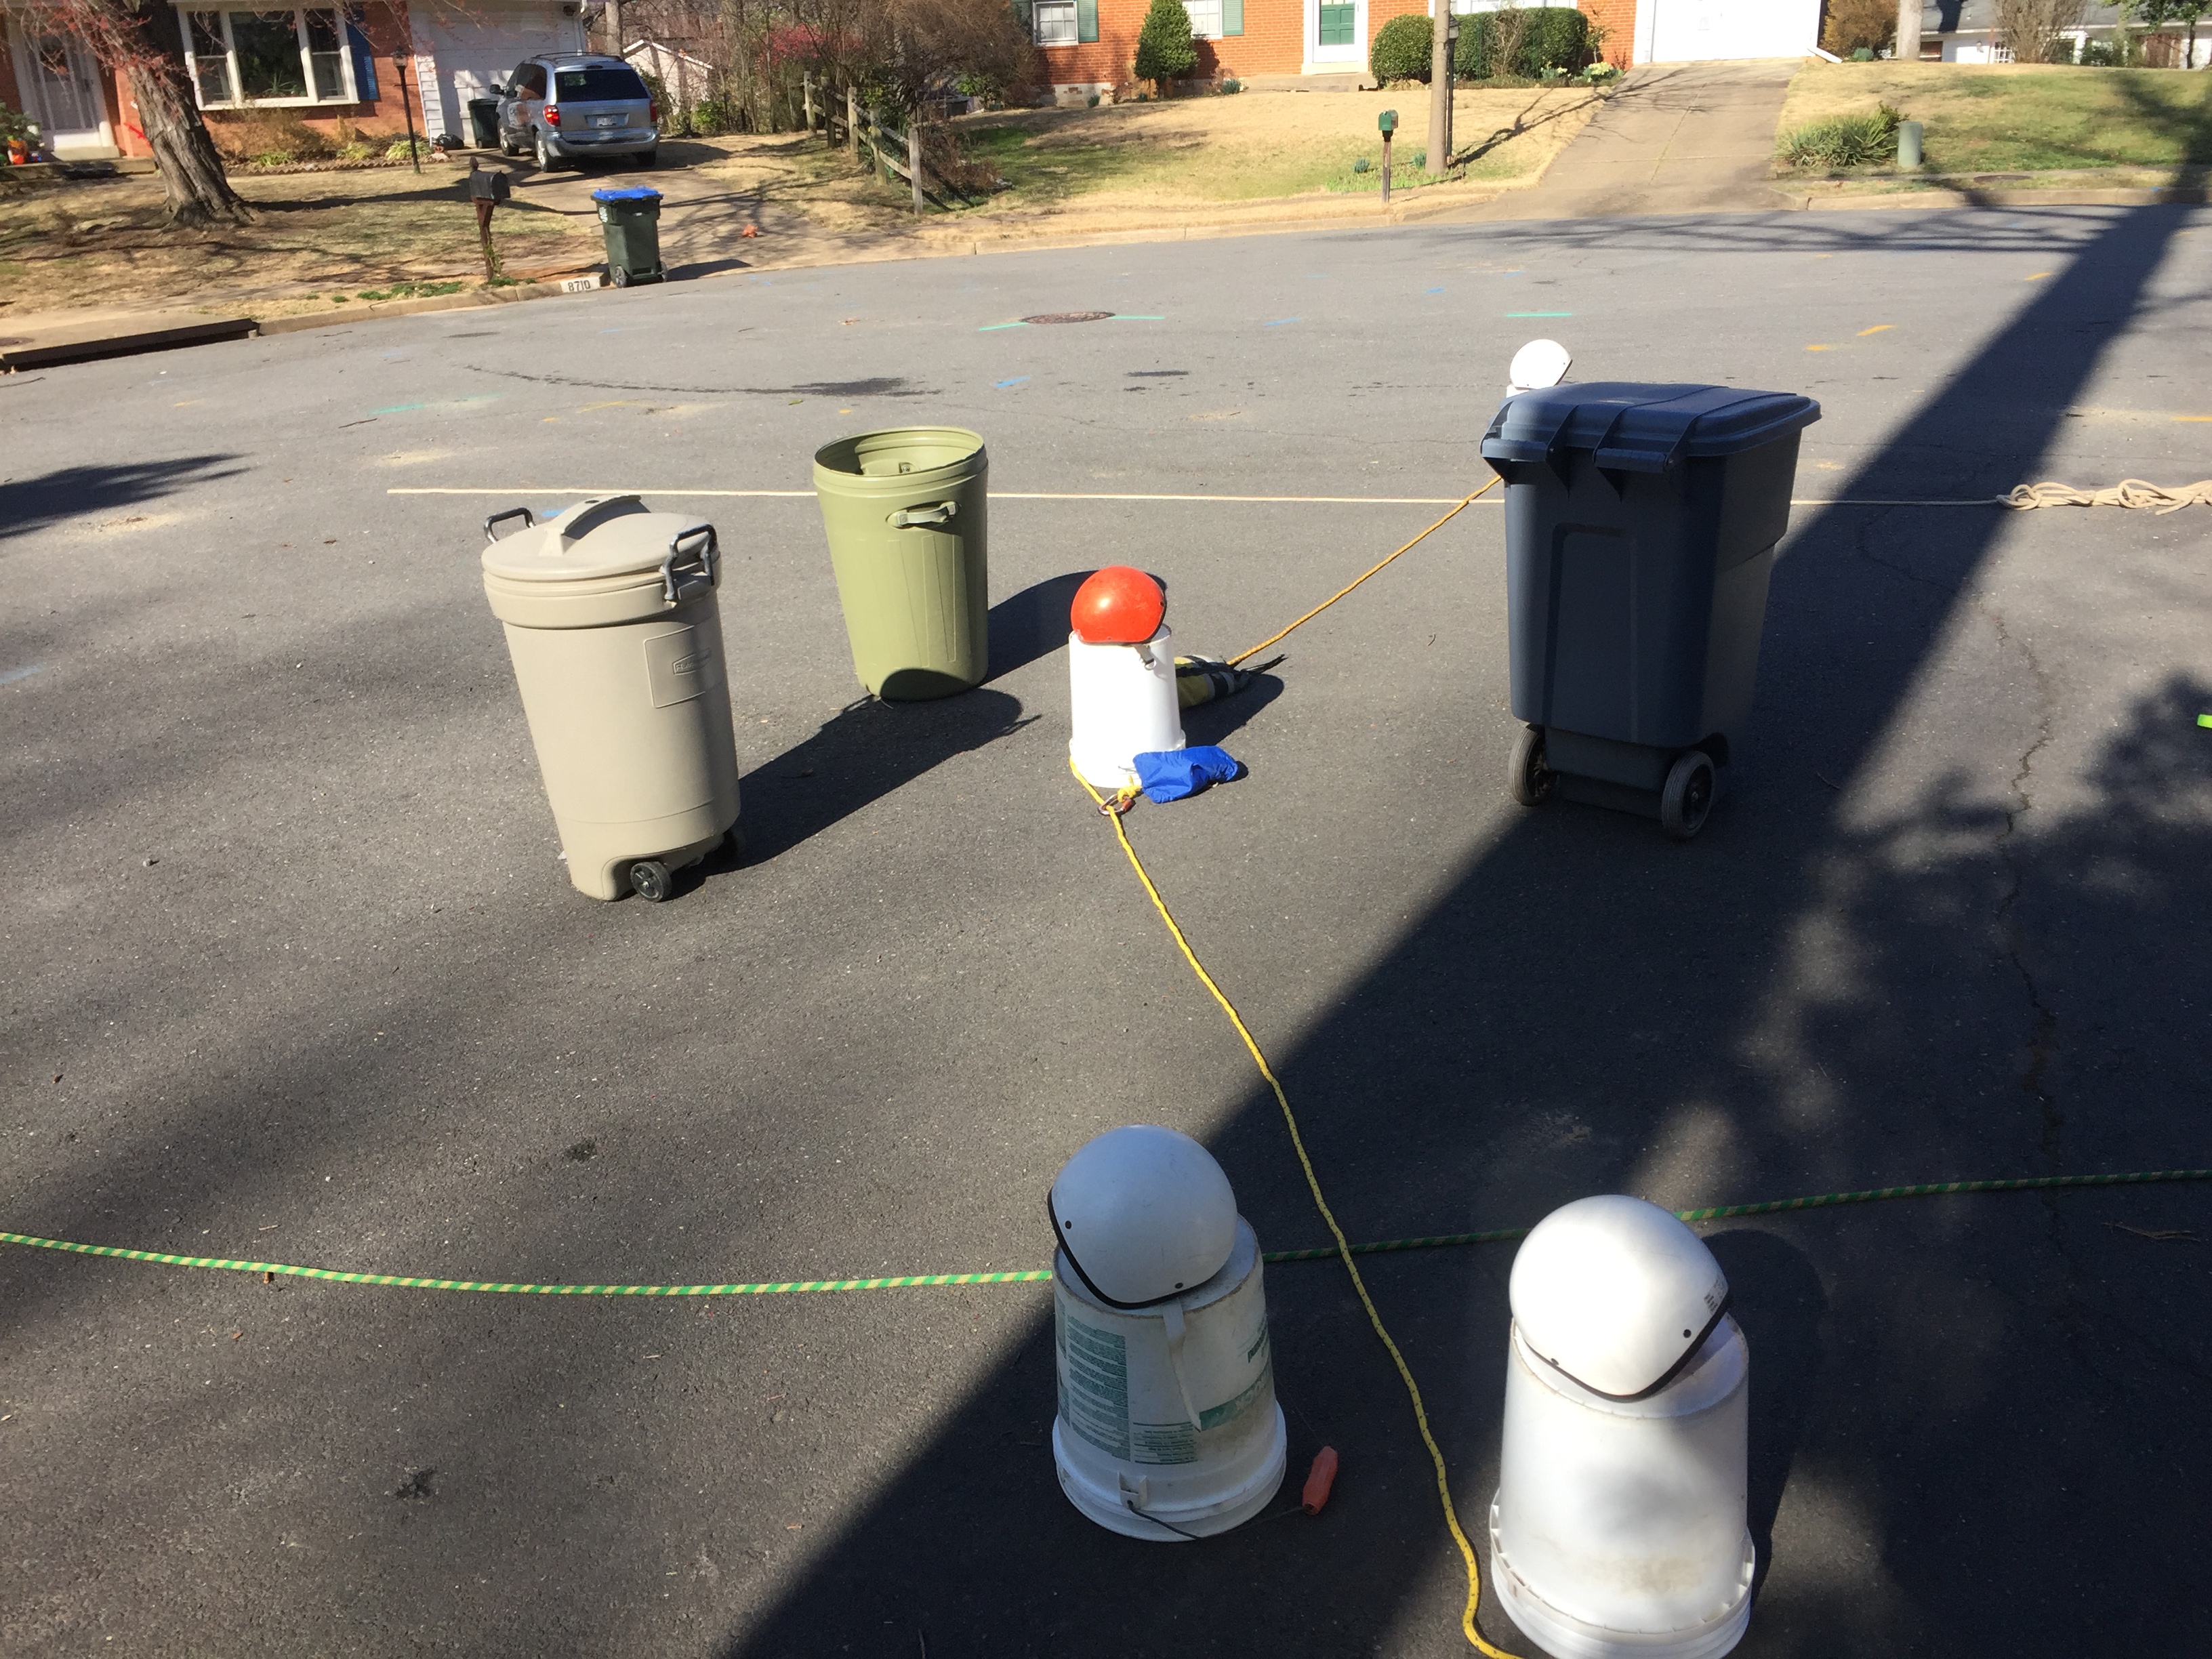
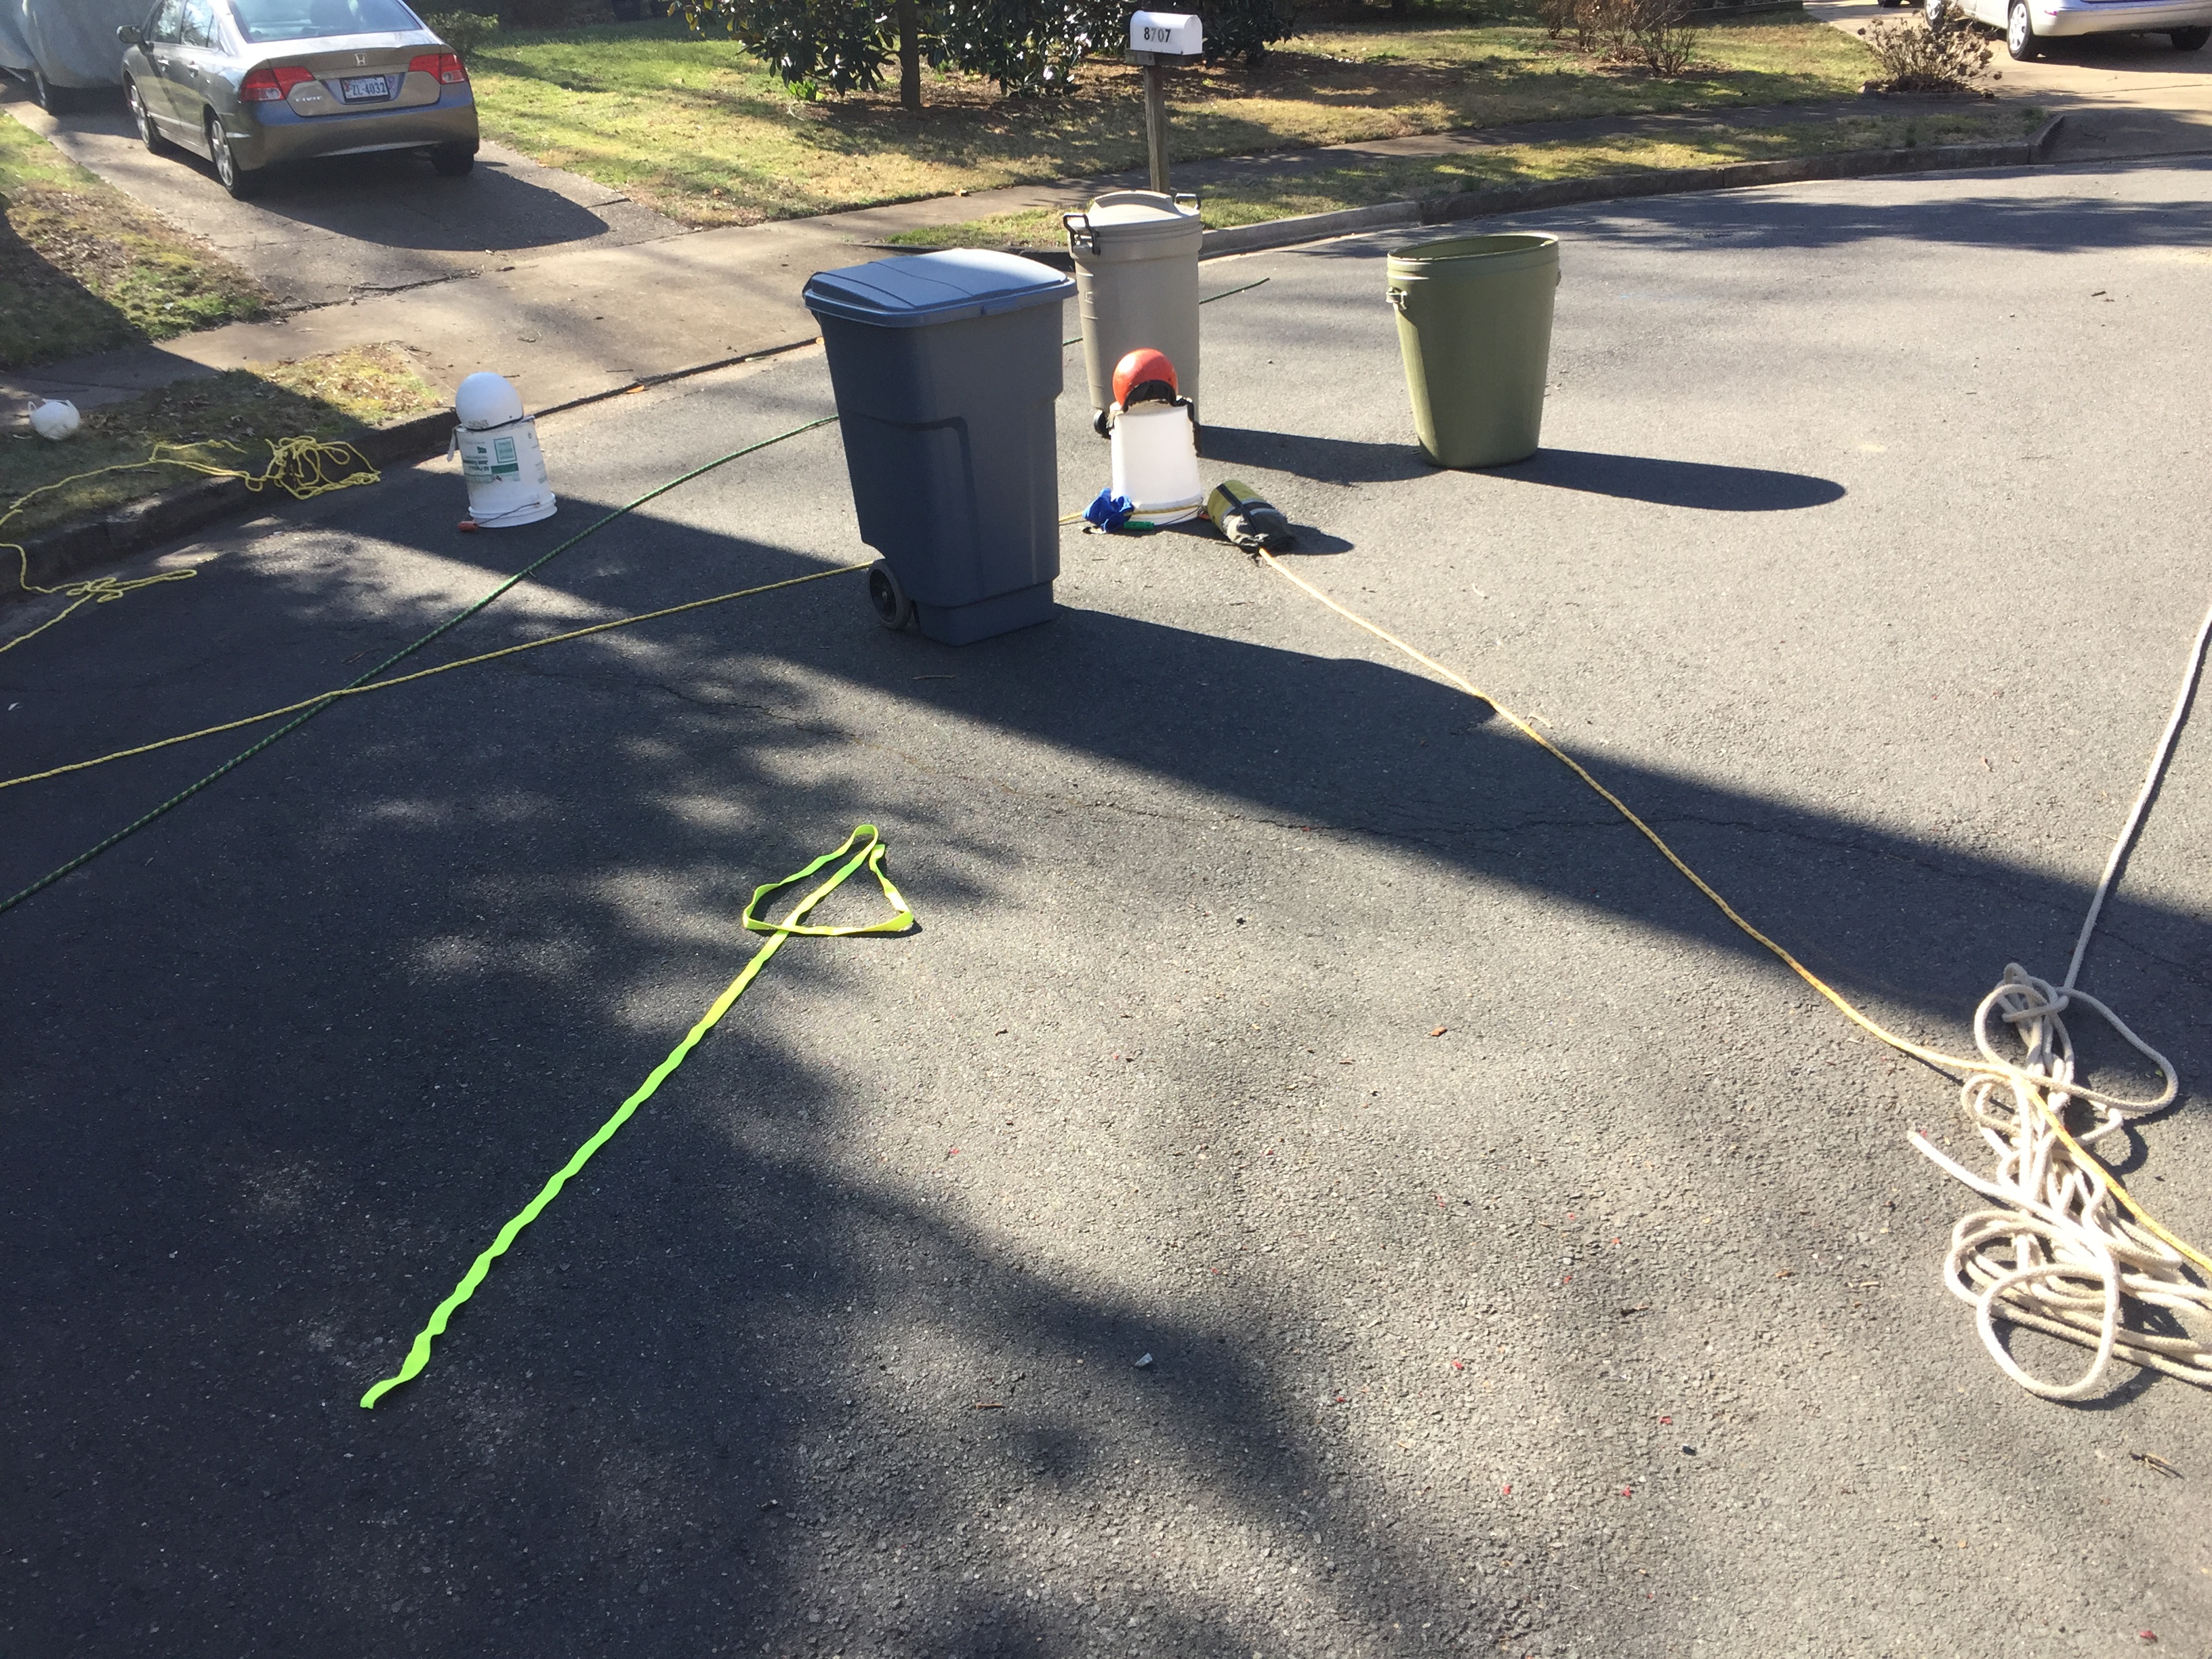
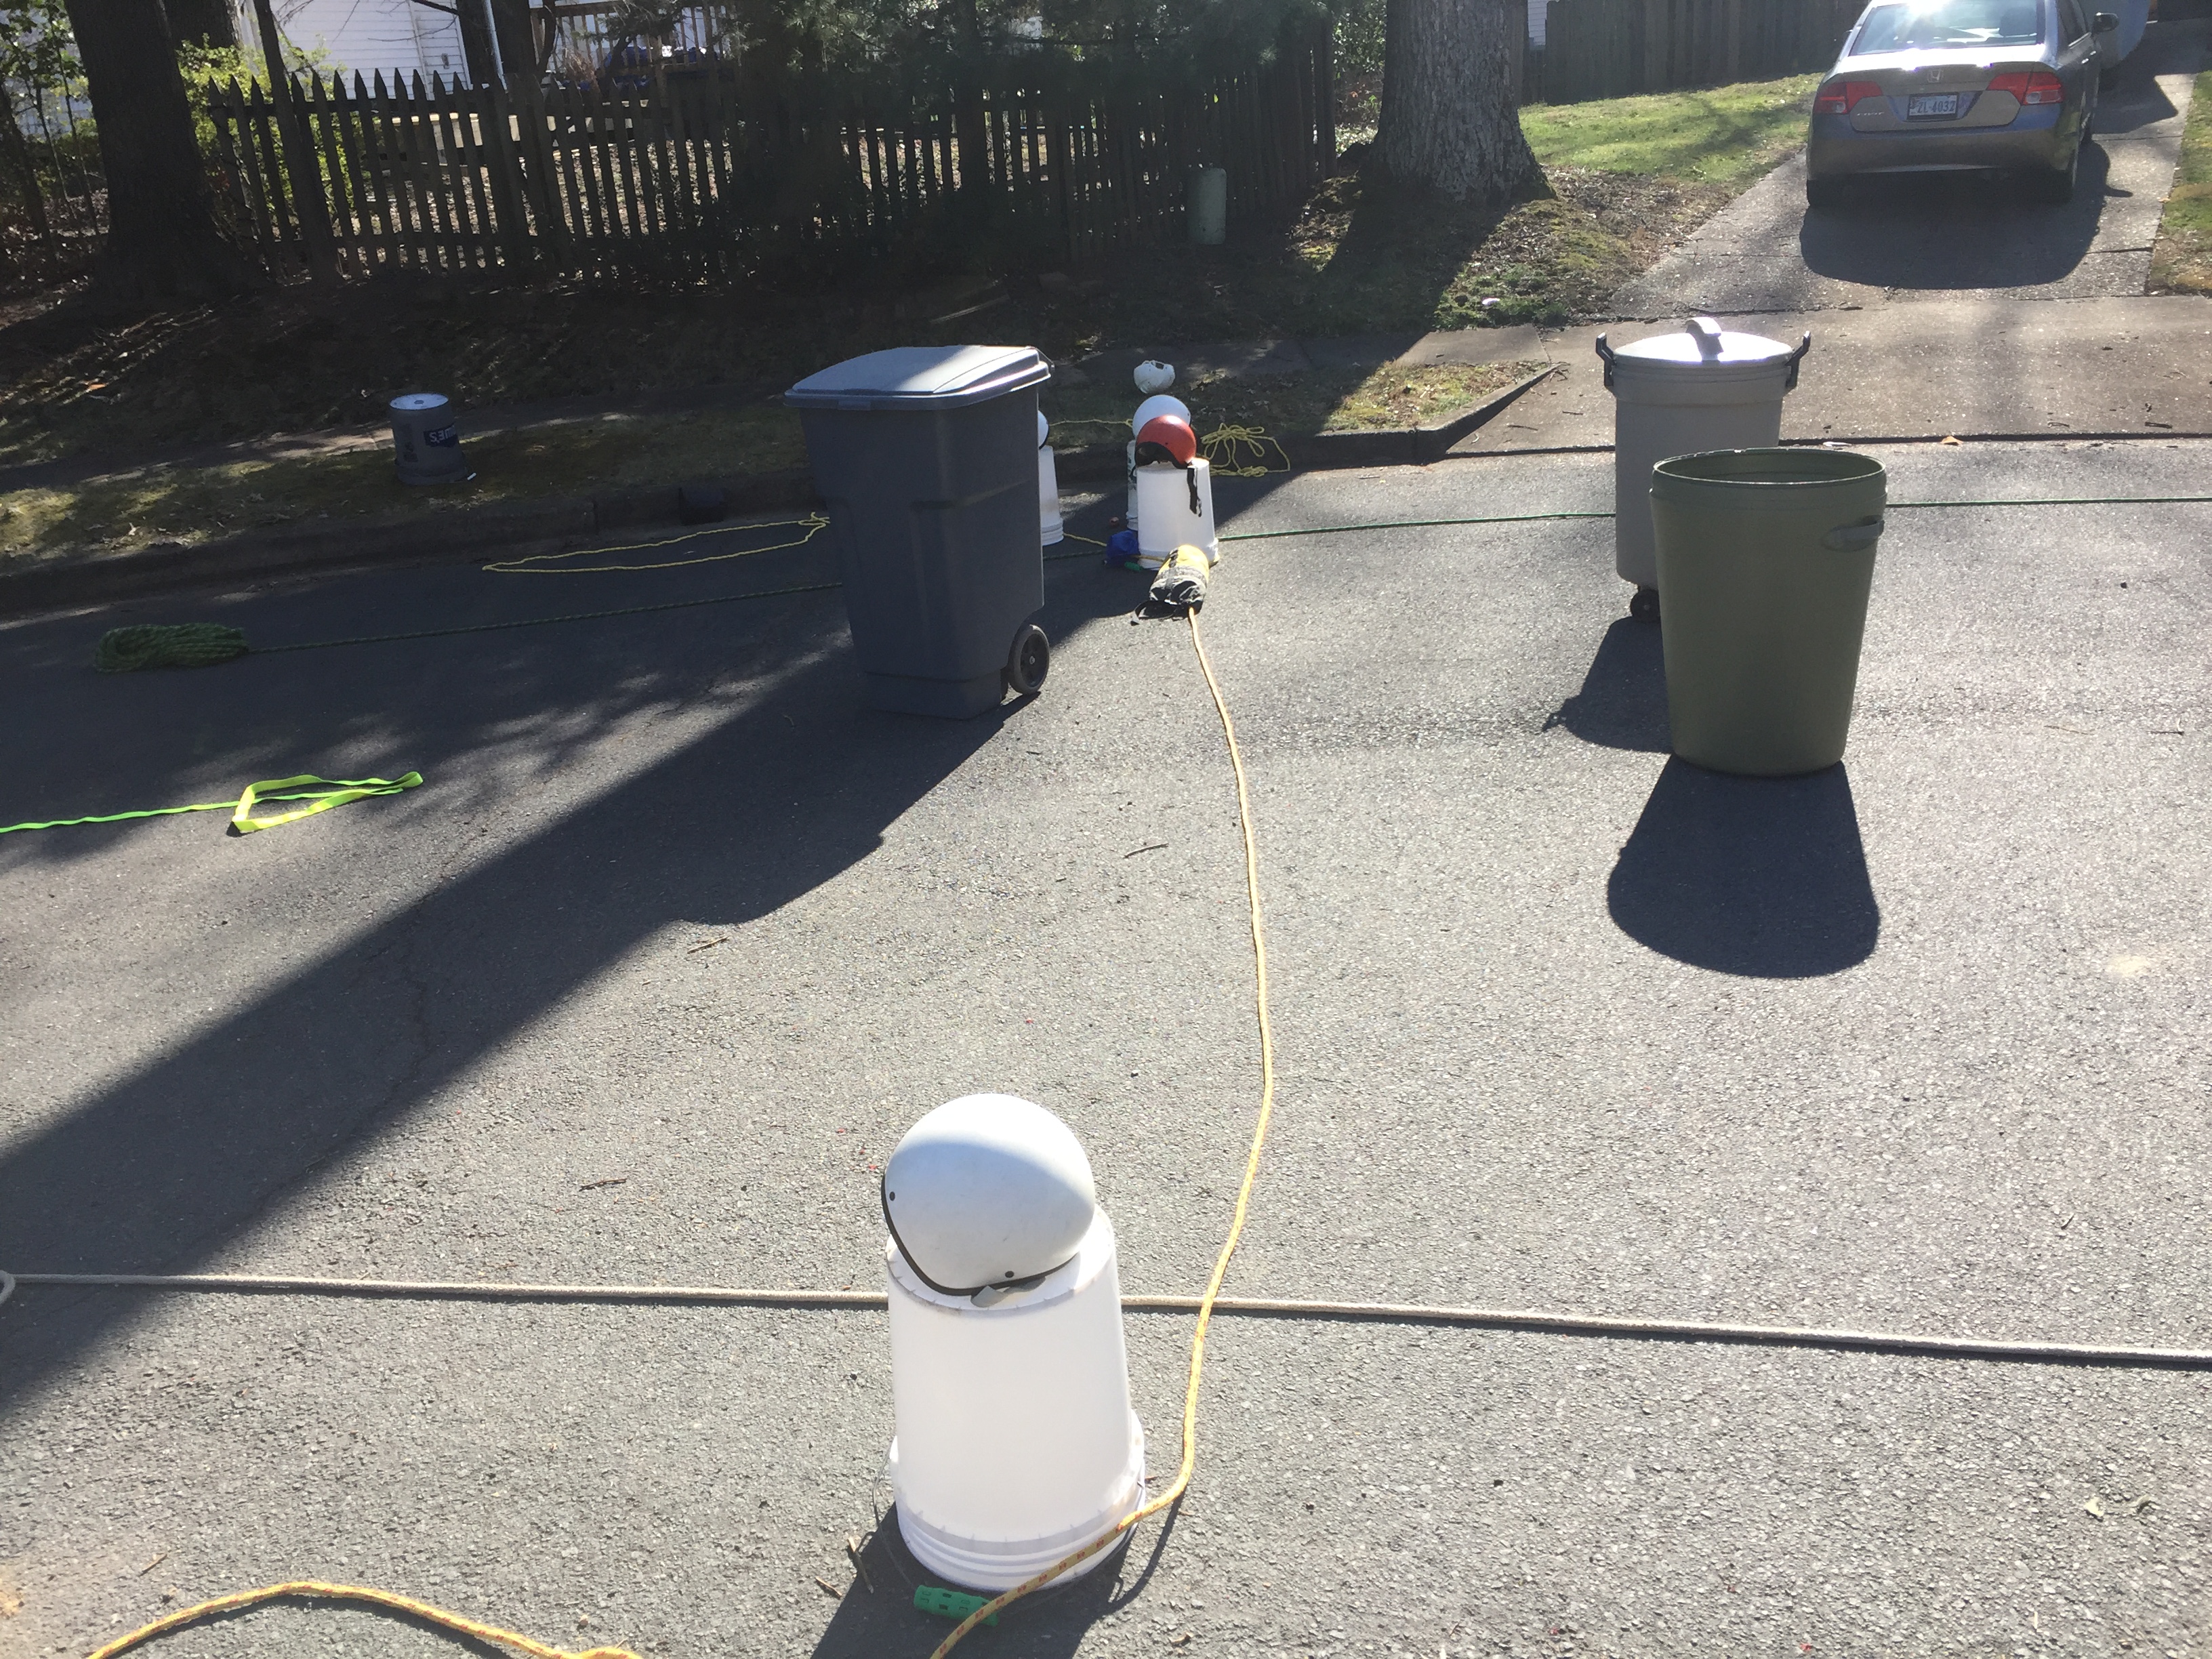
All cinches share a common goal, wrap a rope around a victim in order to extract them from an entrapment when it isn’t safe to make contact with the victim. There are a variety of methods for accomplishing this task based on the situation where the victim is trapped. The Shrinking Loop Cinch is a simplified variation of the Carlson Cinch (less control lines). This cinch requires 3 people and requires access from both shores. The Shrinking Loop Cinch solves a challenging issue with obstructions much like dental floss allows you to clean between your teeth.
Notes:
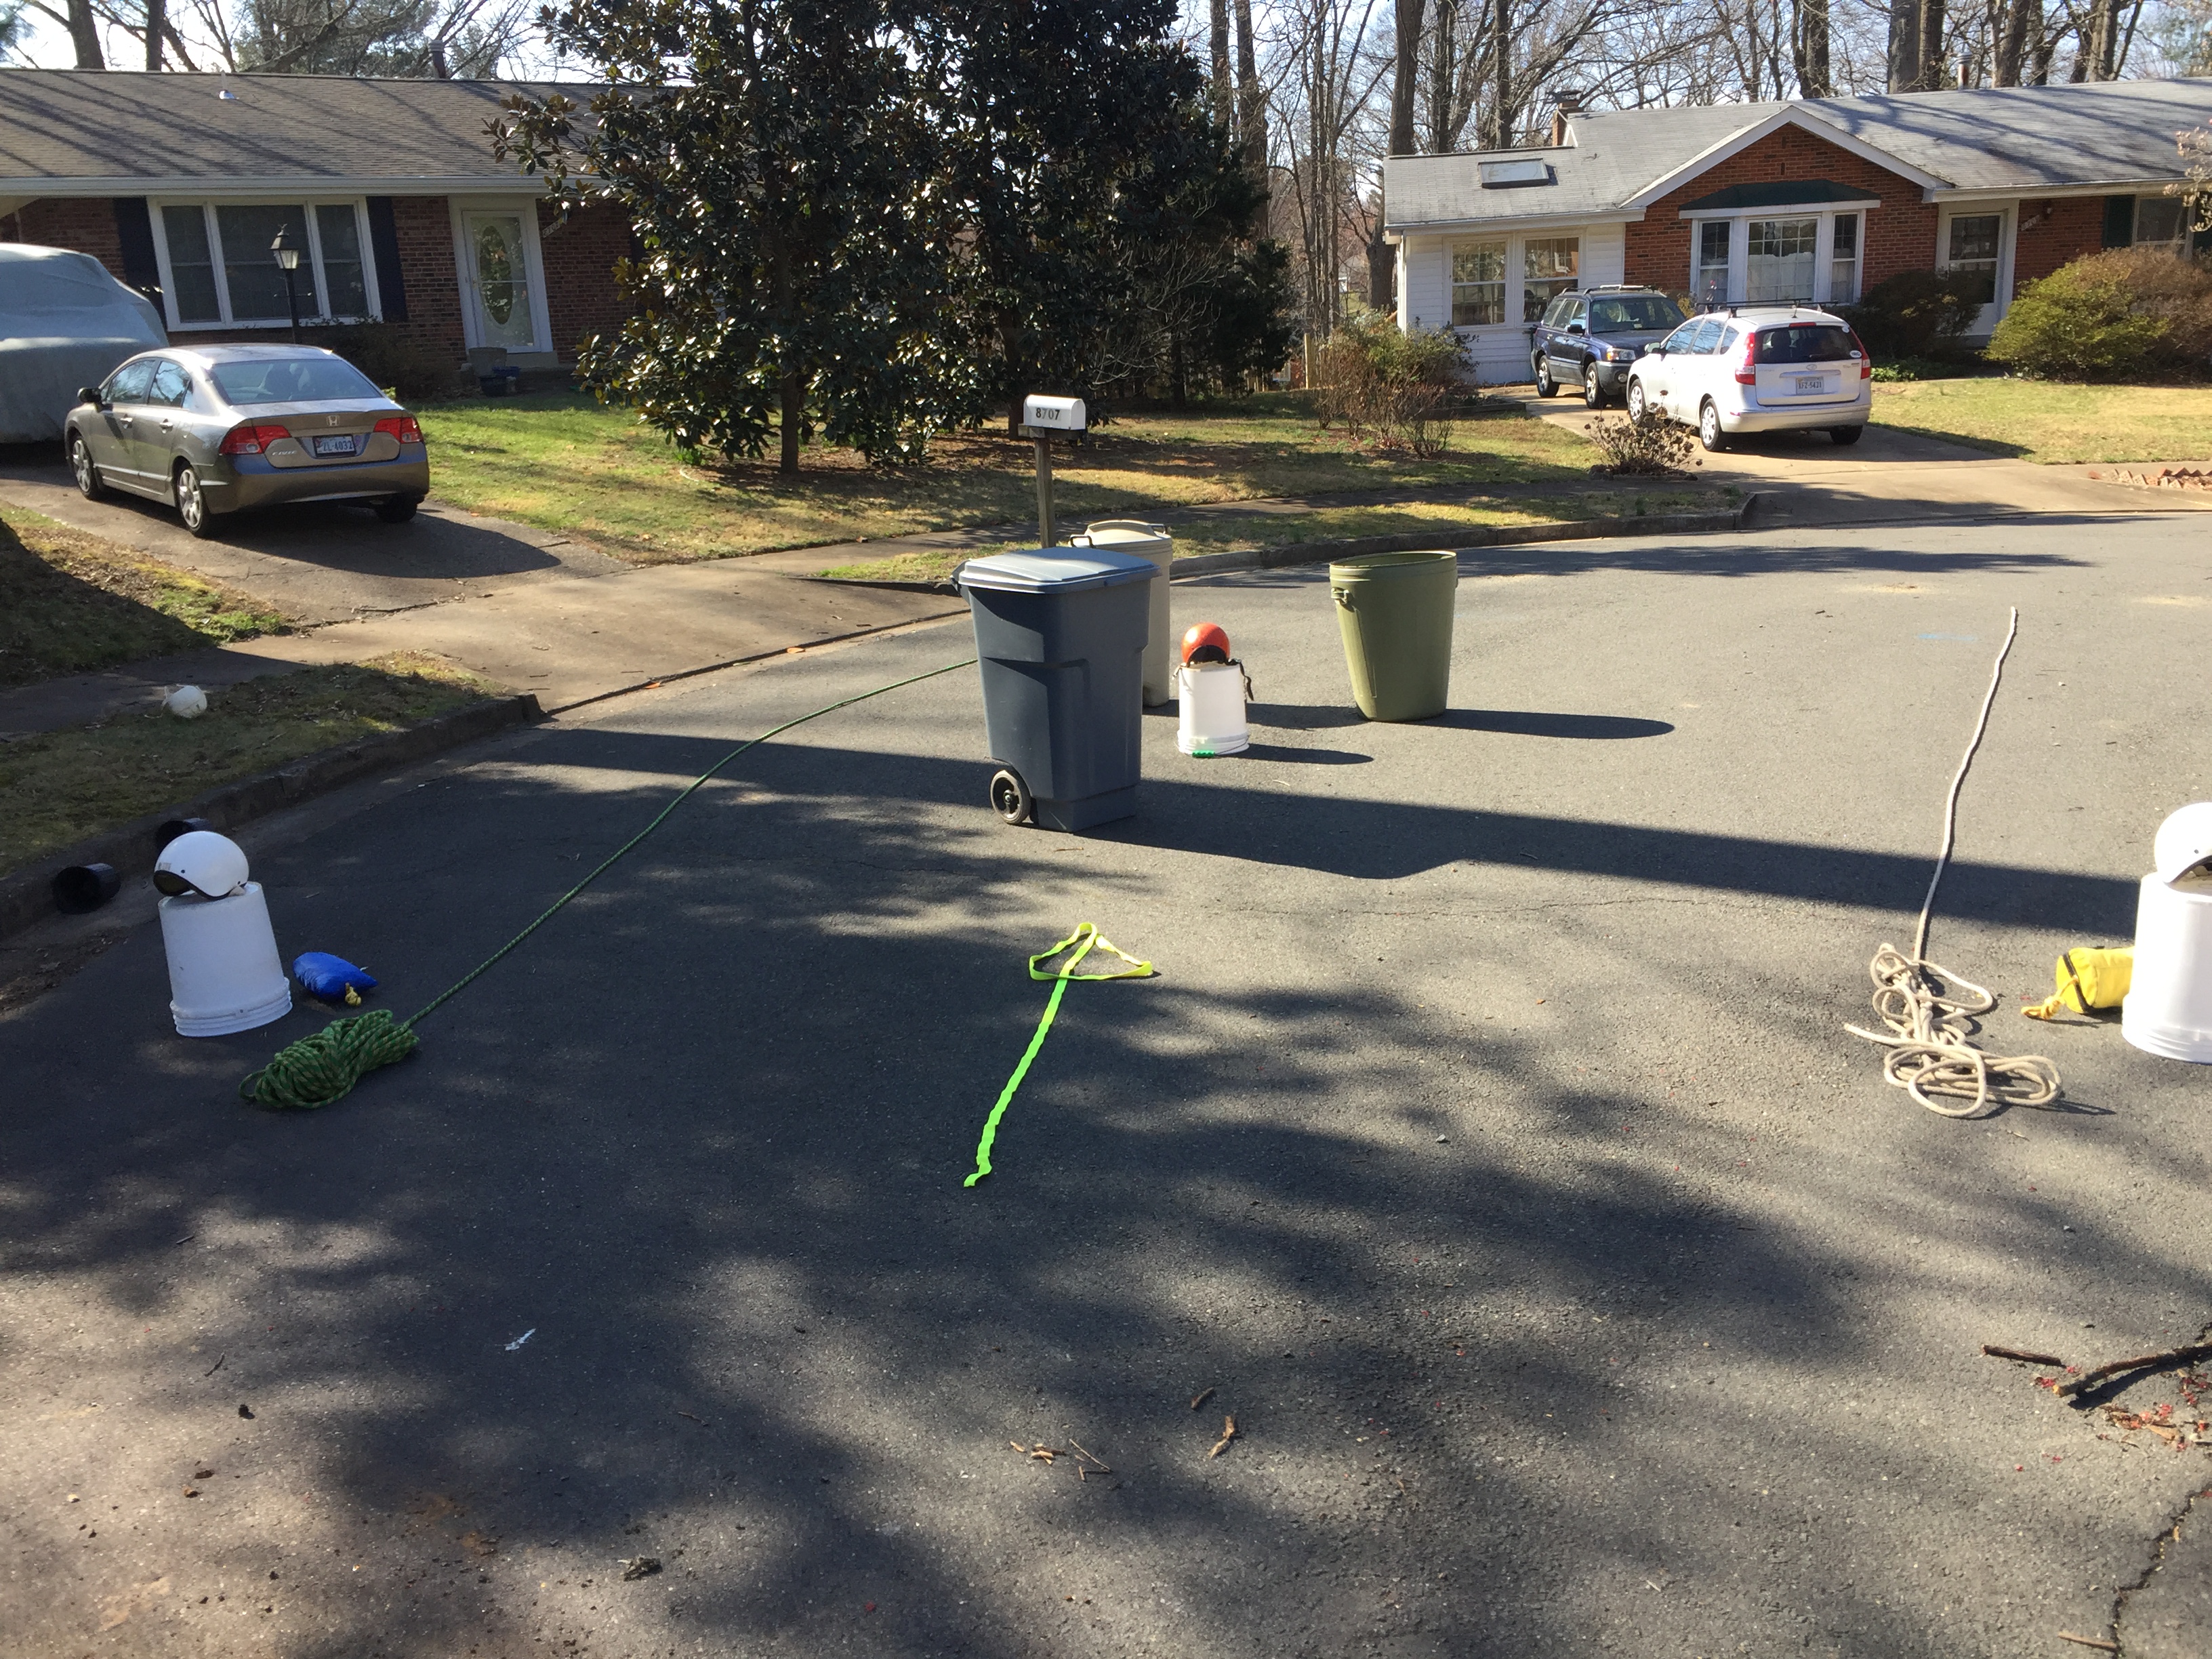
- The green and white ropes represent the shore lines.
- The yellow arrow shows the direction of the current and is points downstream.
- The Orange helmet is the victim with a foot entrapment.
- The White Helmets are the rescuers.
Shrinking Loop Cinch Steps
1) The victim is trapped and requires assistance. Notice we have rescuers on both shores with throw bags. Also notice we have a new wrinkle, boulders all around the victim.
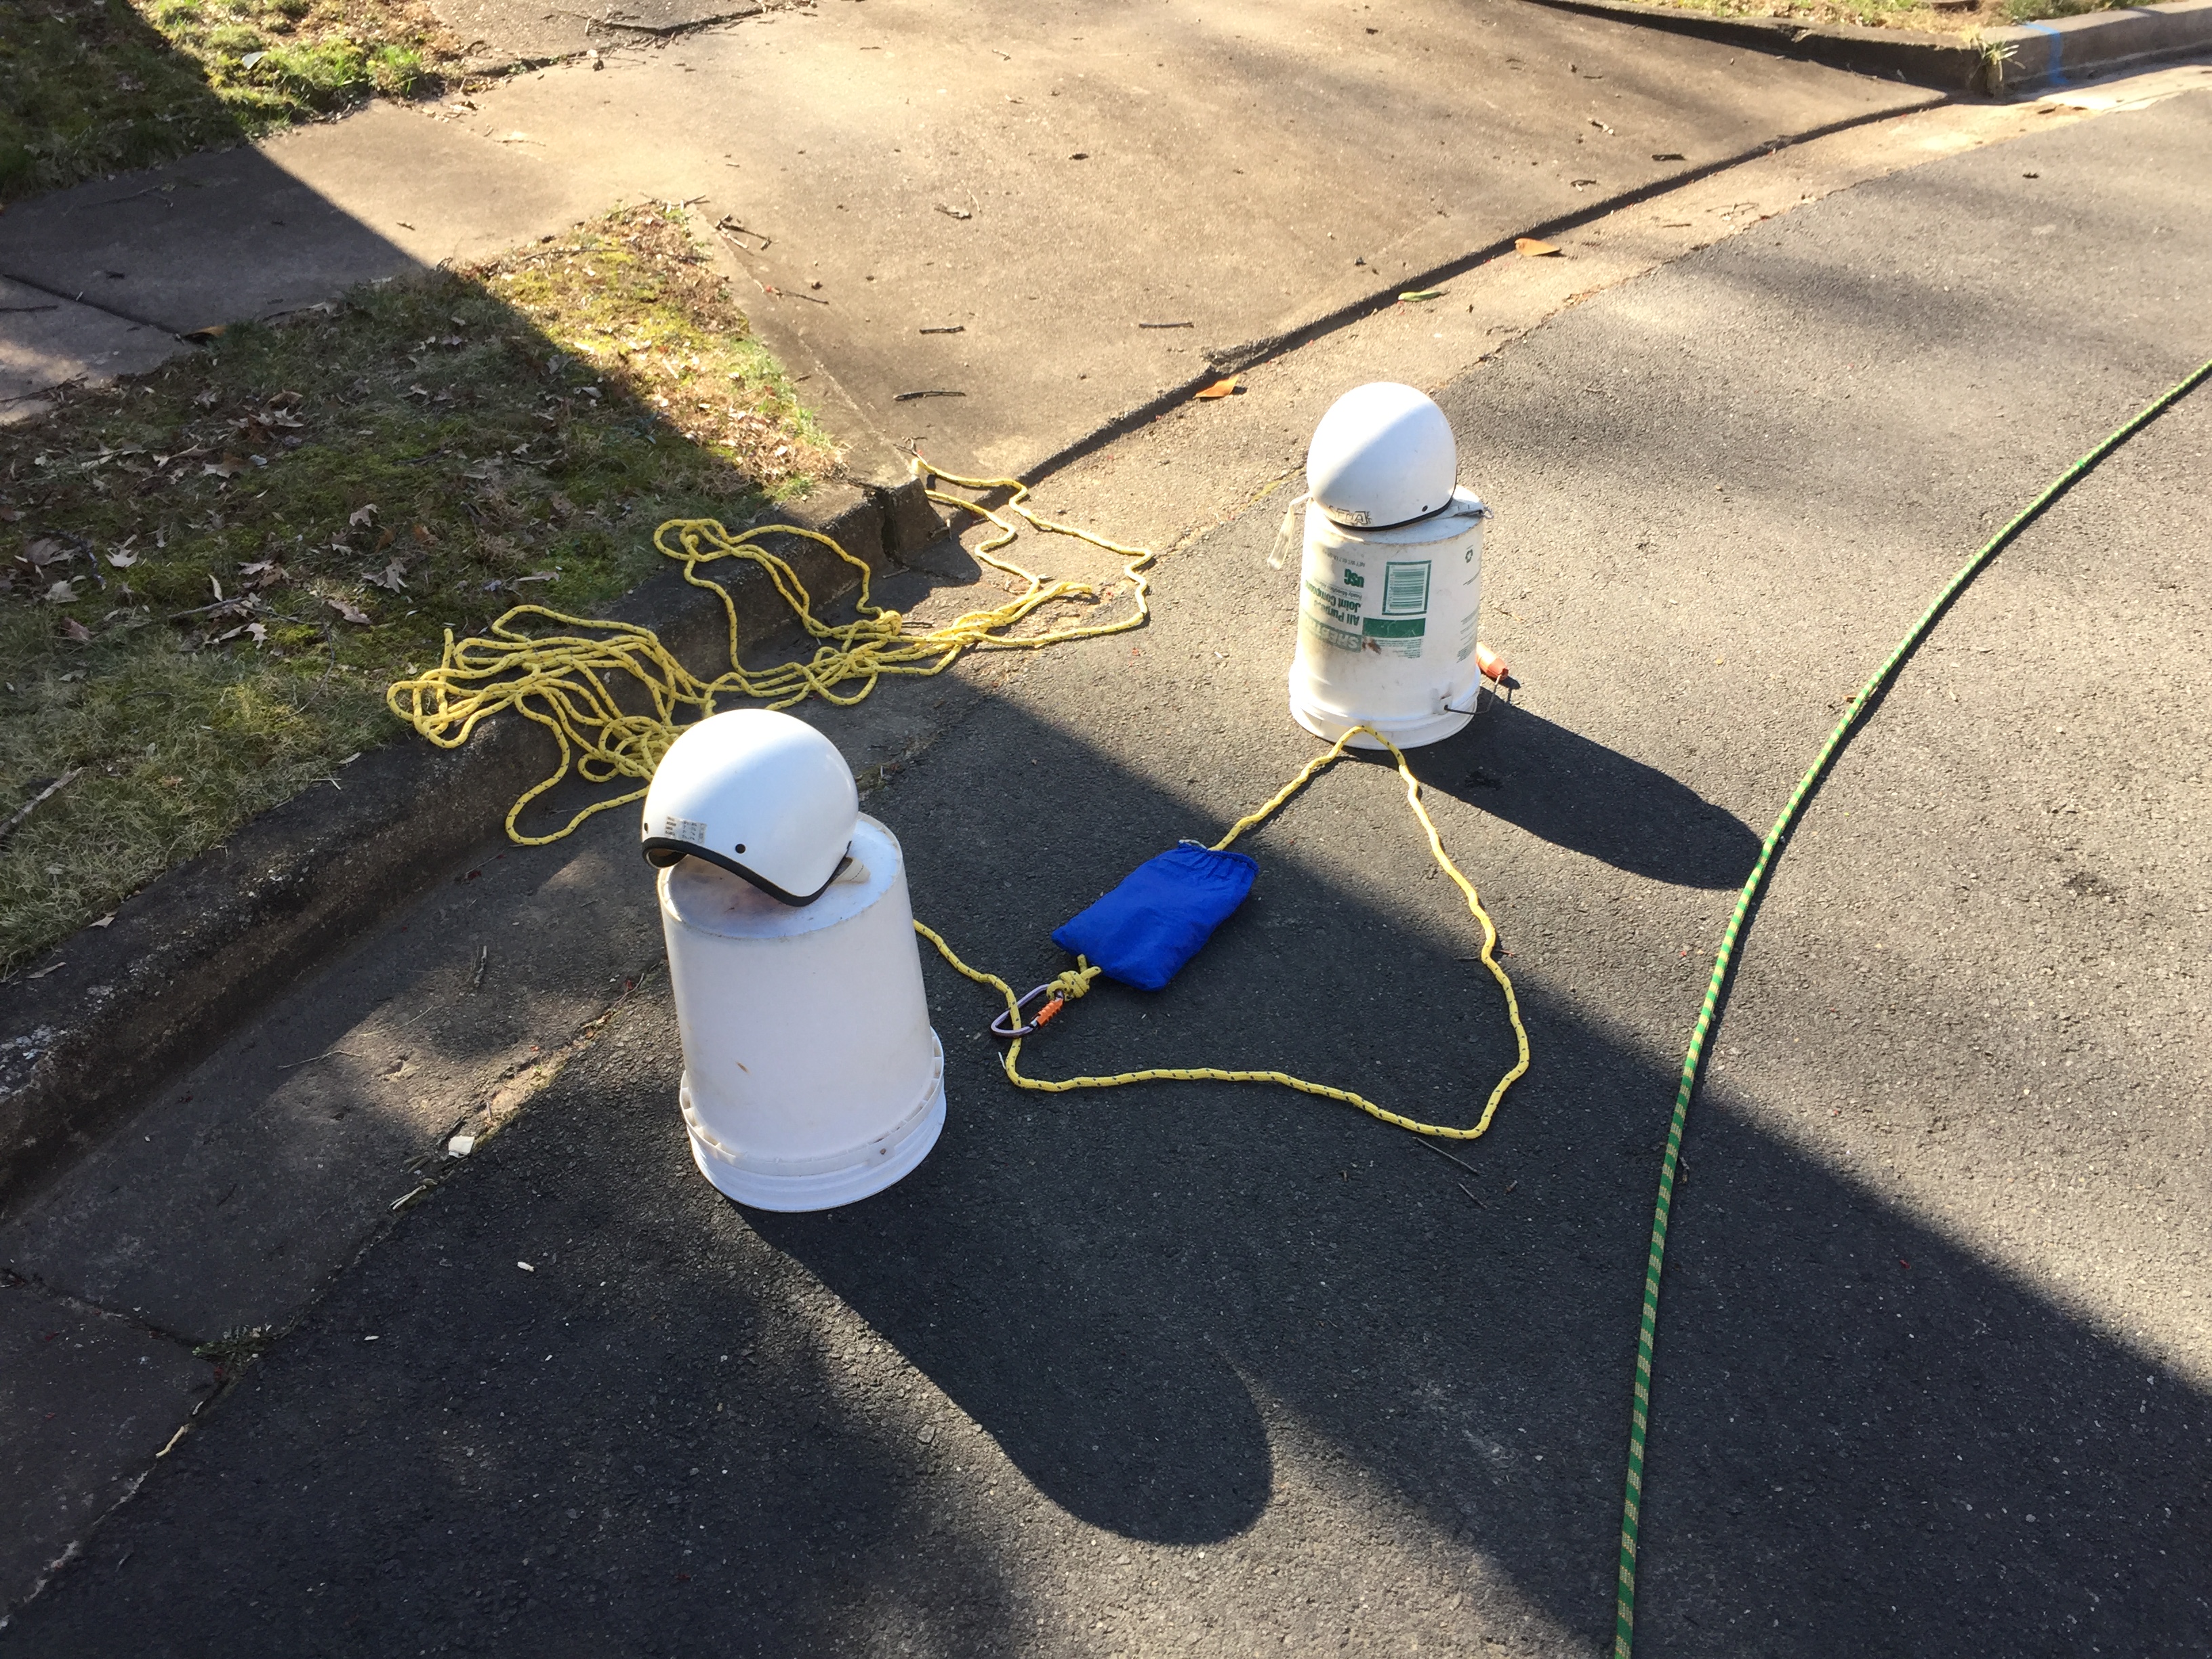
2) The rescuers on the side of the river you plan to pull the victim towards construct a simple loop or lasso.
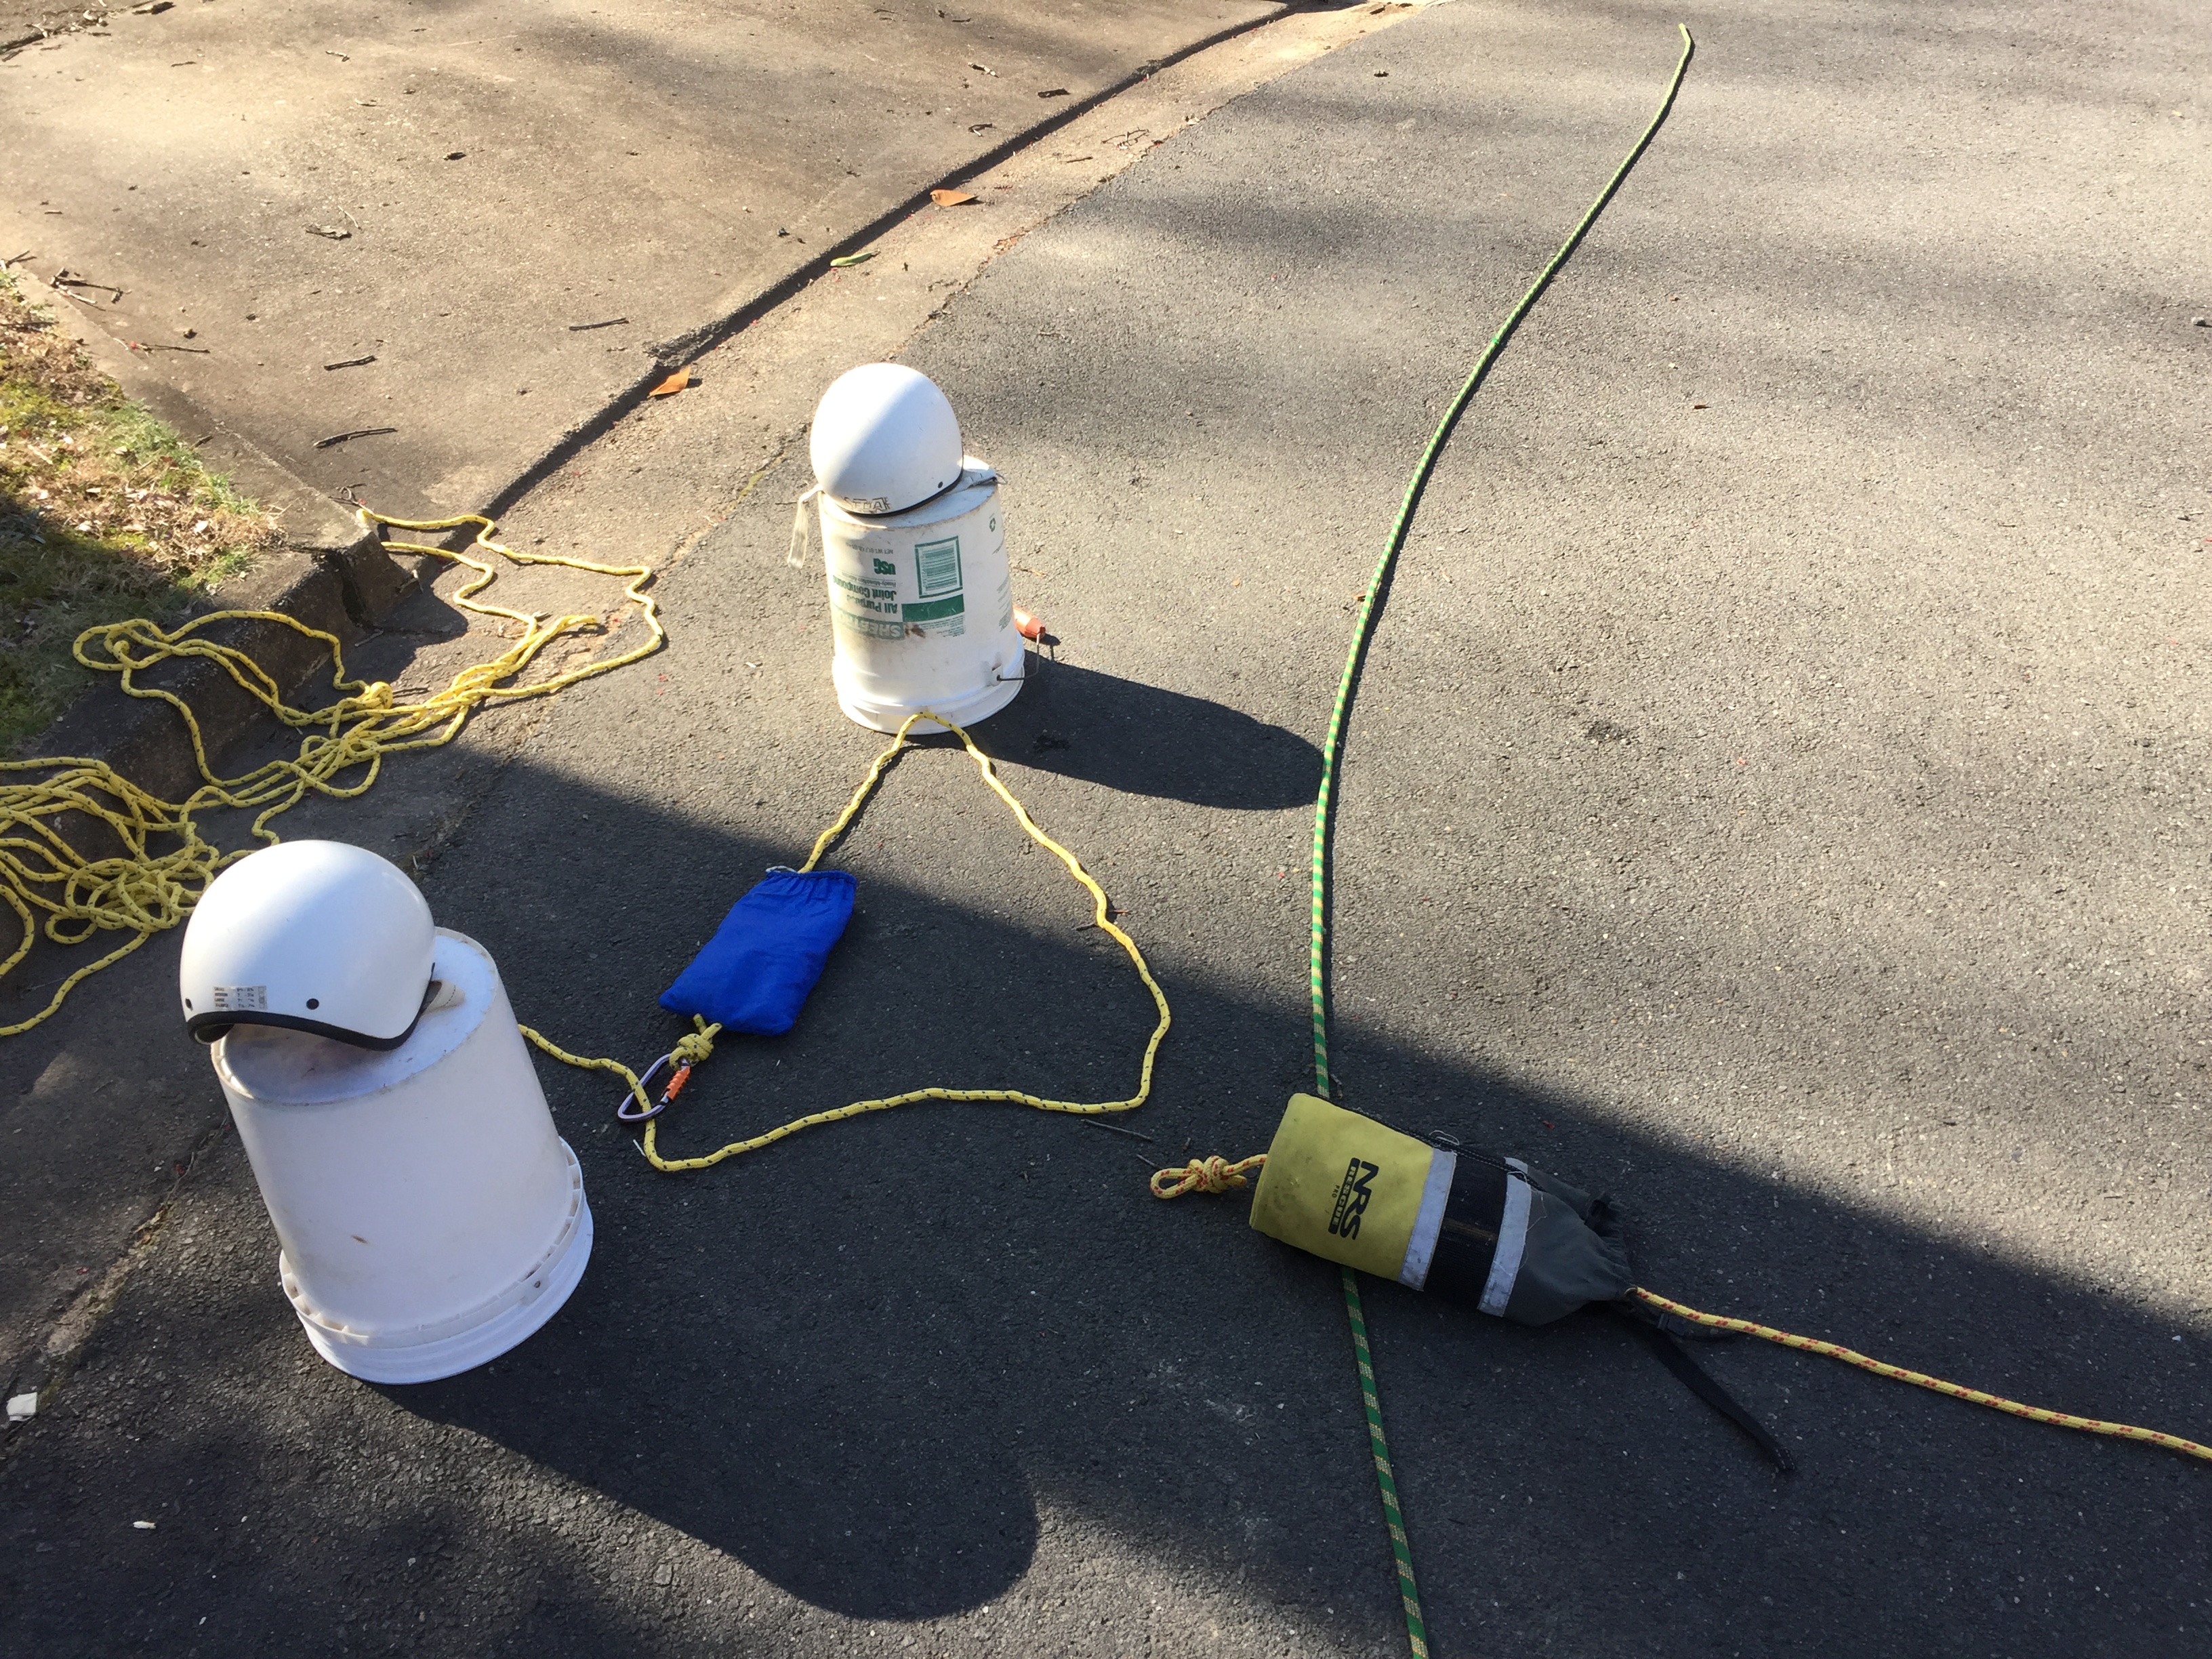
3) The other side throws a line across. This line acts much like a tag line. You will need to weave this between the boulders.
4) Clip the tag line to the loop you created.
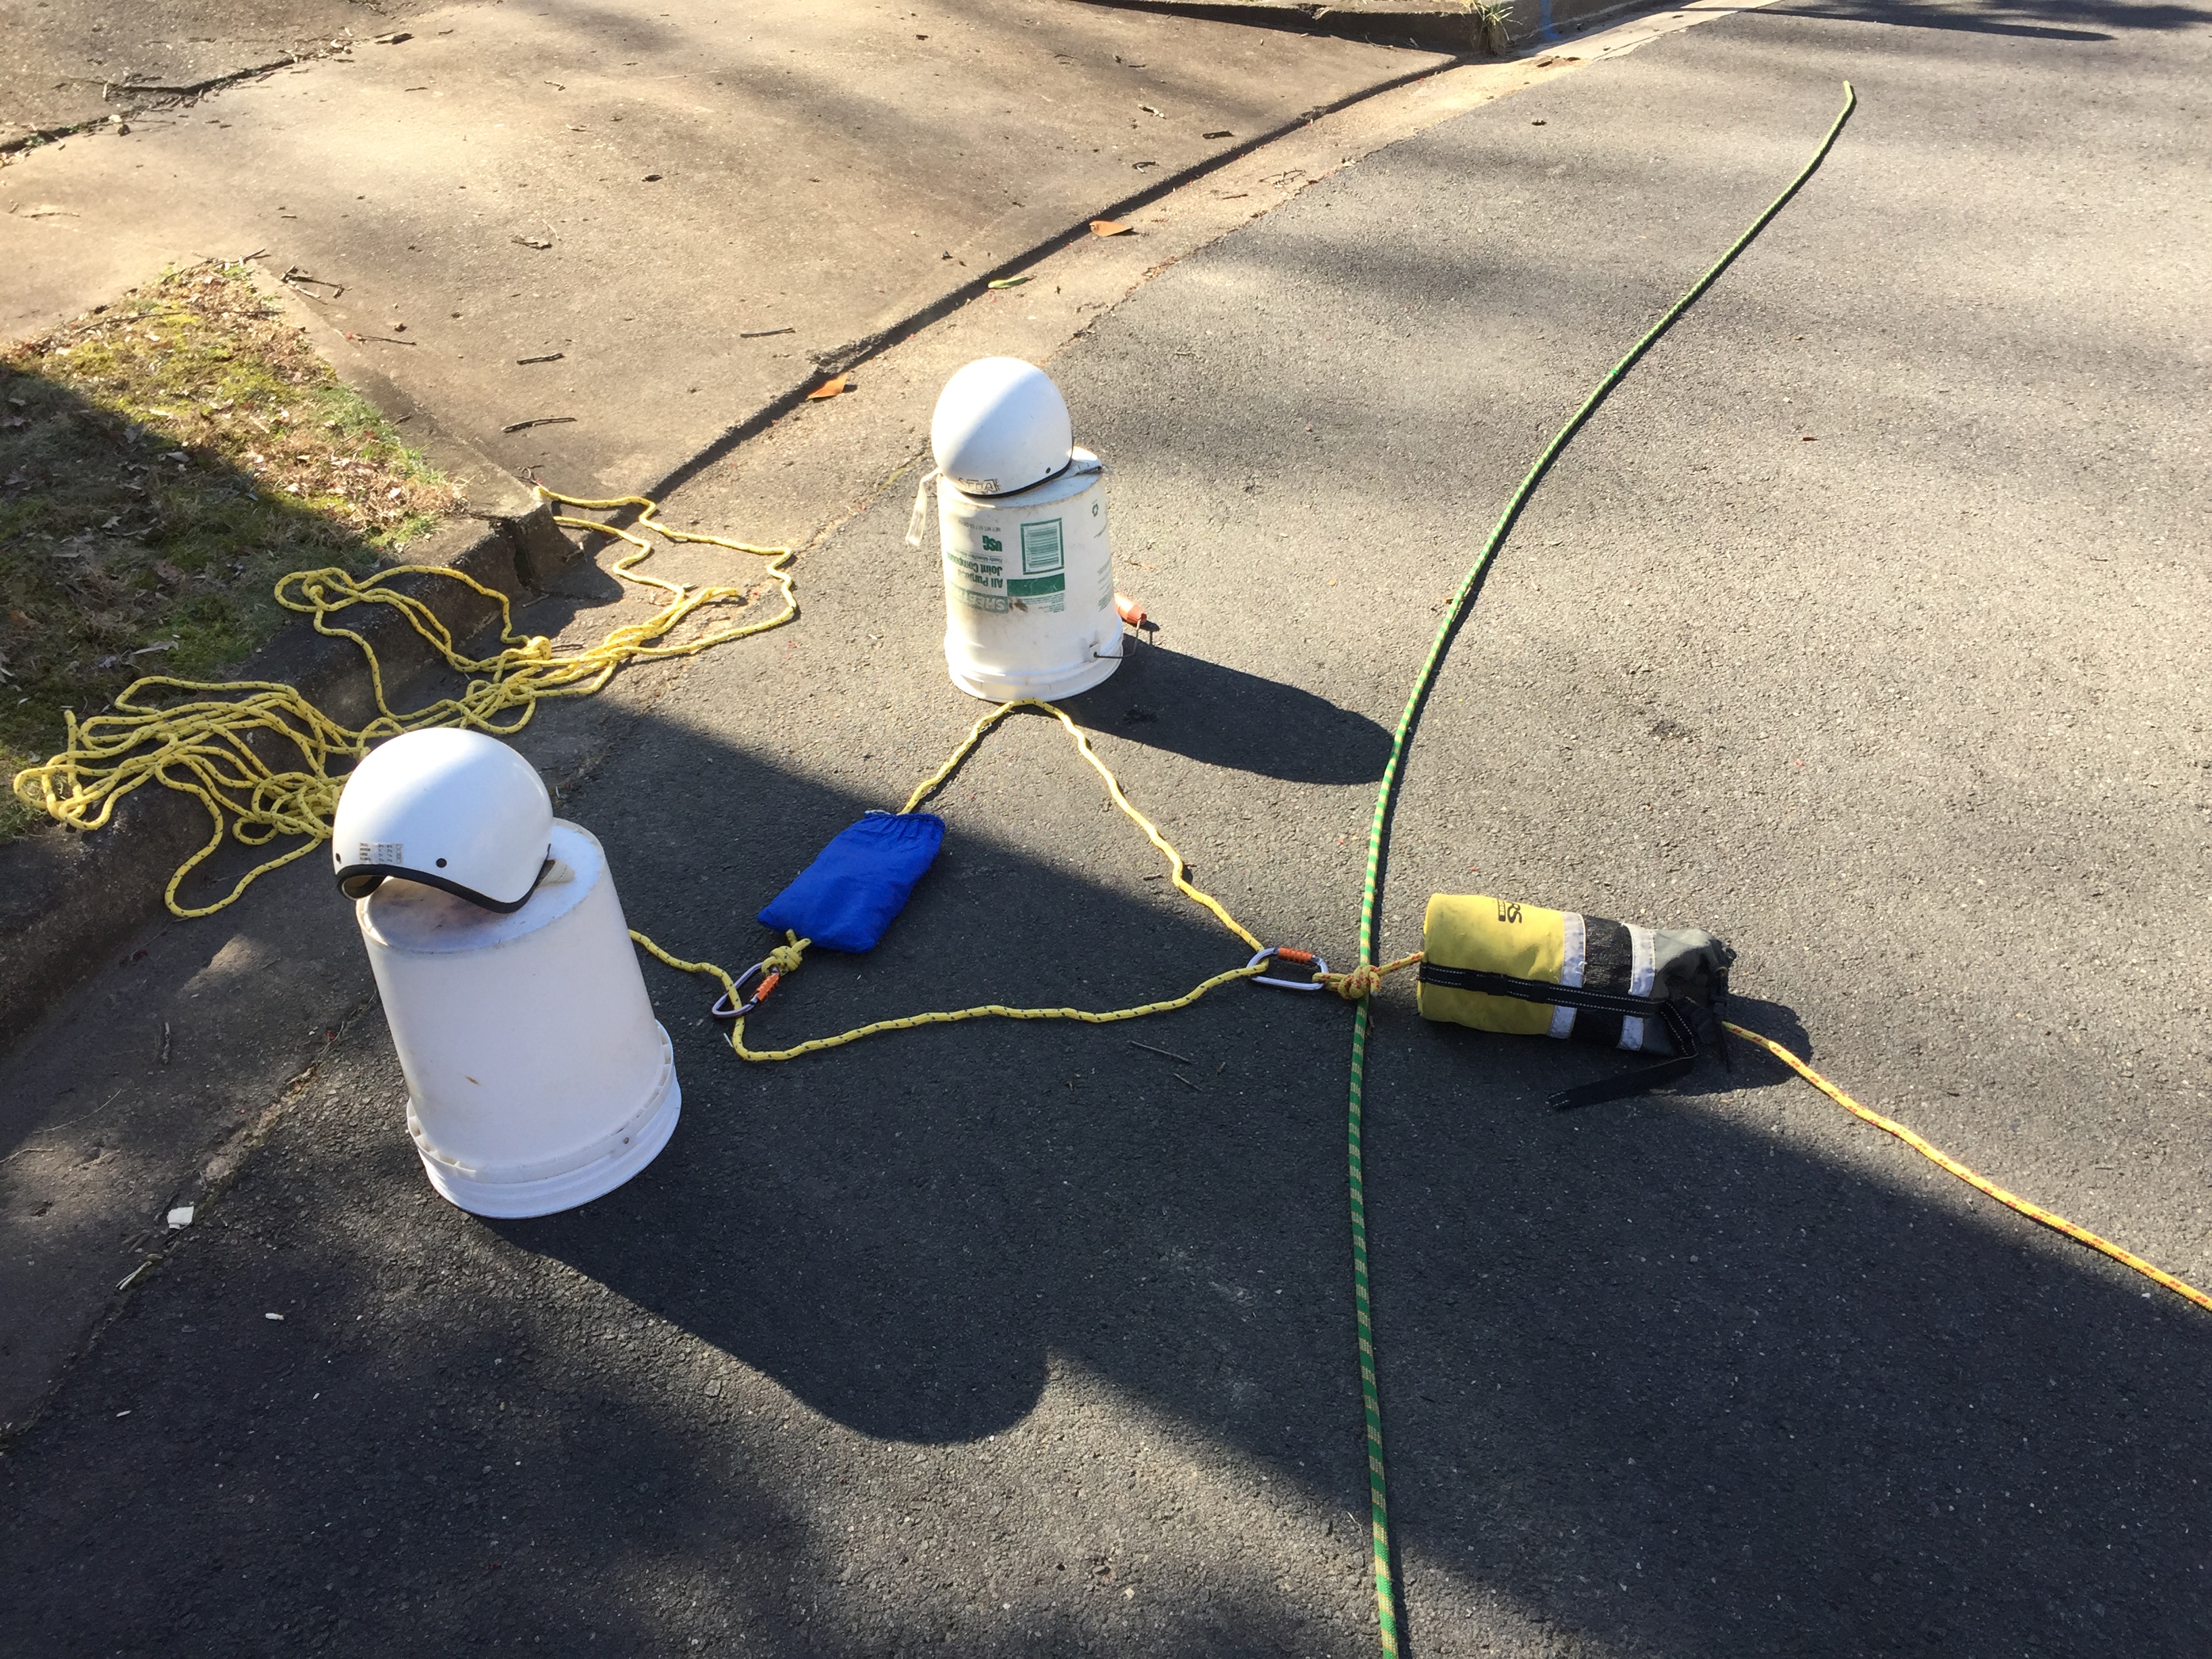
5) Pull the tag line back across the shore while the two rescuers on the loop side maintain a nice triangle. Eventually the triangle is laid right over top the victim.
6) Give a little bit of slack on the tag line until it buts up to the victim. The tag line rescuer is now responsible for maintaining that bag against the victim for the rest of the rescue. This is very critical and a common opportunity for failure – avoid the temptation to pull on this side.
7) The downstream rescuer closes the loop and lets go.
8) Pull the loop shut so it cinches securely around the victim’s torso.
9) Rescuer’s on both sides walk Upstream for a better pull angle. Now it’s time to “Pop” the victim free – do so only from the loop side (not the tag line as that loosens the cinch).
10) The loop side pulls the freed victim to shore and the tag line maintains the cinch by giving slack as needed.
