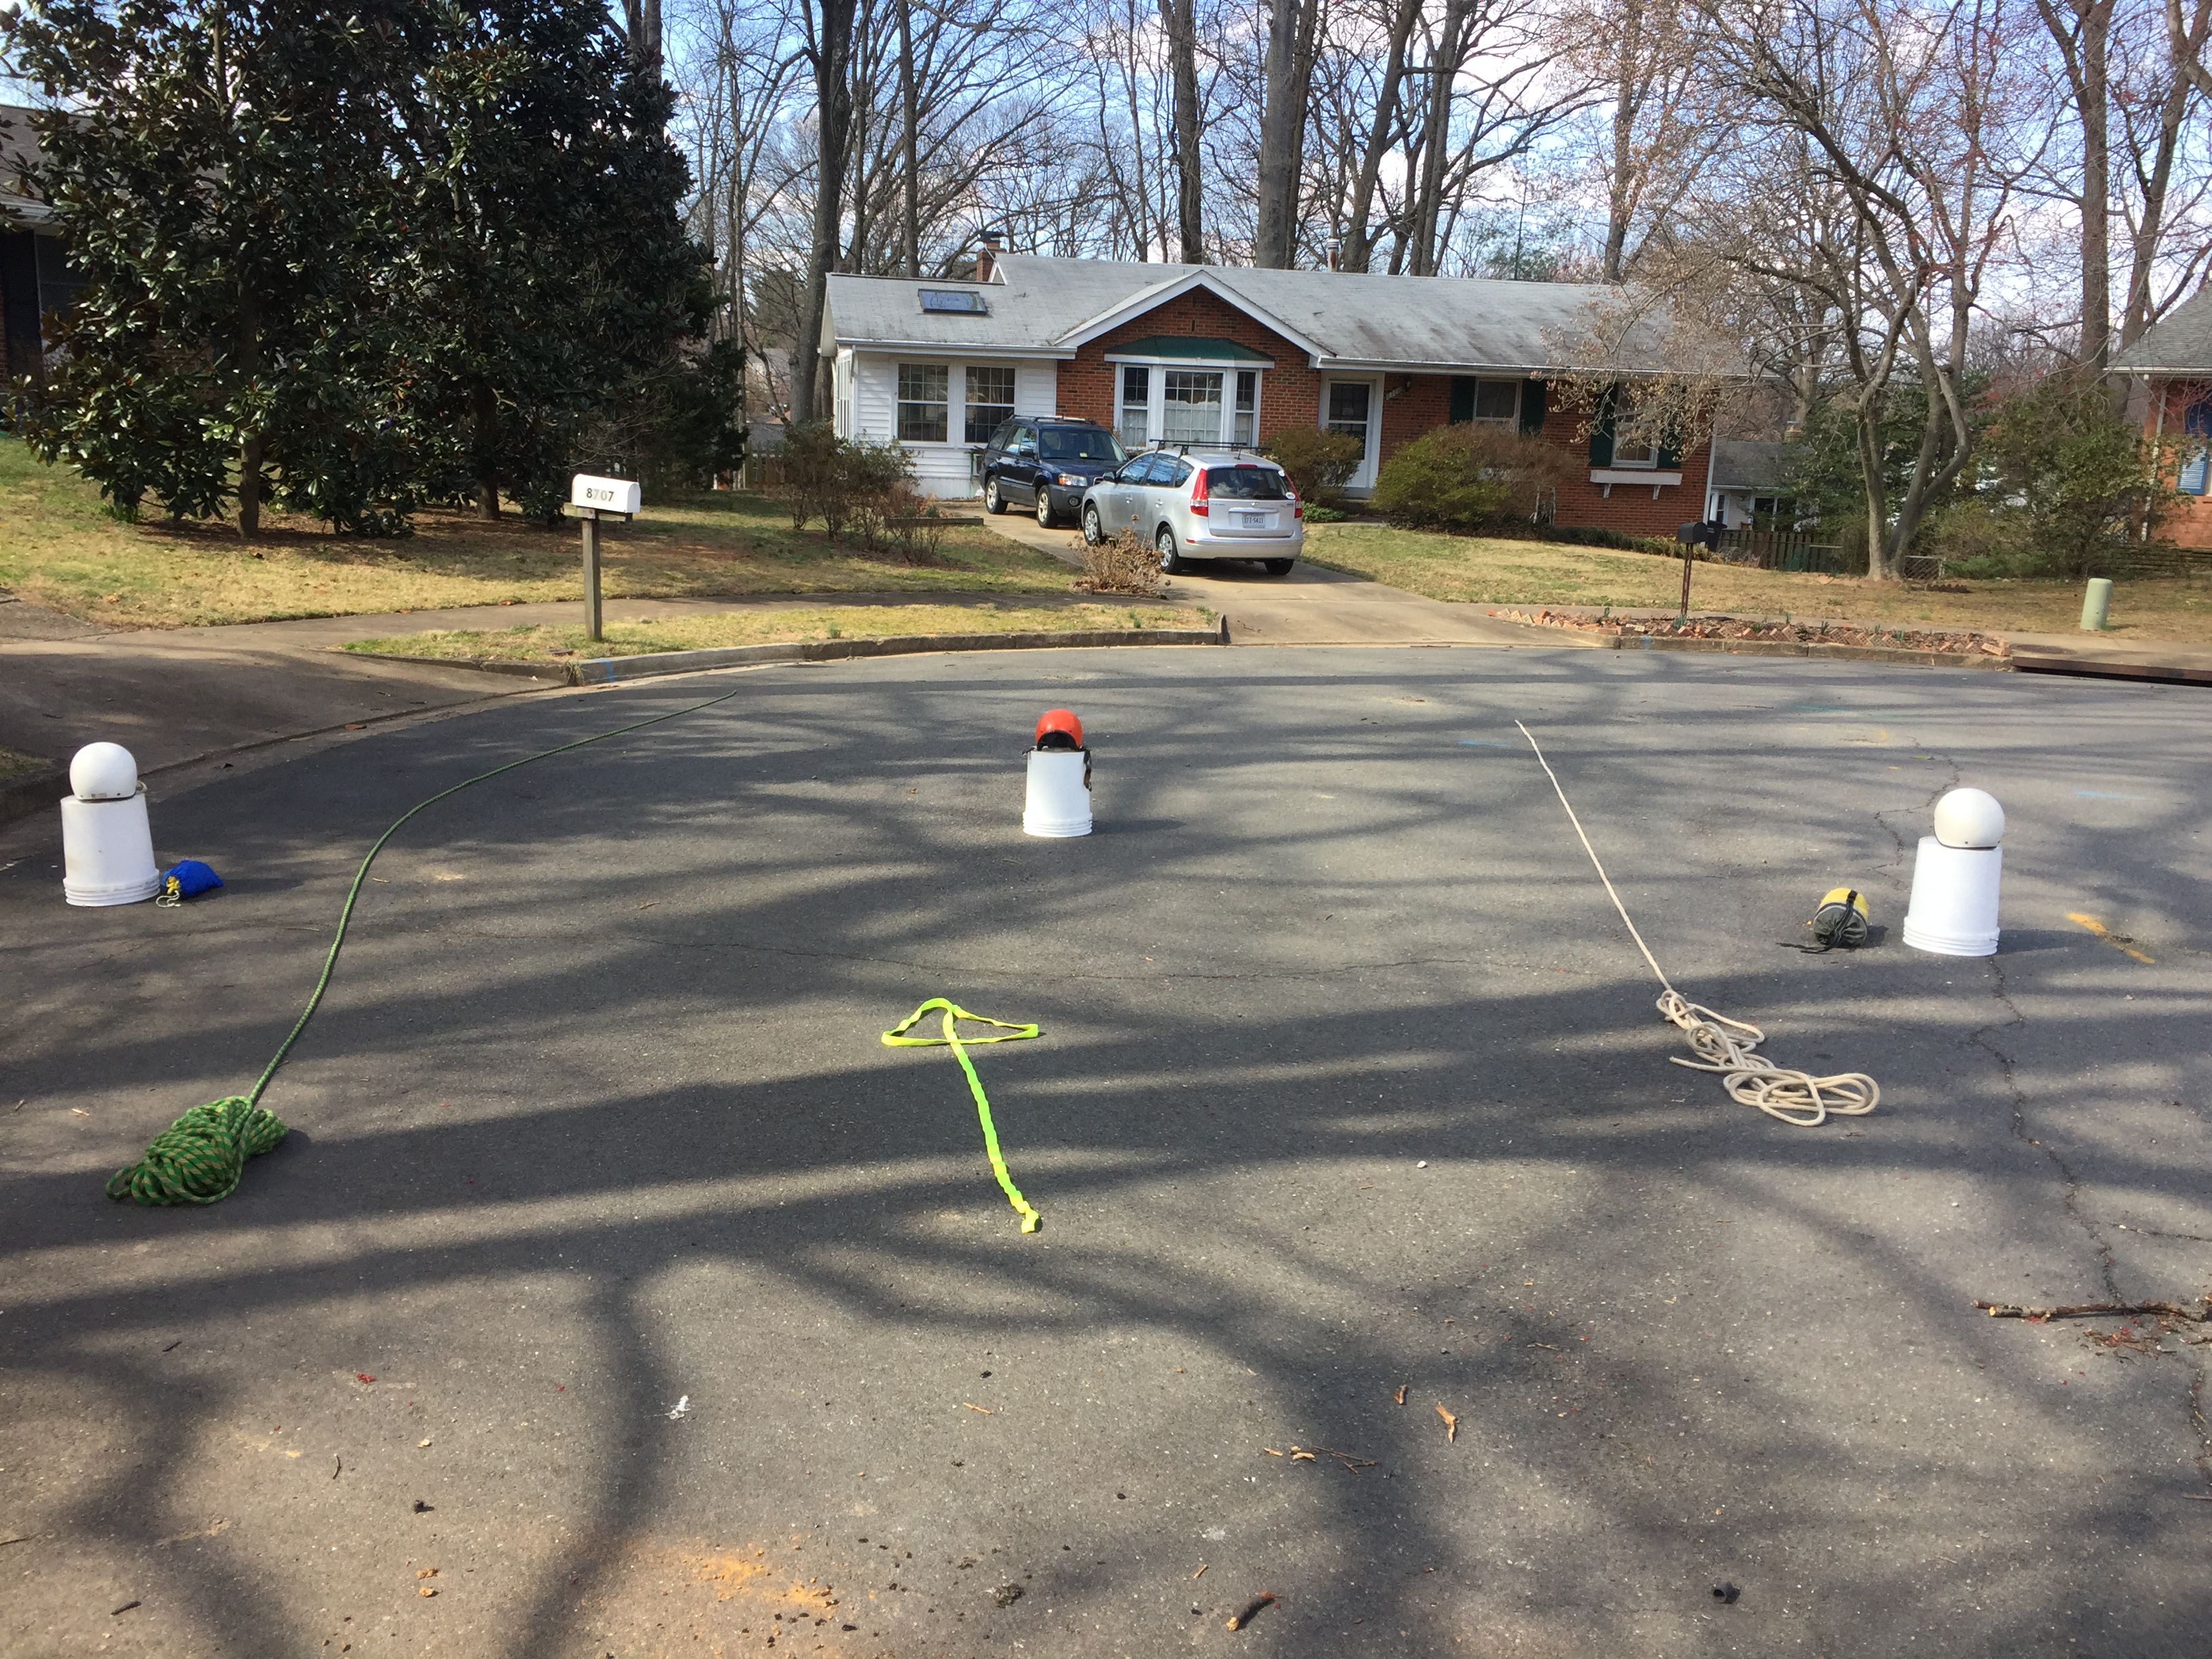
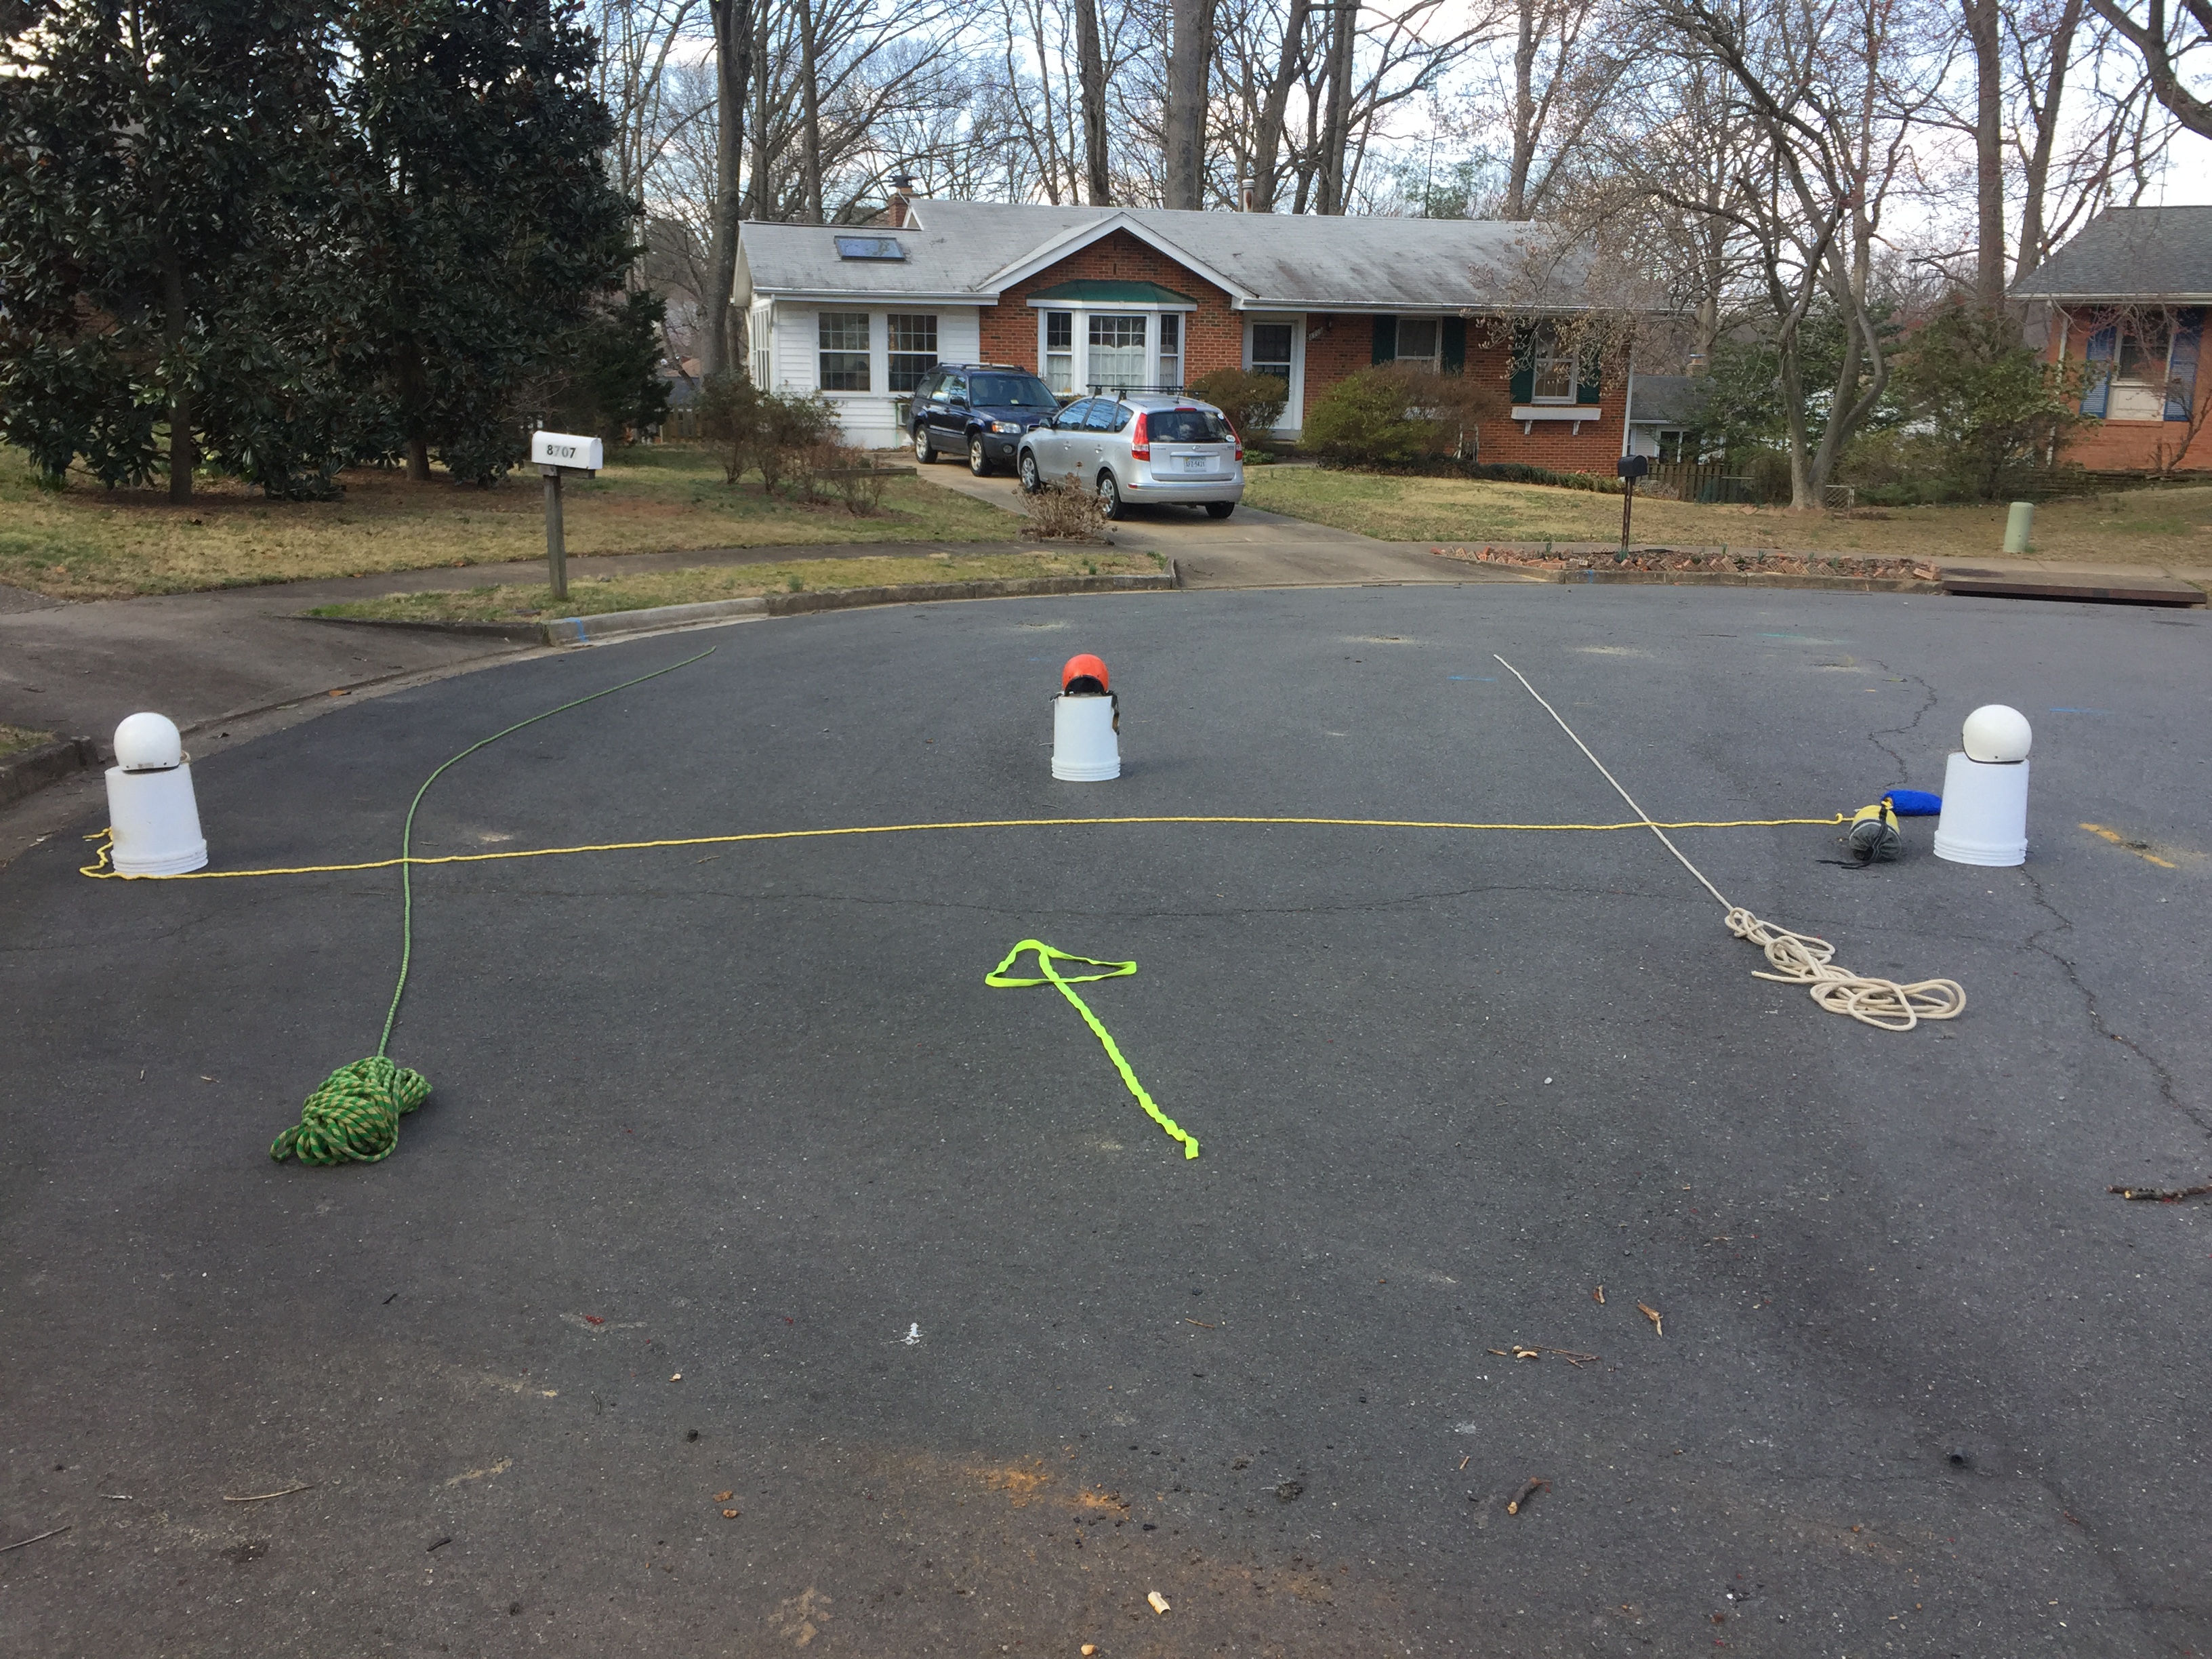
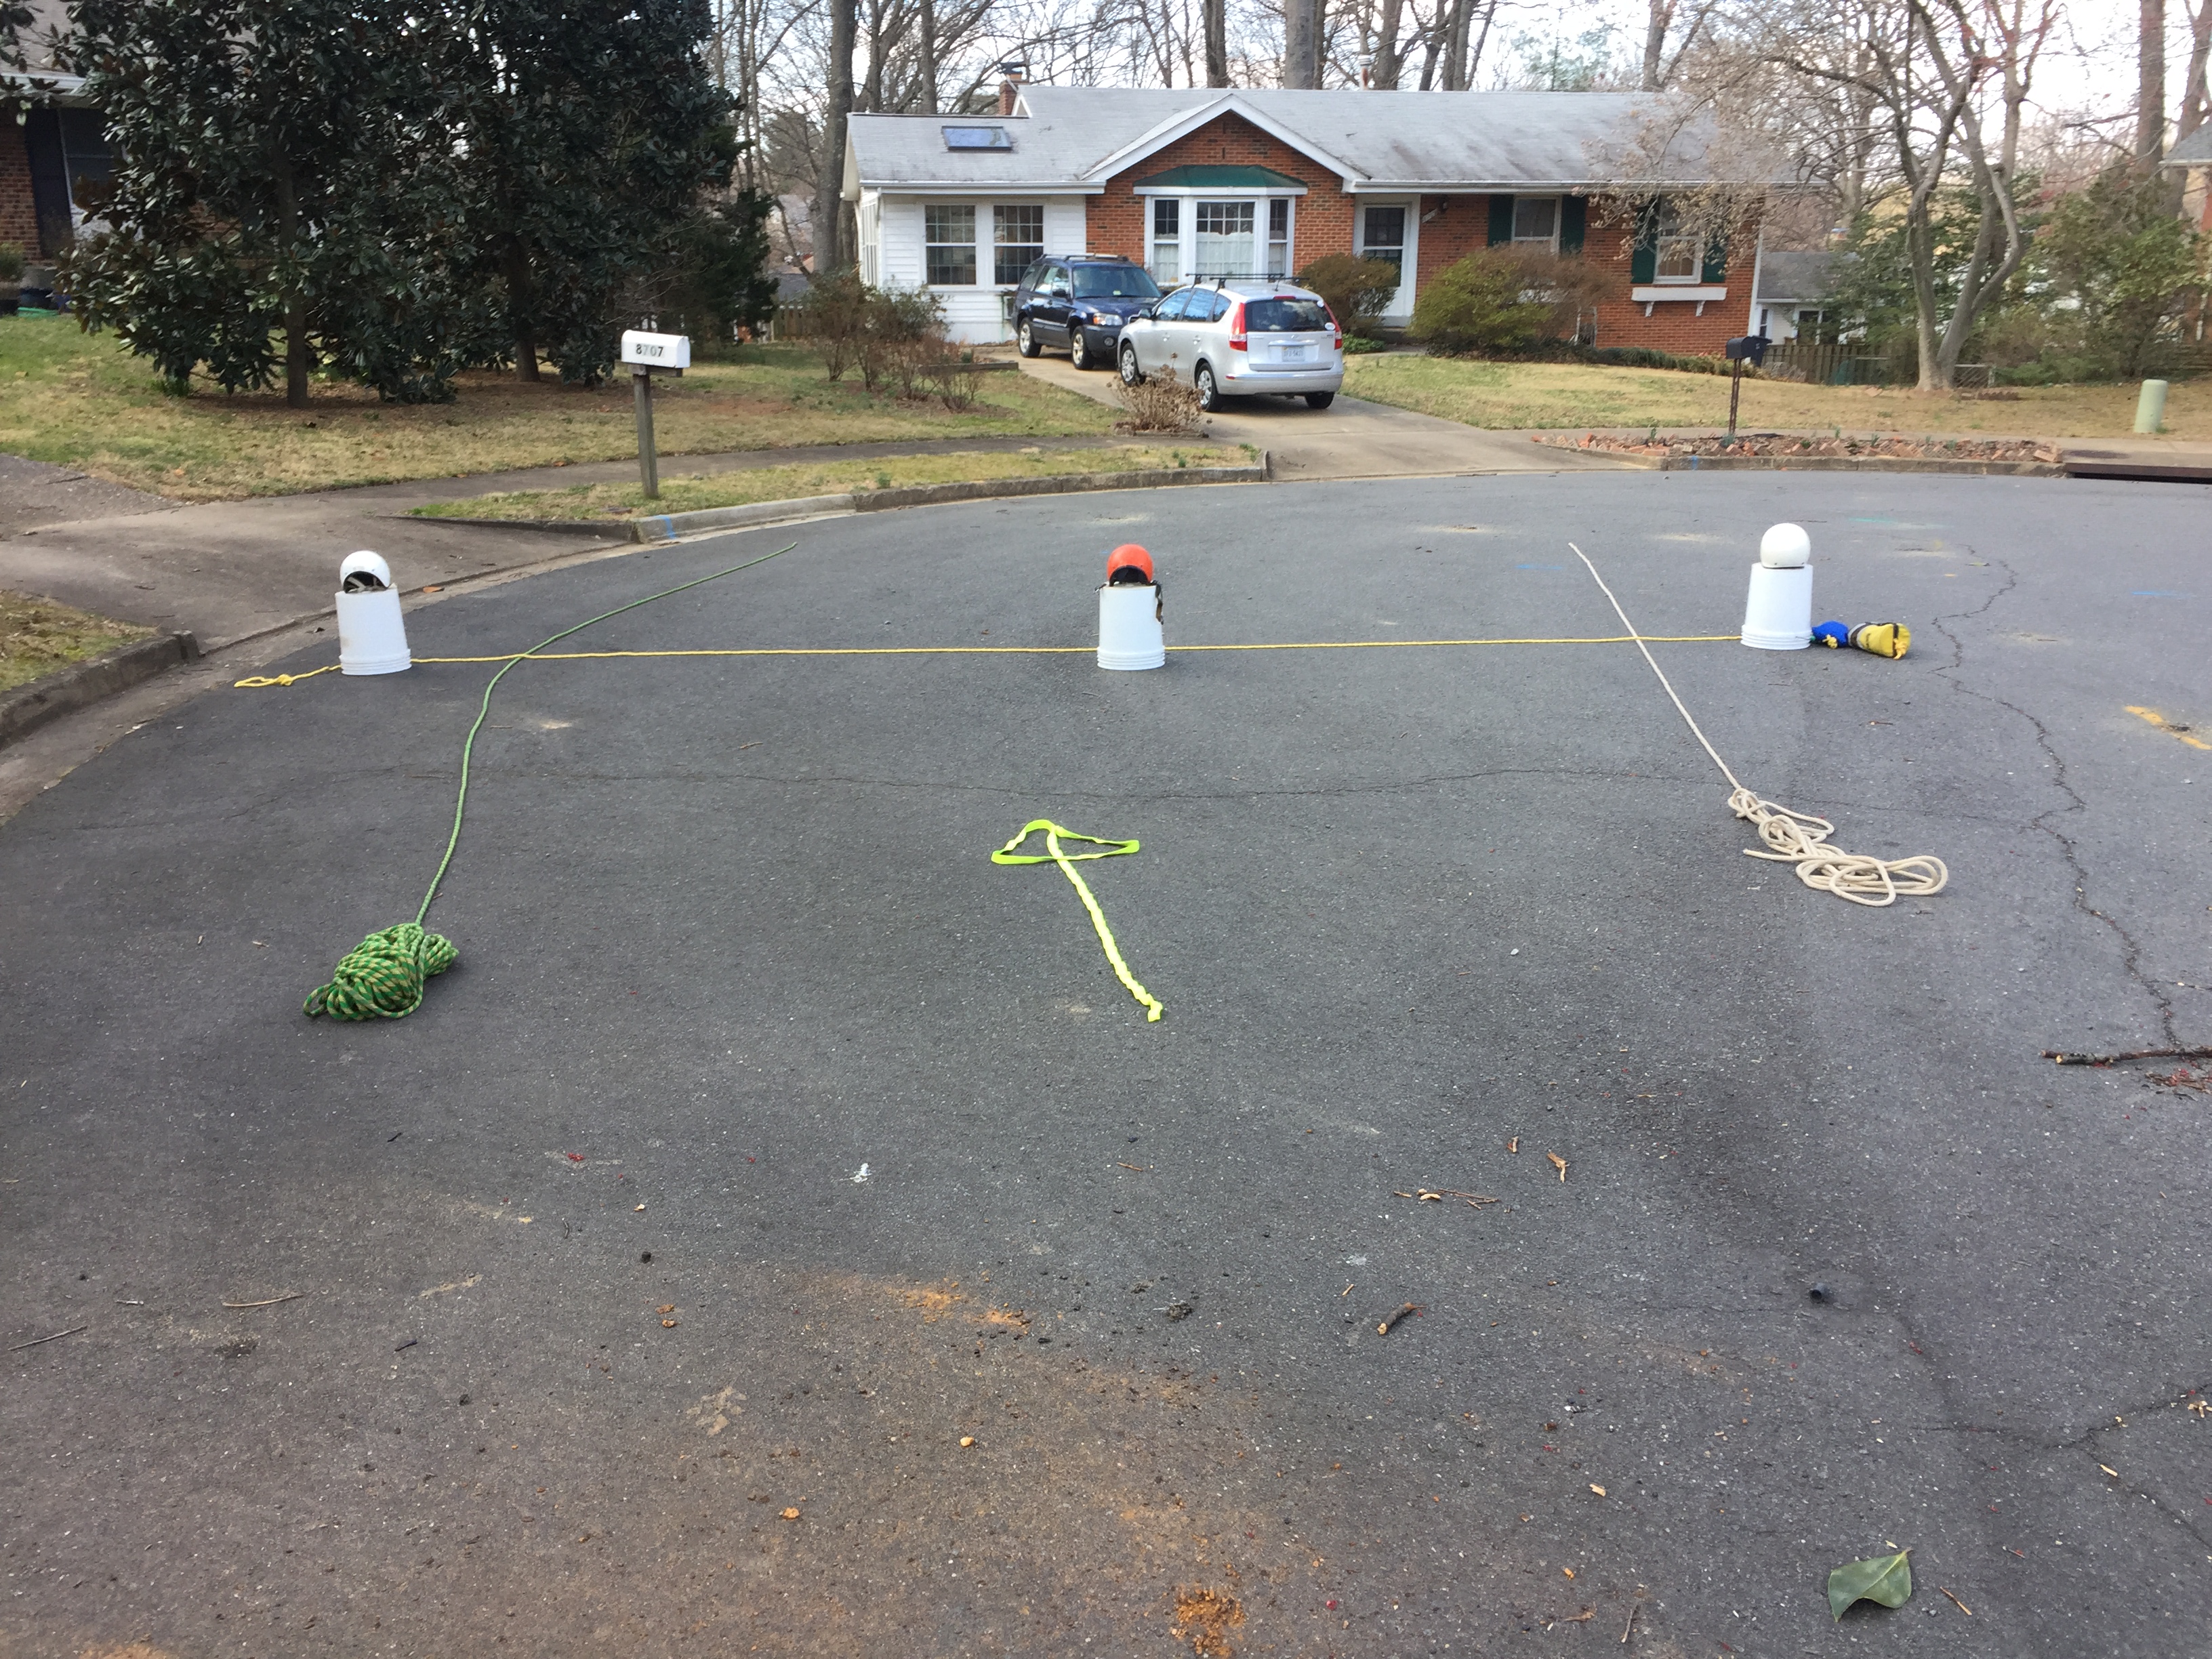
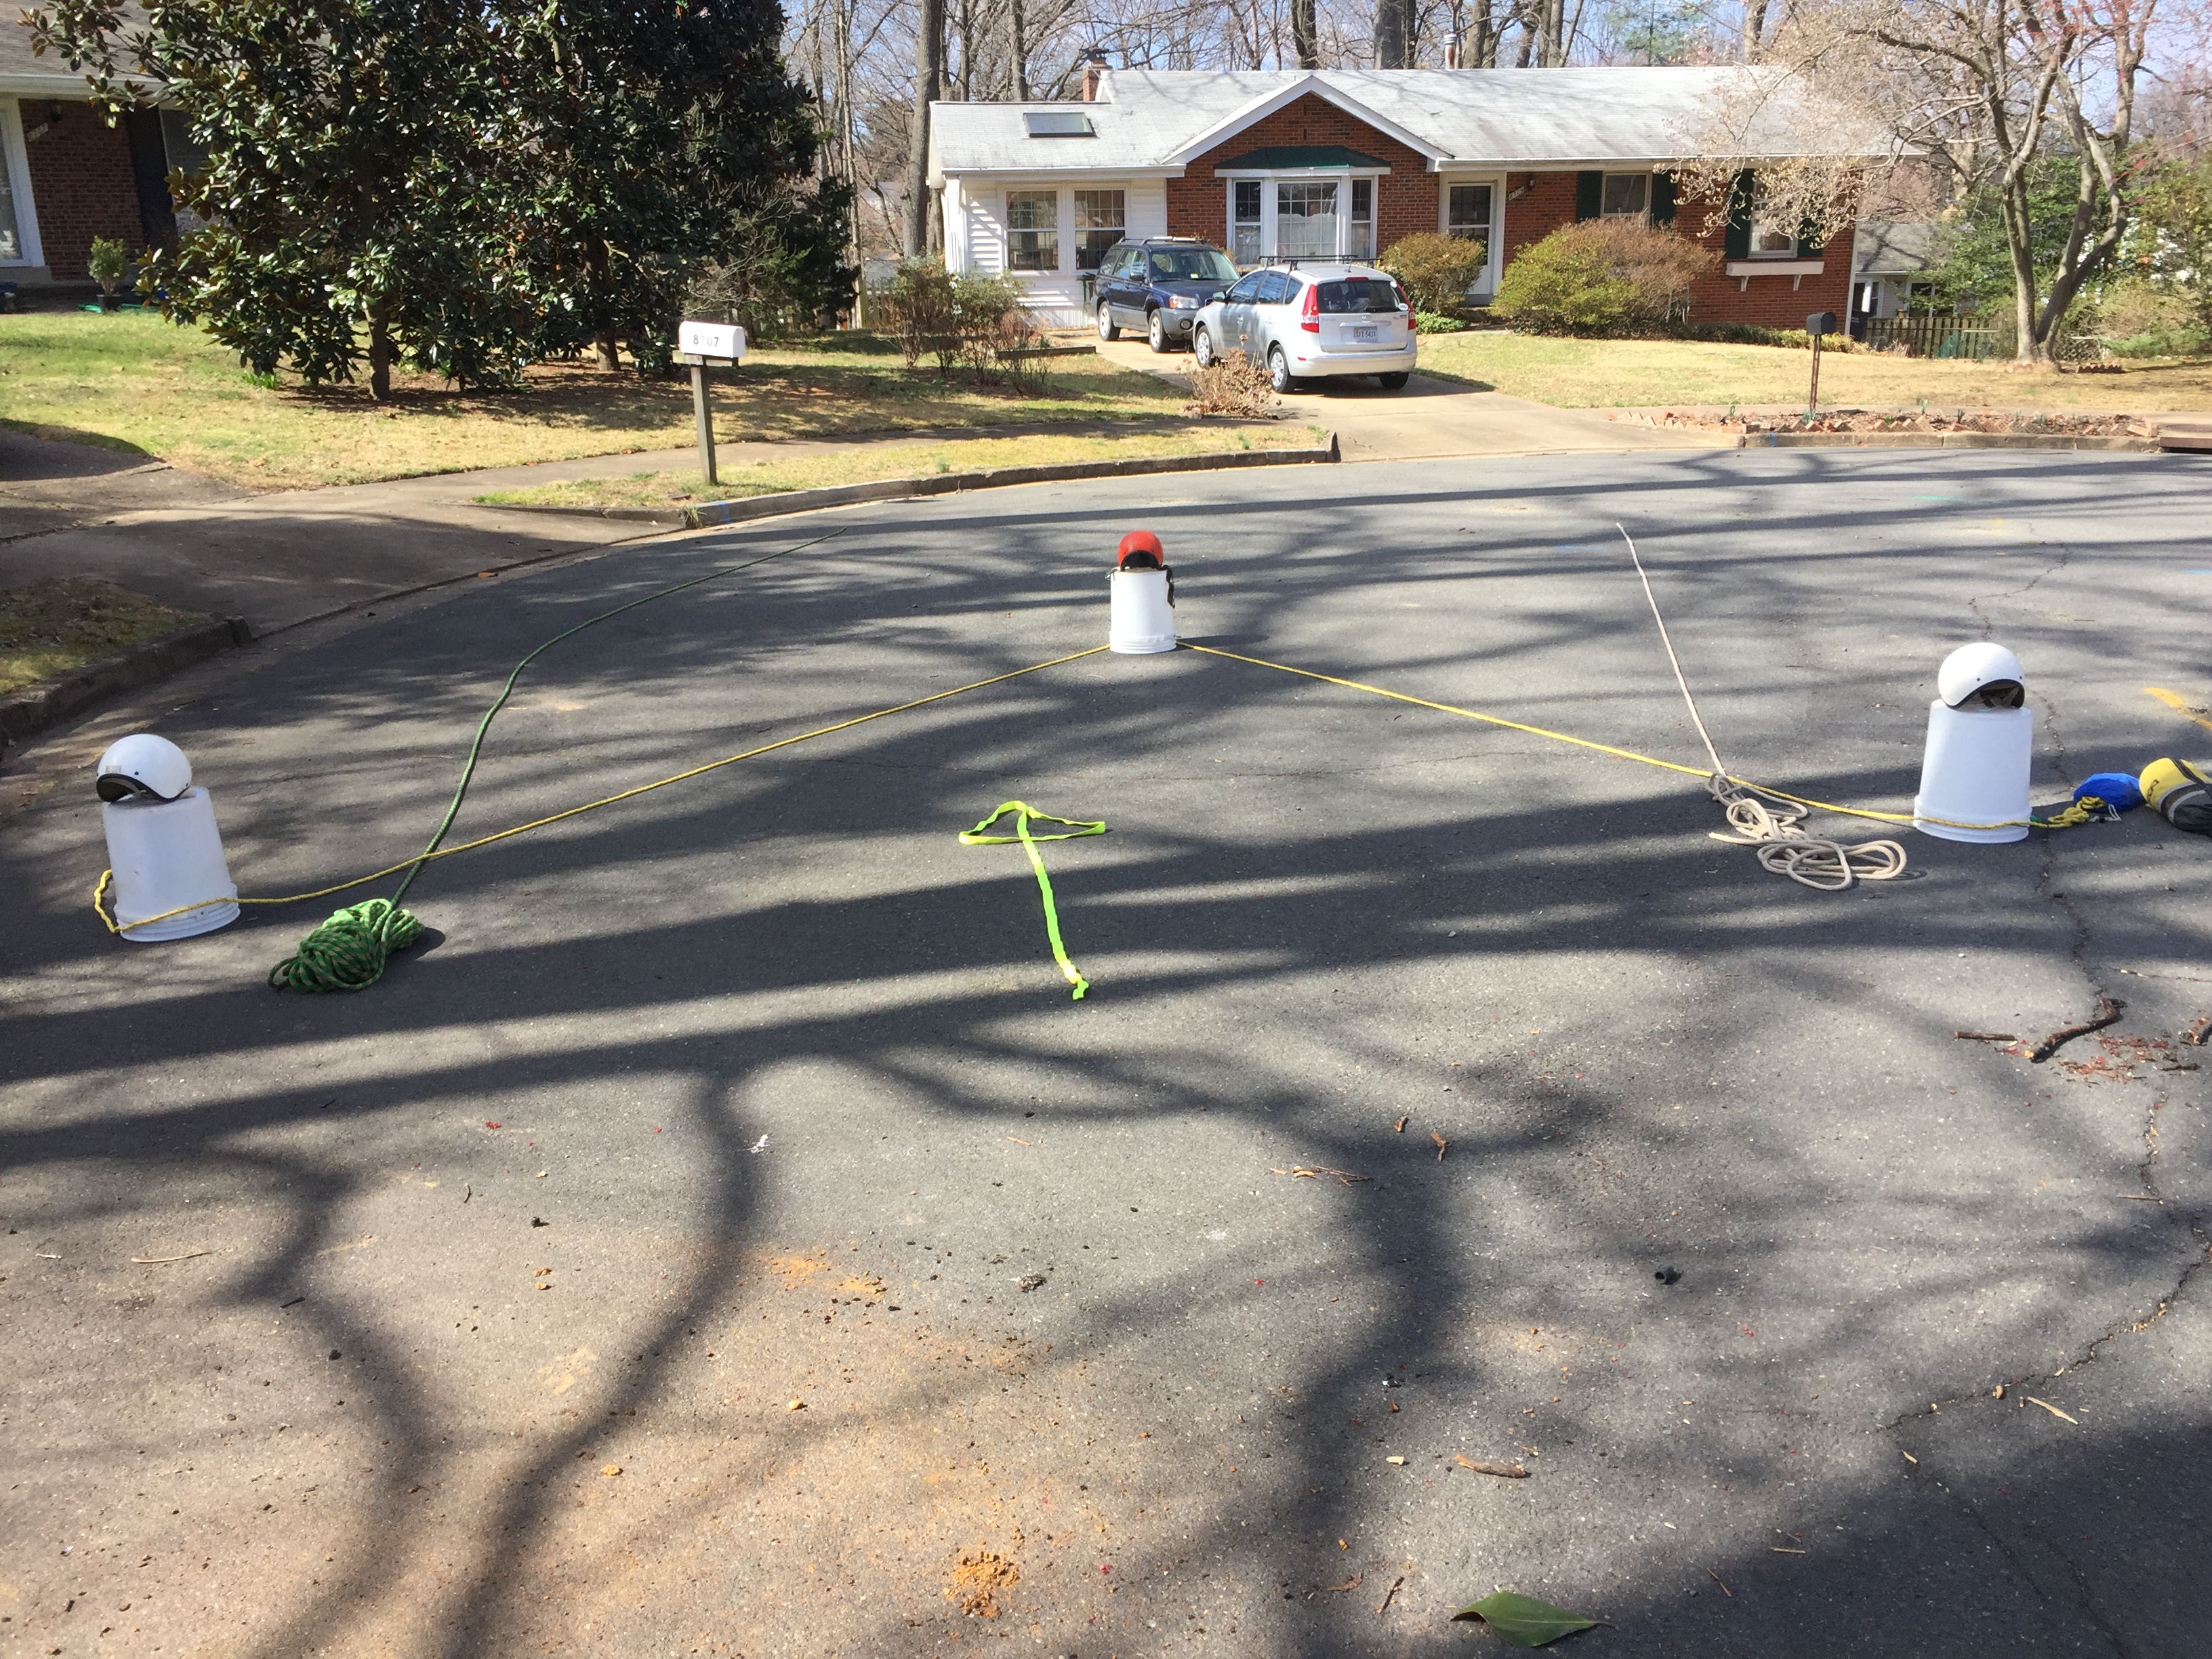
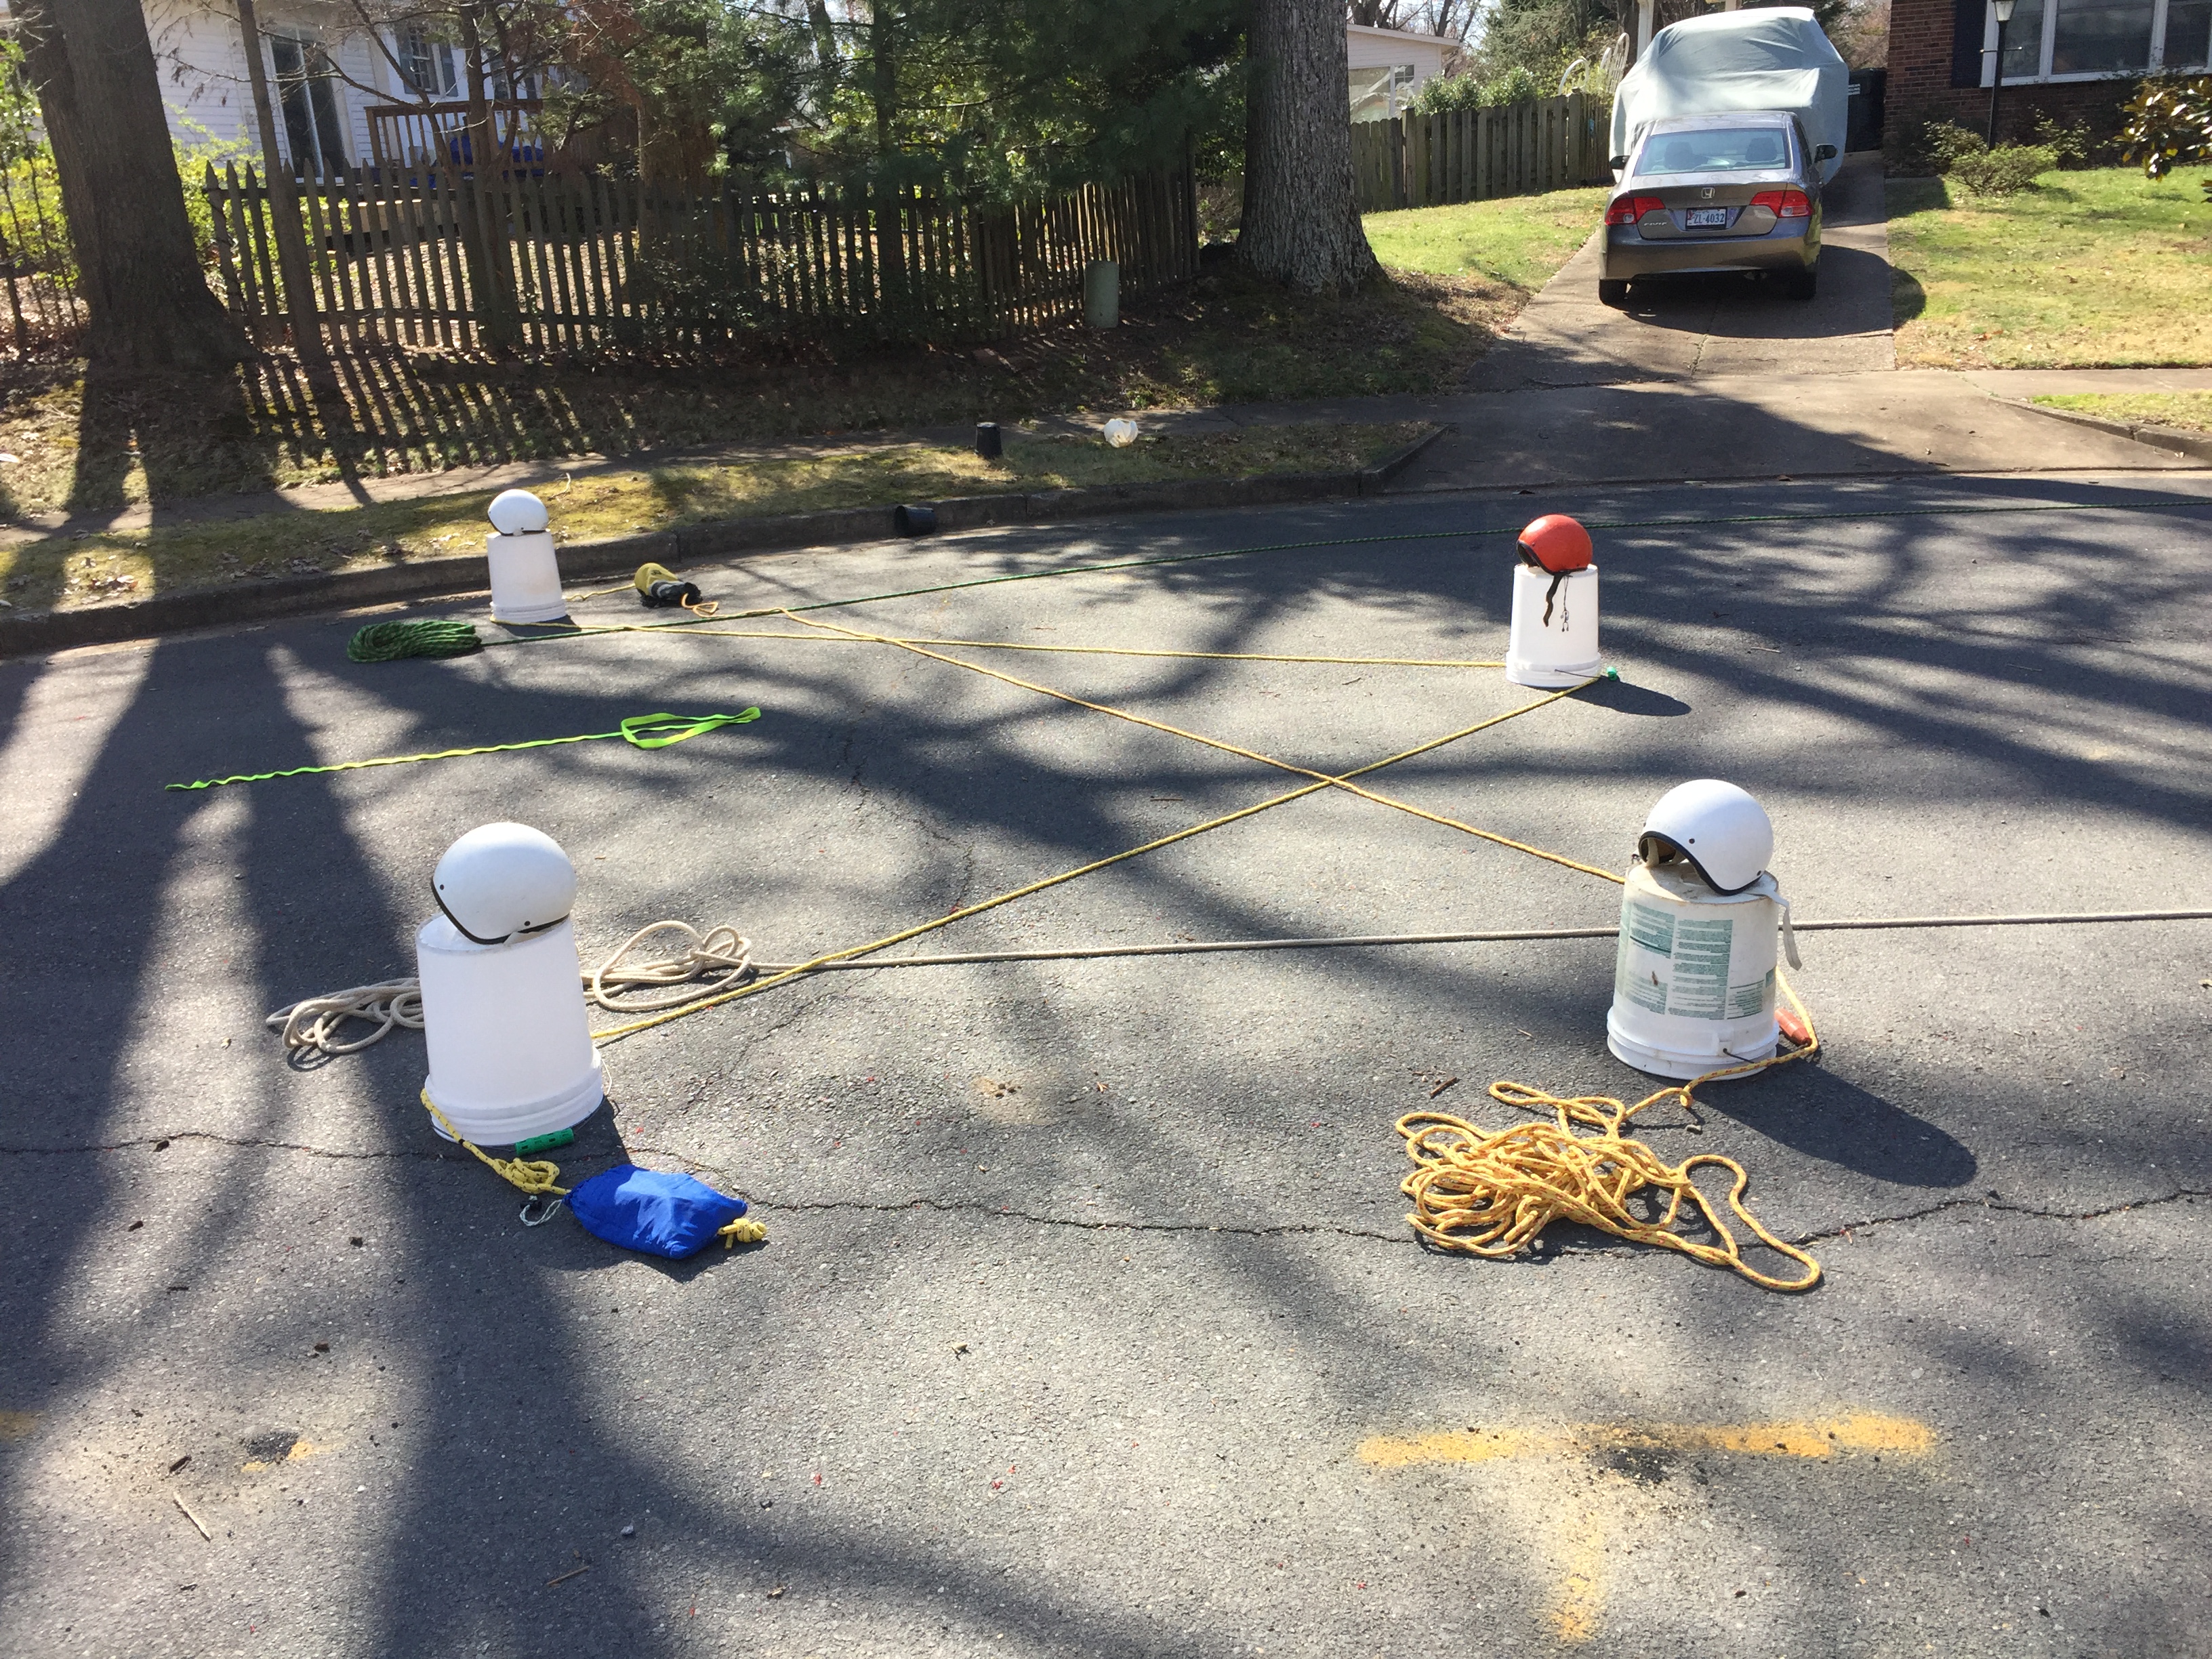
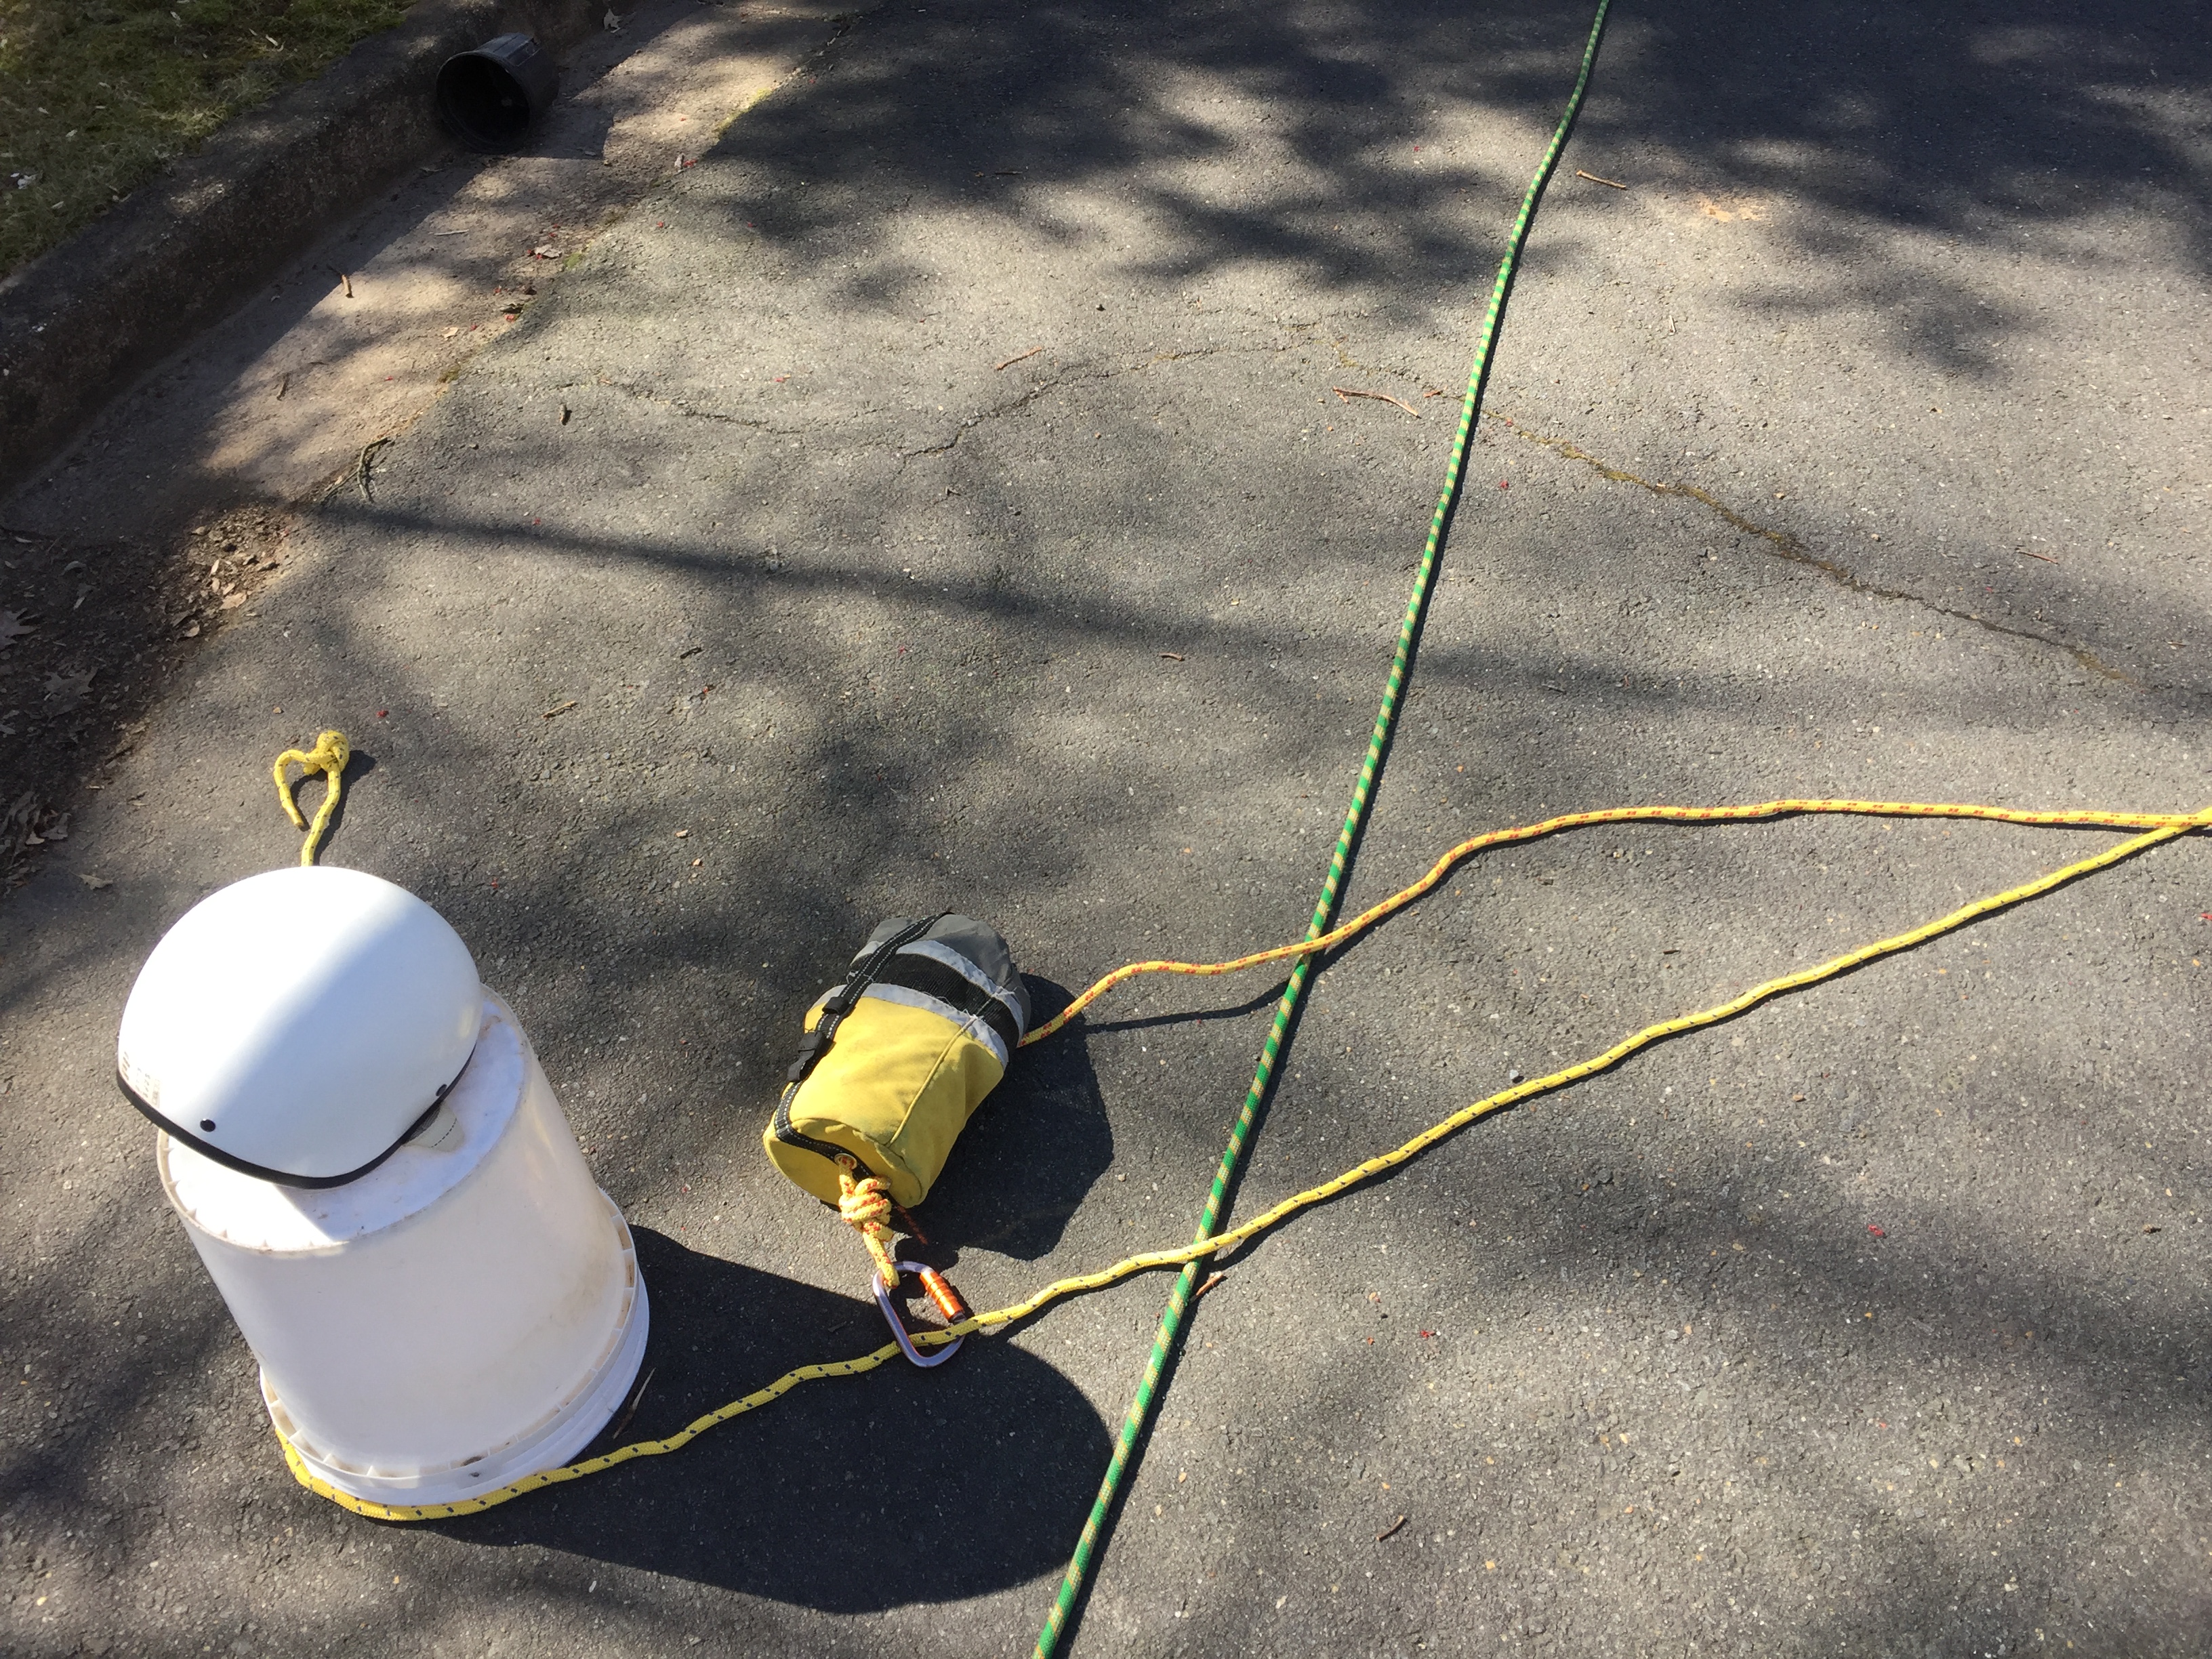
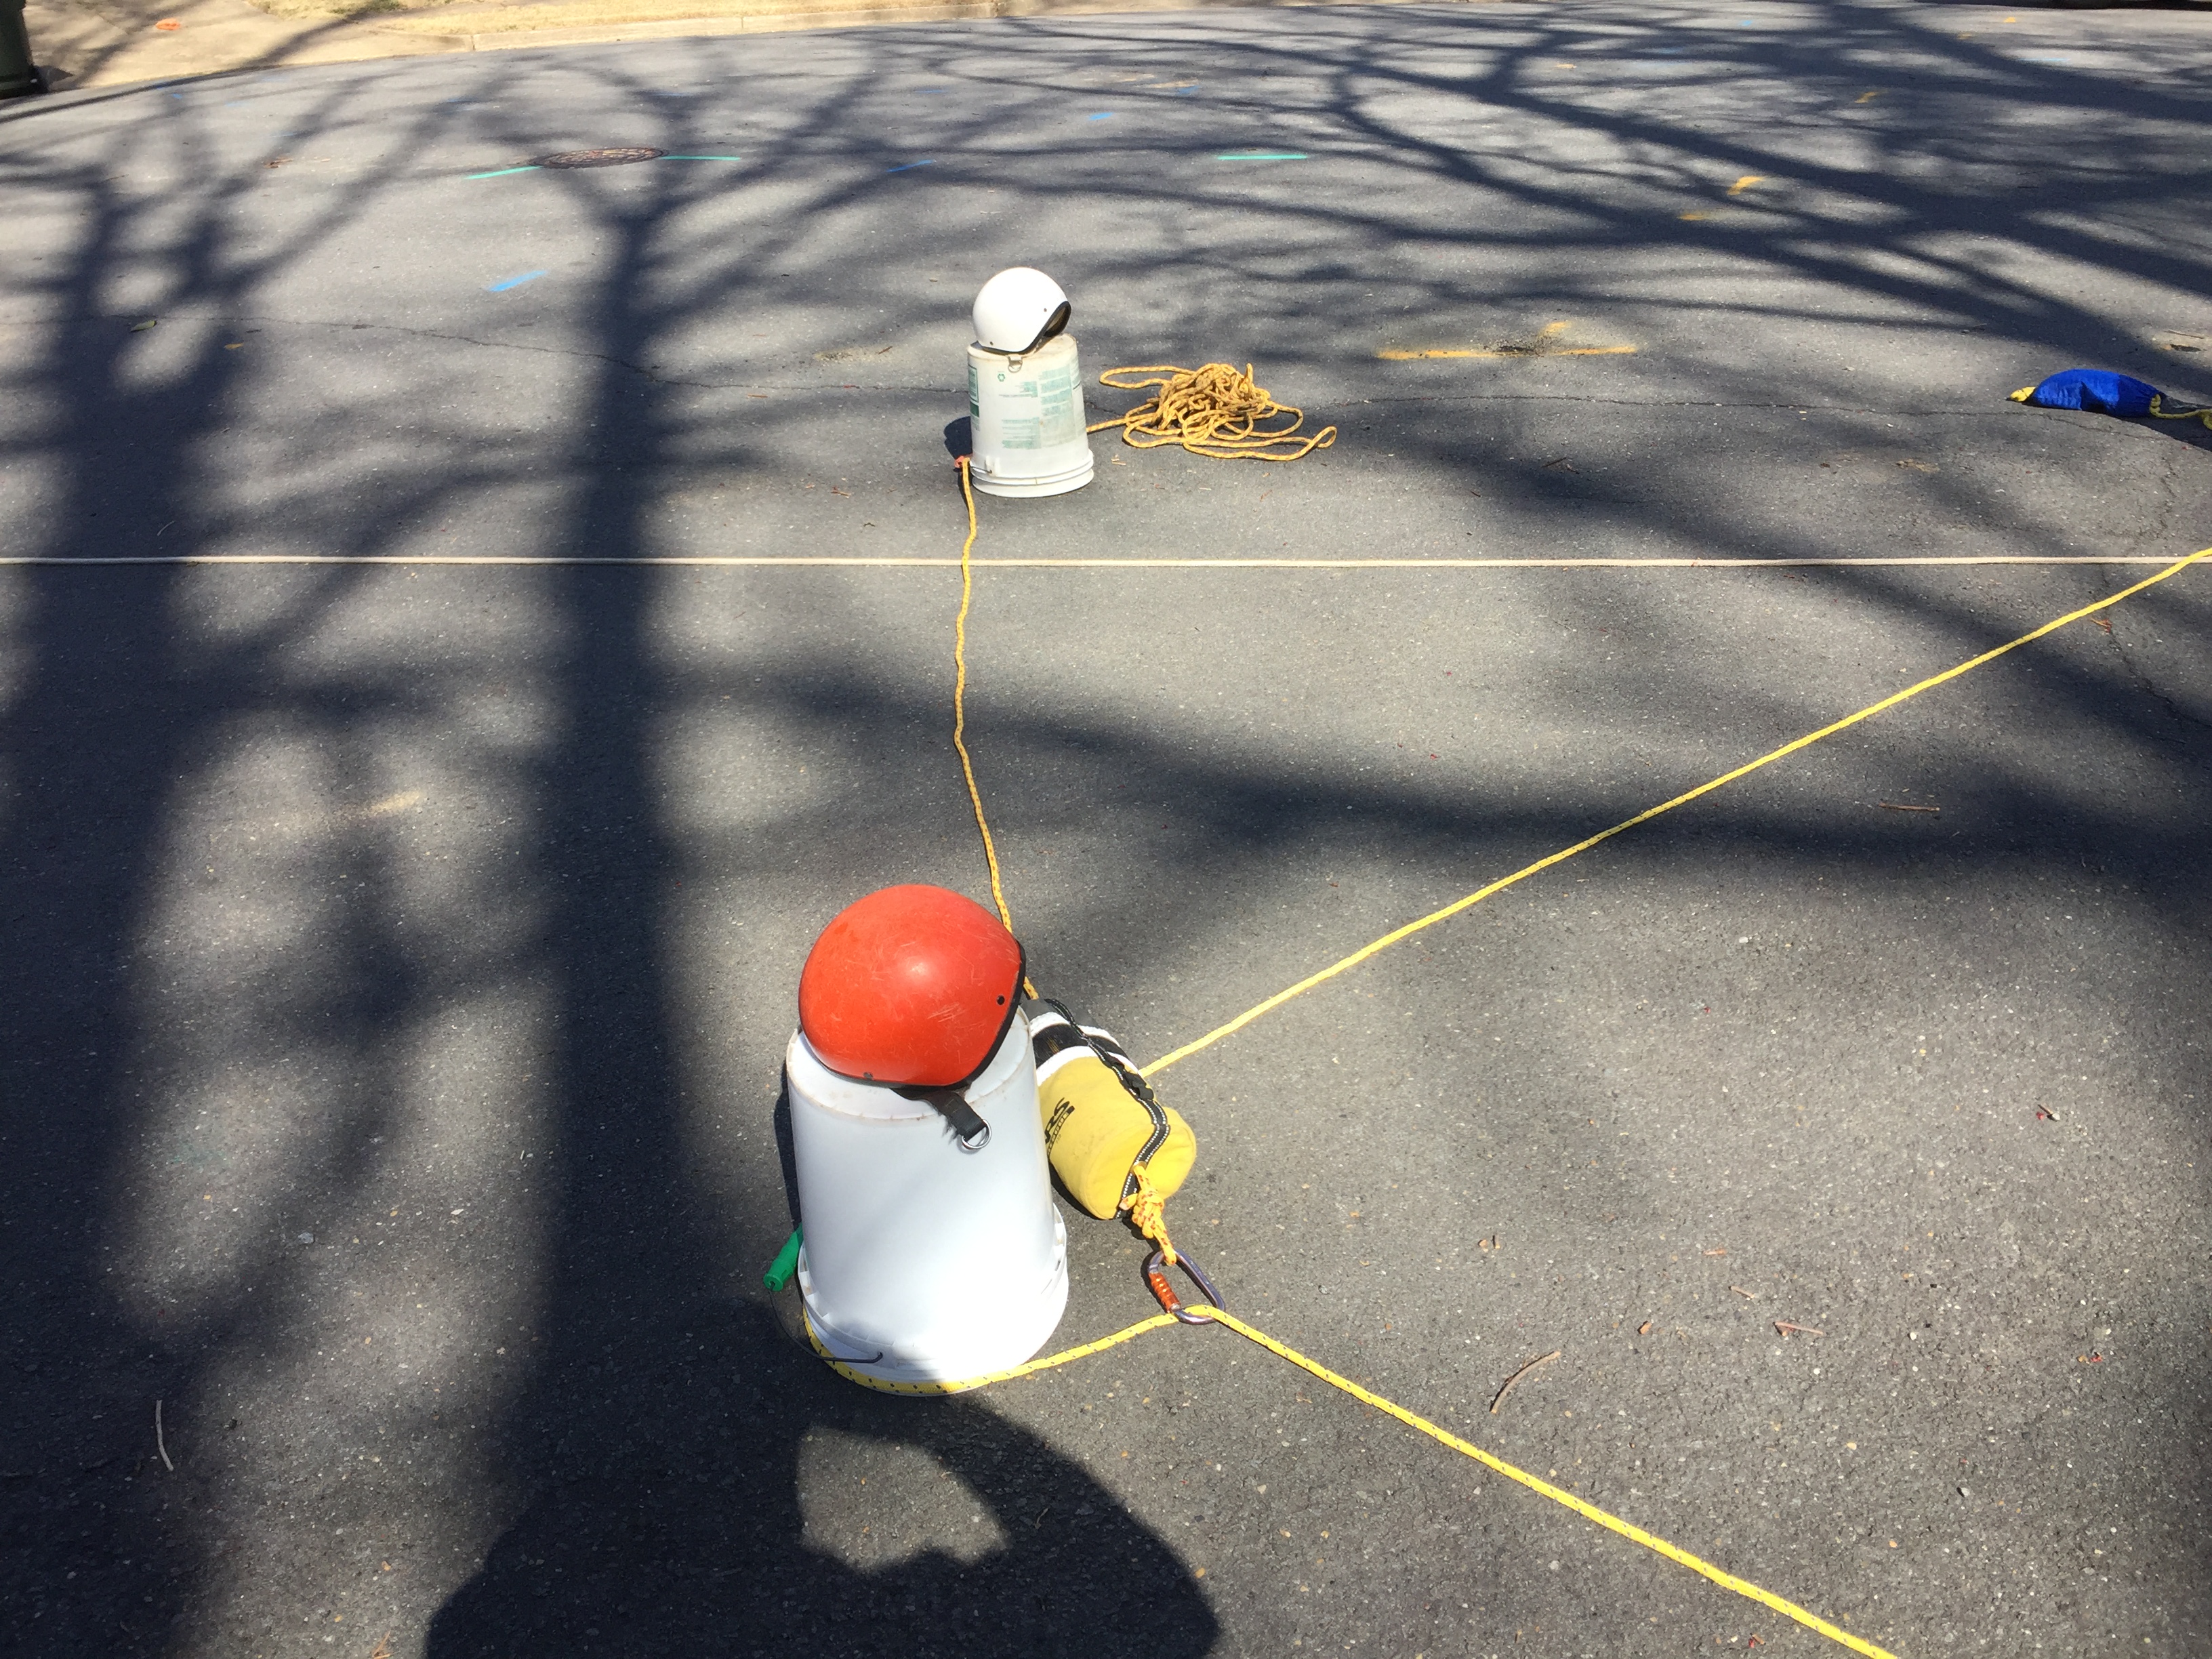
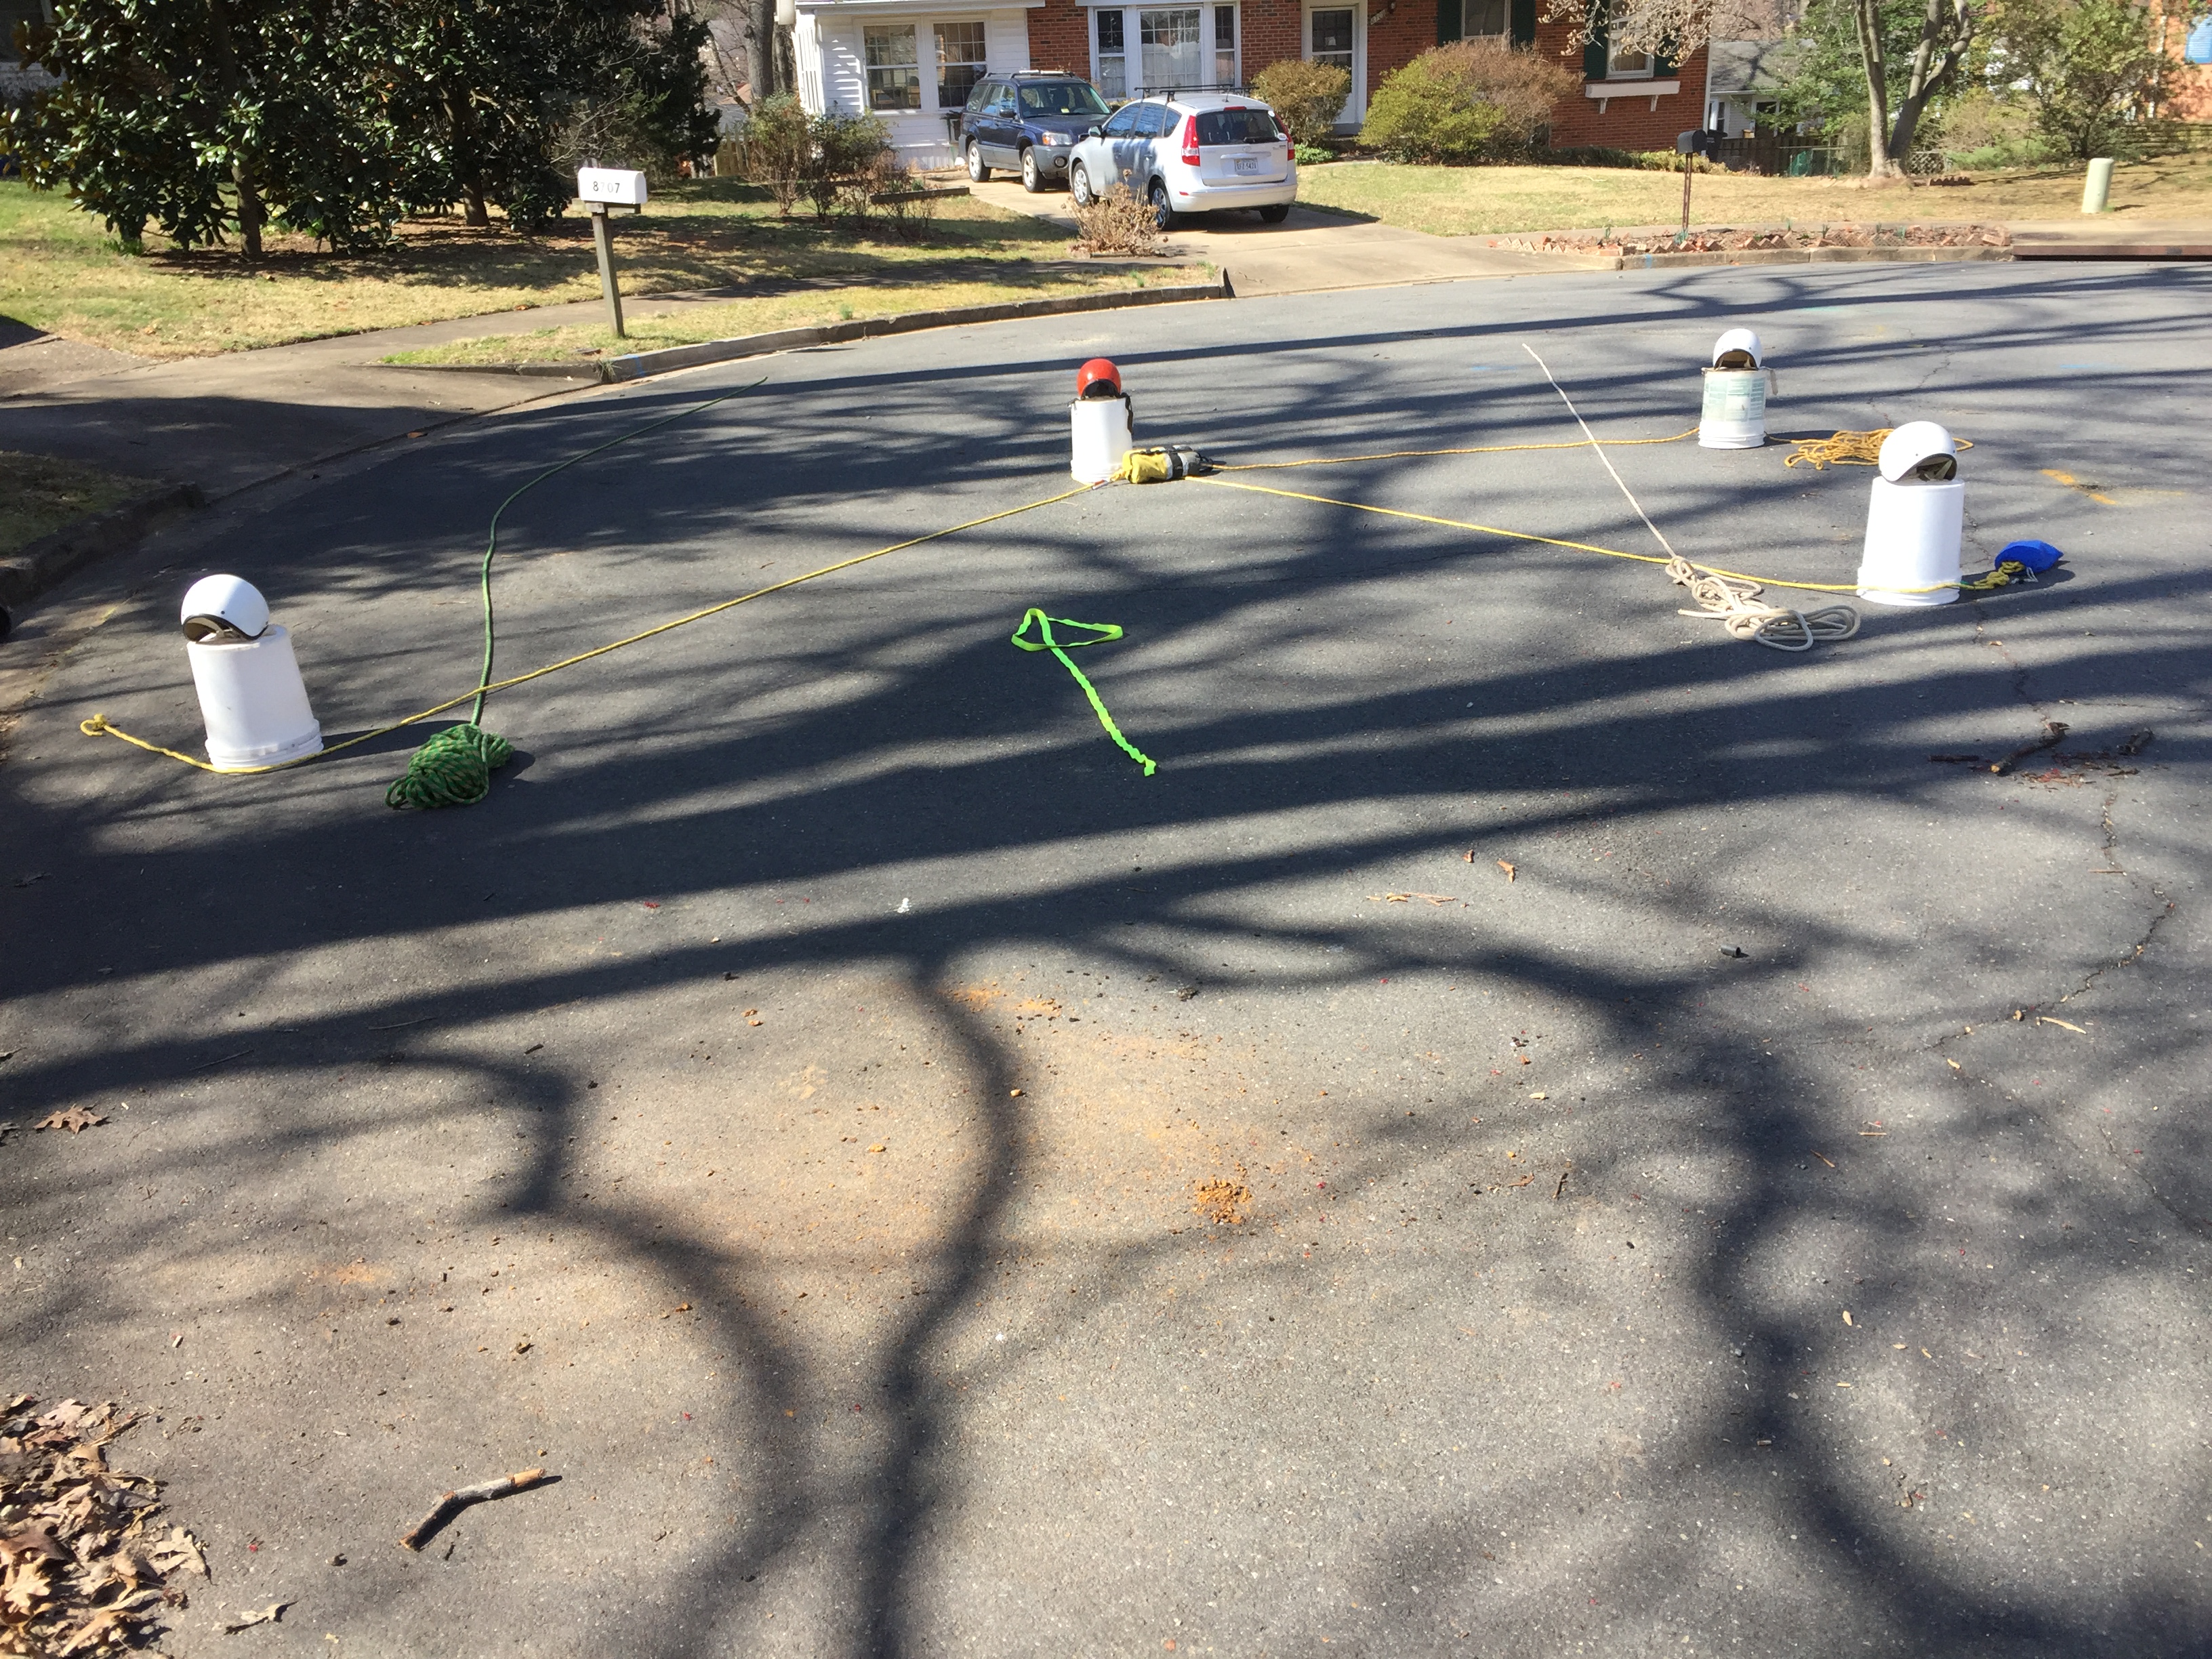
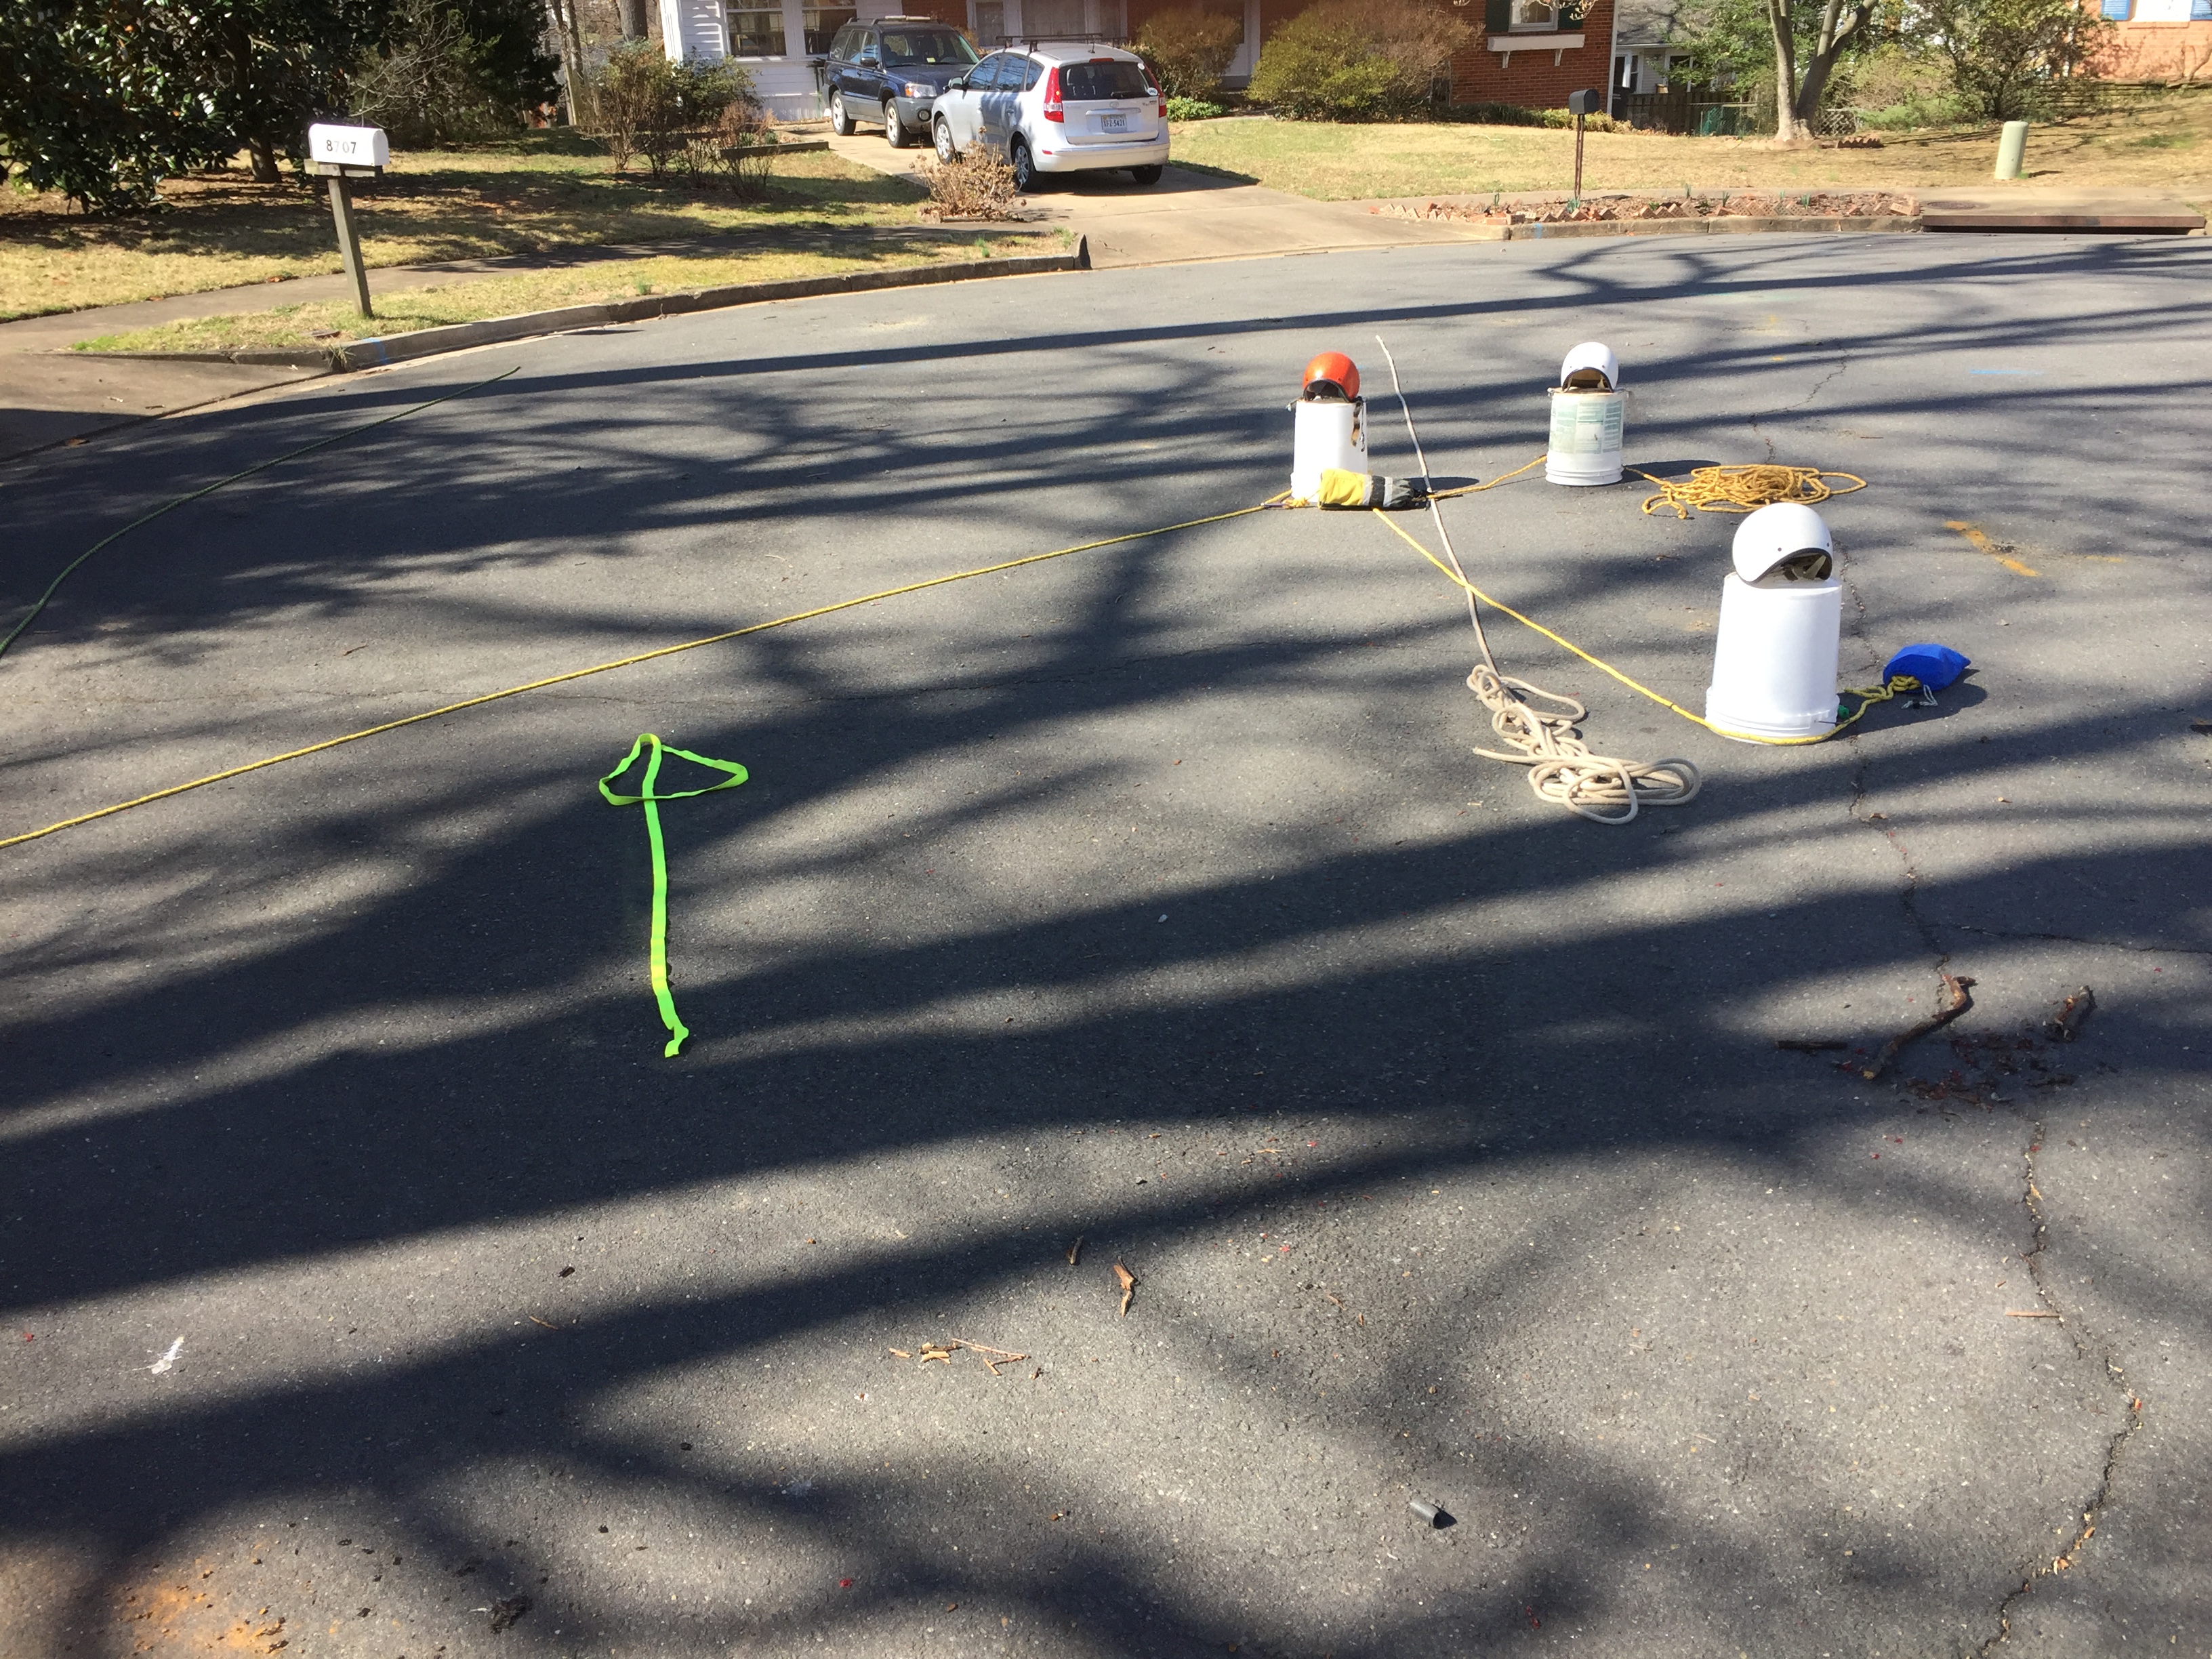
All cinches share a common goal, wrap a rope around a victim to extract them from an entrapment when it isn’t safe to make contact with the victim. There are a variety of methods for accomplishing this task based on the situation where the victim is trapped. The Simple Open Cinch is a relatively easy cinch to learn. This cinch requires 3 people and requires access from both shores.
Notes:
- The green and white ropes represent the shore lines.
- The yellow arrow shows the direction of the current and is points downstream.
- The Orange helmet is the victim with a foot entrapment.
- The White Helmets are the rescuers.
Simple Open Cinch Steps
1) The victim is trapped and requires assistance. Notice we have rescuers on both shores with throw bags.
2) Toss the first bag across a little bit Upstream of the victim. This avoids having the victim quickly grab your line.
3) Lift the line over the victim and start setting up a Stabilization Line.
4) Both rescuers walk upstream to form a nice deep V. This avoids a vector pull and makes it easy to support with just two people. Ask the victim if they are able to free themselves with this support line.
5) A third rescuer tosses a line across the stream Upstream of the victim.
6) Clip the bag end on the Stabilization Line. I prefer clipping bag ends for consistency and they often have floatation.
7) Pull the Upstream line somewhat taught closing the loop. We now have a secure victim ready for release.
8) The Stabilization Line holders “Pop” the victim out of the obstruction.
9) The Rescuer holding the Cinch Line pulls the freed victim to shore and helps land him. The Stabilization Line holders need to pay attention in helping the victim’s progress to shore.
